Love this? Save it for later!
Share the inspiration with your friends
The first time I made these, I wasn’t even trying to be clever. I had a half-empty jar of red onions sitting in the fridge, threatening to go soft, and a taco night that needed something—anything—to cut through the richness of the seasoned beef. I grabbed a saucepan, dumped in some vinegar, a spoonful of sugar, and a pinch of salt, and just… hoped. Ten minutes later, I was spooning these bright, tangy slivers over my dinner, and honestly? I couldn’t stop eating them straight from the jar. It felt like a cheat code. That little jar of quick pickled onions turned a regular Tuesday dinner into something I actually looked forward to.
What surprised me most wasn’t how easy they were, but how often I reached for them after that. A handful of these on a sandwich turned lunch into an event. A forkful next to a piece of grilled fish made the whole plate sing. They became my secret weapon for making anything—and I mean anything—taste just a little bit brighter. This easy quick pickled onions recipe isn’t about fussing over a stove. It’s about having a jar of flavor ready to go, waiting in your fridge to rescue a boring meal. And the best part? You probably have everything you need right now.
Why You’ll Love This Recipe
I’ve tested a lot of quick pickle methods over the years—some too sweet, some too sharp, and a few that just sat in the fridge looking sad. This version is the one I keep coming back to. It’s balanced, it’s fast, and it works with almost everything. Here’s why I think you’ll love it too.
- Ready in 10 Minutes: No complicated steps or overnight waiting. You can have these pickled onions on your table faster than you can decide what to order for delivery.
- Simple Pantry Ingredients: Vinegar, sugar, salt, and an onion. That’s it. No trips to a specialty store or hunting down obscure spices.
- Perfect for Taco Night or Meal Prep: Whether you’re making classic Filipino beef adobo or just assembling a quick salad, these onions add a pop of acidity that ties everything together.
- Crowd-Pleaser: I’ve brought these to potlucks and watched people pile them on everything from burgers to baked potatoes. They disappear fast.
- Unbelievably Versatile: The texture stays crisp, the flavor is tangy with a hint of sweetness, and they work on hot or cold dishes. Honestly, I’ve even snuck them into a breakfast sandwich.
What makes this recipe different from others is the balance. I’ve played with the vinegar-to-sugar ratio more times than I care to admit, and this one hits that sweet spot—bright without being harsh, sweet without being cloying. It’s the kind of condiment that makes you wonder why you didn’t start making it sooner. It’s comfort food’s best friend, reimagined as a quick, no-stress addition to your weekly routine.
What Ingredients You Will Need
This recipe uses simple, everyday ingredients to create a big punch of flavor. You don’t need anything fancy—just a few pantry staples and a good onion. The magic is in the simplicity.
- 1 large red onion (thinly sliced) – Red onions are perfect here because they’re milder and have a beautiful color that turns a vibrant pink in the brine. I prefer organic ones for their slightly sweeter taste.
- 1/2 cup apple cider vinegar – This gives the pickles a fruity, mellow tang. I’ve tried white vinegar too, but apple cider vinegar adds a rounder flavor. Bragg’s is my go-to brand.
- 1/2 cup water – Helps dilute the acidity so the onions don’t get overpowered. Filtered water works best if you have it.
- 1 tablespoon granulated sugar – Balances the vinegar’s sharpness. You can use honey or maple syrup if you prefer, but the texture will be slightly different.
- 1 teaspoon salt – I use fine sea salt. It dissolves quickly and seasons the brine evenly. Kosher salt works too, but you might need a pinch more.
- Optional: 1/2 teaspoon black peppercorns – Adds a subtle warmth. I throw these in when I want a little extra depth.
- Optional: 1/2 teaspoon red pepper flakes – For a gentle kick. I love these on tacos or in a ground beef bibimbap bowl for a spicy-sour contrast.
Substitution guidance: If you don’t have apple cider vinegar, white wine vinegar or rice vinegar work beautifully. Rice vinegar will give a milder, slightly sweeter result. For a sugar-free version, use a pinch of stevia or monk fruit sweetener—just add it to taste after the brine is warm.
Equipment Needed
You don’t need a fancy kitchen setup for this recipe. Here’s what I use every single time:
- Small saucepan – For heating the brine. A 1-quart pot is perfect. I’ve used a small skillet in a pinch, and it works fine.
- Sharp knife and cutting board – A good knife makes thin, even slices possible. A mandoline slicer works wonders if you want uniform ribbons, but I usually just use my chef’s knife.
- Mason jar or glass container – A 16-ounce jar with a tight-fitting lid is ideal. I reuse old pasta sauce jars—just make sure they’re clean and dry.
- Measuring cups and spoons – For accuracy. I’ve eyeballed it before, and it’s not the same.
- Tongs or a fork – For packing the onions into the jar without burning your fingers.
Preparation Method
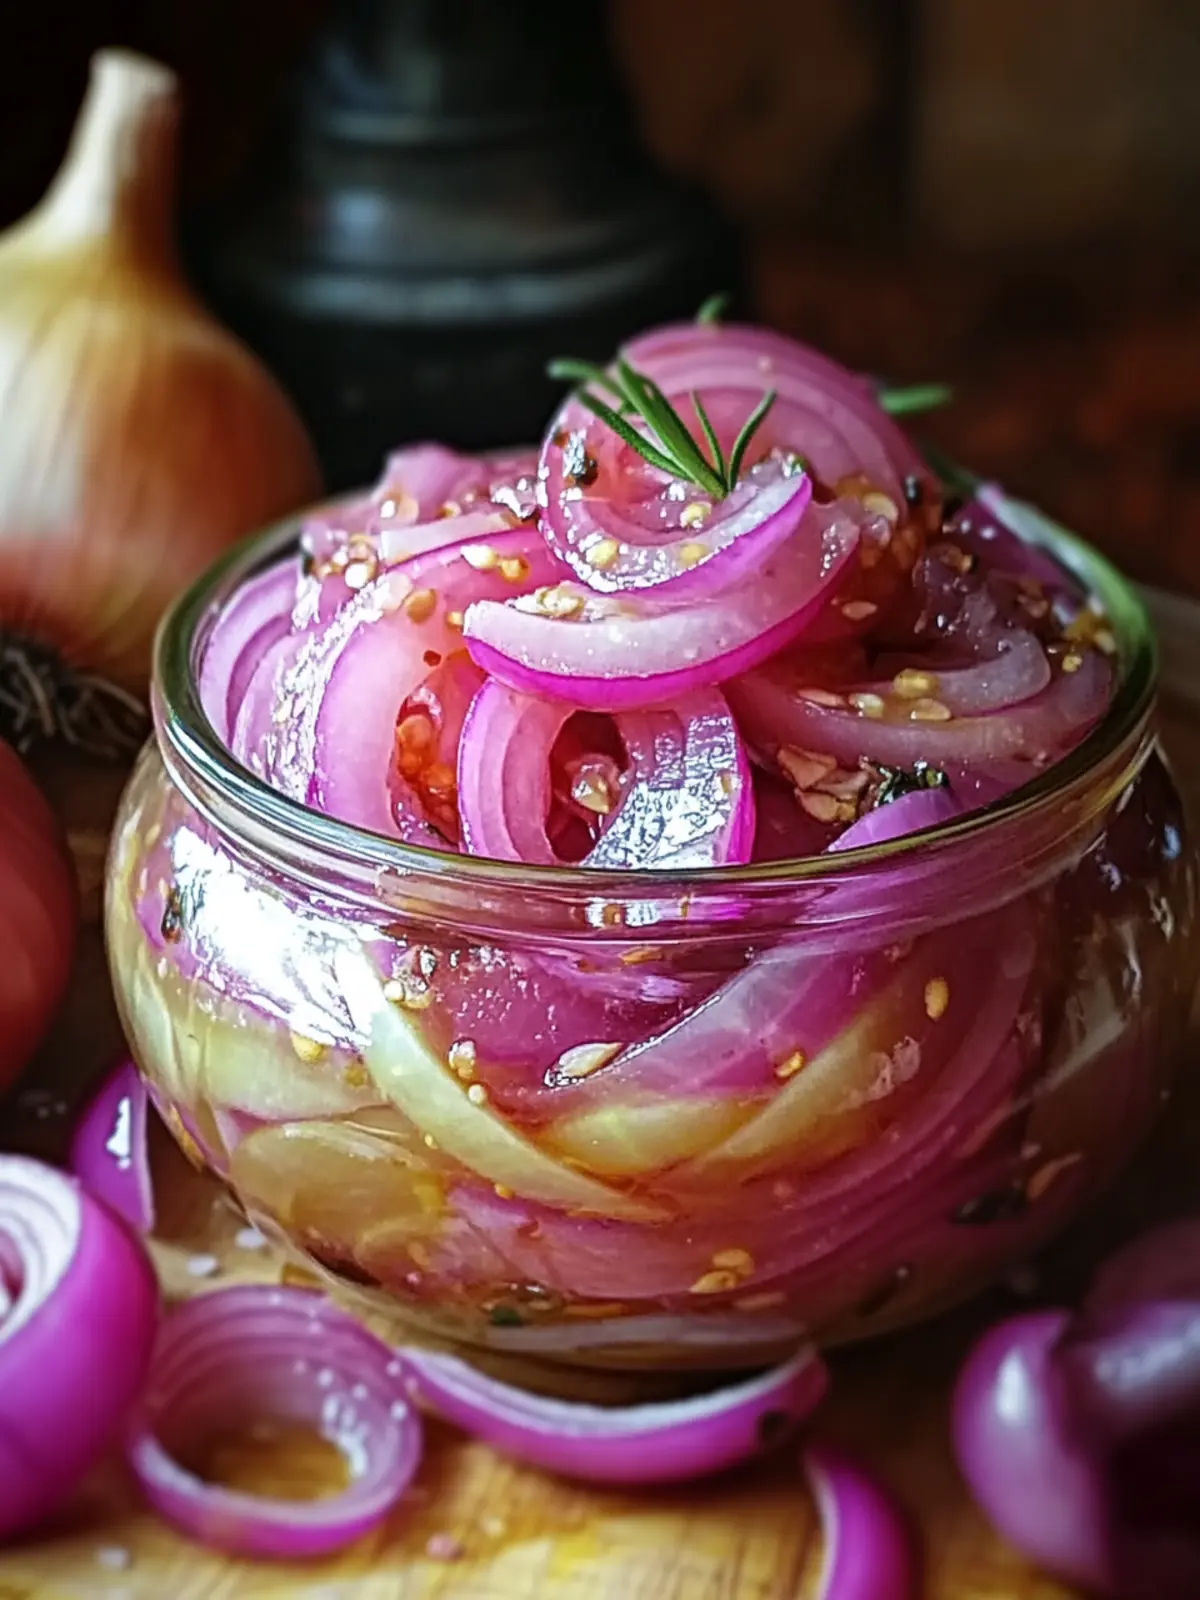
Follow these steps, and you’ll have a jar of pickled onions ready in about 10 minutes. I’ve included timing and sensory cues so you know exactly what to look for.
- Slice the onion (2 minutes): Peel the red onion and cut it in half through the root. Slice each half into thin half-moons, about 1/8-inch thick. The thinner the slices, the faster they pickle. If you prefer chunkier pieces, go for 1/4-inch—they’ll just need a little more time in the brine. You should see the onion layers separate naturally.
- Pack the jar (1 minute): Place the sliced onions into your clean mason jar or glass container. If you’re using peppercorns or red pepper flakes, sprinkle them in between the layers. Don’t cram them too tight—you want the brine to flow around every piece. Leave about an inch of space at the top.
- Make the brine (3 minutes): In a small saucepan, combine the apple cider vinegar, water, sugar, and salt. Stir gently with a spoon. Bring the mixture to a gentle boil over medium-high heat. You’ll see small bubbles forming around the edges, and the sugar and salt should dissolve completely. The brine will smell sharp but sweet—that’s normal.
- Pour the brine (1 minute): Carefully pour the hot brine over the onions in the jar. Use a spoon or tongs to press the onions down so they’re fully submerged. If some pieces float, that’s okay—they’ll soften and sink as they cool. The onions will start turning a beautiful pink color almost immediately.
- Cool and seal (3 minutes): Let the jar sit on the counter, uncovered, for about 10 minutes. You’ll see the pink deepen as the brine works its magic. Once the jar is cool enough to touch, screw on the lid and refrigerate. The onions are technically ready to eat right away, but they’re even better after 30 minutes. I always sneak a few slices while they’re still warm—they’re softer and more mellow.
Pro tip: If you’re in a rush, you can speed up the cooling by placing the jar in a bowl of cold water for 5 minutes. Just don’t skip the refrigeration step—it helps the flavors meld.
Cooking Tips & Techniques
I’ve made this recipe dozens of times, and I’ve learned a few things the hard way. Here are my best tips for perfect pickled onions every time.
Slice evenly for consistent texture. I once rushed through slicing and ended up with some pieces that were too thick and stayed crunchy while others turned mushy. Take an extra 30 seconds to make your slices uniform. A mandoline is great, but a steady hand works just as well.
Don’t skip the salt. I tried reducing the salt once because I was watching my sodium, and the onions tasted flat. Salt isn’t just for seasoning—it helps the brine penetrate the onion layers and brings out their natural sweetness.
Let them rest overnight if you can. While they’re good after 10 minutes, they’re amazing after 24 hours. The flavors deepen, the pink color gets more vibrant, and the onions soften just enough to be tender but still crisp. I always make a double batch so I have some for the next day.
Watch your heat. Boiling the brine too aggressively can make the vinegar taste harsh. I keep it at a gentle boil—just enough to dissolve the sugar and salt. A rolling boil isn’t necessary.
Use a clean spoon every time. I learned this after a batch got cloudy because I dipped a dirty fork in. Bacteria can grow in the brine if you introduce contaminants. Always use clean utensils when fishing out onions.
Variations & Adaptations
This recipe is a fantastic base, but I love playing around with it. Here are some of my favorite twists.
Spicy Pickled Onions: Add 1-2 sliced jalapeños or a teaspoon of sriracha to the jar before pouring the brine. The heat infuses beautifully and works wonders on tacos or in a savory black pepper beef dish. I’ve also used Thai bird chilies for a fiercer kick—just be careful handling them.
Herb-Infused Onions: Tuck a few sprigs of fresh dill, thyme, or rosemary into the jar. The herbs soften in the brine and add an earthy note. I love dill with these on a smoked salmon bagel—it’s a game-changer.
Sweet and Tangy Onions: Swap the granulated sugar for honey or maple syrup. Use 1.5 tablespoons for a more pronounced sweetness. This version is amazing on a fluffy miso scrambled eggs breakfast plate—the sweet-savory contrast is incredible.
Quick Microwave Method: If you’re really short on time, combine the brine ingredients in a microwave-safe bowl and heat for 1-2 minutes until the sugar dissolves. Pour over the onions and let sit for 15 minutes. It works, but the texture is slightly softer than the stovetop version.
Low-Sodium Version: Use half the salt and add a squeeze of lemon juice for brightness. The onions won’t be as crisp, but they’ll still be delicious.
Serving & Storage Suggestions
These pickled onions are incredibly versatile. Here’s how I use them and how to keep them fresh.
Serving temperature: I prefer them cold or at room temperature. They’re fantastic straight from the fridge on a hot summer day. For tacos or burgers, I let them sit out for 5 minutes to take the chill off.
Presentation: Drain the onions slightly before serving to avoid a soggy dish. A small slotted spoon works perfectly. I love piling them high on a plate of crispy Korean zucchini fritters for a pop of color and acidity.
Complementary dishes: They’re a natural fit for tacos, burritos, grilled meats, and salads. But don’t stop there—try them on avocado toast, scrambled eggs, or even a simple cheese plate. I’ve also tossed them into a grain bowl with quinoa and roasted vegetables, and it was fantastic.
Storage instructions: Keep the jar tightly sealed in the refrigerator. They’ll stay fresh for up to 2-3 weeks. The flavor actually improves after the first day. If you notice the brine turning cloudy or an off smell, it’s time to toss them.
Reheating: I don’t recommend reheating these—they’re meant to be enjoyed cold or at room temperature. The texture changes and becomes mushy if heated. If you want warm pickled onions, make a fresh batch and pour the hot brine right over them.
Flavor development: The onions will continue to pickle as they sit. After a week, they’ll be softer and more mellow. I actually prefer them after 3-4 days when the sweetness has fully integrated. Just keep an eye on the brine level—if it drops, top it off with a little vinegar and water.
Nutritional Information & Benefits
Here’s a rough estimate per serving (about 2 tablespoons of pickled onions, including a bit of brine).
Calories: 15 | Carbohydrates: 3g | Sugar: 2g | Sodium: 120mg | Fiber: 0g | Fat: 0g
Red onions are packed with antioxidants, especially quercetin, which supports heart health and reduces inflammation. The vinegar in the brine may also help with blood sugar regulation when eaten as part of a balanced meal. I love that this recipe adds flavor without loading up on calories or unhealthy fats—it’s a guilt-free way to make any dish more exciting.
Dietary considerations: This recipe is naturally gluten-free, vegan, and dairy-free. The sugar can be swapped for a low-calorie sweetener if you’re watching your intake. The only potential allergen is the vinegar, but that’s rare.
Conclusion
Honestly, this easy quick pickled onions recipe has become a staple in my kitchen for a reason. It’s the kind of simple, reliable trick that makes cooking feel less like a chore and more like a creative outlet. Whether you’re dressing up a weeknight dinner or impressing guests with a colorful garnish, these onions deliver every single time. I love that I can whip up a batch in 10 minutes and have it ready for days of delicious meals.
I’d love to hear how you use them! Drop a comment below and tell me your favorite way to enjoy pickled onions—or share a twist you’ve tried. Don’t forget to pin this recipe for later and share it with a friend who loves easy flavor boosts. Happy pickling!
Frequently Asked Questions
Can I use white onions instead of red?
Absolutely. White or yellow onions work, but they won’t turn that pretty pink color. The flavor will be slightly sharper, so you might want to add an extra teaspoon of sugar to balance it.
How long do these pickled onions last?
Stored in a sealed jar in the refrigerator, they stay fresh for 2-3 weeks. The texture softens over time, so I recommend making a smaller batch if you want them crisp. Always use a clean utensil when removing them from the jar.
Can I reuse the brine?
Yes, but only once. The brine loses its punch after the first batch. To reuse, heat it up again with a pinch of fresh sugar and salt, then pour over a new batch of sliced onions. It won’t be as strong, but it’s still good for a quick fix.
Why are my pickled onions bitter?
Bitterness usually comes from over-brewing the brine or using too much vinegar. Make sure you’re using the right ratio—equal parts vinegar and water—and don’t boil the brine for longer than necessary. If they’re already bitter, add a tiny pinch of sugar to the jar and let it sit overnight.
Can I make these without heating the brine?
Yes, for a raw pickle. Simply combine the vinegar, water, sugar, and salt in a jar and shake until dissolved. Pour over the onions and refrigerate for at least 2 hours. The texture will be crunchier, but the flavor won’t be as deeply infused. It’s a great option if you’re in a hurry and don’t mind waiting a bit longer.
Pin This Recipe!
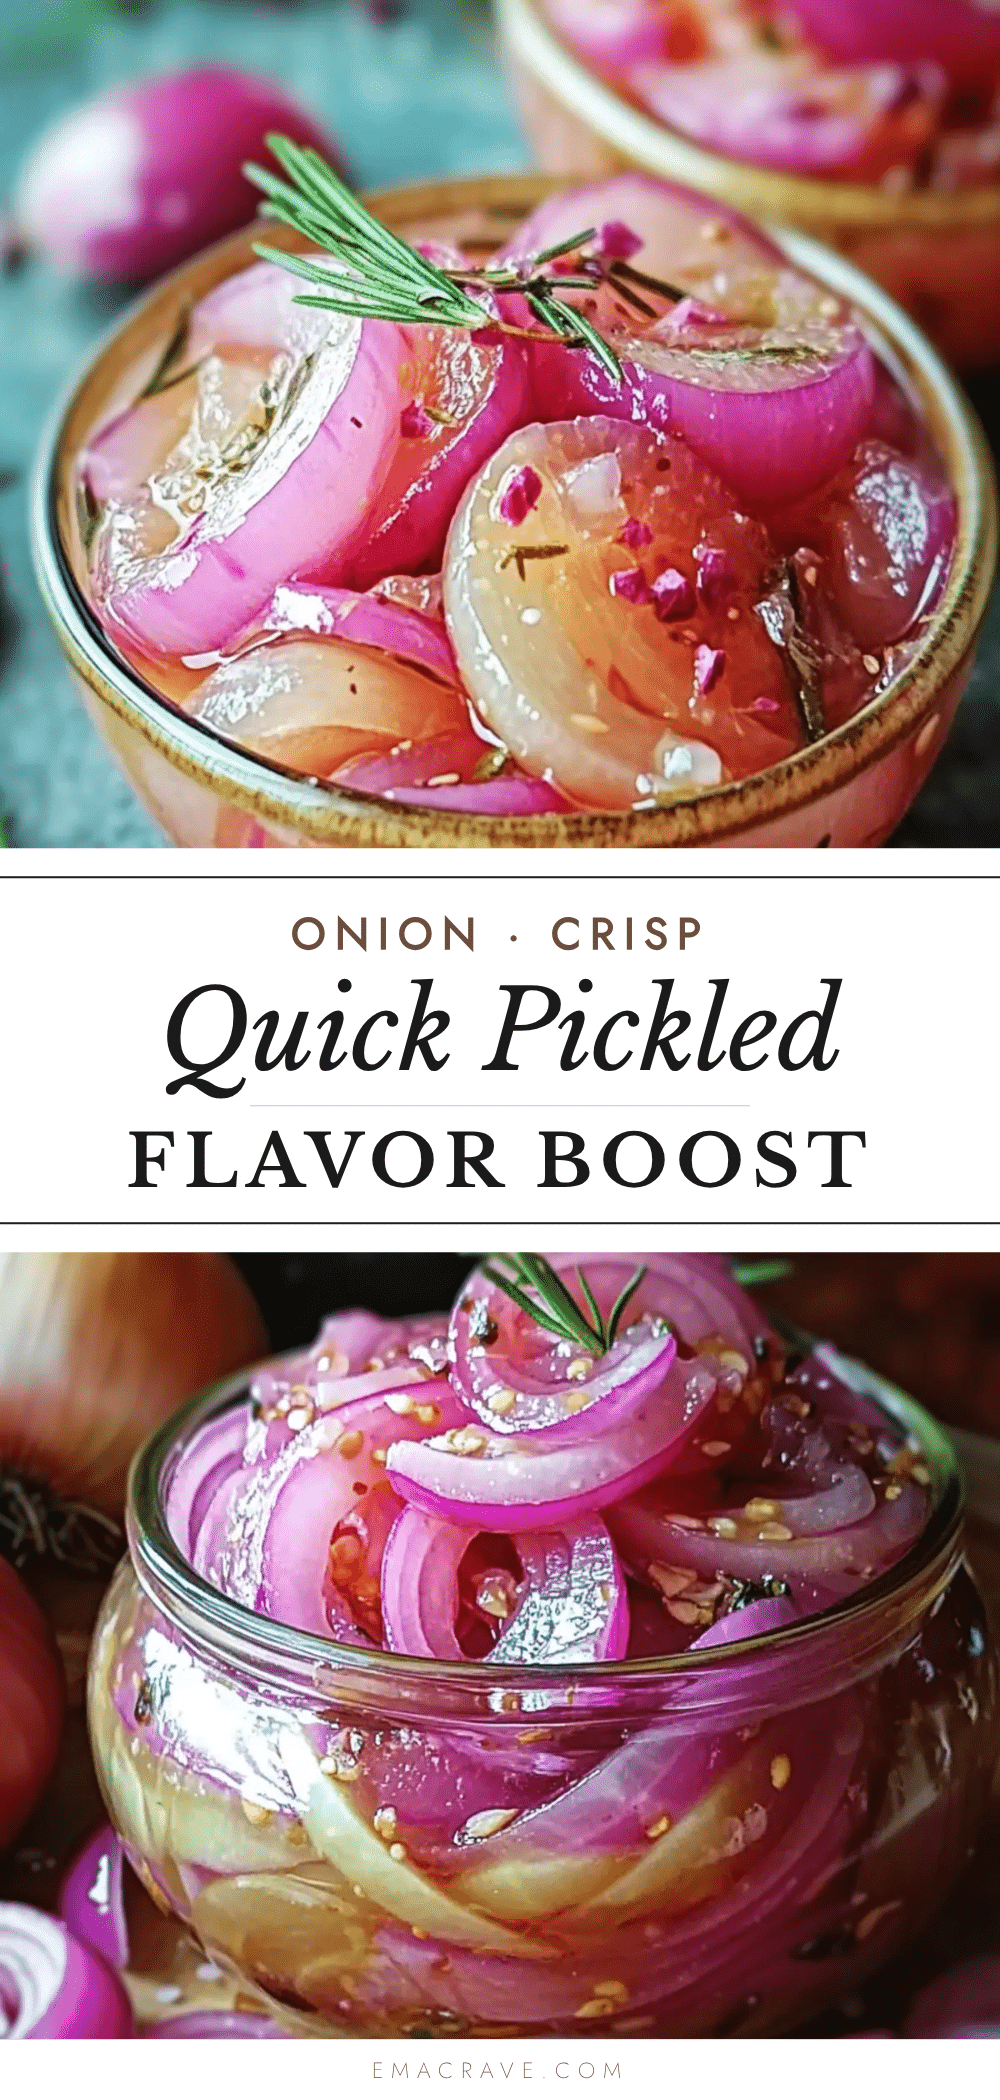
Easy Quick Pickled Onions Recipe (10 Minutes)
This easy quick pickled onions recipe is ready in 10 minutes and uses simple pantry ingredients. Perfect for taco night or meal prep, these tangy, slightly sweet onions add a pop of acidity to any dish.
- Prep Time: 10 minutes
- Cook Time: 0 minutes
- Total Time: 10 minutes
- Yield: 4 servings 1x
- Category: Condiment
- Cuisine: American
Ingredients
- 1 large red onion, thinly sliced
- 1/2 cup apple cider vinegar
- 1/2 cup water
- 1 tablespoon granulated sugar
- 1 teaspoon fine sea salt
- 1/2 teaspoon black peppercorns (optional)
- 1/2 teaspoon red pepper flakes (optional)
Instructions
- Slice the onion (2 minutes): Peel the red onion and cut it in half through the root. Slice each half into thin half-moons, about 1/8-inch thick.
- Pack the jar (1 minute): Place the sliced onions into a clean mason jar or glass container. If using peppercorns or red pepper flakes, sprinkle them in between the layers. Leave about an inch of space at the top.
- Make the brine (3 minutes): In a small saucepan, combine the apple cider vinegar, water, sugar, and salt. Stir gently. Bring the mixture to a gentle boil over medium-high heat until the sugar and salt dissolve completely.
- Pour the brine (1 minute): Carefully pour the hot brine over the onions in the jar. Use a spoon or tongs to press the onions down so they are fully submerged.
- Cool and seal (3 minutes): Let the jar sit on the counter, uncovered, for about 10 minutes. Once cool enough to touch, screw on the lid and refrigerate. The onions are ready to eat right away but are even better after 30 minutes.
Notes
For best flavor, let the onions rest overnight in the refrigerator. The brine can be reused once. If you prefer a crunchier texture, use the raw pickle method (no heating).
Nutrition
- Serving Size: 2 tablespoons
- Calories: 15
- Sugar: 2
- Sodium: 120
- Carbohydrates: 3
Keywords: quick pickled onions, easy pickled onions, 10 minute pickled onions, red onion pickles, homemade pickled onions



