Love this? Save it for later!
Share the inspiration with your friends
The jar of strawberry jam was almost empty. You know the kind—just a sticky smear clinging to the bottom, not enough for a proper sandwich but too much to throw away. I stared at it for a solid minute, then glanced at the peanut butter jar sitting next to it on the counter. And I had this ridiculous thought: what if I just… combined them? Not on bread. In a cookie.
Honestly, I wasn’t expecting much. Three ingredients? That felt almost like cheating. But I was in that lazy Sunday mood where you want something sweet but refuse to make a grocery store run. So I grabbed the peanut butter, the jam, and some sugar, and just started mixing things together in a bowl. No recipe. No plan. Just a hunch that peanut butter and jelly belonged in cookie form.
The first batch came out lopsided and a little ugly. Some of the jam bled through the dough and burned on the pan. But the ones that worked? They were soft, chewy, and tasted exactly like the lunchbox sandwiches I used to beg my mom for. That first bite stopped me mid-sink-cleaning. I stood there, holding a warm cookie, and just laughed at how simple it was.
These Best Peanut Butter and Jelly Cookies have become my go-to for those moments when you need dessert but don’t want to deal with a complicated recipe. They come together in under 20 minutes, use stuff you probably already have, and somehow taste way better than three ingredients have any right to. I’ve made them four times this month already. No regrets.
Why You’ll Love This Recipe
I’ve tested a lot of cookie recipes over the years—some that required chilling dough overnight, others that called for obscure flours you can only find at specialty stores. This one is the exact opposite of all that. And honestly? It might be my favorite.
- Only 3 Ingredients: Peanut butter, sugar, and jelly. That’s it. No eggs, no flour, no butter, no vanilla extract. You probably have everything in your kitchen right now.
- Ready in 20 Minutes: From the moment you decide you want cookies to the moment you’re eating one, it takes less time than watching a single episode of your favorite show.
- Naturally Gluten-Free: Since there’s no flour involved, these cookies are perfect for anyone avoiding gluten. Just make sure your peanut butter is certified gluten-free if that’s a concern.
- Perfect for Beginners: If you’ve never baked anything in your life, you can still make these. No stand mixer, no complicated techniques, no stress.
- Customizable to Your Taste: Use any jam or jelly you have. Switch up the peanut butter for almond butter or sunflower seed butter. Add chocolate chips if you’re feeling wild.
What makes these cookies different from other peanut butter cookies is the jammy surprise in the middle. Instead of mixing the jelly into the dough (which makes it sticky and weird), you press a little indent into each cookie and fill it with jam before baking. The result is a soft, peanut-buttery cookie with a pocket of sweet, fruity jelly that stays gooey even after it cools. It’s like a PB&J sandwich, but better because the edges get slightly crispy and the center stays soft.
These cookies have saved me on busy weeknights when I needed something sweet but didn’t want to clean a million dishes. They’ve also been a hit at every gathering I’ve brought them to—people can’t believe something so simple tastes this good.
What Ingredients You Will Need
This recipe keeps things painfully simple. You only need three main ingredients, plus a tiny pinch of salt if you’re using unsalted peanut butter. Here’s what to grab:
- 1 cup creamy peanut butter: The kind that’s just peanuts and salt works best. Natural peanut butter that separates (the oily kind) can make the cookies too crumbly, so stick with a standard creamy peanut butter like Jif or Skippy for the most reliable texture. If you only have crunchy peanut butter, go for it—just know the cookies will have little peanut bits throughout, which is honestly pretty great.
- 1 cup granulated sugar: Regular white sugar gives these cookies the perfect structure and sweetness. You can use coconut sugar for a less refined option, but the cookies will be darker and slightly less sweet. Brown sugar also works but makes them softer and more chewy—I’ve done it and loved the result.
- 1/2 cup your favorite jelly or jam: Strawberry jam is classic, but grape jelly, raspberry preserves, or even apricot jam all work beautifully. I personally love using a good strawberry jam with visible fruit chunks—it feels more homemade. If your jam is very thick, give it a quick stir before using so it’s easier to spoon into the cookies.
- Optional: a pinch of flaky sea salt: This isn’t required, but a tiny sprinkle of salt on top before baking really makes the peanut butter flavor pop. Don’t skip it if you have it.
That’s genuinely everything. No eggs to forget to bring to room temperature. No butter to soften. No flour to measure and sift. Just three ingredients that come together in one bowl with a wooden spoon.
I will say this: the quality of your peanut butter matters more than you might think. I’ve made these with fancy organic peanut butter that had separated in the pantry, and the cookies turned out greasy and fell apart. The standard stuff really does perform better here. Trust me on this one—I learned the hard way.
Equipment Needed
You don’t need a fully stocked bakery kitchen for these cookies. Here’s what you’ll actually use:
- Mixing bowl: Any medium-sized bowl works. I use a ceramic one I’ve had for years.
- Wooden spoon or spatula: For mixing the dough. A fork works in a pinch.
- Baking sheet: A standard half-sheet pan is perfect. No need to grease it—the cookies have enough oil from the peanut butter.
- Parchment paper or silicone baking mat: This prevents sticking and makes cleanup effortless. If you don’t have either, lightly grease the pan with a tiny bit of oil.
- Measuring cups and spoons: For accurate measurements. Eyeballing works if you’re experienced, but measuring ensures consistent results.
- Cooling rack: Optional but recommended. Letting the cookies cool on a rack prevents them from getting soggy on the bottom.
If you don’t have a cooling rack, just transfer the cookies to a plate after they’ve set on the pan for a few minutes. No big deal.
Preparation Method
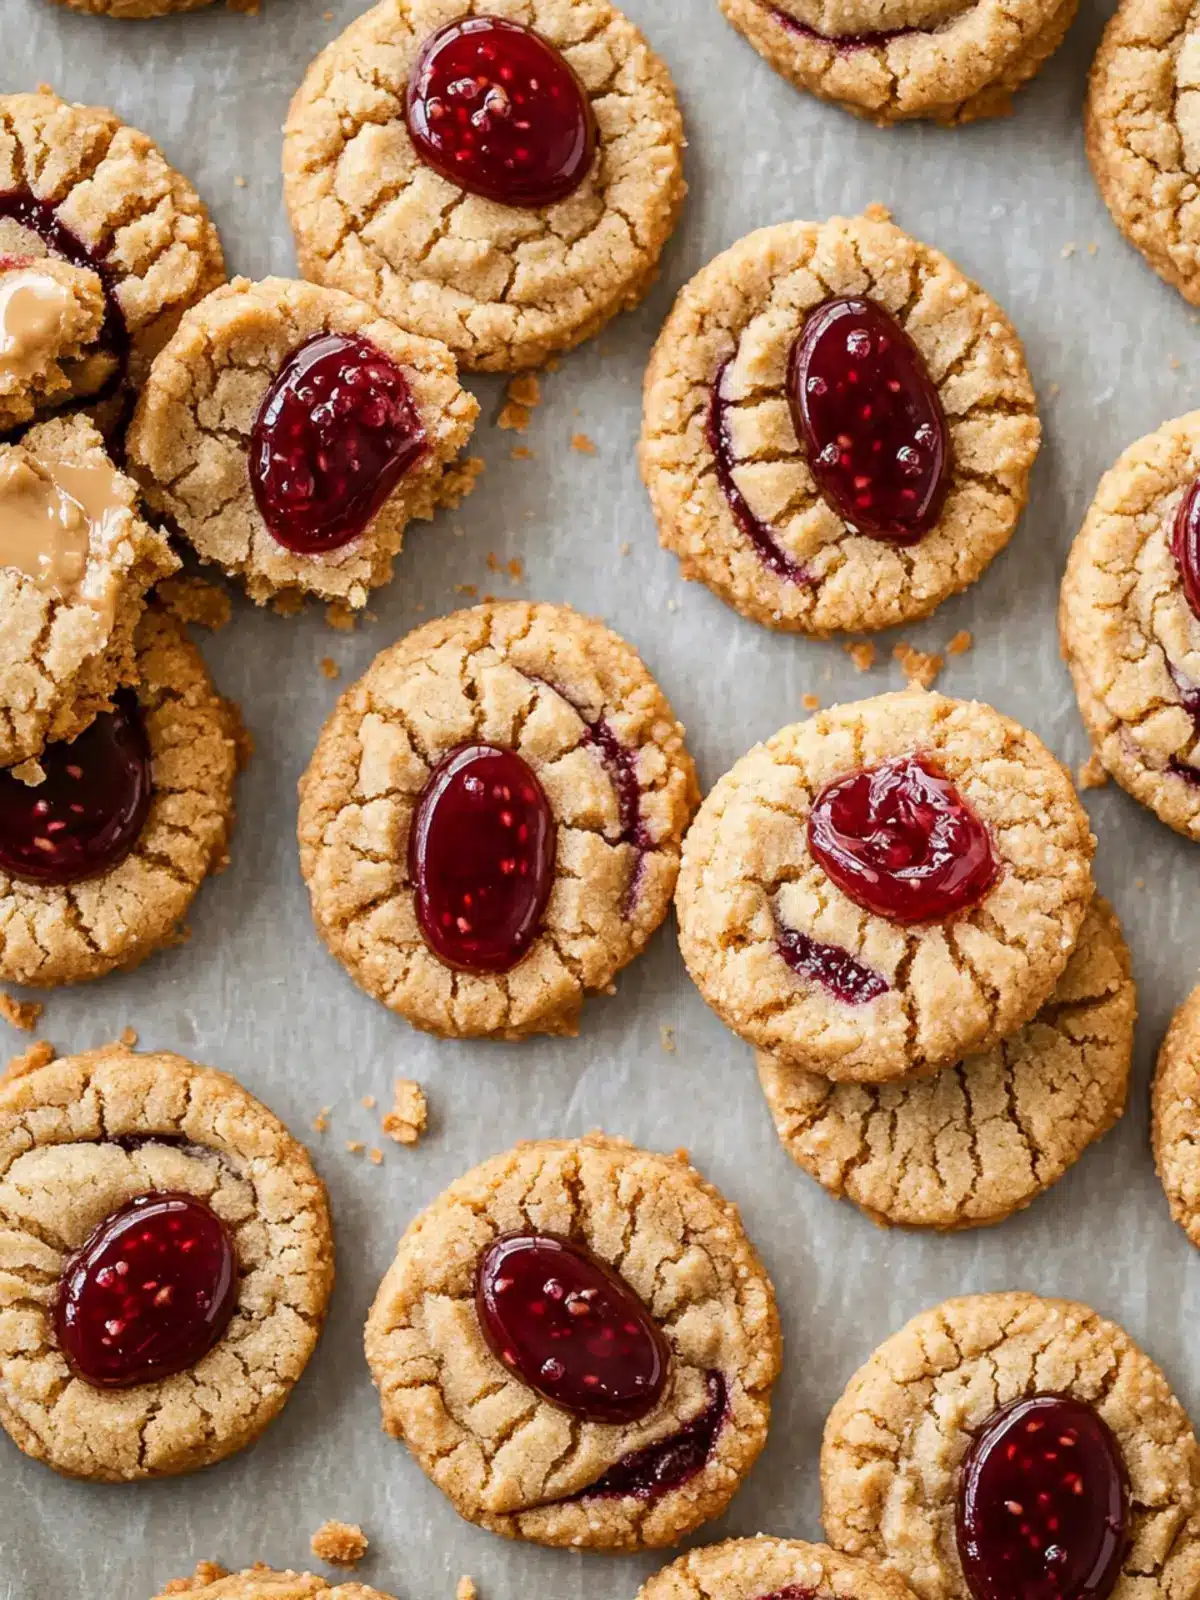
Making these cookies is almost embarrassingly easy. Here’s how to do it:
- Preheat your oven to 350°F (175°C). Line a baking sheet with parchment paper or a silicone mat. This step is important—the cookies will stick to an unlined pan.
- Combine the peanut butter and sugar. In a medium mixing bowl, add 1 cup of creamy peanut butter and 1 cup of granulated sugar. Stir them together with a wooden spoon or spatula until they form a thick, cohesive dough. It will look crumbly at first—keep mixing. After about a minute, it will come together into a smooth, slightly oily dough that holds its shape when pressed.
- Check the texture. The dough should be firm enough to roll into balls without sticking to your hands. If it feels too dry and crumbly, add a teaspoon of water or milk and mix again. If it’s too sticky, add another tablespoon of sugar. Natural peanut butters sometimes need a little adjustment here.
- Roll the dough into balls. Scoop out about 1 tablespoon of dough and roll it between your palms into a smooth ball. You should get about 16 to 18 balls depending on how big you make them. Place them on the prepared baking sheet, spacing them about 2 inches apart—they spread a little but not a ton.
- Make the indentations. Using your thumb, the back of a teaspoon, or your pinky finger, press a deep well into the center of each dough ball. Don’t press all the way through—leave about 1/4 inch of dough at the bottom. The indent should be wide enough to hold about 1/2 teaspoon of jam. If the edges crack a little, just gently press them back together with your fingers.
- Fill with jelly. Spoon about 1/2 teaspoon of your chosen jam or jelly into each indent. Be careful not to overfill—the jam will bubble and spread as it bakes, and too much will overflow and burn on the pan. A little goes a long way here.
- Optional: sprinkle with salt. If you’re using flaky sea salt, sprinkle a tiny pinch over each cookie now. This step is small but makes a noticeable difference in flavor.
- Bake for 10 to 12 minutes. The cookies are done when the edges are lightly golden and the tops look set but still soft. The jam will be bubbling—that’s normal. Don’t overbake! These cookies continue to firm up as they cool, and taking them out when they look slightly underdone gives you that perfect chewy texture.
- Cool on the pan for 5 minutes. This is crucial. The cookies are very fragile right out of the oven. Let them rest on the baking sheet for 5 minutes to set. After that, transfer them to a cooling rack or plate to cool completely.
- Repeat with remaining dough. If you have more dough than fits on one pan, just bake in batches. The dough doesn’t need to be chilled between batches.
The first time I made these, I got impatient and tried to move a cookie right away. It fell apart in my hands. That warm, jammy mess was still delicious, but it wasn’t a cookie anymore—it was a PB&J puddle. Let them cool. Your patience will be rewarded.
Cooking Tips & Techniques
After making these cookies more times than I care to admit, I’ve picked up a few tricks that make them turn out perfect every single time.
Don’t overmix the dough. Once the peanut butter and sugar come together into a uniform dough, stop mixing. Overworking it can make the cookies dense and greasy. You want them tender, not tough.
Use a measuring spoon for the jam. I know it’s tempting to just scoop a glob with a regular spoon, but using a measuring spoon ensures each cookie gets the same amount of filling. Too much jam and it leaks everywhere. Too little and you barely taste it. A half teaspoon is the sweet spot.
Watch the bake time closely. Ovens vary wildly. My old oven would bake these in exactly 10 minutes. My current one takes 12. Start checking at 9 minutes if you have a hot oven. The cookies should look puffed and slightly cracked on top, with the jam bubbling gently. If the edges are dark brown, you’ve gone too far.
Let them cool completely before storing. These cookies are at their best when fully cooled. The texture firms up, the jam sets slightly, and the peanut butter flavor concentrates. I’ve definitely eaten them warm (multiple times), but they’re better after a full cool-down.
If your dough is too sticky, chill it. Sometimes, especially in humid weather or with certain peanut butters, the dough can get overly sticky. Just pop the bowl in the fridge for 15 minutes. That usually fixes it.
I once forgot to add the sugar and baked a batch of plain peanut butter with jam on top. It was not good. Don’t be like me. Measure carefully.
Variations & Adaptations
This recipe is a blank canvas. Here are some ways to make it your own:
- Chocolate PB&J Cookies: Add 1/4 cup of mini chocolate chips to the dough before rolling. The chocolate melts into the peanut butter and pairs beautifully with the jam. I’ve done this with raspberry jam and dark chocolate chips, and it felt fancy without any extra effort.
- Almond Butter & Fig Jam: Swap the peanut butter for almond butter and use fig jam instead of strawberry. The flavor is more sophisticated—perfect for when you want something that feels grown-up. My sister-in-law makes these for her book club and they disappear immediately.
- Crunchy Peanut Butter Version: Use crunchy peanut butter for added texture. The little peanut pieces give each bite a satisfying crunch. Just note that the dough might be slightly more crumbly, so handle it gently.
- Low-Sugar Option: Use a sugar-free peanut butter and a no-sugar-added jam. Replace the granulated sugar with a monk fruit sweetener or erythritol. The texture will be slightly different—a bit more fragile—but the taste is still solid.
- Sunflower Seed Butter Swap: For a nut-free version, use sunflower seed butter. Be aware that sunflower seed butter can react with baking soda (if you add any) and turn green. Since this recipe doesn’t use baking soda, you’re safe. The cookies will be a bit darker but just as delicious.
I once made a batch with leftover cranberry sauce from Thanksgiving. It was a little weird but also kind of amazing. Don’t be afraid to experiment with whatever jam you have in the fridge.
Serving & Storage Suggestions
These cookies are incredibly versatile when it comes to serving. Here’s how I like to enjoy them:
Serving: Serve them at room temperature for the best texture. They’re perfect on their own, but I also love pairing them with a cold glass of milk or a hot cup of coffee. For a dessert platter, arrange them alongside some decadent salted pistachio dark chocolate chip cookies for a beautiful contrast in flavors and colors. The salty-sweet combo is always a crowd-pleaser.
If you’re feeling extra, warm a cookie in the microwave for 10 seconds and top it with a scoop of vanilla ice cream. The warm jam and cold ice cream together? Unreal.
Storage: Store these cookies in an airtight container at room temperature for up to 5 days. Place a sheet of parchment paper between layers if stacking them to prevent the jam from sticking. They actually get better on day two—the flavors meld together and the texture softens slightly.
Freezing: These cookies freeze beautifully. Place them in a single layer on a baking sheet and freeze until solid, then transfer to a freezer-safe bag or container. They’ll keep for up to 3 months. Thaw at room temperature for about 30 minutes before eating. You can also freeze the unbaked dough balls (without the jam) and add the jam right before baking when you’re ready.
Reheating: If you want that just-baked warmth, pop a cookie in a 300°F oven for 3 to 4 minutes or microwave for 10 to 15 seconds. Be careful not to overheat—the jam gets dangerously hot.
Nutritional Information & Benefits
Here’s an approximate nutritional breakdown per cookie (based on 18 cookies using standard ingredients):
- Calories: 145
- Total Fat: 8g
- Saturated Fat: 1.5g
- Carbohydrates: 16g
- Sugar: 13g
- Protein: 4g
- Fiber: 1g
- Sodium: 95mg
These numbers will vary based on your specific ingredients. Using natural peanut butter with no added sugar will lower the sugar content, while using a sugar-free jam will reduce it further.
Health benefits: Peanut butter is a good source of plant-based protein, healthy monounsaturated fats, and vitamin E. It also contains magnesium and potassium. The jam adds a small amount of fruit (depending on the variety), but let’s be honest—these are cookies, not a health food. They’re a treat, and that’s okay.
Dietary considerations: This recipe is naturally gluten-free, dairy-free, and egg-free. It’s also vegetarian and vegan if you use a vegan-friendly sugar. For nut allergies, swap the peanut butter for sunflower seed butter or soy nut butter.
Potential allergens: Peanuts are a common allergen. If serving these at a gathering, always label them clearly.
Conclusion
These Best Peanut Butter and Jelly Cookies are proof that you don’t need a dozen ingredients or fancy techniques to make something genuinely delicious. They’re soft, chewy, studded with sweet jam, and come together in the time it takes to preheat your oven. That’s a win in my book.
I love this recipe because it reminds me that baking doesn’t have to be complicated to be rewarding. Sometimes the simplest things—three ingredients, one bowl, zero stress—are exactly what you need. Whether you’re making these for a bake sale, a last-minute dessert, or just because you have a jar of jam that needs using up, they never disappoint.
Try them once, and I bet you’ll make them again within the week. I certainly did. And when you do, let me know how they turned out! Leave a comment below, share your photos, or tell me what jam combination you used. I’m always looking for new ideas.
Happy baking, friend. Your cookies are waiting.
Frequently Asked Questions
Can I use natural peanut butter for these cookies?
You can, but the texture might be different. Natural peanut butter that separates (with oil on top) can make the cookies more crumbly and greasy. If you only have natural peanut butter, stir it really well before measuring, and consider adding an extra tablespoon of sugar to help bind the dough.
Why did my jam leak out during baking?
This usually happens when you overfill the indentations or press the well too shallow. Use only about 1/2 teaspoon of jam per cookie, and make sure the indent is deep enough to hold it. Also, don’t press the dough too thin at the bottom—leave a solid base.
Can I make these cookies ahead of time?
Absolutely. The baked cookies stay fresh in an airtight container for up to 5 days. You can also prepare the dough balls (without the jam) and freeze them for up to 3 months. When you’re ready to bake, thaw the dough, make the indentations, add the jam, and bake as directed.
Can I use a different nut butter?
Yes! Almond butter, cashew butter, or sunflower seed butter all work well. Just keep in mind that different nut butters have different fat contents, so you might need to adjust the sugar slightly. If the dough feels too dry, add a teaspoon of oil or water. If it’s too wet, add a little more sugar.
How do I keep the cookies from spreading too much?
These cookies don’t spread a ton, but if yours are turning into flat puddles, your dough might be too warm or your peanut butter might be too oily. Try chilling the dough for 15 minutes before rolling. Also, make sure you’re using a standard peanut butter rather than a natural one with separated oil.
Pin This Recipe!
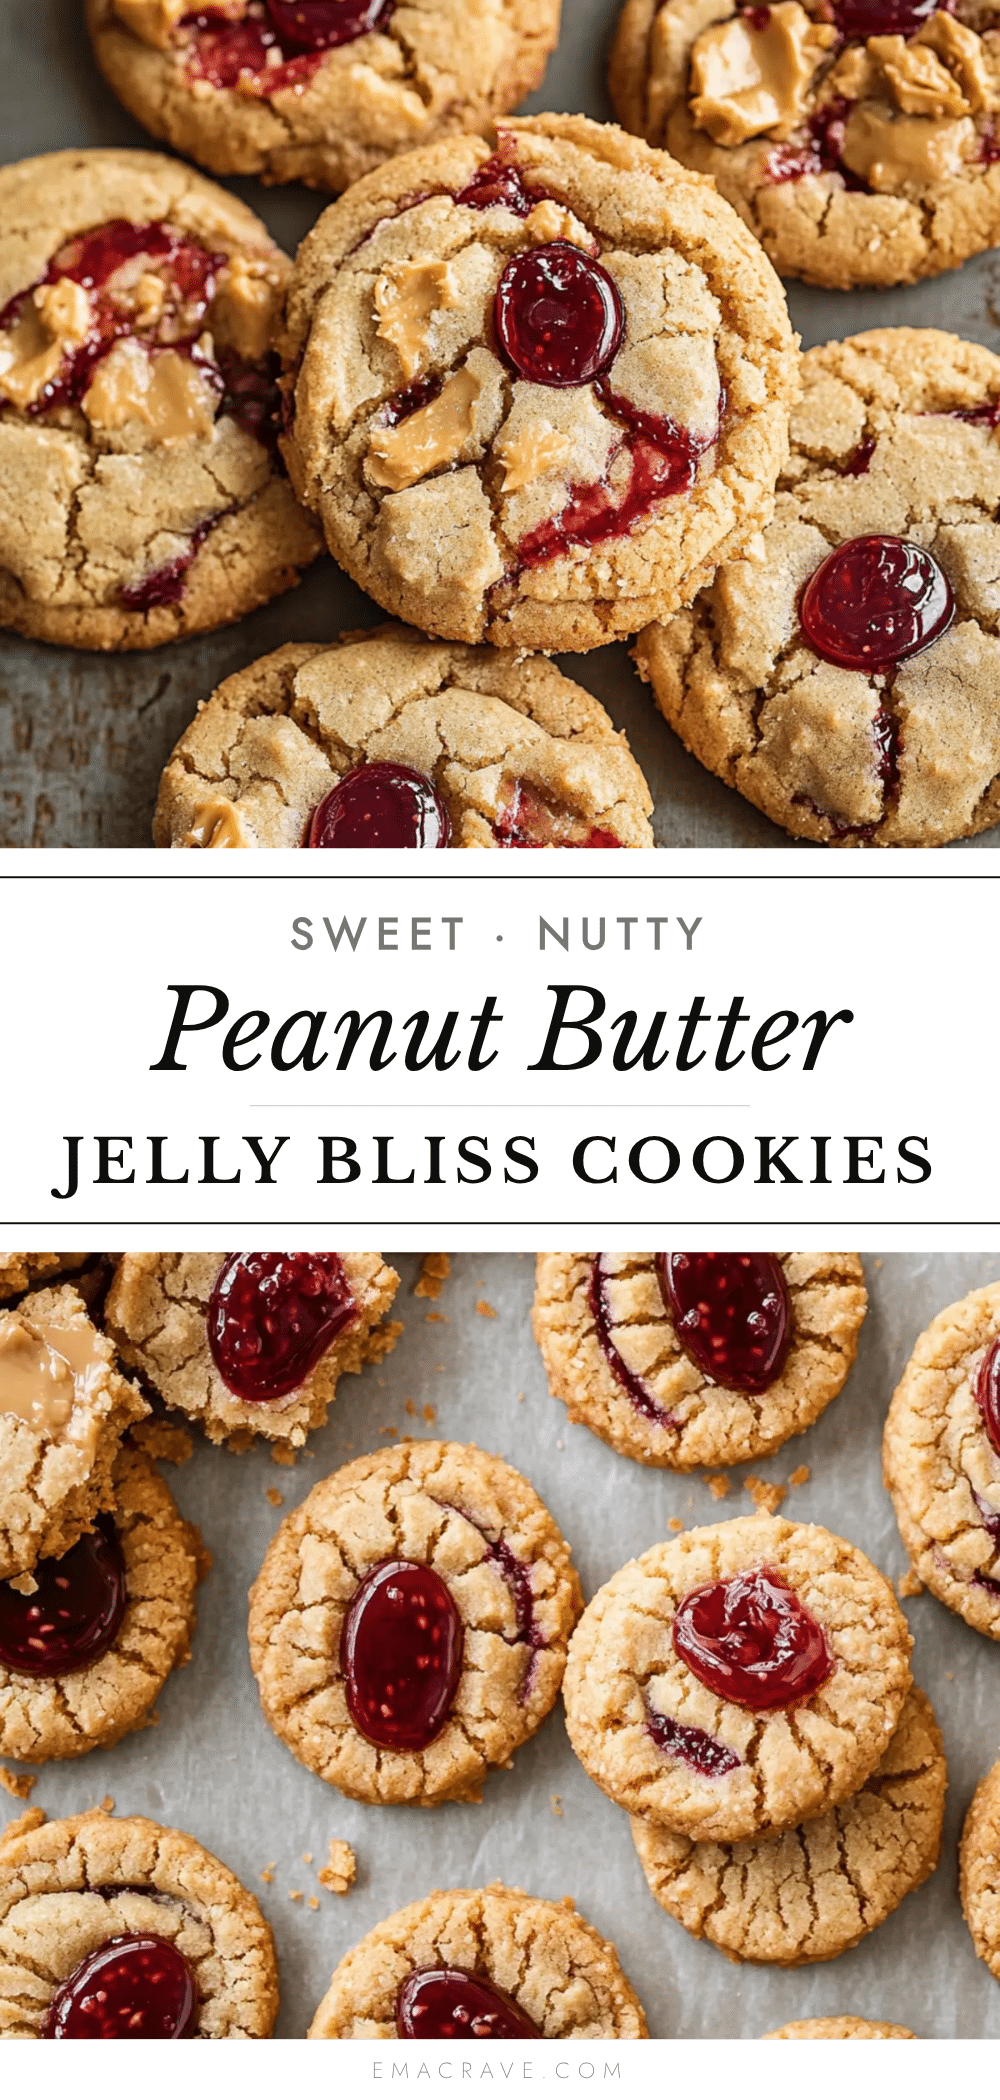
Best Peanut Butter and Jelly Cookies (Easy 3-Ingredient Recipe)
Soft, chewy peanut butter cookies with a gooey jam center, made with just three ingredients in under 20 minutes. Naturally gluten-free and perfect for beginners.
- Prep Time: 10 minutes
- Cook Time: 12 minutes
- Total Time: 22 minutes
- Yield: 16-18 cookies 1x
- Category: Dessert
- Cuisine: American
Ingredients
- 1 cup creamy peanut butter (standard brand like Jif or Skippy recommended)
- 1 cup granulated sugar
- 1/2 cup your favorite jelly or jam (e.g., strawberry, grape, raspberry)
- Optional: a pinch of flaky sea salt
Instructions
- Preheat your oven to 350°F (175°C). Line a baking sheet with parchment paper or a silicone mat.
- In a medium mixing bowl, combine 1 cup creamy peanut butter and 1 cup granulated sugar. Stir with a wooden spoon or spatula until a thick, cohesive dough forms (about 1 minute).
- Check the texture: dough should be firm enough to roll into balls without sticking. If too dry, add 1 teaspoon water or milk; if too sticky, add 1 tablespoon sugar.
- Roll dough into 1-tablespoon balls (about 16-18 balls). Place on prepared baking sheet, spacing 2 inches apart.
- Using your thumb or the back of a teaspoon, press a deep well into the center of each ball, leaving about 1/4 inch of dough at the bottom.
- Spoon about 1/2 teaspoon of jam into each indent. Do not overfill.
- Optional: sprinkle a tiny pinch of flaky sea salt over each cookie.
- Bake for 10 to 12 minutes, until edges are lightly golden and tops look set but still soft. Jam will be bubbling.
- Cool on the baking sheet for 5 minutes (cookies are fragile). Then transfer to a cooling rack or plate to cool completely.
- Repeat with remaining dough if baking in batches.
Notes
Use standard creamy peanut butter (not natural separated kind) for best texture. Don’t overfill jam wells to prevent leaking. Cookies are fragile when hot—cool on pan for 5 minutes before moving. For best flavor, let cool completely before serving. Store in airtight container at room temperature up to 5 days. Freeze baked cookies up to 3 months.
Nutrition
- Serving Size: 1 cookie
- Calories: 145
- Sugar: 13
- Sodium: 95
- Fat: 8
- Saturated Fat: 1.5
- Carbohydrates: 16
- Fiber: 1
- Protein: 4
Keywords: peanut butter cookies, jelly cookies, 3-ingredient cookies, gluten-free cookies, easy cookies, PB&J cookies



