Love this? Save it for later!
Share the inspiration with your friends
I was standing in my kitchen, staring at a half-empty jar of almond butter and a bag of mixed seeds that I’d bought on a whim. It was one of those afternoons where you want something crunchy, but you’re too tired to bake a full batch of cookies. I had a deadline looming, the kids were asking for snacks, and honestly, I just needed something that felt good to eat without the guilt. I grabbed a bowl, tossed in some oats, a handful of sunflower seeds, and a drizzle of honey. The first batch came out lopsided and a little too sticky. But the second batch? That was the moment these Crunchy Nut & Seed Snack Rounds were born.
I didn’t set out to create a recipe. I was just trying to use up what I had. But after I pulled that tray out of the oven—golden, crispy, and smelling like toasted nuts and warm honey—I knew I’d stumbled onto something. My husband walked in, grabbed one off the cooling rack, and before I could say a word, he asked, “Can you make these every week?” That’s when I started tweaking. I wanted them to be sturdy enough for lunchboxes, but still tender enough to feel like a treat. I swapped in different seeds, played with the ratio of wet to dry ingredients, and eventually landed on a version that felt just right.
These rounds are the kind of snack you can feel good about reaching for. They’re packed with protein, healthy fats, and just enough sweetness to satisfy that afternoon craving. And honestly, they’re so easy to throw together that you’ll wonder why you ever bought packaged granola bars. Whether you need a quick bite before a meeting or something to pack in a lunchbox, this Crunchy Nut & Seed Snack Rounds recipe has become my go-to. It’s the snack that keeps on giving—and I’m pretty sure it’ll become yours too.
Why You’ll Love This Recipe
Let’s be real—finding a snack that’s both crispy and wholesome is like finding a unicorn. Most store-bought options are either loaded with sugar or they fall apart after one bite. These rounds are different. They’re sturdy enough to hold their shape, but they melt in your mouth with that perfect nutty crunch. I’ve tested this recipe at least a dozen times, tweaking the ratios until every batch came out consistently golden and satisfying. Here’s why I think you’ll love them too:
- Quick & Easy: From bowl to oven in under 15 minutes. No mixer, no complicated steps—just one bowl and a spoon.
- Simple Ingredients: You probably already have most of these in your pantry. No fancy health food store runs required.
- Perfect for Meal Prep: Make a batch on Sunday and you’ve got snacks for the whole week. They stay fresh for days in an airtight container.
- Crowd-Pleaser: I’ve brought these to playdates, potlucks, and even office meetings. They disappear every single time.
- Naturally Sweetened: Just a touch of honey or maple syrup keeps them light and satisfying without the sugar crash.
What really sets these apart is the texture. The combination of oats, seeds, and nuts creates a crispy exterior with a slightly chewy center. It’s the kind of snack that makes you close your eyes after the first bite. And because they’re baked, not fried, you get all that crunch without any greasy aftertaste. I’ve had friends tell me they keep a batch in their car for emergency hunger pangs. Honestly, that’s the highest compliment a snack can get.
This isn’t just another granola bar recipe. It’s the one you’ll come back to again and again because it actually works. No weird ingredients, no complicated techniques. Just a simple, delicious snack that makes you feel good about what you’re eating.
What Ingredients You Will Need
This recipe uses simple, wholesome ingredients that come together to create something truly special. Each one plays a specific role in building that perfect crunch and flavor. Here’s what you’ll need:
For the Base
- Rolled oats – 1 cup (90g). Use old-fashioned rolled oats for the best texture. Quick oats will work in a pinch, but the rounds won’t be as sturdy.
- Almond flour – ½ cup (56g). This adds a tender, nutty crumb without making the rounds too dense. I prefer Bob’s Red Mill for consistent results.
- Unsweetened shredded coconut – ¼ cup (20g). Adds a subtle chewiness and tropical note. You can omit this if you’re not a coconut fan, or swap in more oats.
- Mixed seeds – ½ cup (70g). I use a combination of sunflower seeds, pumpkin seeds, and chia seeds. The sunflower seeds add crunch, pumpkin seeds give a savory pop, and chia seeds help bind everything together.
- Chopped nuts – ½ cup (60g). Almonds or pecans work beautifully. Chop them into small pieces so they distribute evenly through the dough.
For the Binder
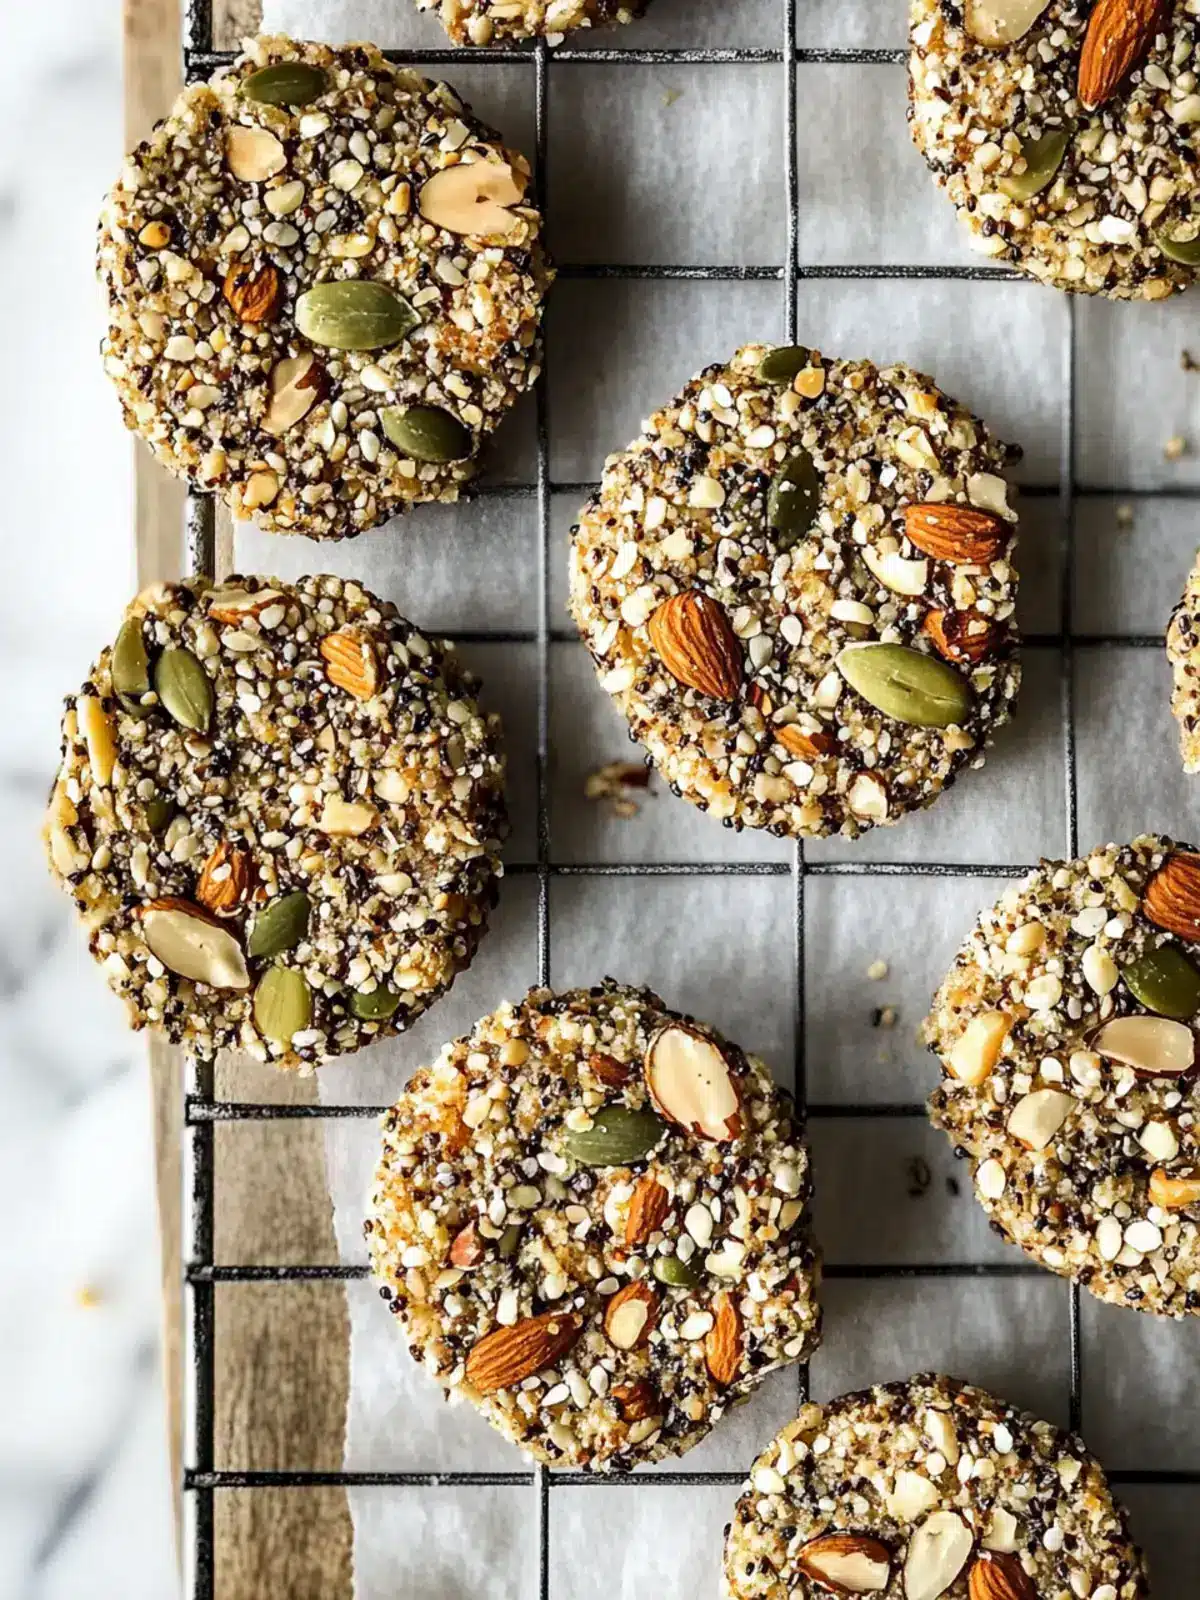
- Almond butter – ½ cup (128g). Creamy or crunchy both work. The almond butter acts as the glue that holds everything together while adding healthy fats and protein. I use a no-stir variety for convenience.
- Honey or maple syrup – ¼ cup (60ml). Just enough sweetness to balance the savory notes. Maple syrup gives a slightly richer flavor, while honey keeps it classic.
- Coconut oil – 2 tablespoons (30ml), melted. This helps the rounds crisp up in the oven and adds a subtle richness. You can substitute with melted butter if you prefer.
- Vanilla extract – 1 teaspoon. Pure vanilla adds warmth and depth. Don’t skip it—it makes a difference.
- Pinch of sea salt – ¼ teaspoon. Salt enhances all the flavors and balances the sweetness.
Optional Add-Ins
- Dark chocolate chips – ¼ cup (45g). Fold these in after mixing the dough for little pockets of melted chocolate.
- Dried cranberries – ¼ cup (30g). Adds a tart pop that pairs beautifully with the nuts and seeds.
- Cinnamon – ½ teaspoon. For a warm, cozy flavor that works especially well in fall.
I recommend using a good-quality almond butter for the best texture. Some cheaper brands can be runny or separated, which will affect how the dough holds together. If your almond butter is very oily, give it a good stir before measuring. And if you’re out of almond butter, cashew butter or peanut butter both work as substitutes—though the flavor will shift slightly.
Equipment Needed
You don’t need a fancy kitchen to make these rounds. Here’s what I use:
- Large mixing bowl – Any bowl will do, but a wide one makes mixing easier.
- Baking sheet – A standard half-sheet pan works perfectly. Line it with parchment paper for easy cleanup.
- Parchment paper – Non-negotiable. It prevents sticking and makes lifting the rounds off the pan a breeze.
- Measuring cups and spoons – For accuracy. I’ve learned the hard way that eyeballing ingredients leads to inconsistent results.
- Spatula or wooden spoon – For mixing the dough. A silicone spatula is my favorite because it scrapes the bowl clean.
- Cookie scoop or tablespoon – For portioning the dough evenly. A 1.5-tablespoon scoop gives you perfectly sized rounds every time.
- Cooling rack – Optional but helpful. It lets air circulate around the rounds so they stay crispy.
If you don’t have a cookie scoop, just use a regular tablespoon and shape the rounds with your hands. I’ve done it both ways, and honestly, hand-shaping gives you more control over the size. Just make sure your hands are slightly damp so the dough doesn’t stick.
Preparation Method
Making these Crunchy Nut & Seed Snack Rounds is almost too easy. Follow these steps, and you’ll have a batch ready in no time.
- Preheat your oven to 350°F (175°C). Line a baking sheet with parchment paper and set it aside. Preheating is important because you want the oven hot when the rounds go in—this helps them crisp up evenly.
- Mix the dry ingredients. In a large bowl, combine the rolled oats, almond flour, shredded coconut, mixed seeds, and chopped nuts. Stir everything together with a spatula until evenly distributed. Take a moment to smell the mixture—it should smell toasty and earthy.
- Combine the wet ingredients. In a separate small bowl, whisk together the almond butter, honey or maple syrup, melted coconut oil, vanilla extract, and sea salt. Whisk until smooth and fully combined. If your almond butter is thick, microwave it for 10-15 seconds to make it easier to mix.
- Bring it all together. Pour the wet mixture into the dry ingredients. Stir with a spatula until everything is evenly coated. The dough should look slightly crumbly but hold together when pressed between your fingers. If it feels too dry, add a teaspoon of water or extra coconut oil. If it’s too sticky, add a tablespoon more almond flour.
- Shape the rounds. Using a cookie scoop or a tablespoon, scoop out portions of dough and roll them into balls. Place them on the prepared baking sheet, spacing them about 2 inches apart. Gently press each ball down with the back of a fork or your palm to form a round disc about ½-inch thick. Don’t flatten them too much—they’ll spread slightly as they bake.
- Bake. Place the baking sheet in the preheated oven and bake for 12-15 minutes, or until the edges are golden brown and the tops feel firm to the touch. The centers will still be slightly soft, but they’ll firm up as they cool. For extra crispy rounds, bake for an additional 2 minutes.
- Cool completely. Remove the baking sheet from the oven and let the rounds cool on the pan for 5 minutes. Then transfer them to a cooling rack to cool completely. This step is crucial—if you try to move them too soon, they might crumble. Let them rest for at least 20 minutes before serving.
- Optional step for extra crunch. If you want them even crispier, after they’ve cooled, return them to the oven at 300°F (150°C) for 5-7 minutes. This dries them out slightly without over-browning.
A few things I’ve learned along the way: If the dough feels too sticky to shape, pop it in the fridge for 10 minutes. That firms up the almond butter and makes it much easier to handle. Also, don’t skip the pressing step. Flattening the rounds ensures they bake evenly and get that satisfying crunch all the way through.
Cooking Tips & Techniques
After making these rounds more times than I can count, I’ve picked up a few tricks that make a real difference. Here are my top tips:
Toast your nuts and seeds first. This is a game-changer. Spread your nuts and seeds on a baking sheet and toast them at 350°F (175°C) for 5-7 minutes until fragrant. Let them cool before adding them to the dough. Toasting brings out their natural oils and deepens the flavor. Trust me, it’s worth the extra step.
Don’t overmix the dough. Stir just until everything is combined. Overmixing can make the rounds tough and dense instead of tender and crispy. You want to see little pockets of nuts and seeds throughout—not a uniform paste.
Use a light hand when pressing. When you flatten the rounds, press gently. If you press too hard, they’ll spread too thin and burn around the edges. Aim for a uniform ½-inch thickness. I use the back of a fork and press just until the dough holds its shape.
Rotate the pan halfway through baking. Ovens can have hot spots, and rotating ensures even browning. I set a timer for 7 minutes, rotate the pan, and then let them finish baking. This little habit has saved me from burnt edges more times than I can count.
Let them cool completely before storing. I know it’s tempting to dig in right away, but warm rounds are fragile. If you stack them while they’re still warm, they’ll steam and lose their crunch. Patience pays off here. Let them cool on a wire rack for at least 20 minutes before transferring to an airtight container.
One mistake I made early on: I used chunky almond butter thinking it would add texture. But the chunks didn’t distribute evenly, and some rounds ended up with big pockets of almond while others were bare. Stick with creamy almond butter for the most consistent results. You can always add extra chopped nuts on top for visual appeal.
Variations & Adaptations
One of the best things about this recipe is how flexible it is. Here are some variations I’ve tried and loved:
Gluten-Free Version: This recipe is naturally gluten-free if you use certified gluten-free oats. I’ve tested it with Bob’s Red Mill gluten-free oats, and the texture is identical. Just double-check your almond flour and seeds are also certified gluten-free if that’s a concern.
Vegan Option: Swap the honey for maple syrup or agave nectar. Both work beautifully and keep the rounds vegan-friendly. I’ve made them with maple syrup several times, and honestly, I might prefer that version. The maple flavor adds a lovely warmth.
Nut-Free Alternative: If you’re avoiding nuts, replace the almond butter with sunflower seed butter and the chopped almonds with additional seeds like hemp hearts or more pumpkin seeds. Sunflower seed butter can turn green when baked (it’s a natural reaction), but the taste is still delicious. Just a heads-up so you’re not surprised.
Savory Twist: Reduce the honey to 2 tablespoons and add ½ teaspoon of garlic powder, ½ teaspoon of smoked paprika, and a pinch of cayenne pepper. These savory rounds are incredible with cheese or as a crunchy topping for soups and salads. I made a batch for a friend who hates sweet snacks, and she ate the entire batch in one sitting.
Seasonal Variations: In fall, add ½ teaspoon of pumpkin pie spice and swap the dried cranberries for dried apples. In summer, fold in ¼ cup of freeze-dried strawberries for a bright, fruity pop. I love experimenting with whatever’s in season—it keeps the recipe feeling fresh.
Chocolate Lover’s Version: Add 2 tablespoons of cocoa powder to the dry ingredients and fold in ¼ cup of dark chocolate chips. The result is a rich, almost brownie-like snack that satisfies any chocolate craving. My kids go crazy for this version.
Don’t be afraid to play around with the ratios. If you want more crunch, add extra seeds. If you prefer them sweeter, bump up the honey to ⅓ cup. This recipe is forgiving, so feel free to make it your own.
Serving & Storage Suggestions
These rounds are incredibly versatile when it comes to serving. Here’s how I like to enjoy them:
Serving temperature: They’re best at room temperature, straight from the cooling rack. The texture is perfectly crispy with a slight chew. If you want a warm treat, pop them in a 300°F (150°C) oven for 3-4 minutes. They’ll soften slightly and taste like they just came out of the oven.
Pairing ideas: Serve them alongside a cup of tea or coffee for a mid-afternoon pick-me-up. They’re also fantastic crumbled over yogurt with fresh berries for a quick breakfast. For a savory pairing, try them with a slice of sharp cheddar or a smear of soft goat cheese. The sweet-savory combo is surprisingly good.
Storage instructions: Store the rounds in an airtight container at room temperature for up to 5 days. If you live in a humid climate, add a silica gel packet to the container to keep them crispy. For longer storage, place them in a zip-top bag and refrigerate for up to 2 weeks. They’ll stay fresh and crunchy.
Freezing: These rounds freeze beautifully. Place them in a single layer on a baking sheet and freeze until solid, then transfer to a freezer-safe bag or container. They’ll keep for up to 3 months. To thaw, leave them at room temperature for 10-15 minutes. They’ll taste just as good as the day you baked them.
Reheating tips: If your rounds lose their crunch over time, pop them in a 300°F (150°C) oven for 5 minutes. This revives their crispiness without drying them out. Avoid microwaving—it makes them soft and chewy.
One thing I’ve noticed: the flavors actually develop and deepen after a day or two. The honey and almond butter meld together, and the spices become more pronounced. So don’t worry if they taste slightly different on day one—they’ll only get better.
Nutritional Information & Benefits
These Crunchy Nut & Seed Snack Rounds are packed with good-for-you ingredients. Here’s a rough breakdown per round (based on 12 servings):
- Calories: ~180 kcal
- Protein: 6g
- Fat: 12g (mostly healthy unsaturated fats from nuts and seeds)
- Carbohydrates: 14g
- Fiber: 4g
- Sugar: 6g (naturally occurring from honey and coconut)
The real star here is the nutritional density. Almonds and seeds are rich in vitamin E, magnesium, and healthy fats that support heart health. Rolled oats provide slow-release energy and soluble fiber, which helps keep you full and satisfied. Chia seeds add omega-3 fatty acids and extra fiber. And the honey offers a natural energy boost without the crash you get from refined sugar.
These rounds are also naturally gluten-free (if you use certified oats) and dairy-free. They’re a great option for anyone with common dietary restrictions. If you’re watching your sugar intake, you can reduce the honey to 3 tablespoons—the rounds will still hold together, though they’ll be less sweet.
I personally love that I can grab one of these on my way out the door and feel energized for hours. They’re not just a snack—they’re fuel that actually tastes good. And for anyone trying to eat more whole foods, this recipe is a no-brainer.
Conclusion
If you’ve been searching for a snack that checks all the boxes—crunchy, wholesome, easy, and delicious—this is it. These Crunchy Nut & Seed Snack Rounds have become a staple in my kitchen, and I honestly can’t imagine my snack drawer without them. They’re the kind of recipe you’ll make on a lazy Sunday and then find yourself craving all week long.
What I love most is how adaptable they are. You can tweak the nuts, swap the seeds, or add your favorite mix-ins. They’re forgiving enough to handle your creativity but reliable enough to turn out perfectly every time. Whether you’re packing lunchboxes, fueling a busy afternoon, or just looking for something to nibble on with your coffee, these rounds deliver.
I’d love to hear how they turn out for you. Did you try a fun variation? Add chocolate chips? Go the savory route? Drop a comment below and let me know. And if you’re looking for more quick and wholesome snack ideas, check out my fluffy miso scrambled eggs for a savory breakfast option, or my easy no-bake tofu matcha cheesecake for a refreshing dessert. Both are just as simple and satisfying.
Thanks for stopping by, and happy snacking!
Frequently Asked Questions
Can I use quick oats instead of rolled oats?
Yes, you can, but the texture will be different. Quick oats are more finely ground, so the rounds will be less chunky and slightly softer. If you only have quick oats, reduce the almond flour by 2 tablespoons to keep the dough from getting too dry.
Why did my rounds turn out crumbly?
Crumbly rounds usually mean the dough was too dry. This can happen if your almond butter was too thick or if you measured the oats generously. Next time, add an extra tablespoon of almond butter or a teaspoon of coconut oil to help bind everything together.
Can I make these without almond flour?
Absolutely. Substitute the almond flour with an equal amount of oat flour (just grind rolled oats in a blender until powdery). You can also use coconut flour, but reduce the amount to ⅓ cup since coconut flour absorbs more liquid.
How do I make them extra crispy?
For maximum crunch, bake them for the full 15 minutes and let them cool completely on the baking sheet before moving them. You can also return them to a 300°F (150°C) oven for 5-7 minutes after cooling to dry them out further.
Can I double this recipe?
Yes, this recipe doubles beautifully. Just make sure you use a large enough bowl and bake in batches if needed. Store the extra rounds in an airtight container or freeze them for later.
Pin This Recipe!
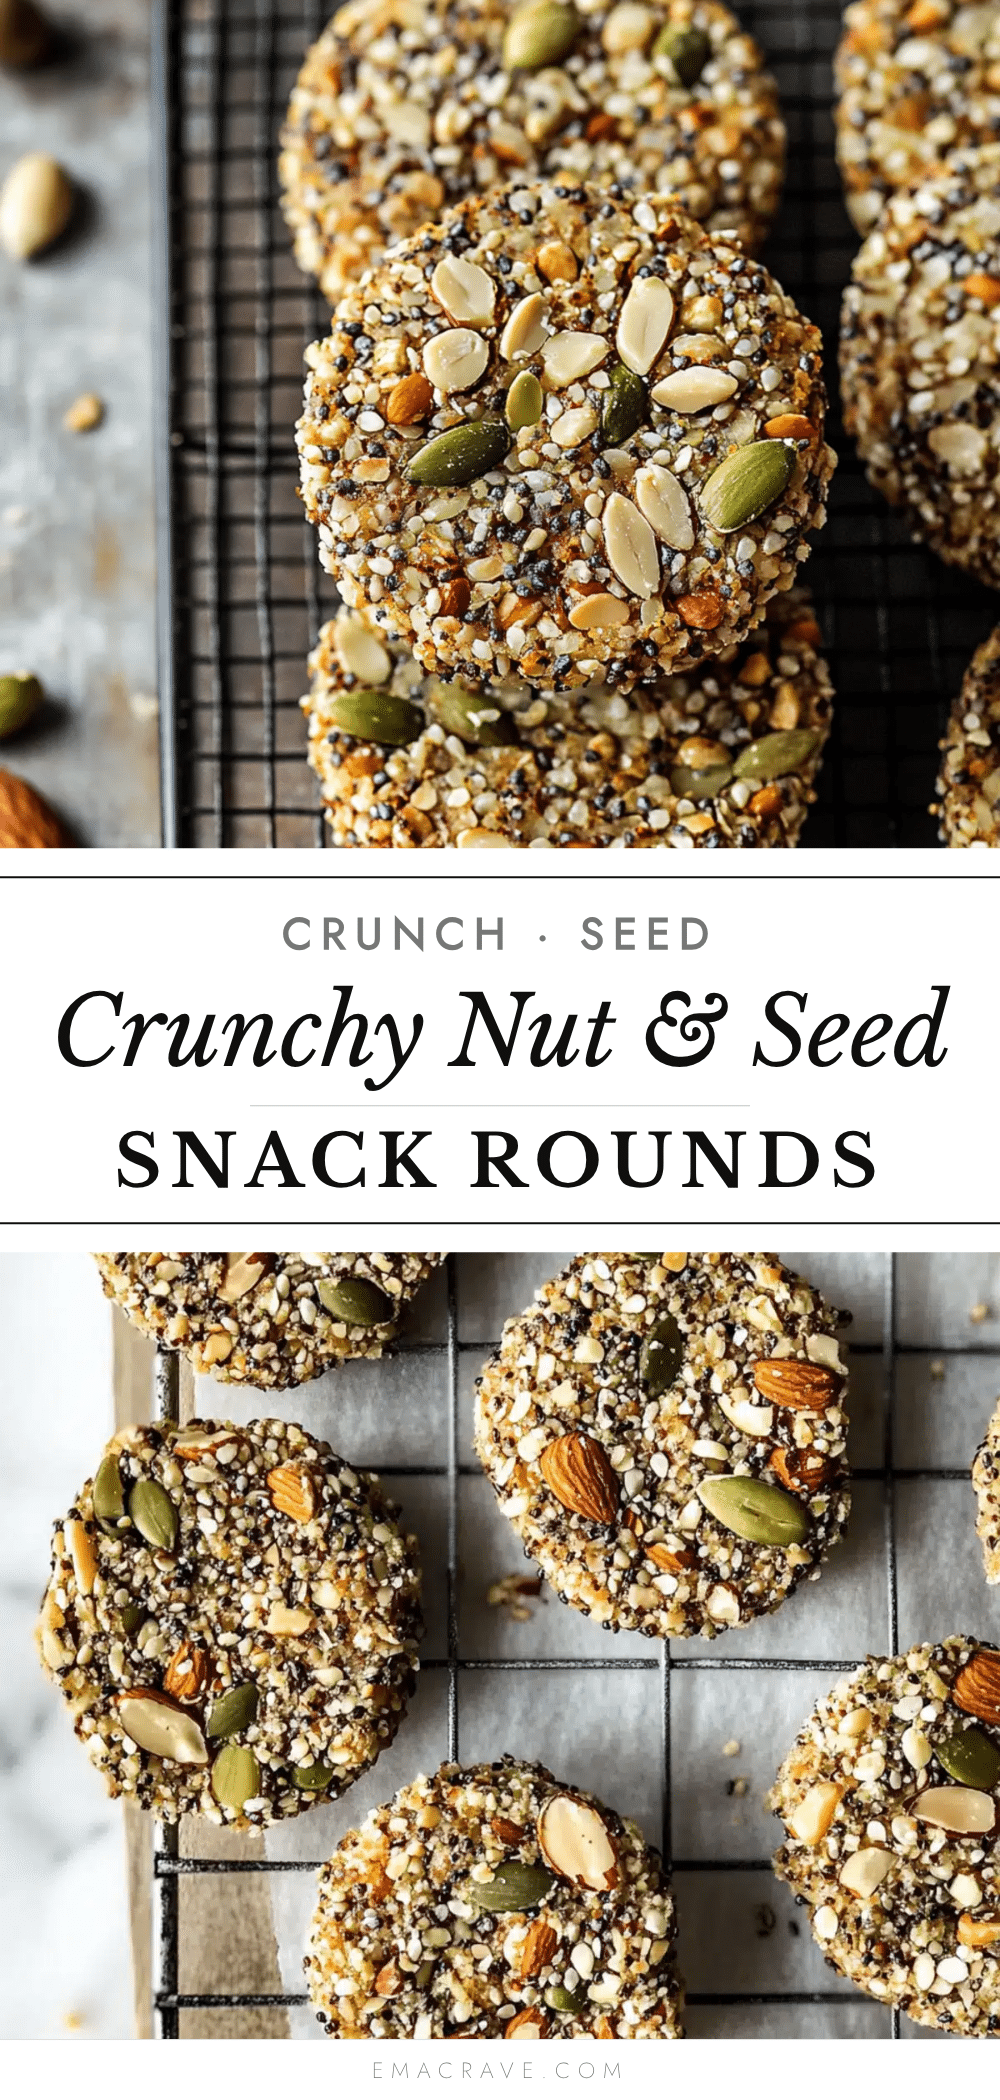
Crunchy Nut & Seed Snack Rounds
These Crunchy Nut & Seed Snack Rounds are a wholesome, crunchy snack packed with protein, healthy fats, and natural sweetness. Easy to make with simple pantry ingredients, they’re perfect for lunchboxes, on-the-go snacking, or a guilt-free treat.
- Prep Time: 15 minutes
- Cook Time: 15 minutes
- Total Time: 30 minutes
- Yield: 12 servings 1x
- Category: Snack
- Cuisine: American
Ingredients
- 1 cup (90g) rolled oats
- ½ cup (56g) almond flour
- ¼ cup (20g) unsweetened shredded coconut
- ½ cup (70g) mixed seeds (sunflower seeds, pumpkin seeds, chia seeds)
- ½ cup (60g) chopped nuts (almonds or pecans)
- ½ cup (128g) almond butter (creamy or crunchy)
- ¼ cup (60ml) honey or maple syrup
- 2 tablespoons (30ml) coconut oil, melted
- 1 teaspoon vanilla extract
- ¼ teaspoon sea salt
- ¼ cup (45g) dark chocolate chips (optional)
- ¼ cup (30g) dried cranberries (optional)
- ½ teaspoon cinnamon (optional)
Instructions
- Preheat your oven to 350°F (175°C). Line a baking sheet with parchment paper.
- In a large bowl, combine rolled oats, almond flour, shredded coconut, mixed seeds, and chopped nuts. Stir until evenly distributed.
- In a separate small bowl, whisk together almond butter, honey or maple syrup, melted coconut oil, vanilla extract, and sea salt until smooth.
- Pour the wet mixture into the dry ingredients. Stir with a spatula until everything is evenly coated. The dough should be slightly crumbly but hold together when pressed.
- Using a cookie scoop or tablespoon, scoop out portions of dough and roll into balls. Place on the prepared baking sheet, spacing them about 2 inches apart. Gently press each ball down with the back of a fork or your palm to form a round disc about ½-inch thick.
- Bake for 12-15 minutes, or until the edges are golden brown and the tops feel firm. The centers will still be slightly soft but will firm up as they cool.
- Remove from the oven and let the rounds cool on the pan for 5 minutes. Then transfer to a cooling rack to cool completely (at least 20 minutes).
- For extra crunch, after cooling, return to a 300°F (150°C) oven for 5-7 minutes.
Notes
Toast nuts and seeds for 5-7 minutes at 350°F before adding to deepen flavor. If dough is too sticky, refrigerate for 10 minutes. For nut-free version, use sunflower seed butter and extra seeds. Store in an airtight container at room temperature for up to 5 days, refrigerate for up to 2 weeks, or freeze for up to 3 months.
Nutrition
- Serving Size: 1 round
- Calories: 180
- Sugar: 6
- Sodium: 60
- Fat: 12
- Saturated Fat: 3
- Carbohydrates: 14
- Fiber: 4
- Protein: 6
Keywords: crunchy nut and seed snack rounds, healthy snack, gluten-free snack, vegan snack, nut and seed rounds, easy snack recipe



