Love this? Save it for later!
Share the inspiration with your friends
I burned the first one. Not a little brown, I mean blackened edges, smoke detector going off, the whole dramatic kitchen moment. I was so focused on getting the filling right—seasoning the beef perfectly, making sure the cheese was melty—that I completely forgot about the oil temperature. That first chimichanga came out looking less like a golden masterpiece and more like a charcoal briquette. My husband walked in, coughed, and said, “Are we ordering pizza?” I almost said yes.
Instead, I scraped the pan, lowered the heat, and tried again. That second attempt? It sizzled. It crackled. It came out of the oil with this deep amber crust that shattered when I cut into it. The beef was juicy, the cheese stretched for miles, and suddenly I wasn’t ordering pizza—I was making a second batch. That’s the thing about crispy beef and cheese chimichangas. They demand a little patience, but they reward you with the kind of crunch that makes you close your eyes after the first bite.
This recipe came together after a few more trial runs—some too greasy, some not crispy enough, one that fell apart completely because I overstuffed the tortillas. But now? I’ve got it dialed in. The trick is in the prep, the oil temp, and the way you seal those tortillas. Once you get it, you won’t go back to soggy, sad burritos ever again. These chimichangas are the kind of dinner that feels like a celebration, even on a random Tuesday.
Why You’ll Love This Recipe
Let me tell you why these chimichangas keep showing up on our dinner table. I’ve tested this recipe at least seven times—some for family dinners, once for a game day gathering, and a couple times just because I had leftover beef. Every single time, people asked for the recipe before they finished eating.
- Quick & Easy: From start to finish, you’re looking at about 40 minutes. That’s faster than delivery, and way more satisfying.
- Simple Ingredients: Ground beef, cheese, tortillas, and a few pantry staples. No hunting down obscure spices or specialty items.
- Perfect for Busy Weeknights: This is the kind of meal that feels indulgent but comes together without a ton of effort. Great for those days when you want something special but don’t have hours to spend.
- Crowd-Pleaser: Kids love the crunch. Adults love the flavor. Even my picky eater friend who “doesn’t do Tex-Mex” asked for seconds.
- Unbelievably Delicious: The contrast between the shatteringly crisp shell and the warm, cheesy, beefy filling is pure comfort food magic.
What makes this version different from the dozens of chimichanga recipes out there? It’s the double-sealing technique—first with a flour paste, then a quick pan-fry seam-side down. No blowouts, no leaks, just perfectly sealed packages that fry up golden and stay intact. Plus, I add a pinch of cinnamon to the beef. Sounds weird, I know. But it brings out this warmth that makes the whole thing taste like it’s been simmering for hours.
Honestly, this recipe is the kind that makes you feel like a kitchen hero. You’ll pull these sizzling beauties out of the oil, set them on the table, and watch everyone’s eyes light up. It’s comfort food that delivers every single time.
What Ingredients You Will Need
This recipe relies on straightforward ingredients that work together to create layers of flavor and texture. Nothing fancy here—just smart choices that make a difference.
- For the Beef Filling:
- 1 lb ground beef (80/20 works best; the fat keeps the filling moist)
- 1 small yellow onion, finely diced
- 3 cloves garlic, minced
- 1 teaspoon smoked paprika
- 1 teaspoon ground cumin
- ½ teaspoon chili powder
- ¼ teaspoon ground cinnamon (trust me on this one)
- Salt and black pepper to taste
- 2 tablespoons tomato paste
- ¼ cup beef broth or water
- 1 tablespoon neutral oil (for sautéing)
- For the Chimichangas:
- 6 large flour tortillas (burrito size, about 10 inches)
- 2 cups shredded Monterey Jack cheese (or a Mexican blend)
- Neutral oil for frying (vegetable, canola, or avocado oil)
- For the Flour Paste (Sealant):
- 2 tablespoons all-purpose flour
- 3 tablespoons water
- For Serving (Optional but Recommended):
- Sour cream
- Fresh salsa or pico de gallo
- Guacamole
- Chopped cilantro
- Lime wedges
- Hot sauce
A few notes on ingredient choices. I recommend using 80/20 ground beef because it has enough fat to keep the filling from drying out during frying. If you use leaner beef, add a tablespoon of butter or oil to the pan. For the cheese, Monterey Jack melts beautifully and has a mild flavor that doesn’t overpower the beef. A sharp cheddar works too, but it can make the filling a bit greasy. I’ve tried both, and I prefer the Jack for texture.
For the tortillas, go with high-quality flour tortillas—ones that are pliable and won’t crack when you fold them. I like the Guerrero or Mission brand burrito-size tortillas. Avoid corn tortillas here; they’ll fall apart during frying.
The flour paste is my secret weapon. It’s essentially edible glue that seals the chimichangas shut. Without it, you’ll end up with filling leaking into the oil, which makes a mess and leaves you with sad, empty shells.
Equipment Needed
You don’t need a deep fryer or any fancy gadgets for this recipe. Here’s what you’ll need:
- Large skillet or frying pan: A 12-inch cast iron skillet works beautifully for even heating. A heavy-bottomed stainless steel pan also works well.
- Deep-fry thermometer: This is important. Guessing oil temperature leads to burnt or greasy chimichangas. A simple clip-on thermometer costs about $10 and saves you from my burnt-first-batch mistake.
- Tongs: For safely turning the chimichangas in hot oil. Long-handled tongs keep your hands away from splatters.
- Baking sheet with wire rack: For draining the fried chimichangas. The rack keeps them crispy instead of soggy on paper towels.
- Small bowl: For mixing the flour paste.
- Cutting board and sharp knife: For prepping the onion and garlic.
- Spatula: For browning the beef.
If you don’t have a deep-fry thermometer, you can test the oil by dropping a small piece of tortilla in. If it sizzles immediately and floats to the top, the oil is ready. If it sinks and sits there, the oil isn’t hot enough. If it burns instantly, turn the heat down.
I used to fry everything in a small saucepan to save oil, but the chimichangas didn’t cook evenly. A wide skillet gives them room to float and brown properly. Trust me, the wider pan is worth the extra oil.
Preparation Method
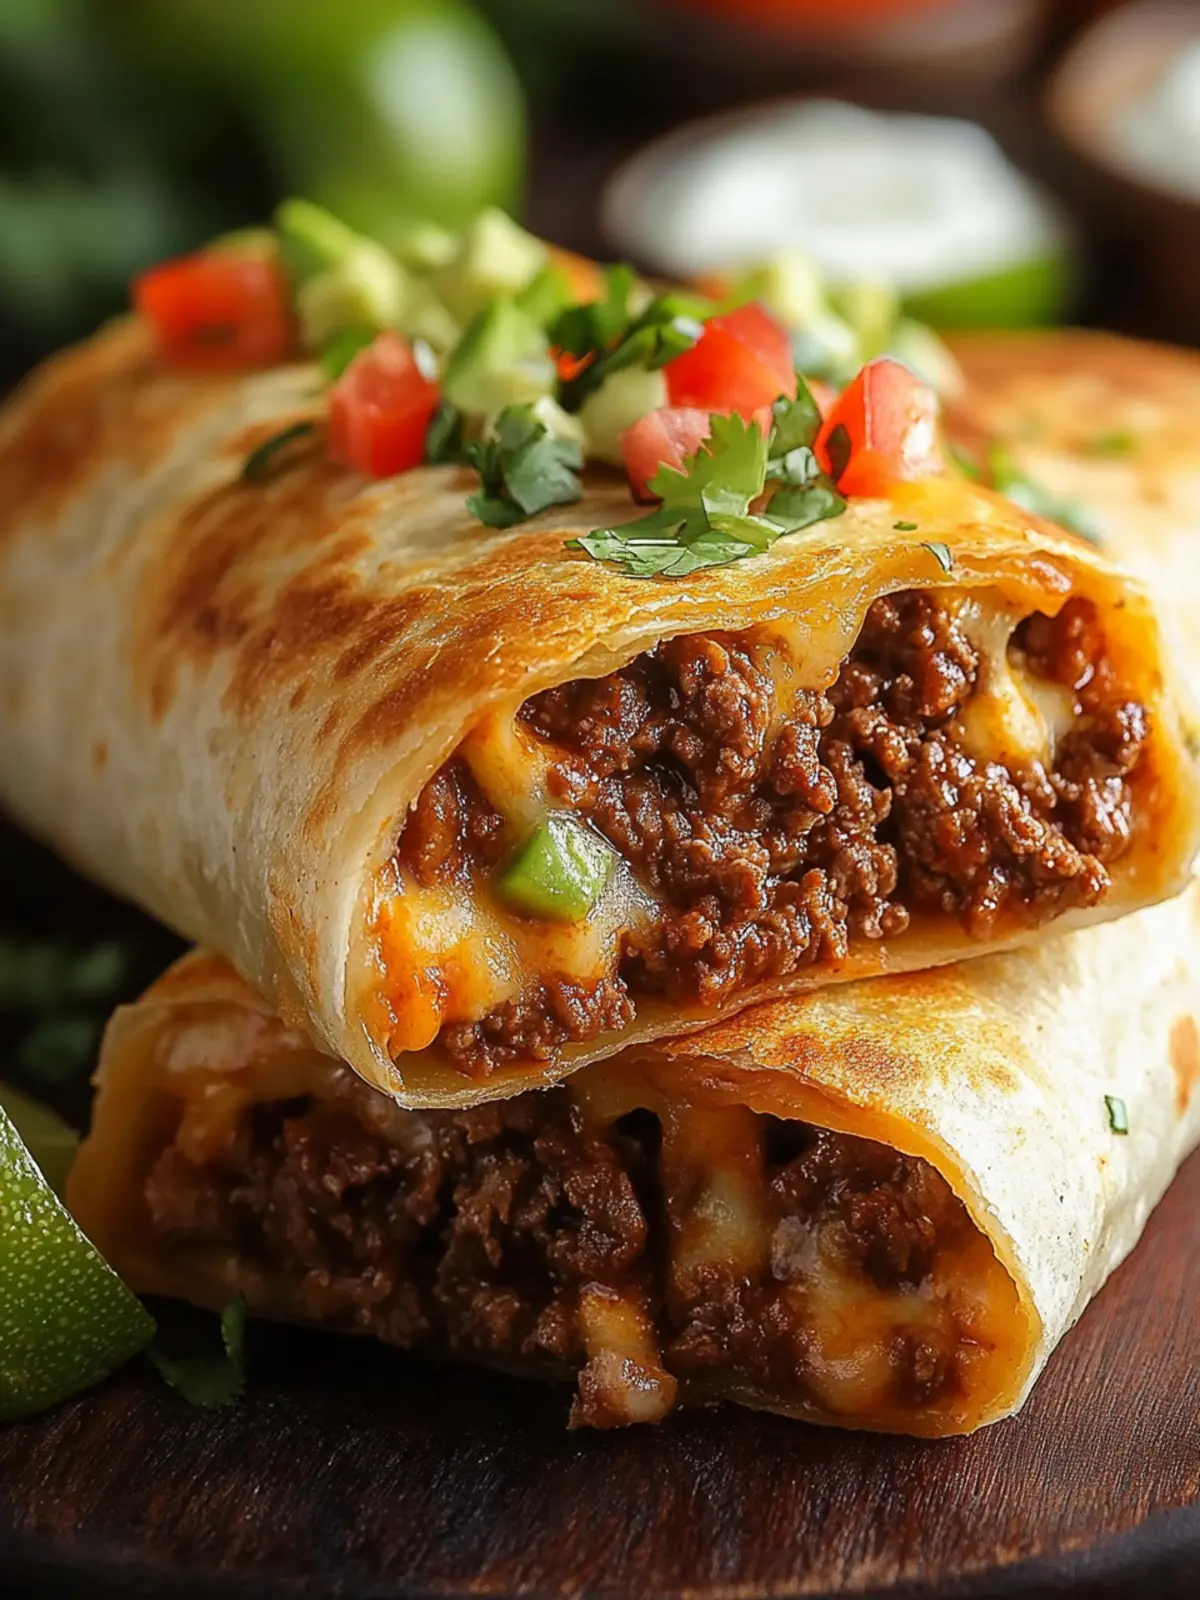
Let’s get cooking. This process moves quickly once you start, so read through everything first.
- Make the flour paste. In a small bowl, whisk together 2 tablespoons all-purpose flour and 3 tablespoons water until smooth. Set aside. This will seal your chimichangas and prevent leaks.
- Cook the beef filling. Heat 1 tablespoon neutral oil in a large skillet over medium-high heat. Add the diced onion and cook for 3-4 minutes until softened and translucent. Add the minced garlic and cook for 30 seconds until fragrant. Add the ground beef and break it apart with a spatula. Cook for 5-6 minutes until browned and no longer pink. Drain off excess fat if needed, leaving about 1 tablespoon in the pan for flavor.
- Season the beef. Reduce heat to medium. Add smoked paprika, cumin, chili powder, cinnamon, salt, and pepper. Stir and cook for 1 minute until the spices are fragrant. Add the tomato paste and stir to coat the beef. Pour in the beef broth and cook for 2-3 minutes until the liquid reduces and the mixture is thick but not dry. Remove from heat and let cool slightly—about 5 minutes. This step is important; hot filling can make the tortillas soggy and hard to handle.
- Assemble the chimichangas. Lay a flour tortilla on a clean work surface. Spoon about ⅓ cup of the beef mixture into the center, leaving a 2-inch border around the edges. Top with a generous handful of shredded cheese—about ⅓ cup. Fold the sides of the tortilla inward over the filling, then fold the bottom flap up and roll tightly away from you, like a burrito. Press gently to keep it snug but not tight enough to tear the tortilla.
- Seal the edges. Brush a thin layer of flour paste along the final seam. Press to seal. Place the chimichanga seam-side down on a plate. Repeat with remaining tortillas. You should have 6 chimichangas total.
- Heat the oil. Pour about 1 inch of neutral oil into your large skillet. Heat over medium-high heat until the oil reaches 350°F (175°C). Use your thermometer to check. If you don’t have one, the tortilla test works—drop a small piece in; it should sizzle immediately and brown in about 30 seconds.
- Fry the chimichangas. Carefully place 2-3 chimichangas in the hot oil, seam-side down first. Do not overcrowd the pan. Fry for 2-3 minutes until the bottom is deep golden brown. Using tongs, carefully flip and fry the other side for 2-3 minutes. The shell should be evenly golden and crispy. Adjust heat as needed to maintain 350°F.
- Drain and rest. Transfer the fried chimichangas to a wire rack set over a baking sheet. Let them rest for 2-3 minutes before serving. This allows excess oil to drip off and the cheese to set slightly so it doesn’t all pour out when you cut into them.
A quick note on timing: The entire process from start to table takes about 40 minutes. The beef filling can be made a day ahead and refrigerated, which makes assembly even faster. Just reheat it slightly before filling the tortillas—cold filling will lower the oil temperature too much.
One more thing—don’t skip the resting step. I know it’s tempting to dig in immediately, but those first few minutes on the rack make a huge difference in texture. The shell stays crispy, and the filling firms up just enough to hold together when you bite into it.
Cooking Tips & Techniques
After burning that first batch and troubleshooting my way through a few more, I’ve gathered some hard-earned wisdom. Here are the tips that actually matter.
Temperature control is everything. If your oil is too hot, the outside burns before the inside warms through. Too cool, and the chimichangas absorb oil like sponges, turning greasy and heavy. Keep that thermometer clipped to the pan and adjust the heat as you go. I keep mine at a steady medium-high and check it before every batch.
Don’t overstuff. I know it’s tempting to pack in as much filling as possible, but less is more here. Overstuffed tortillas are impossible to seal properly, and they’ll burst open in the oil. That’s how you end up with beef floating around your pan and a sad, empty tortilla shell. Stick to about ⅓ cup of filling per chimichanga.
Seal like you mean it. The flour paste is non-negotiable. I learned this the hard way when I skipped it once, thinking the tortilla would hold itself together. It didn’t. The paste creates a bond that holds through the frying process. Be generous with it, and press the seam firmly.
Let the filling cool before assembling. Hot filling makes the tortillas soft and prone to tearing. I let my beef mixture cool for at least 5 minutes after cooking. If I’m in a rush, I spread it out on a plate to cool faster. Cold filling also helps the cheese stay in place during assembly.
Work in batches. Frying too many at once drops the oil temperature, leading to greasy results. Two or three chimichangas per batch is the sweet spot. Keep the finished ones warm in a 200°F oven while you fry the rest.
Flip carefully. Use tongs, not a fork. Forks pierce the shell and let oil seep in. Gently roll the chimichanga over with tongs, supporting it from underneath. If it sticks, give it another 30 seconds—it will release when it’s ready.
Variations & Adaptations
One of the best things about this recipe is how adaptable it is. Here are some variations I’ve tried and loved.
Chicken Chimichangas: Swap the ground beef for shredded cooked chicken. Use about 2 cups of shredded chicken mixed with the same spices and a splash of chicken broth. I made this version for a friend who doesn’t eat beef, and she asked for the recipe twice.
Black Bean and Corn Version: For a vegetarian option, replace the beef with one can of drained and rinsed black beans and ½ cup of corn kernels. Add the same spices and cook until warmed through. The texture is different—softer, less dense—but the flavor is still amazing. I’ve served this alongside my smoky BBQ pulled mushrooms for a completely plant-based dinner spread.
Spicy Version: Add 1-2 minced chipotle peppers in adobo sauce to the beef while cooking. The smokiness pairs beautifully with the crispy shell. I also like to mix a teaspoon of adobo sauce into the sour cream for serving. This version has a nice kick without being overwhelming.
Baked Chimichangas: If you want to skip the frying, brush the assembled chimichangas with oil and bake at 400°F for 15-20 minutes, flipping halfway through. They won’t be as crispy as fried ones, but they’re still good. I’ve done this when I wanted a lighter meal, and honestly, they’re satisfying in their own way.
Cheese Variations: Try pepper Jack for heat, smoked Gouda for a deeper flavor, or a mix of cheddar and Monterey Jack. I once used a leftover bit of fontina, and it was incredible—melty and buttery. Don’t be afraid to experiment with what you have on hand.
Serving & Storage Suggestions
These chimichangas are best served fresh and hot, right after frying. The shell stays crispy for about 10-15 minutes, so I usually serve them as soon as they’ve rested.
For presentation, I place each chimichanga on a plate, cut it in half diagonally, and drizzle sour cream over the top. A sprinkle of chopped cilantro and a few lime wedges on the side make it look like it came from a restaurant. I also like to serve them with a simple fresh tomato garlic salad on the side for brightness and acidity that cuts through the richness.
For a full meal, I pair these with quick pickled onions for tangy crunch, and maybe a side of Mexican rice or refried beans. The pickled onions especially help balance the richness of the fried shell and cheese.
Storage: Leftover chimichangas can be stored in an airtight container in the refrigerator for up to 3 days. But here’s the thing—they won’t be crispy anymore. The shell softens as it sits. To reheat, I recommend using an air fryer at 375°F for 4-5 minutes, or a 400°F oven for 8-10 minutes. Microwaving will make them soggy, so avoid that if you can.
Freezing: You can freeze these before or after frying. For unfried chimichangas, assemble them completely, wrap each one tightly in plastic wrap, and place in a freezer bag. They’ll keep for up to 3 months. Fry directly from frozen, adding 2-3 minutes to the cooking time. For fried chimichangas, freeze them on a baking sheet until solid, then transfer to a freezer bag. Reheat in the oven or air fryer.
The flavors actually meld together nicely overnight. I’ve eaten cold chimichanga filling straight from the fridge as a snack, and it’s surprisingly good. The spices deepen as they sit.
Nutritional Information & Benefits
These chimichangas are definitely a treat, not an everyday meal. But here’s a rough breakdown per serving (one chimichanga, without toppings):
| Nutrient | Amount |
|---|---|
| Calories | 480-520 |
| Protein | 28g |
| Fat | 28g |
| Carbohydrates | 32g |
| Fiber | 2g |
| Sugar | 3g |
| Sodium | 680mg |
The beef provides a solid amount of protein and iron, while the cheese adds calcium. Using 80/20 beef means there’s some saturated fat, but it’s what gives the filling its rich flavor. If you want to lighten things up, you can swap for lean ground beef or ground turkey, though the texture will be slightly drier.
The flour tortillas contribute most of the carbs, so if you’re watching your intake, you could use low-carb tortillas. Just note that they may not fry up as crispy. I’ve tried it, and the texture is different—still good, but not the same shatter-crunch.
These are also a good source of B vitamins from the beef and garlic. The cumin and paprika add antioxidants, and the cinnamon (yes, that pinch) has anti-inflammatory properties. So there’s that.
If you’re serving these as part of a balanced meal, pair them with a big salad or some roasted vegetables. I often make a batch of creamy zucchini soup on the side for a lighter counterpoint to the richness.
Conclusion
These crispy beef and cheese chimichangas have become a staple in my kitchen for good reason. They’re satisfying, flavorful, and surprisingly doable for a weeknight dinner. The first time I made them, I burned one and almost gave up. Now I make them on autopilot, and they come out perfect every time.
What I love most about this recipe is how forgiving it is once you know the basic technique. You can swap proteins, change up the cheese, adjust the spice level—it all works. The core method of sealing, frying, and resting stays the same, and it delivers that incredible crunch every time.
I’d love to hear how yours turn out. Did you try a variation? Did you burn your first one too? Drop a comment below and let me know. And if you’re looking for another beef recipe with that same satisfying crunch, check out my crispy Korean zucchini fritters—they use a similar frying technique and are just as addictive.
Go on, heat up that oil, and make yourself something truly crispy tonight. You’ve got this.
Frequently Asked Questions
Can I make these chimichangas in an air fryer?
Yes, you can. Assemble the chimichangas as directed, brush them lightly with oil, and air fry at 375°F for 8-10 minutes, flipping halfway through. They won’t be as deeply golden as fried ones, but they’ll still be crispy and delicious. I’ve done this when I wanted a lighter version, and it works well.
Why did my chimichanga burst open in the oil?
This usually happens for two reasons: either the tortilla was overstuffed, or the seal wasn’t strong enough. Make sure you’re using the flour paste and pressing the seam firmly. Also, don’t overfill—stick to about ⅓ cup of filling per chimichanga. If the filling is too hot, it can also create steam that forces the seal open.
Can I use corn tortillas instead of flour?
I wouldn’t recommend it. Corn tortillas are smaller and less pliable, so they crack easily when you try to fold them. They also absorb more oil and won’t get the same crispy texture. Stick with large flour tortillas for the best results.
How do I keep leftover chimichangas crispy?
Honestly, they won’t stay crispy for long. The best way to enjoy them is fresh. For leftovers, reheat in an air fryer or oven—never the microwave. If you’re meal prepping, I recommend freezing them unfried and frying fresh when you’re ready to eat.
Can I make the beef filling ahead of time?
Absolutely. You can cook the beef filling up to 2 days in advance and store it in the refrigerator. Let it cool completely before refrigerating. When you’re ready to assemble, reheat it slightly in the microwave or on the stovetop so it’s warm but not hot. Cold filling will make the tortillas harder to work with and can lower the oil temperature too much during frying.
Pin This Recipe!
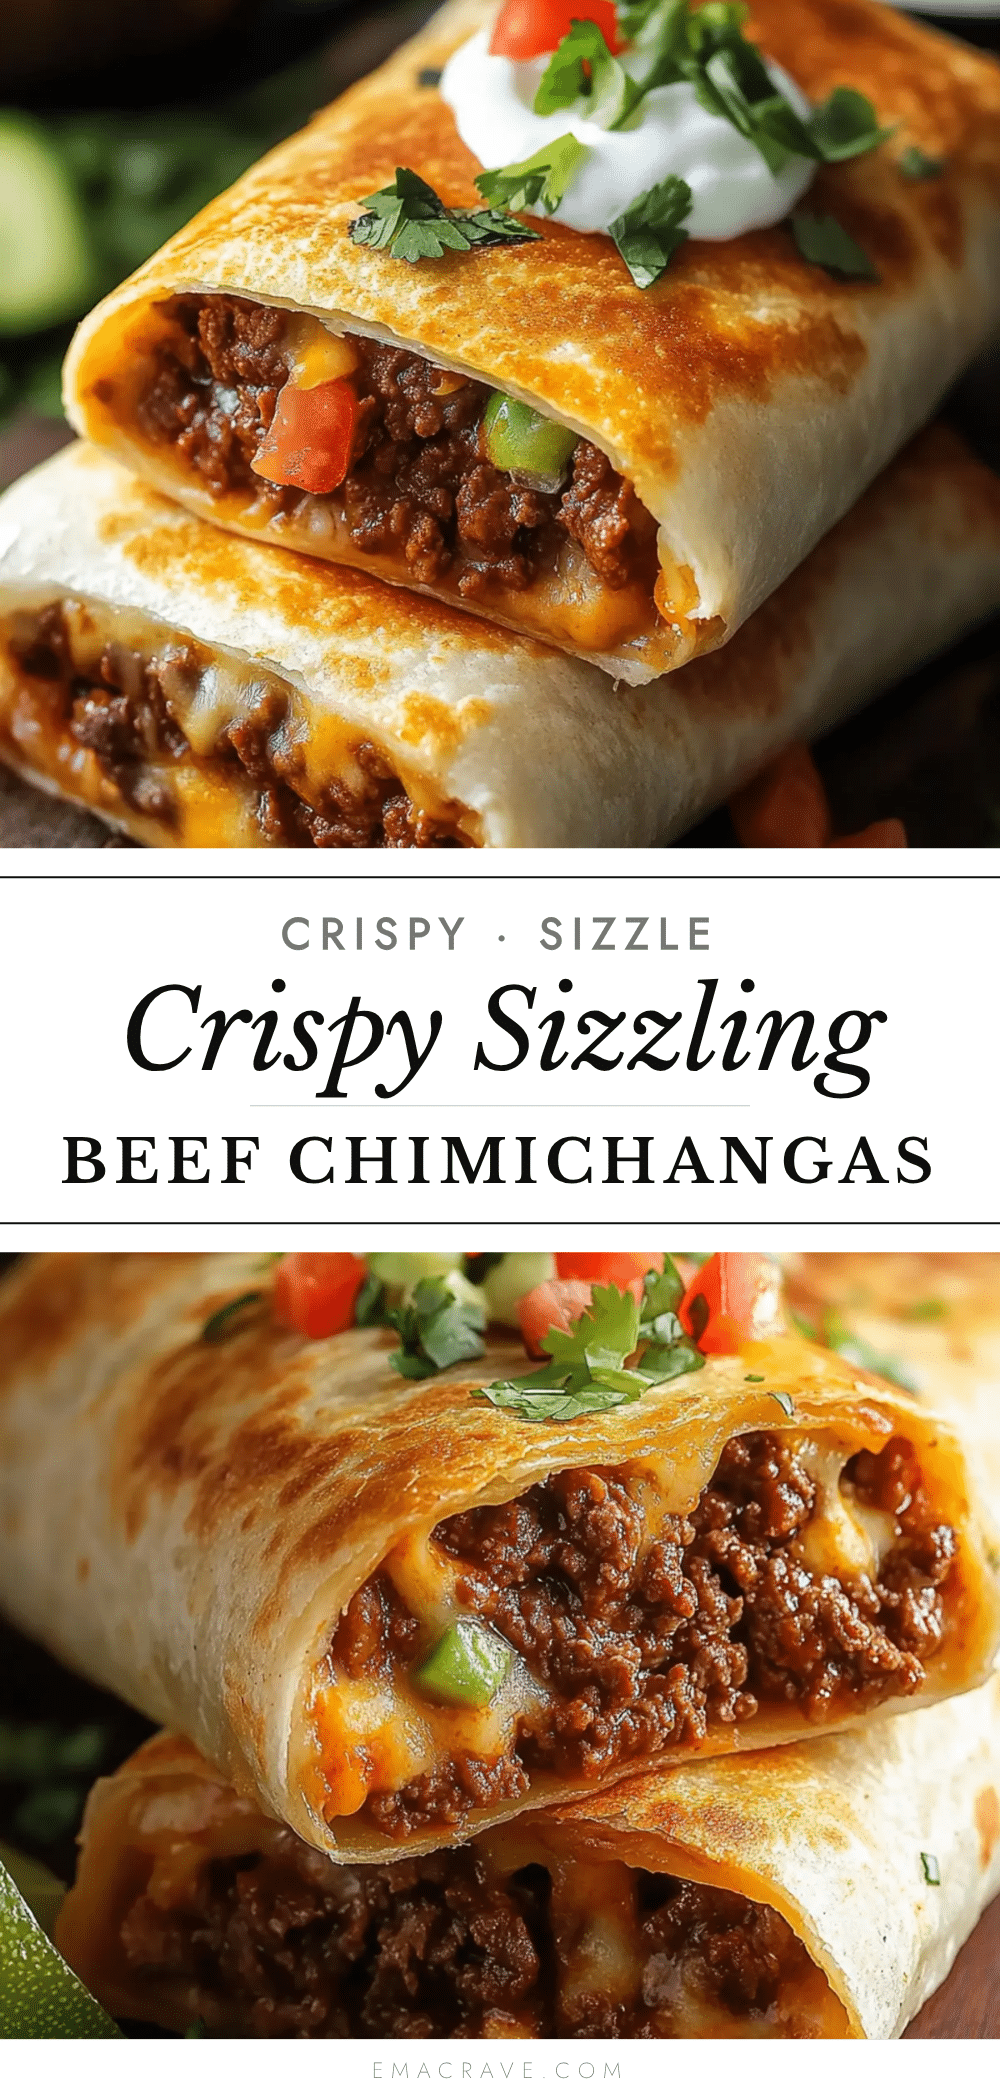
Crispy Beef and Cheese Chimichangas: Easy Sizzling Dinner
These crispy beef and cheese chimichangas feature a shatteringly crisp shell wrapped around a warm, cheesy, and perfectly seasoned beef filling. Ready in about 40 minutes, they’re a crowd-pleasing weeknight dinner that feels like a celebration.
- Prep Time: 15 minutes
- Cook Time: 25 minutes
- Total Time: 40 minutes
- Yield: 6 servings 1x
- Category: Main Course
- Cuisine: Tex-Mex
Ingredients
- 1 lb ground beef (80/20 works best)
- 1 small yellow onion, finely diced
- 3 cloves garlic, minced
- 1 teaspoon smoked paprika
- 1 teaspoon ground cumin
- ½ teaspoon chili powder
- ¼ teaspoon ground cinnamon
- Salt and black pepper to taste
- 2 tablespoons tomato paste
- ¼ cup beef broth or water
- 1 tablespoon neutral oil (for sautéing)
- 6 large flour tortillas (burrito size, about 10 inches)
- 2 cups shredded Monterey Jack cheese (or a Mexican blend)
- Neutral oil for frying (vegetable, canola, or avocado oil)
- 2 tablespoons all-purpose flour
- 3 tablespoons water
- Sour cream (for serving, optional)
- Fresh salsa or pico de gallo (for serving, optional)
- Guacamole (for serving, optional)
- Chopped cilantro (for serving, optional)
- Lime wedges (for serving, optional)
- Hot sauce (for serving, optional)
Instructions
- Make the flour paste: In a small bowl, whisk together 2 tablespoons all-purpose flour and 3 tablespoons water until smooth. Set aside.
- Cook the beef filling: Heat 1 tablespoon neutral oil in a large skillet over medium-high heat. Add the diced onion and cook for 3-4 minutes until softened. Add the minced garlic and cook for 30 seconds until fragrant. Add the ground beef and break it apart with a spatula. Cook for 5-6 minutes until browned and no longer pink. Drain off excess fat if needed, leaving about 1 tablespoon in the pan.
- Season the beef: Reduce heat to medium. Add smoked paprika, cumin, chili powder, cinnamon, salt, and pepper. Stir and cook for 1 minute until fragrant. Add the tomato paste and stir to coat the beef. Pour in the beef broth and cook for 2-3 minutes until the liquid reduces and the mixture is thick but not dry. Remove from heat and let cool slightly—about 5 minutes.
- Assemble the chimichangas: Lay a flour tortilla on a clean work surface. Spoon about ⅓ cup of the beef mixture into the center, leaving a 2-inch border. Top with a generous handful of shredded cheese—about ⅓ cup. Fold the sides of the tortilla inward over the filling, then fold the bottom flap up and roll tightly away from you, like a burrito. Press gently to keep it snug.
- Seal the edges: Brush a thin layer of flour paste along the final seam. Press to seal. Place the chimichanga seam-side down on a plate. Repeat with remaining tortillas to make 6 total.
- Heat the oil: Pour about 1 inch of neutral oil into a large skillet. Heat over medium-high heat until the oil reaches 350°F (175°C). Use a deep-fry thermometer to check.
- Fry the chimichangas: Carefully place 2-3 chimichangas in the hot oil, seam-side down first. Do not overcrowd. Fry for 2-3 minutes until the bottom is deep golden brown. Using tongs, carefully flip and fry the other side for 2-3 minutes. Adjust heat as needed to maintain 350°F.
- Drain and rest: Transfer the fried chimichangas to a wire rack set over a baking sheet. Let them rest for 2-3 minutes before serving.
Notes
Don’t skip the resting step after frying—it keeps the shell crispy and helps the filling set. The flour paste sealant is essential to prevent leaks. Let the beef filling cool slightly before assembling to avoid soggy tortillas. For best results, maintain oil temperature at 350°F and fry in batches of 2-3.
Nutrition
- Serving Size: 1 chimichanga
- Calories: 500
- Sugar: 3
- Sodium: 680
- Fat: 28
- Saturated Fat: 12
- Carbohydrates: 32
- Fiber: 2
- Protein: 28
Keywords: chimichangas, crispy beef chimichangas, beef and cheese chimichangas, Tex-Mex, fried burritos, easy dinner, weeknight dinner



