Love this? Save it for later!
Share the inspiration with your friends
The bacon fat was still sizzling in the pan when I grabbed a bag of frozen peas from the freezer. It was a Tuesday night, and I had exactly zero plans for a side dish. I was just staring into the fridge, hoping something would inspire me, when I spotted the block of sharp cheddar and the half-used tub of sour cream. Honestly, I wasn’t trying to create anything special. I was just hungry, and a little tired of the same old steamed vegetables. I crumbled the crispy bacon onto a paper towel, tossed the peas into a bowl while they were still slightly cool, and started mixing things together without really measuring. A spoonful of mayo, a big dollop of sour cream, a pinch of salt, and a handful of shredded cheddar. I squeezed in some lemon juice—more out of habit than plan—and stirred it all up.
The first bite stopped me mid-chew. It was cold, creamy, and bright all at once. The peas popped against my teeth, the bacon added that salty crunch, and the cheddar melted into the dressing in the most satisfying way. I stood at the kitchen counter and ate two more spoonfuls before I even thought about putting it in a serving bowl. That’s when I knew this wasn’t just a fridge-cleaning accident. This was a recipe I’d be making on purpose. Over the next few weeks, I made it three more times—for a backyard barbecue, a quick lunch, and a potluck where someone actually asked for the recipe before they finished their plate. It’s the kind of dish that doesn’t try too hard but still gets all the attention. And that’s exactly why it stuck.
Why You’ll Love This Recipe
This creamy zesty pea salad isn’t your grandma’s version—though she’d probably approve. It’s the kind of side dish that works for a weeknight dinner or a holiday spread without any extra fuss. Here’s why it keeps showing up on my table:
- Ready in 15 Minutes: No cooking required for the peas—just thaw them, mix everything together, and you’re done. Perfect for those nights when you need something fast.
- Simple Ingredients: You probably have most of these in your kitchen right now. Frozen peas, bacon, cheddar, mayo, and a few pantry staples. No special trips needed.
- Crowd-Pleaser: I’ve brought this to cookouts and family dinners, and it disappears fast. Kids love the sweetness of the peas, and adults can’t resist the bacon and cheese combo.
- Bright and Balanced: The lemon juice and touch of zest cut through the creaminess, so it doesn’t feel heavy. It’s rich but still refreshing.
- Make-Ahead Friendly: This salad actually tastes better after a few hours in the fridge. The flavors meld together, and the peas soak up all that tangy dressing.
What makes this version different from the rest? It’s the balance. I’ve tried pea salads that were too gloppy or too bland. This one hits that sweet spot where the dressing is creamy but not overwhelming, and the lemon keeps everything bright. It’s comfort food that doesn’t weigh you down—the kind you’ll want to eat straight from the bowl with a fork.
What Ingredients You Will Need
This recipe relies on a handful of simple ingredients that come together to create something surprisingly complex. Each one plays a role in the texture and flavor, so here’s what you’ll need and why it matters.
- Frozen Peas (16 oz or 450g): I always use frozen peas for this recipe. They’re sweet, tender, and consistent. No need to cook them—just thaw them under cool running water or let them sit at room temperature for about 10 minutes. Canned peas will be too mushy here.
- Bacon (6 slices): Go for thick-cut bacon if you can find it. It gives you more meaty bites and stays crisp even after mixing into the salad. I like to cook mine in the oven on a baking sheet at 400°F for about 15 minutes—less mess and perfectly even crispiness.
- Sharp Cheddar Cheese (1 cup or 120g, shredded): Don’t skimp on the sharpness. Mild cheddar will get lost in the dressing. I prefer shredding my own block of cheese because it melts better and doesn’t have that powdery coating pre-shredded cheese often has.
- Mayonnaise (½ cup or 120ml): Full-fat mayo gives the creamiest texture. If you’re looking for a lighter option, Greek yogurt works in a pinch, but the flavor will be tangier and less rich.
- Sour Cream (¼ cup or 60ml): This adds a subtle tang that balances the richness of the mayo and bacon. You can substitute with plain Greek yogurt if needed.
- Fresh Lemon Juice (2 tablespoons) and Zest (1 teaspoon): This is the “zesty” part of the recipe. The lemon juice brightens everything up, and the zest adds a fragrant citrus note that you can’t get from bottled juice alone.
- Red Onion (¼ cup, finely diced): A little goes a long way. Red onion adds a mild bite and a pop of color. If you’re sensitive to raw onion, soak the diced pieces in cold water for 5 minutes before adding them.
- Salt and Black Pepper (to taste): I start with ½ teaspoon of salt and ¼ teaspoon of pepper, then adjust after mixing. The bacon and cheese are already salty, so go easy at first.
- Optional Add-ins: Some people like a handful of fresh parsley or dill for extra freshness. I’ve also added a pinch of cayenne pepper for a subtle kick.
Equipment Needed
You don’t need any fancy gadgets for this recipe, which is part of what makes it so great. Here’s what you’ll need:
- Large Mixing Bowl: A bowl big enough to toss everything together without spilling. I use a ceramic one because it stays cool, but glass or stainless steel works fine.
- Cutting Board and Knife: For dicing the red onion and chopping the bacon into crumbles. A sharp chef’s knife makes quick work of it.
- Baking Sheet: If you’re cooking the bacon in the oven, a rimmed baking sheet lined with parchment paper makes cleanup a breeze.
- Measuring Cups and Spoons: For accurate measurements, especially with the lemon juice and mayo. I’ve eyeballed it before, and it’s never as good.
- Microplane or Zester: If you want that fresh lemon zest, a microplane is your best friend. A fine grater works in a pinch.
- Colander: For rinsing the frozen peas under cool water to thaw them quickly.
Honestly, if you have a bowl and a spoon, you can make this salad. The rest is just convenience.
Preparation Method
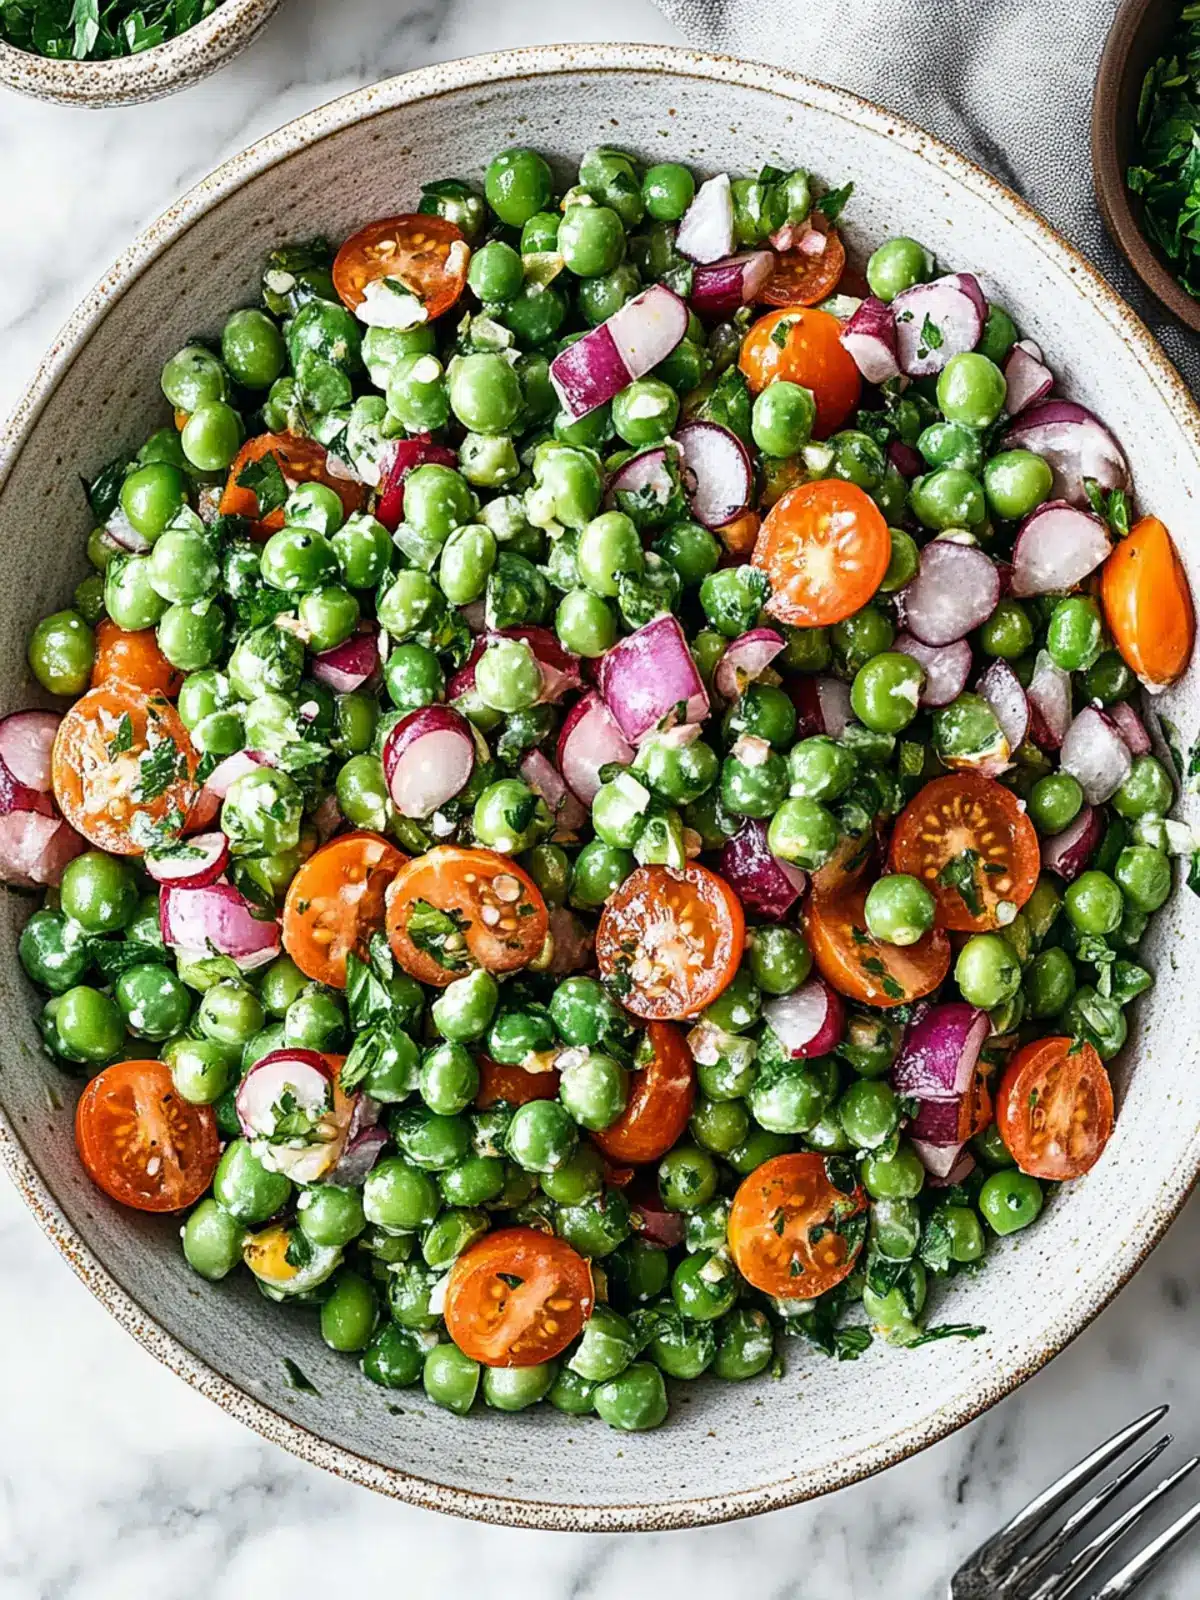
Let’s get into the step-by-step process. This comes together fast, so have all your ingredients prepped before you start mixing.
- Cook the bacon: Preheat your oven to 400°F (200°C). Lay the bacon slices on a parchment-lined baking sheet in a single layer. Bake for 12-15 minutes, until the bacon is deep golden and crispy. Keep an eye on it after the 12-minute mark—it can go from perfect to burnt quickly. Transfer the bacon to a paper towel-lined plate to drain and cool. Once cool, crumble or chop it into small pieces.
- Thaw the peas: Place the frozen peas in a colander and rinse them under cool running water for about 30 seconds. Shake off the excess water and let them drain for a minute. You want the peas to be cool but not icy cold. If you prefer, you can let them thaw in the fridge overnight.
- Prep the aromatics: Finely dice the red onion. If you want to mellow the bite, soak the diced onion in a small bowl of cold water for 5 minutes, then drain well. Zest the lemon before juicing it—it’s much easier to zest a whole lemon than a cut one.
- Make the dressing: In a small bowl, whisk together the mayonnaise, sour cream, lemon juice, lemon zest, salt, and pepper. Taste it and adjust the seasoning. It should be tangy and creamy, with a noticeable brightness from the lemon.
- Combine everything: In a large mixing bowl, add the thawed peas, crumbled bacon, shredded cheddar, and diced red onion. Pour the dressing over the top and stir gently until everything is evenly coated. Be careful not to mash the peas—you want them to stay whole and pop in your mouth.
- Chill and serve: For the best flavor, cover the bowl and refrigerate for at least 30 minutes before serving. This lets the flavors meld together. If you’re in a hurry, you can serve it immediately, but it won’t be quite as flavorful. Give it a quick stir before serving.
A quick note: If you’re making this ahead of time, hold back a little of the bacon and cheddar to sprinkle on top just before serving. That way, the salad looks fresh and inviting, even after sitting in the fridge.
Cooking Tips & Techniques
I’ve made this pea salad more times than I can count, and I’ve learned a few things along the way. Here are some tips to help you nail it on the first try.
Don’t overcook the peas. Frozen peas are already blanched, so they just need to be thawed. If you cook them, they’ll turn mushy and lose that satisfying pop. Rinsing them under cool water is all they need.
Bacon in the oven is a game-changer. I used to fry bacon on the stovetop, but it always splattered everywhere and cooked unevenly. Baking it gives you perfectly flat, crispy slices that crumble easily. Plus, you can walk away while it cooks.
Shred your own cheese. Pre-shredded cheese is coated with cellulose to prevent clumping, which means it doesn’t melt or blend into the dressing as well. A block of sharp cheddar shredded at home makes a noticeable difference in texture and flavor.
Let it rest. This salad is good right away, but it’s great after an hour in the fridge. The peas absorb some of the dressing, and the flavors settle into something more cohesive. If you can, make it a few hours before you plan to serve it.
One mistake I made early on: I added too much salt because I forgot the bacon and cheese were already salty. Now I always start with less and adjust at the end. You can always add more, but you can’t take it out.
Variations & Adaptations
This recipe is flexible, and I’ve tried a few different versions depending on what I have on hand or who I’m serving. Here are some ideas to make it your own.
- Vegetarian Version: Skip the bacon and add roasted sunflower seeds or toasted almonds for crunch. You can also use smoked paprika to mimic that smoky flavor.
- Lighter Option: Swap the mayonnaise for Greek yogurt and use light sour cream. The texture will be a bit tangier and less rich, but it still works well. I’ve done this when I wanted a healthier lunch.
- Extra Veggies: Add chopped cucumber, cherry tomatoes, or bell peppers for more color and crunch. Just make sure to pat them dry so they don’t water down the dressing.
- Herb Boost: Stir in a tablespoon of fresh chopped dill, parsley, or chives. Dill pairs especially well with the lemon and peas.
- Spicy Kick: Add a pinch of cayenne pepper or a few dashes of hot sauce to the dressing. It doesn’t make the salad spicy—just gives it a little warmth in the background.
- Dairy-Free: Use a vegan mayo and dairy-free cheddar shreds. The texture won’t be exactly the same, but the flavor will still be bright and satisfying.
I once added some chopped pickled red onions (from this quick pickled onions recipe) on top for extra tang, and it was a fantastic twist. Don’t be afraid to experiment.
Serving & Storage Suggestions
This salad is versatile enough to go with almost anything. Here’s how I like to serve and store it.
Serving Temperature: I prefer this salad cold, straight from the fridge. The contrast between the cool peas and the salty bacon is perfect. If you’re serving it at a potluck, keep it chilled until the last minute.
Pairings: It’s a natural side for grilled meats like burgers, steaks, or chicken. I’ve also served it alongside cozy hibachi steak bowls for a fun, textured meal. For a lighter meal, pair it with a simple green salad or some crusty bread.
Storage: Store leftovers in an airtight container in the refrigerator for up to 3 days. The peas will soften slightly over time, but the flavor actually improves. I don’t recommend freezing this salad—the dairy-based dressing will separate and become grainy.
Reheating: Don’t reheat this salad. It’s meant to be served cold. If you have leftovers, just eat them straight from the fridge. They’re even better the next day.
Make-Ahead Tip: This is a great dish to prep the night before a gathering. Just leave a little extra bacon and cheese aside to sprinkle on top before serving, so it looks fresh and appetizing.
Nutritional Information & Benefits
Here’s an approximate breakdown per serving (based on 6 servings):
- Calories: 320
- Protein: 12g
- Fat: 24g
- Carbohydrates: 14g
- Fiber: 4g
- Sugar: 6g
Peas are surprisingly nutritious. They’re packed with fiber, vitamin K, and plant-based protein. The lemon juice adds a dose of vitamin C, and the bacon and cheese provide some protein and calcium. This isn’t a health food, but it’s a balanced side that feels indulgent without being over the top. If you’re watching your sodium, use low-sodium bacon and reduce the added salt. For a lower-fat version, the Greek yogurt swap works well.
One thing I love about this salad is that it’s naturally gluten-free, so it works for guests with dietary restrictions. Just double-check your bacon and mayo labels to be sure.
Conclusion
This creamy zesty pea salad has become a staple in my kitchen for good reason. It’s fast, forgiving, and full of flavor. The sweetness of the peas, the saltiness of the bacon, the sharpness of the cheddar, and the brightness of the lemon all come together in a way that feels both comforting and fresh. It’s the kind of recipe you’ll memorize after making it once, and it’ll save you on busy nights when you need something good without a lot of effort.
I’d love to hear how you make it your own. Do you add extra herbs? Swap in a different cheese? Drop a comment below and let me know—I’m always looking for new twists. And if you share a photo on social media, tag me so I can see your creation. Happy cooking, and don’t forget to save this recipe for your next potluck!
Frequently Asked Questions
Can I use fresh peas instead of frozen?
Yes, but you’ll need to blanch them first. Shell the peas, boil them for 2 minutes, then plunge them into ice water to stop the cooking. Drain well before using. Fresh peas are sweeter but take more prep time.
How long does this salad last in the fridge?
It stays good for up to 3 days in an airtight container. The peas will soften a bit, but the flavor gets better. Just give it a stir before serving.
Can I make this salad dairy-free?
Absolutely. Use a vegan mayo and dairy-free cheddar shreds. The texture will be slightly different, but the zesty flavor still shines through.
What can I use instead of bacon?
Try crispy fried shallots, toasted sunflower seeds, or chopped candied pecans for crunch. Smoked almonds also add a nice smoky flavor without the meat.
Can I double this recipe for a crowd?
Yes, it scales up easily. Just use a larger bowl and adjust the seasoning to taste. I’ve made a triple batch for family reunions, and it always goes fast.
Pin This Recipe!
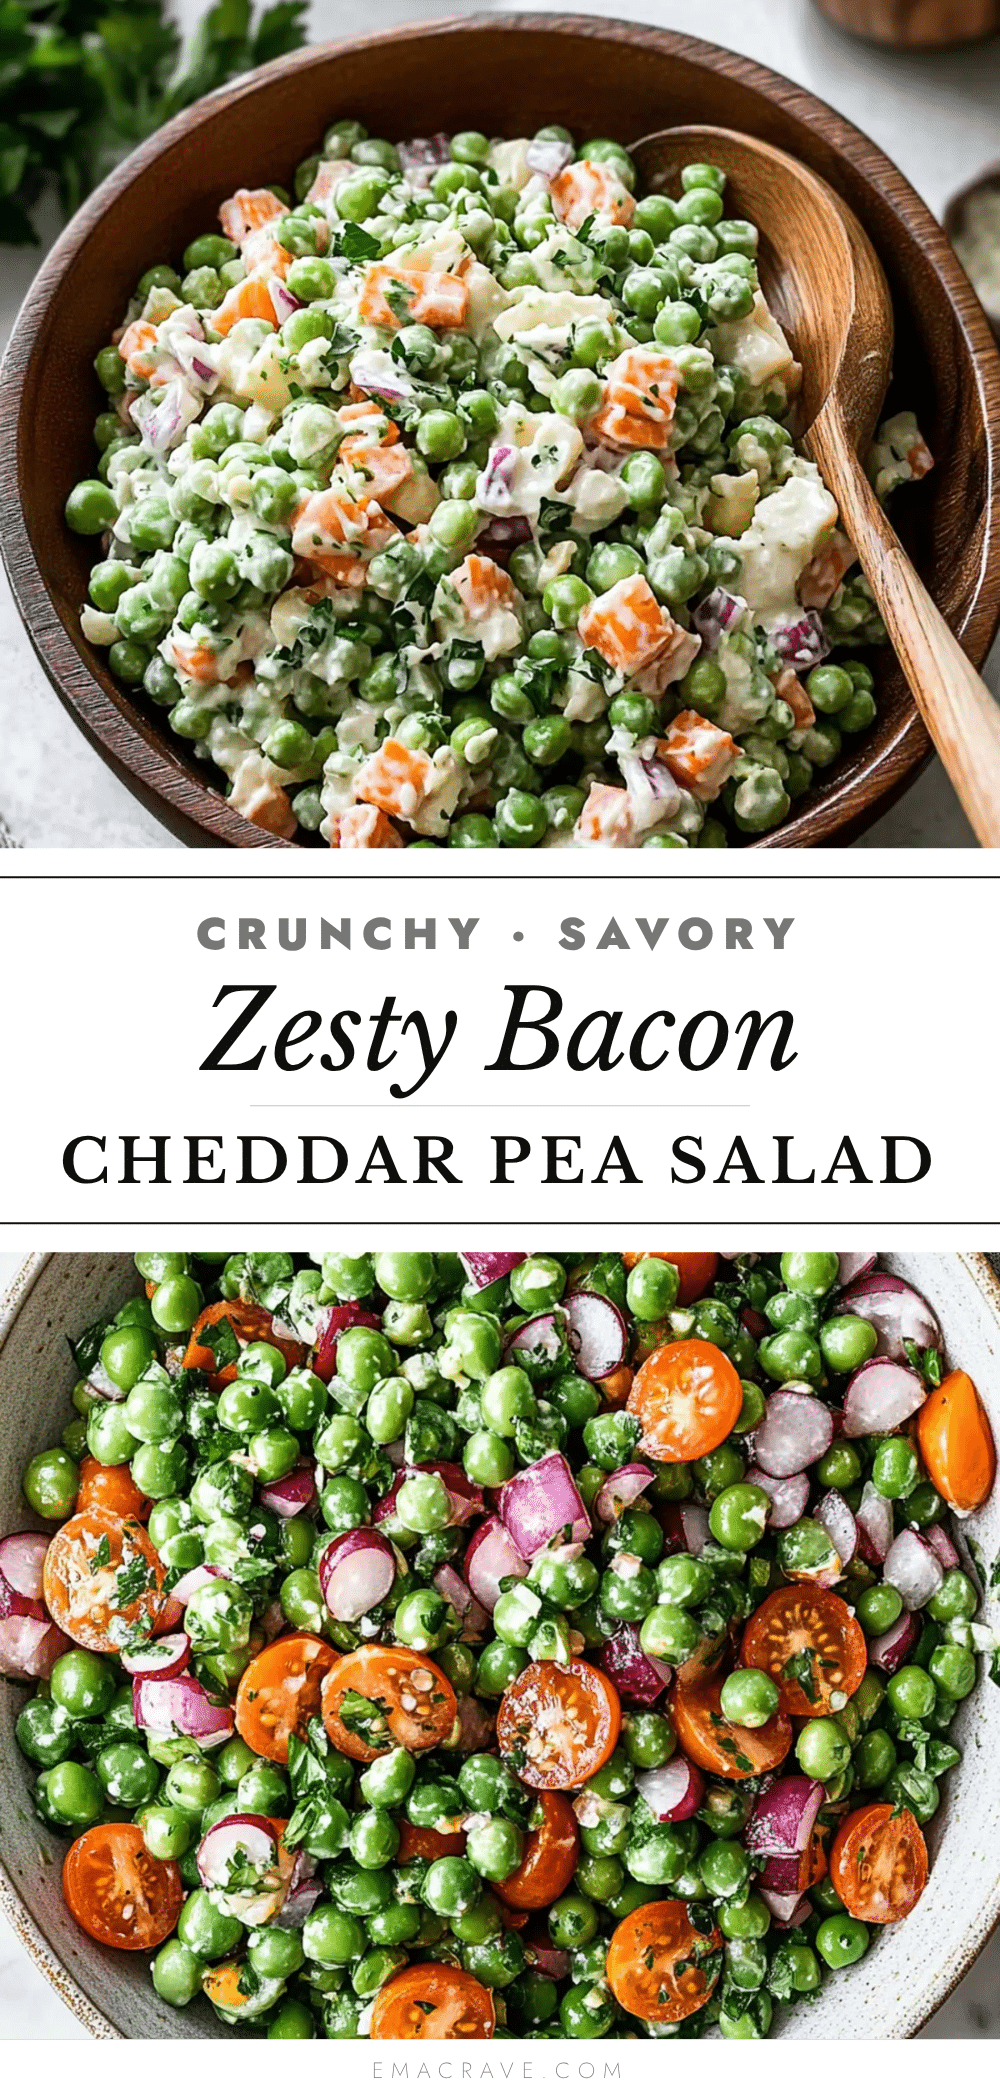
Creamy Zesty Pea Salad: Best Easy Bacon Cheddar Recipe
This creamy zesty pea salad is a quick and easy side dish featuring sweet peas, crispy bacon, sharp cheddar, and a tangy lemon dressing. Ready in 15 minutes, it’s perfect for weeknight dinners, potlucks, and barbecues.
- Prep Time: 15 minutes
- Cook Time: 15 minutes
- Total Time: 30 minutes
- Yield: 6 servings 1x
- Category: Side Dish
- Cuisine: American
Ingredients
- 16 oz (450g) frozen peas
- 6 slices thick-cut bacon
- 1 cup (120g) sharp cheddar cheese, shredded
- ½ cup (120ml) mayonnaise
- ¼ cup (60ml) sour cream
- 2 tablespoons fresh lemon juice
- 1 teaspoon lemon zest
- ¼ cup finely diced red onion
- ½ teaspoon salt
- ¼ teaspoon black pepper
Instructions
- Preheat oven to 400°F (200°C). Lay bacon slices on a parchment-lined baking sheet in a single layer. Bake for 12-15 minutes until deep golden and crispy. Transfer to a paper towel-lined plate to drain and cool, then crumble or chop into small pieces.
- Place frozen peas in a colander and rinse under cool running water for about 30 seconds to thaw. Shake off excess water and let drain for a minute.
- Finely dice the red onion. If desired, soak diced onion in cold water for 5 minutes to mellow the bite, then drain well. Zest the lemon before juicing.
- In a small bowl, whisk together mayonnaise, sour cream, lemon juice, lemon zest, salt, and pepper. Taste and adjust seasoning.
- In a large mixing bowl, combine thawed peas, crumbled bacon, shredded cheddar, and diced red onion. Pour dressing over the top and stir gently until evenly coated. Be careful not to mash the peas.
- Cover and refrigerate for at least 30 minutes before serving to allow flavors to meld. Stir before serving. For best presentation, reserve some bacon and cheddar to sprinkle on top.
Notes
For best flavor, let the salad rest in the fridge for at least 30 minutes. If making ahead, reserve some bacon and cheese to sprinkle on top before serving. Do not reheat; serve cold. Leftovers keep in an airtight container in the refrigerator for up to 3 days.
Nutrition
- Serving Size: 1 serving (about 1 c
- Calories: 320
- Sugar: 6
- Sodium: 680
- Fat: 24
- Saturated Fat: 9
- Carbohydrates: 14
- Fiber: 4
- Protein: 12
Keywords: pea salad, bacon cheddar pea salad, creamy pea salad, easy pea salad, zesty pea salad, cold pea salad, summer side dish, potluck recipe



