Love this? Save it for later!
Share the inspiration with your friends
I had a half-empty bag of coconut flour staring at me from the back of my pantry for months. Every time I opened the cabinet, I’d see it and think, “I should really do something with that.” But coconut flour is notoriously tricky. It soaks up liquid like a sponge, and if you don’t handle it right, your baked goods turn into dry, sad crumbs. So it sat there. Until one Saturday morning when I woke up craving waffles but realized I was completely out of regular flour. Not whole wheat, not all-purpose—nothing. I stood there in my pajamas, coffee in hand, staring at that bag of coconut flour and decided today was the day.
I honestly didn’t expect much. I figured I’d get a dense, heavy mess. But I wanted something crispy, something that could hold up to a pat of butter without getting soggy. I grabbed eggs, a splash of milk, and a little vanilla, and just started mixing. The batter looked different than regular waffle batter—thicker, almost like a paste—but I poured it into the hot iron anyway. When I lifted the lid, I couldn’t believe it. Golden brown, perfectly crisp edges, and a light, tender center that practically melted. I didn’t even bother with syrup at first. I just stood at the counter, eating a piece straight off the waffle iron, thinking, “Where has this been all my life?”
These crispy coconut flour waffles became my new Saturday morning ritual. They’re not just a gluten-free alternative; they’re genuinely the best waffles I’ve ever made. Light, crispy, and somehow both indulgent and healthy. If you’ve had bad experiences with coconut flour before, I promise you—this recipe changes everything.
Why You’ll Love This Recipe
Let me tell you why these waffles are different. I’ve tested this recipe at least a dozen times, tweaking the ratios, trying different fats, and even playing with the cooking time. What I landed on is the perfect balance of texture and flavor. Here’s what makes them special:
- Quick & Easy: From start to finish, these waffles come together in under 20 minutes. No complicated steps, no waiting for the batter to rest. Just mix, pour, and cook.
- Simple Ingredients: You probably have everything you need already. Eggs, coconut flour, a little butter or oil, and your choice of milk. No weird specialty items required.
- Perfect for Meal Prep: These waffles freeze beautifully. Make a double batch on Sunday, pop them in the toaster during the week, and you’ve got a healthy breakfast in minutes.
- Crowd-Pleaser: I’ve served these to friends who “don’t like healthy food” and watched them go back for seconds. The crispy edges win everyone over.
- Unbelievably Delicious: The texture is what gets me every time. Crispy on the outside, tender and fluffy on the inside, with a subtle natural sweetness from the coconut flour.
What makes this recipe stand out from other coconut flour waffle recipes is the technique. Most recipes end up dense or eggy because coconut flour needs extra structure. I figured out the perfect ratio of eggs to flour, plus a little trick with the cooking temperature that guarantees crispy results every single time. No sogginess, no grittiness—just pure waffle perfection.
Honestly, this recipe is for anyone who thinks healthy breakfasts have to be boring. It’s comfort food you can feel good about eating. Whether you’re gluten-free, low-carb, or just looking for a lighter way to start your day, these waffles deliver.
What Ingredients You Will Need
This recipe uses simple, wholesome ingredients to deliver that signature crispy texture and light flavor. Here’s what you’ll need and why each one matters.
For the Waffle Batter
- Coconut flour (½ cup, sifted) – This is the star of the show. Coconut flour is incredibly absorbent, so it requires more liquid and eggs than regular flour. I recommend Bob’s Red Mill or Anthony’s Goods for consistent results. Sifting is important—it breaks up clumps that can make the batter lumpy.
- Large eggs (4) – Eggs provide the structure that coconut flour lacks. They’re essential for holding the waffles together and giving them a light, fluffy texture. Room temperature eggs work best for even mixing.
- Unsalted butter (3 tablespoons, melted) – Butter adds richness and helps create those crispy golden edges. You can substitute coconut oil or avocado oil for a dairy-free version, but butter gives the best flavor.
- Milk of choice (¼ cup) – I use whole milk for extra tenderness, but almond milk, oat milk, or any dairy-free alternative works perfectly. The milk adds moisture without making the batter too thin.
- Honey or maple syrup (1 tablespoon) – A touch of natural sweetness balances the mild coconut flavor. You can skip it or use a sugar-free sweetener if you prefer.
- Vanilla extract (1 teaspoon) – Pure vanilla extract enhances the overall flavor and makes the waffles smell incredible while cooking.
- Baking powder (½ teaspoon) – This helps the waffles rise slightly and creates a lighter texture. Make sure your baking powder is fresh for best results.
- Pinch of salt – A small amount of salt balances the sweetness and brings out the other flavors.
Optional Toppings and Mix-Ins
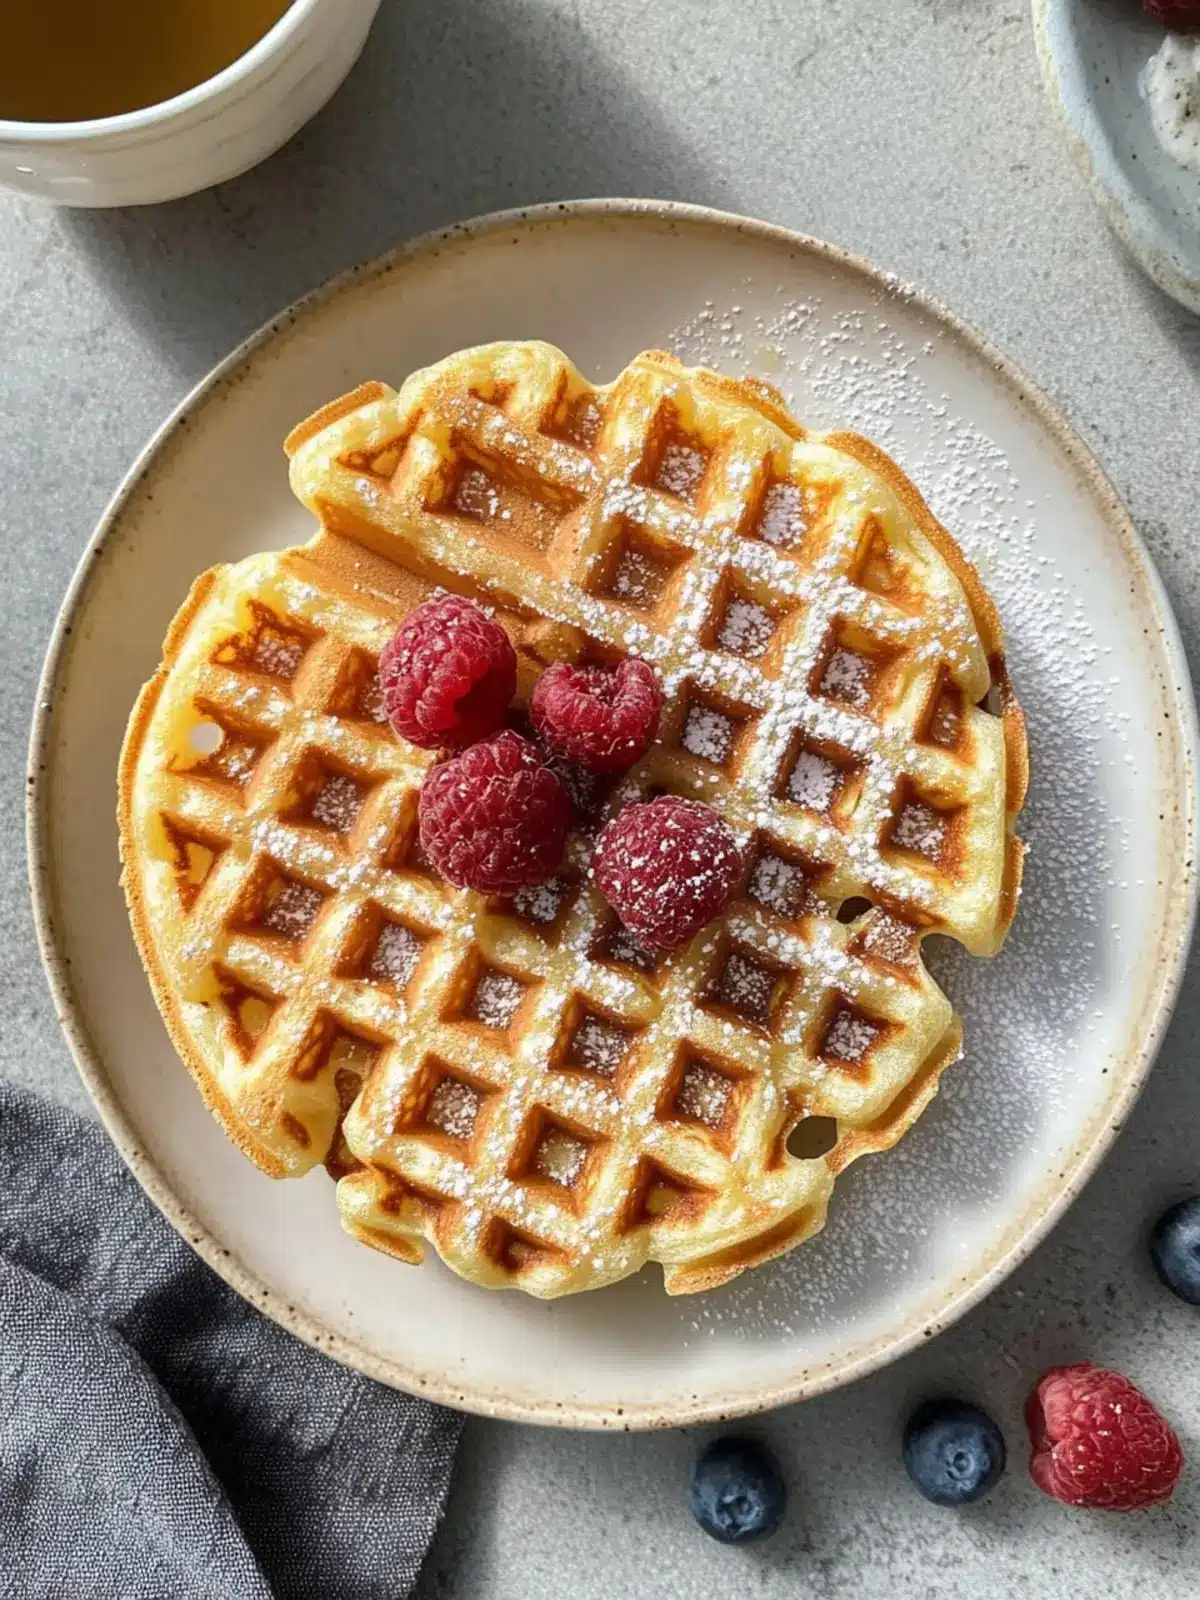
- Fresh berries (blueberries, strawberries, raspberries) – Adds freshness and a pop of color.
- Whipped cream or Greek yogurt – A dollop on top adds creaminess.
- Nut butter (almond, peanut, or cashew) – Drizzle over the waffles for extra protein.
- Dark chocolate chips – Fold into the batter for a sweeter version.
- Cinnamon (½ teaspoon) – Add to the dry ingredients for a warm, spiced flavor.
Equipment Needed
You don’t need a fancy kitchen to make these waffles, but having the right tools makes the process smoother.
- Waffle iron – Any standard waffle iron works. I use a classic round Belgian waffle maker, but square or mini waffle irons are fine too. If your waffle iron has a temperature setting, aim for medium-high heat (around 375°F).
- Mixing bowls – One medium bowl for dry ingredients and one for wet ingredients.
- Whisk or fork – A whisk works best for smoothing out the batter, but a fork gets the job done.
- Measuring cups and spoons – Accurate measurements are crucial with coconut flour. Even a little extra can make the waffles dry.
- Sifter or fine-mesh strainer – Essential for sifting the coconut flour to remove lumps.
- Rubber spatula – For scraping every bit of batter into the waffle iron.
- Pastry brush or paper towel – For greasing the waffle iron. A light coating of oil or butter prevents sticking.
If you don’t have a sifter, you can whisk the coconut flour vigorously to break up clumps. And if your waffle iron is older or tends to stick, give it an extra spray of non-stick cooking spray before each batch.
Preparation Method
Making these waffles is straightforward, but a few small details make all the difference. Follow these steps carefully for the best results.
Step 1: Preheat Your Waffle Iron
Plug in your waffle iron and set it to medium-high heat. Give it at least 5 minutes to fully preheat. A properly heated iron is key to getting that crispy exterior. If the iron isn’t hot enough, the waffles will steam instead of crisp up.
Step 2: Sift the Dry Ingredients
In a medium mixing bowl, sift together the coconut flour, baking powder, and salt. Sifting is non-negotiable here—coconut flour clumps easily, and those clumps won’t break down during mixing. Use a fine-mesh strainer and tap it gently until all the flour passes through.
Step 3: Whisk the Wet Ingredients
In a separate bowl, crack the eggs and whisk them until they’re light and frothy, about 30 seconds. Add the melted butter (make sure it’s cooled slightly so it doesn’t cook the eggs), milk, honey or maple syrup, and vanilla extract. Whisk until everything is well combined and smooth.
Step 4: Combine Wet and Dry
Pour the wet ingredients into the bowl with the sifted dry ingredients. Use a rubber spatula or whisk to mix gently. The batter will be thicker than regular waffle batter—almost like a thick paste. Don’t worry, that’s exactly how it should look. Mix just until no dry streaks remain. Overmixing can make the waffles tough.
Step 5: Let the Batter Rest
This is a crucial step that many people skip. Let the batter sit for 3-5 minutes before cooking. Coconut flour needs time to absorb the liquid fully. During this rest, the batter will thicken even more. If it becomes too thick to spread after resting, add a tablespoon of milk and stir gently.
Step 6: Grease the Waffle Iron
Lightly brush the preheated waffle iron with melted butter or coconut oil. You can also use a non-stick cooking spray. Be thorough but don’t overdo it—too much oil can make the waffles greasy.
Step 7: Cook the Waffles
Scoop about ⅓ cup of batter onto the center of the waffle iron. Use a spatula to spread it slightly, but don’t press down. Close the lid and cook for 4-5 minutes, or until the waffle is golden brown and crispy. The exact time depends on your waffle iron. Resist the urge to open the lid too early—let the steam escape naturally.
Sensory cue: You’ll know the waffle is done when the steam visibly decreases and the waffle iron releases easily. If it sticks, give it another minute.
Step 8: Keep Warm While Cooking
Place cooked waffles on a wire rack set over a baking sheet in a 200°F oven. This keeps them crispy without getting soggy. Never stack waffles on top of each other—the steam will make them soft.
Step 9: Serve Immediately
Serve the waffles warm with your favorite toppings. Fresh berries, a drizzle of maple syrup, and a dollop of Greek yogurt are my go-to combination.
Cooking Tips & Techniques
Over the course of testing this recipe, I learned a few things the hard way. Here are my best tips for perfect waffles every time.
Don’t overfill the waffle iron. Coconut flour batter doesn’t spread as much as regular batter, so it’s tempting to add more. Stick to about ⅓ cup per waffle. Too much batter will overflow and make a mess.
Watch the temperature. If your waffles are browning too quickly on the outside but staying soft inside, your iron is too hot. Lower the heat slightly and cook a little longer. Conversely, if they’re pale and soft, turn up the heat.
Use room temperature ingredients. Cold eggs or milk can make the batter seize up. Take them out of the fridge 15-20 minutes before you start cooking.
Don’t skip the rest time. I once rushed and skipped the rest step. The waffles turned out dense and unevenly cooked. That 5-minute rest allows the coconut flour to hydrate fully, resulting in a much better texture.
For extra crispiness, try this trick: after cooking, place the waffles directly on the oven rack (not a baking sheet) in a 300°F oven for 2-3 minutes. This dries out the surface and makes them even crunchier.
Make-ahead tip: These waffles freeze wonderfully. Let them cool completely, then place them in a single layer on a baking sheet and freeze for 1 hour. Transfer to a zip-top bag and store for up to 3 months. Reheat in a toaster or toaster oven for best results.
Variations & Adaptations
One of the best things about this recipe is how versatile it is. Here are some of my favorite variations.
Savory Waffles
Skip the honey and vanilla, and add ½ teaspoon of garlic powder, ¼ cup of shredded cheddar cheese, and a tablespoon of chopped chives to the batter. These savory waffles are amazing topped with a fried egg and a drizzle of hot sauce. They also pair beautifully with a bowl of creamy sausage potato soup for a hearty brunch.
Vegan Version
Replace the eggs with flax eggs (1 tablespoon ground flaxseed + 3 tablespoons water per egg) and use a plant-based milk and coconut oil instead of butter. The texture will be slightly denser, but still delicious. Add an extra tablespoon of milk to thin the batter if needed.
Chocolate Chip Waffles
Fold ¼ cup of dark chocolate chips into the batter just before cooking. The chocolate melts into little pockets of richness throughout the waffle. Serve with a dusting of powdered sugar and fresh raspberries.
Pumpkin Spice Waffles
Add ¼ cup of pumpkin puree, ½ teaspoon of pumpkin pie spice, and an extra tablespoon of honey to the wet ingredients. These are perfect for fall mornings. If you love seasonal breakfasts, you’ll also enjoy these crispy apple waffles for another autumn twist.
Low-Carb/Keto Option
Use a sugar-free sweetener like erythritol or stevia instead of honey or maple syrup. The rest of the recipe is naturally low-carb and keto-friendly. Serve with sugar-free syrup and whipped cream.
Serving & Storage Suggestions
These waffles are best served fresh and hot, but they’re also great for meal prep.
Serving temperature: Serve immediately after cooking for maximum crispiness. If you’re serving a crowd, keep them warm on a wire rack in a low oven (200°F) for up to 30 minutes.
Topping ideas: I love a simple combination of fresh berries, a drizzle of maple syrup, and a dollop of Greek yogurt. For something more indulgent, try a scoop of vanilla ice cream and a swirl of caramel sauce. For a healthier twist, top with sliced banana and a spoonful of almond butter.
Storage: Store leftover waffles in an airtight container in the refrigerator for up to 4 days. To reheat, pop them in a toaster or toaster oven until warm and crispy again. Avoid the microwave—it makes them soggy.
Freezing: As mentioned, these waffles freeze beautifully. Layer them between sheets of parchment paper in a freezer-safe bag. They’ll keep for up to 3 months. Reheat directly from frozen in a toaster or oven at 350°F for 5-7 minutes.
Flavor development: Interestingly, these waffles taste even better the next day if reheated properly. The flavors meld together, and the crispiness returns with a quick toasting.
These waffles also pair wonderfully with a warm drink. Try them alongside a creamy raspberry cheesecake latte for a cozy weekend breakfast.
Nutritional Information & Benefits
Here’s the nutritional breakdown for one waffle (based on the base recipe without toppings):
| Nutrient | Amount per Waffle |
|---|---|
| Calories | 185 |
| Protein | 9g |
| Carbohydrates | 12g |
| Fiber | 6g |
| Fat | 12g |
| Saturated Fat | 6g |
| Sugar | 4g |
Health benefits: Coconut flour is rich in fiber, which aids digestion and helps keep you full longer. It’s also naturally gluten-free and low on the glycemic index, making it a great choice for blood sugar management. The eggs provide high-quality protein, while the butter (or oil) adds healthy fats for sustained energy.
Dietary considerations: This recipe is naturally gluten-free, grain-free, and low-carb. With simple substitutions, it can be made dairy-free, vegan, or keto-friendly. Always check your ingredient labels if you have specific allergies.
I personally love that these waffles feel like a treat but are actually packed with nutrients. They’re the kind of breakfast that keeps you satisfied until lunch without the mid-morning energy crash.
Conclusion
These crispy coconut flour waffles have become a staple in my kitchen, and I have a feeling they’ll become one in yours too. They’re proof that healthy eating doesn’t have to mean sacrificing flavor or texture. Whether you’re new to coconut flour or a seasoned pro, this recipe delivers consistent, delicious results every time.
I encourage you to make this recipe your own. Play around with the toppings, try the savory version, or double the batch for meal prep. The beauty of this recipe is its flexibility. And if you come up with a variation you love, I’d genuinely love to hear about it. Drop a comment below or tag me in your photos—I’m always inspired by how readers put their own spin on things.
So go ahead, preheat that waffle iron, and treat yourself to a breakfast that’s light, crispy, and absolutely unforgettable. You deserve it.
Frequently Asked Questions
Can I use almond flour instead of coconut flour?
No, almond flour and coconut flour behave very differently. Coconut flour is much more absorbent, so substituting directly won’t work. If you want to use almond flour, look for a recipe specifically designed for it.
Why are my waffles falling apart?
This usually happens when the batter is too dry or the waffles are undercooked. Make sure you’re measuring the coconut flour correctly (spoon it into the measuring cup and level it off) and let the batter rest for 5 minutes before cooking. Also, ensure the waffle iron is fully preheated.
Can I make the batter ahead of time?
I don’t recommend it. Coconut flour batter thickens significantly as it sits, and the waffles won’t be as light and crispy. It’s best to make the batter fresh and cook immediately.
How do I get my waffles extra crispy?
Cook them a little longer than usual, until they’re deep golden brown. You can also place them on a wire rack in a 300°F oven for 2-3 minutes after cooking to dry out the surface.
Are these waffles keto-friendly?
Yes, with a simple swap. Replace the honey or maple syrup with a keto-friendly sweetener like erythritol or stevia. The rest of the ingredients are naturally low in carbs and high in healthy fats.
Pin This Recipe!
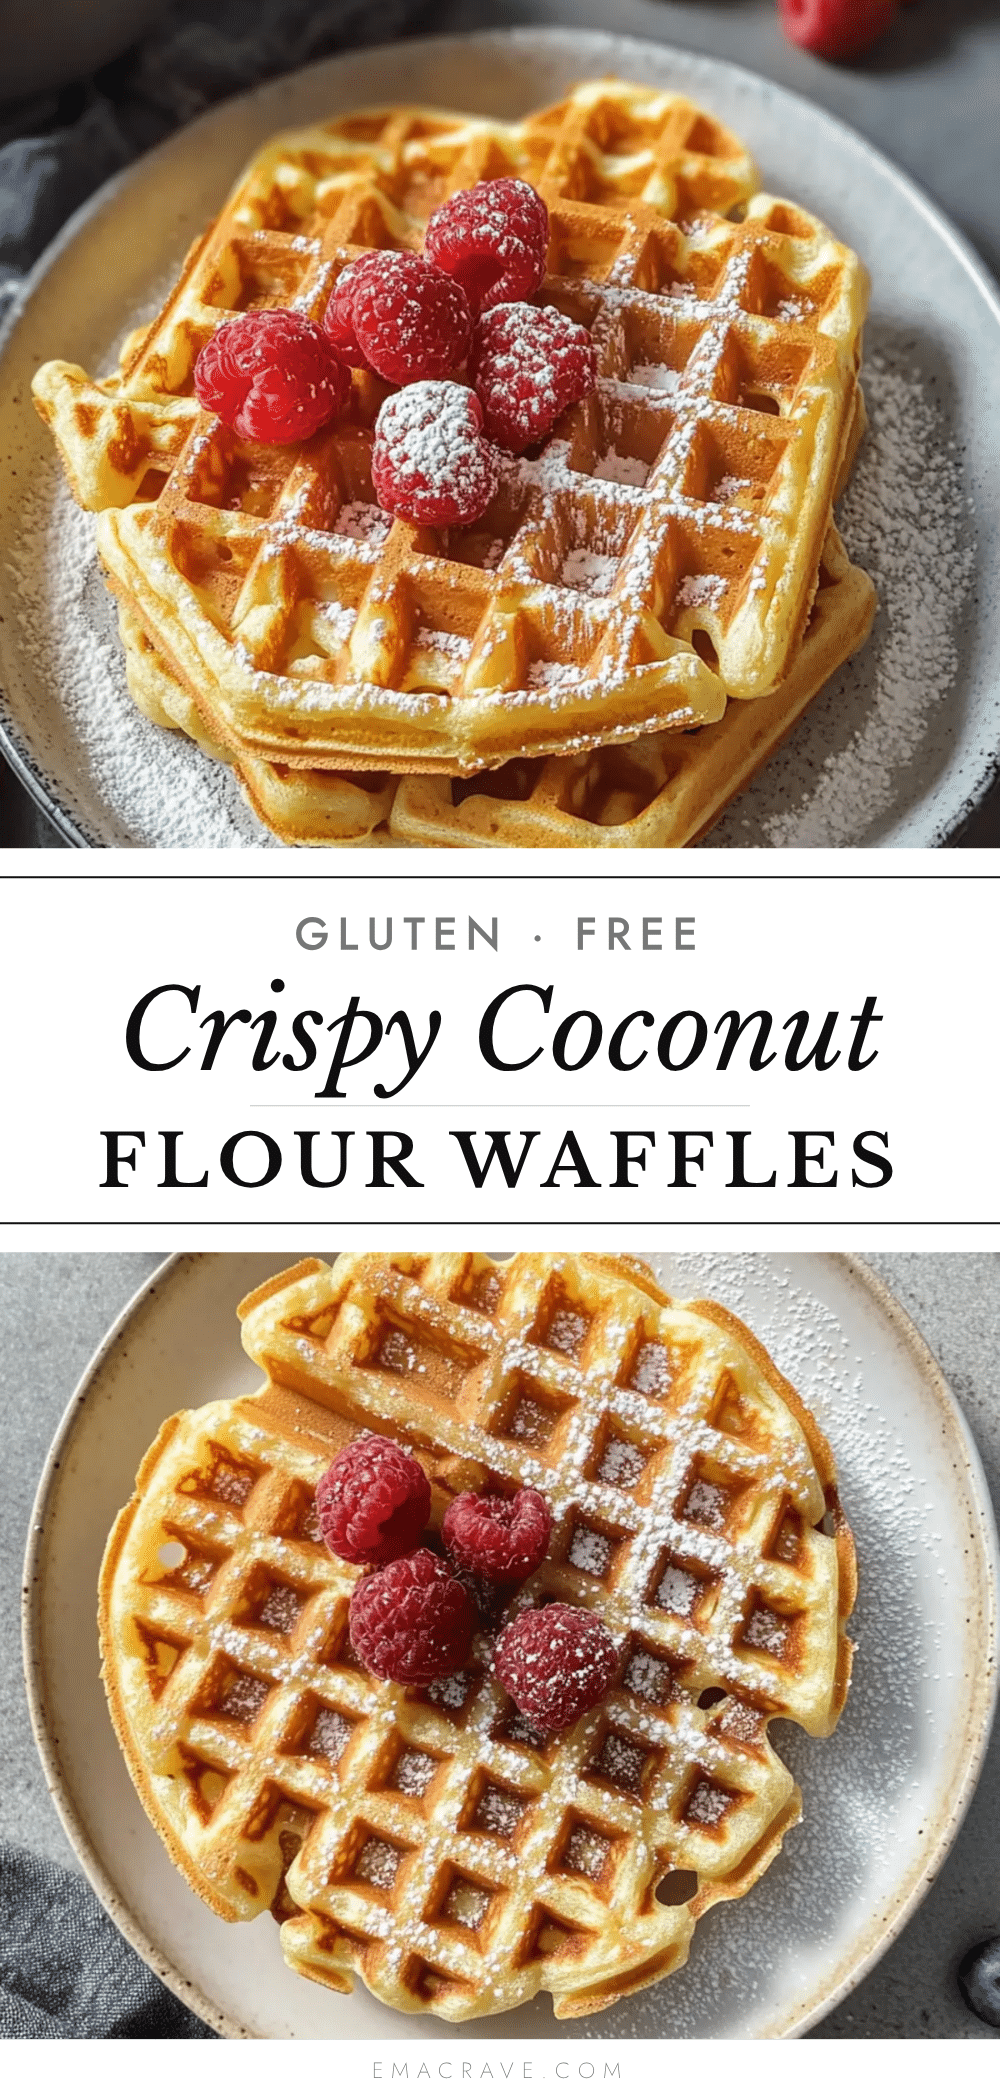
Best Crispy Coconut Flour Waffles – Easy Healthy Breakfast

Light, crispy, and healthy coconut flour waffles that are gluten-free, low-carb, and perfect for a quick breakfast. Ready in under 20 minutes with simple ingredients.
- Prep Time: 10 minutes
- Cook Time: 10 minutes
- Total Time: 20 minutes
- Yield: 4 servings 1x
- Category: Breakfast
- Cuisine: American
Ingredients
- ½ cup coconut flour, sifted
- 4 large eggs, room temperature
- 3 tablespoons unsalted butter, melted
- ¼ cup milk of choice (whole milk, almond milk, etc.)
- 1 tablespoon honey or maple syrup
- 1 teaspoon vanilla extract
- ½ teaspoon baking powder
- Pinch of salt
Instructions
- Preheat your waffle iron to medium-high heat (about 375°F) and let it heat for at least 5 minutes.
- In a medium bowl, sift together the coconut flour, baking powder, and salt.
- In a separate bowl, whisk the eggs until light and frothy, about 30 seconds. Add the melted butter (cooled slightly), milk, honey or maple syrup, and vanilla extract. Whisk until well combined.
- Pour the wet ingredients into the dry ingredients and mix gently with a rubber spatula or whisk until no dry streaks remain. The batter will be thick like a paste.
- Let the batter rest for 3-5 minutes to allow the coconut flour to absorb the liquid. If it becomes too thick, add a tablespoon of milk and stir.
- Lightly grease the preheated waffle iron with melted butter or non-stick spray.
- Scoop about ⅓ cup of batter onto the center of the waffle iron. Spread slightly with a spatula, close the lid, and cook for 4-5 minutes until golden brown and crispy. Do not open the lid too early.
- Place cooked waffles on a wire rack set over a baking sheet in a 200°F oven to keep warm and crispy. Do not stack them.
- Serve immediately with your favorite toppings.
Notes
For extra crispiness, place cooked waffles directly on the oven rack in a 300°F oven for 2-3 minutes. These waffles freeze well; cool completely, freeze in a single layer, then store in a zip-top bag for up to 3 months. Reheat in a toaster or toaster oven.
Nutrition
- Serving Size: 1 waffle
- Calories: 185
- Sugar: 4
- Sodium: 150
- Fat: 12
- Saturated Fat: 6
- Carbohydrates: 12
- Fiber: 6
- Protein: 9
Keywords: coconut flour waffles, gluten-free waffles, healthy breakfast, low-carb waffles, crispy waffles, easy waffle recipe