Love this? Save it for later!
Share the inspiration with your friends
The first time I made these crispy apple waffles, it was barely past dawn and the kitchen was still dark. I had a bowl of shredded apple sitting on the counter, leftover from a pie I never got around to baking, and I was too tired to think straight. The waffle iron sat dusty in the back of the cabinet—honestly, I almost grabbed the pancake skillet instead. But something about the quiet of that early morning made me want the sound of that iron hissing and steaming. So I plugged it in, tossed some flour and cinnamon into a bowl, and just started mixing. No plan. No recipe. Just a vague idea that apples and waffles should probably meet.
By the time the first waffle came out—golden, speckled with cinnamon, and impossibly crispy around the edges—I was wide awake. That first bite was the kind that makes you stop whatever you’re doing and just stand there, chewing slowly, trying to figure out why something so simple feels so good. The outside had this shatter-crisp texture, but the inside was tender and soft, with little pockets of warm, sweet apple in every bite. I drizzled a little maple syrup over the top and sat down on the kitchen floor (because why not?) and ate the whole thing in about four minutes.
These crispy apple waffles have become my go-to for those mornings when you need something that feels like a hug but doesn’t require a full production. They’re not fussy. They don’t need a stand mixer or a complicated batter. Just a box grater, a waffle iron, and a few pantry staples. And honestly? They might be the best thing I’ve made all year. So if you’ve been looking for a reason to pull that waffle iron out of hiding, this is it.
Why You’ll Love This Recipe
I’ve tested this recipe about seven times now—tweaking the flour ratio, playing with the amount of butter, even trying different types of apples to see which one gives the best texture. And after all that trial and error, I can confidently say this version is the one. Here’s why these crispy apple waffles deserve a spot in your breakfast rotation:
- Perfectly Crispy on the Outside, Tender on the Inside : The secret is in the batter consistency and the way the apple shreds caramelize against the hot iron. You get that satisfying crunch without any sogginess.
- Made with Simple, Everyday Ingredients : No buttermilk, no specialty flours, no obscure extracts. If you have apples, flour, eggs, and butter, you’re already halfway there.
- Ready in Under 30 Minutes : From grating the apple to pulling the last waffle off the iron, you’re looking at about 25 minutes. Perfect for a lazy weekend morning or even a special weekday breakfast.
- Naturally Sweetened by the Apples : You don’t need a ton of added sugar. The fruit does most of the heavy lifting, especially if you use a sweeter variety like Honeycrisp or Fuji.
- Family-Approved and Crowd-Pleasing : I’ve served these to picky kids, skeptical in-laws, and friends who “don’t really like waffles.” Every single plate came back clean.
What makes these different from every other apple waffle recipe out there? It’s the way the shredded apple integrates into the batter—not as chunks that fall out, but as fine, tender strands that cook right into the waffle. That, plus a little trick with melted butter, gives you a texture that’s crispier and more flavorful than anything I’ve tried before. This isn’t just another breakfast recipe. It’s the one you’ll keep coming back to when you want something cozy, reliable, and genuinely delicious.
What Ingredients You Will Need
This recipe uses simple, wholesome ingredients that come together to deliver that perfect balance of crispy edges and tender, apple-studded centers. Most of these are pantry staples, so you probably won’t need a special trip to the store.
- 1 ½ cups all-purpose flour – Provides structure and helps create that crispy exterior. I use unbleached all-purpose flour, but you can substitute with a 1:1 gluten-free baking blend if needed.
- 2 tablespoons granulated sugar – Adds just a touch of sweetness. You can reduce this to 1 tablespoon if your apples are very sweet.
- 1 tablespoon baking powder – This is what makes the waffles light and airy inside. Make sure your baking powder is fresh—test it by dropping a pinch into hot water; if it fizzes, you’re good.
- ½ teaspoon ground cinnamon – The warm, cozy spice that pairs perfectly with apples. I prefer Ceylon cinnamon for its milder, sweeter flavor, but regular cinnamon works fine.
- ¼ teaspoon salt – Balances the sweetness and enhances all the flavors. Don’t skip it!
- 1 cup milk – Whole milk gives the richest texture, but 2% or oat milk work well too. If using plant-based milk, go for an unsweetened, unflavored variety.
- 2 large eggs – Room temperature eggs incorporate more easily into the batter and create a smoother texture. If you forgot to take them out of the fridge, place them in a bowl of warm water for 5 minutes.
- 4 tablespoons unsalted butter, melted and slightly cooled – This is the secret to that golden, crispy crust. I recommend using a high-quality butter like Kerrygold for the best flavor, but any unsalted butter will work.
- 1 teaspoon vanilla extract – Adds warmth and depth. Pure vanilla extract is best, but imitation vanilla will do in a pinch.
- 1 ½ cups grated apple (about 2 medium apples) – Use a box grater or food processor to shred the apples. I love using Honeycrisp or Fuji for their natural sweetness and firm texture. You don’t need to peel the apples—the peel adds color and fiber—but you can if you prefer a smoother texture.
- Optional: ¼ cup chopped walnuts or pecans – Adds a lovely crunch. Toast them lightly in a dry pan for extra flavor before folding them into the batter.
Equipment Needed
You really don’t need much for this recipe, which is part of what makes it so approachable. Here’s what you’ll want to have on hand:
- Waffle iron – Any standard waffle iron will work. I use a classic Belgian-style one, but a thinner waffle maker will give you even crispier results. If your waffle iron is older, make sure the nonstick surface is still in good shape to prevent sticking.
- Box grater or food processor with shredding disc – For grating the apples. A box grater is my go-to because it’s easy to clean and gives you nice, even shreds. If using a food processor, pulse gently—you don’t want apple mush.
- Large mixing bowl – For combining the dry ingredients.
- Medium mixing bowl – For whisking the wet ingredients.
- Whisk and rubber spatula – A whisk for the eggs and milk, and a spatula for folding in the apples.
- Measuring cups and spoons – Accurate measurements matter here, especially for the flour and baking powder.
- Cooling rack – If you’re making multiple waffles, placing them on a cooling rack instead of a plate prevents them from steaming and losing their crispiness.
If you don’t have a cooling rack, just place the waffles on a baking sheet in a single layer and keep them warm in a 200°F oven while you finish cooking the rest.
Preparation Method
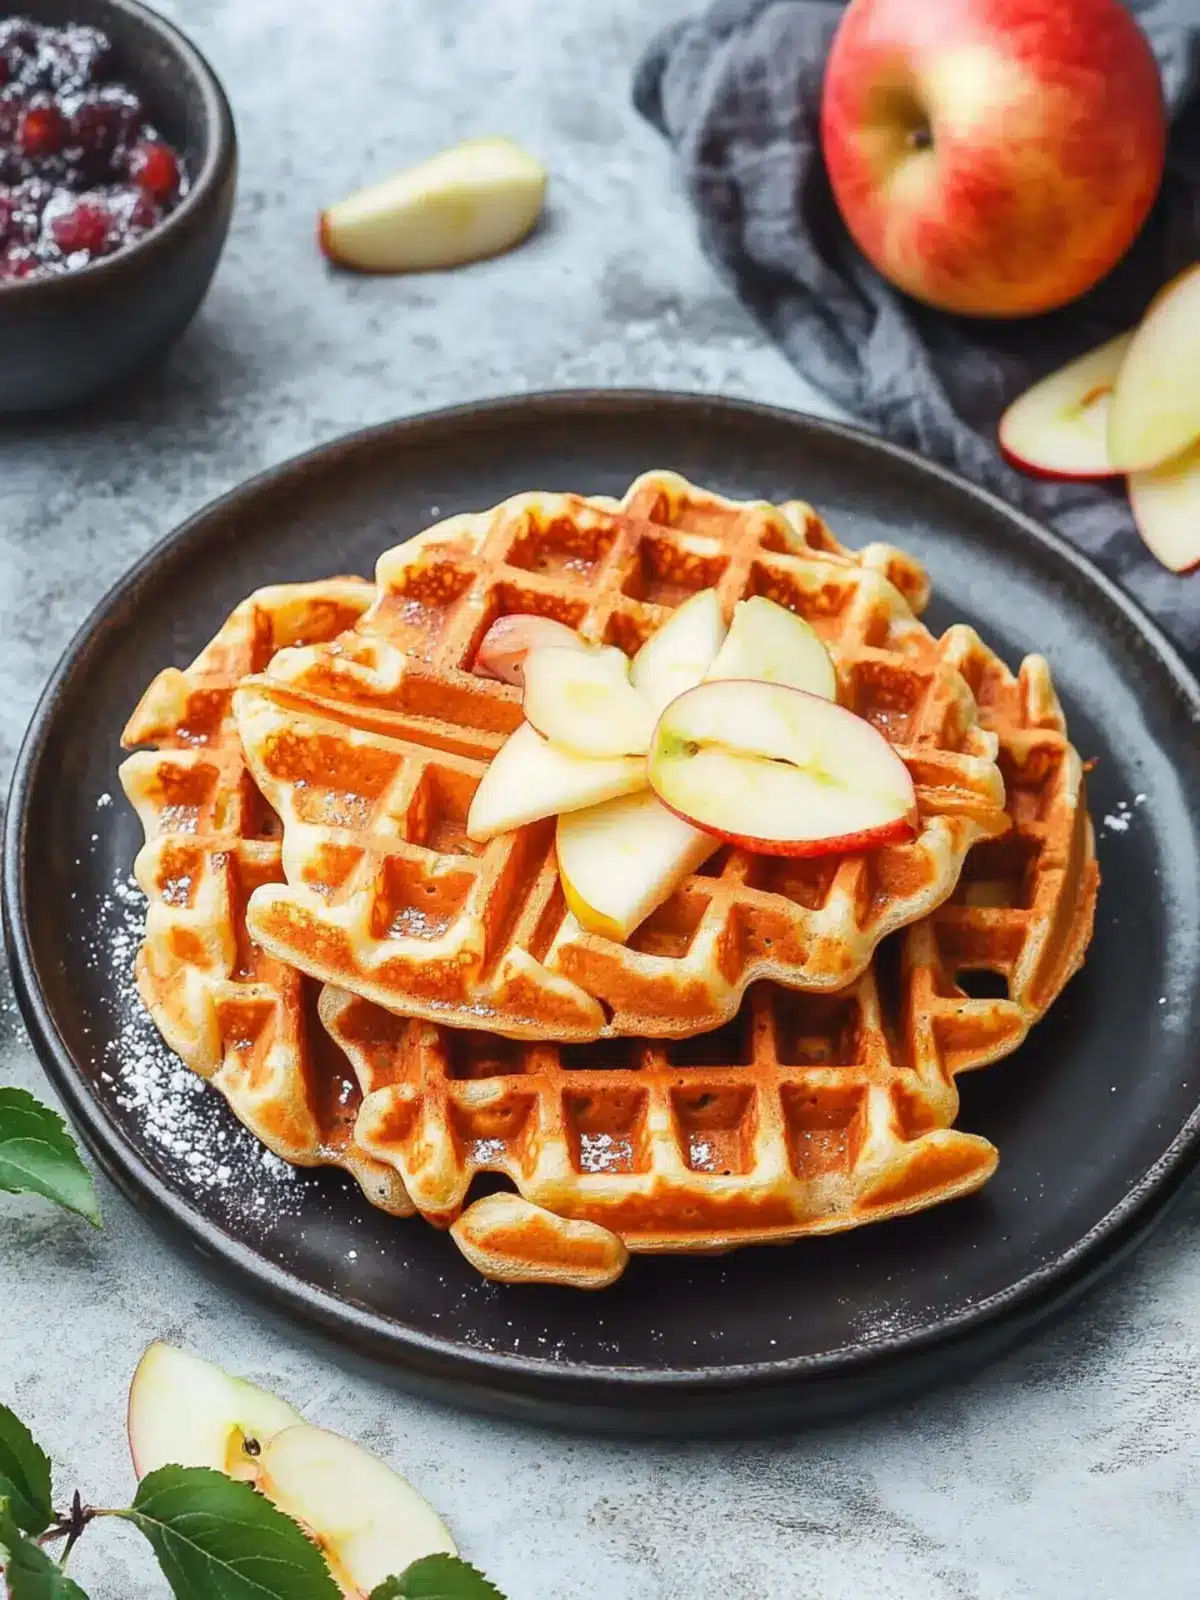
Let’s get cooking. This process moves quickly, so I like to have all my ingredients measured and ready before I start. Trust me, it makes everything smoother.
- Preheat your waffle iron. Plug it in and set it to medium-high heat. Most waffle irons have a temperature dial or a simple on/off switch. Give it a full 5 minutes to heat up properly—a cold iron will give you pale, soggy waffles.
- Grate the apples. Wash your apples (no need to peel unless you want to) and grate them using the large holes of a box grater. You should end up with about 1½ cups of shredded apple. Place the grated apple in a clean kitchen towel or cheesecloth and gently squeeze out some of the excess liquid. You don’t want them bone-dry, just not dripping wet. Set aside.
- Mix the dry ingredients. In a large bowl, whisk together the flour, sugar, baking powder, cinnamon, and salt. Make sure the baking powder is evenly distributed—nobody wants a pocket of bitter baking powder in their waffle.
- Mix the wet ingredients. In a separate medium bowl, whisk the milk, eggs, melted butter, and vanilla extract until smooth and slightly frothy. The melted butter should be cooled to room temperature so it doesn’t cook the eggs when you mix them.
- Combine wet and dry. Pour the wet ingredients into the dry ingredients and stir gently with a rubber spatula until just combined. A few lumps are totally fine—overmixing will make the waffles tough. The batter should be thick but pourable.
- Fold in the grated apples. Add the squeezed apples (and walnuts if using) to the batter and fold gently until evenly distributed. The batter will look a little speckled and that’s exactly what you want.
- Cook the waffles. Lightly grease the hot waffle iron with a little butter or nonstick spray (even if it’s nonstick, this extra step helps). Pour about ⅓ to ½ cup of batter onto the center of the iron—the exact amount depends on your waffle maker. Close the lid and cook for 4-5 minutes, or until the waffle is golden brown and crispy. Don’t open the lid too early to check; let it steam and set first.
- Keep warm and repeat. Transfer the cooked waffle to a cooling rack or a baking sheet in a 200°F oven. Repeat with the remaining batter. This recipe makes about 4-5 standard Belgian waffles.
- Serve immediately. These waffles are best fresh and hot. Top with a pat of butter, a drizzle of maple syrup, a dusting of cinnamon, or even a dollop of Greek yogurt for a little tang.
Cooking Tips & Techniques
After making these crispy apple waffles more times than I can count, I’ve picked up a few tricks that make a real difference. Here’s what I’ve learned:
- Don’t skip squeezing the apples. I made this mistake once and ended up with waffles that were gummy in the center instead of fluffy. The excess moisture from the apples steams the batter instead of letting it crisp up. A gentle squeeze is all it takes.
- Let the batter rest for 5 minutes before cooking. This gives the baking powder time to activate and the flour time to hydrate, resulting in lighter, airier waffles. Use those 5 minutes to get your toppings ready or brew a cup of coffee.
- Use a light hand when mixing. I know it’s tempting to keep stirring until the batter looks perfectly smooth, but lumps are your friend here. Overmixing develops the gluten and makes waffles dense and chewy instead of tender.
- Don’t overcrowd the waffle iron. Pour just enough batter to cover the grid without spilling over the edges. If you add too much, the batter will ooze out and make a mess, and the waffle won’t cook evenly.
- Resist the urge to peek. Opening the waffle iron too early releases the steam that helps the waffle rise and crisp. Let it cook undisturbed until the steam visibly slows down—that’s your signal that it’s almost done.
- If your waffles aren’t crispy enough, try this: After cooking, place them directly on the oven rack (not a baking sheet) in a 300°F oven for 2-3 minutes. This dries out the surface and gives them an extra crunch.
One of my biggest failures? I once used a very watery apple (a Gala that was past its prime) and didn’t squeeze it well enough. The waffles were flat, pale, and almost steamed instead of fried. It was a sad breakfast. But that mistake taught me how important moisture control is, and now I always give my apples a good squeeze.
Variations & Adaptations
One of the best things about this recipe is how easy it is to tweak. Here are a few variations I’ve tried and loved:
- Gluten-Free Version : Swap the all-purpose flour with a 1:1 gluten-free baking blend that contains xanthan gum. I’ve used Bob’s Red Mill 1-to-1 Baking Flour with great results. The texture is slightly more delicate, but the crispiness still holds up.
- Vegan Adaptation : Replace the milk with unsweetened almond or oat milk, use a flax egg (1 tablespoon ground flaxseed mixed with 3 tablespoons water, let sit for 5 minutes), and substitute the butter with melted coconut oil or vegan butter. The waffles won’t be quite as crispy, but they’ll still be delicious.
- Savory-Sweet Twist : Reduce the sugar to 1 tablespoon and add ¼ teaspoon of black pepper and a pinch of nutmeg to the batter. Top with a drizzle of honey and a sprinkle of flaky sea salt. It sounds weird, but the pepper and salt really make the apple flavor pop.
- Add Some Crunch : Fold in ¼ cup of toasted pecans, walnuts, or even pepitas along with the apples. The nuts toast inside the waffle and add a wonderful textural contrast.
- Spiced Apple Cider Version : Replace the milk with apple cider and add an extra ¼ teaspoon of cinnamon and a pinch of cloves. The waffles will have a deeper, more complex apple flavor that’s perfect for fall mornings.
I personally love the savory-sweet twist with the black pepper and sea salt. It feels grown-up and unexpected, but it’s still cozy enough for a lazy Sunday. If you’re feeling adventurous, give it a try!
Serving & Storage Suggestions
These crispy apple waffles are best served hot, right off the iron. But here’s how to make the most of them, whether you’re eating them now or saving some for later.
For Serving: Stack 2-3 waffles on a plate and top with a pat of salted butter (it melts into all those nooks and crannies). Drizzle generously with warm maple syrup, and finish with a dusting of cinnamon or a sprinkle of powdered sugar. If you want to go all out, add a dollop of lightly sweetened whipped cream or a scoop of vanilla ice cream for dessert-style waffles. These also pair beautifully with a side of crispy turkey bacon or a simple cozy Mediterranean chickpea orzo soup for a brunch-lunch crossover that feels completely indulgent.
For Storage: Let any leftover waffles cool completely on a wire rack (this prevents them from getting soggy). Place them in a single layer in a zip-top freezer bag or airtight container, with parchment paper between layers. They’ll keep in the refrigerator for up to 3 days or in the freezer for up to 2 months.
For Reheating: The toaster is your best friend here. Pop frozen or refrigerated waffles directly into the toaster on a medium setting and toast until hot and crispy. This takes about 2-3 minutes and revives that just-made texture better than the microwave ever could. You can also reheat them in a 350°F oven on a baking sheet for 5-7 minutes. Avoid the microwave—it makes them soft and rubbery.
Flavor Development Note: These waffles actually taste even better the next day if you reheat them properly. The apple flavor seems to deepen and meld with the cinnamon overnight. So don’t be afraid to make a double batch!
Nutritional Information & Benefits
Here’s a rough estimate for one waffle (based on a recipe that makes 5 waffles, without any toppings or nuts):
- Calories: Approximately 280-320
- Protein: 7-8 grams
- Carbohydrates: 38-42 grams
- Fat: 11-13 grams
- Fiber: 2-3 grams
- Sugar: 12-15 grams (mostly from the apples and a little added sugar)
These waffles offer a few surprising health benefits, too. The apples provide a good dose of dietary fiber and vitamin C, especially if you leave the peel on. Cinnamon is packed with antioxidants and has anti-inflammatory properties. And if you use whole milk and eggs, you’re getting a solid amount of protein and calcium to start your day.
If you’re watching your sugar intake, you can easily reduce the added sugar to 1 tablespoon or skip it entirely—the apples and a drizzle of syrup will provide enough sweetness. For a lower-carb option, try using almond flour instead of all-purpose flour (the texture will be denser, but still delicious). This recipe is naturally vegetarian and can be made gluten-free or vegan with the substitutions mentioned earlier.
Conclusion
These crispy apple waffles have become my little morning ritual—the thing I look forward to when the air gets chilly and the leaves start changing. They’re simple enough for a Tuesday but special enough for a holiday brunch. And honestly? They make me feel like I’ve got my life together, even when I’m eating them on the kitchen floor in my pajamas.
I hope you give them a try and make them your own. Maybe you’ll add a little extra cinnamon, or swap in pears instead of apples, or top them with a scoop of ice cream for dessert. That’s the beauty of a good recipe—it’s just a starting point. If you do make them, I’d love to hear how they turned out. Drop a comment below, tag me in your photos, or tell me about your favorite waffle topping. And if you’re looking for another cozy breakfast idea, don’t miss these fluffy apple cinnamon oat pancakes—they’re the perfect companion recipe for fall mornings.
Now go preheat that waffle iron. Your cozy morning is waiting.
Frequently Asked Questions
Can I use pre-shredded apples from the store?
I wouldn’t recommend it. Pre-shredded apples are often treated with citric acid to prevent browning, which can affect the flavor. Plus, they’re usually drier and won’t integrate as well into the batter. Grating your own apples takes just a couple of minutes and makes a real difference in texture.
Why are my waffles not crispy?
There are a few common culprits. Your waffle iron might not be hot enough—let it preheat fully before adding batter. You might also be adding too much batter, which prevents the waffle from crisping up. And finally, make sure you’re squeezing the excess moisture out of your grated apples. Too much liquid in the batter will steam the waffle instead of letting it get crispy.
Can I make the batter ahead of time?
You can, but I don’t recommend it. The baking powder starts reacting as soon as it hits the wet ingredients, so the batter will lose its lift if it sits too long. If you need to prep ahead, grate the apples and store them in the fridge (tossed with a little lemon juice to prevent browning), and mix the dry ingredients separately. Then just combine everything when you’re ready to cook.
What type of apple works best for this recipe?
I’ve tested this with several varieties, and Honeycrisp and Fuji are my top picks. They’re sweet, firm, and hold their shape well when grated. Granny Smith apples work too if you prefer a tarter flavor—just add an extra tablespoon of sugar to balance the acidity. Avoid very soft or mealy apples like Red Delicious, as they break down too much and make the batter watery.
Can I freeze these waffles?
Absolutely! These waffles freeze beautifully. Let them cool completely on a wire rack, then stack them with a piece of parchment paper between each waffle. Place the stack in a freezer-safe bag and freeze for up to 2 months. To reheat, just pop them in the toaster straight from the freezer—no thawing needed. They’ll come out just as crispy as the day you made them.
Pin This Recipe!
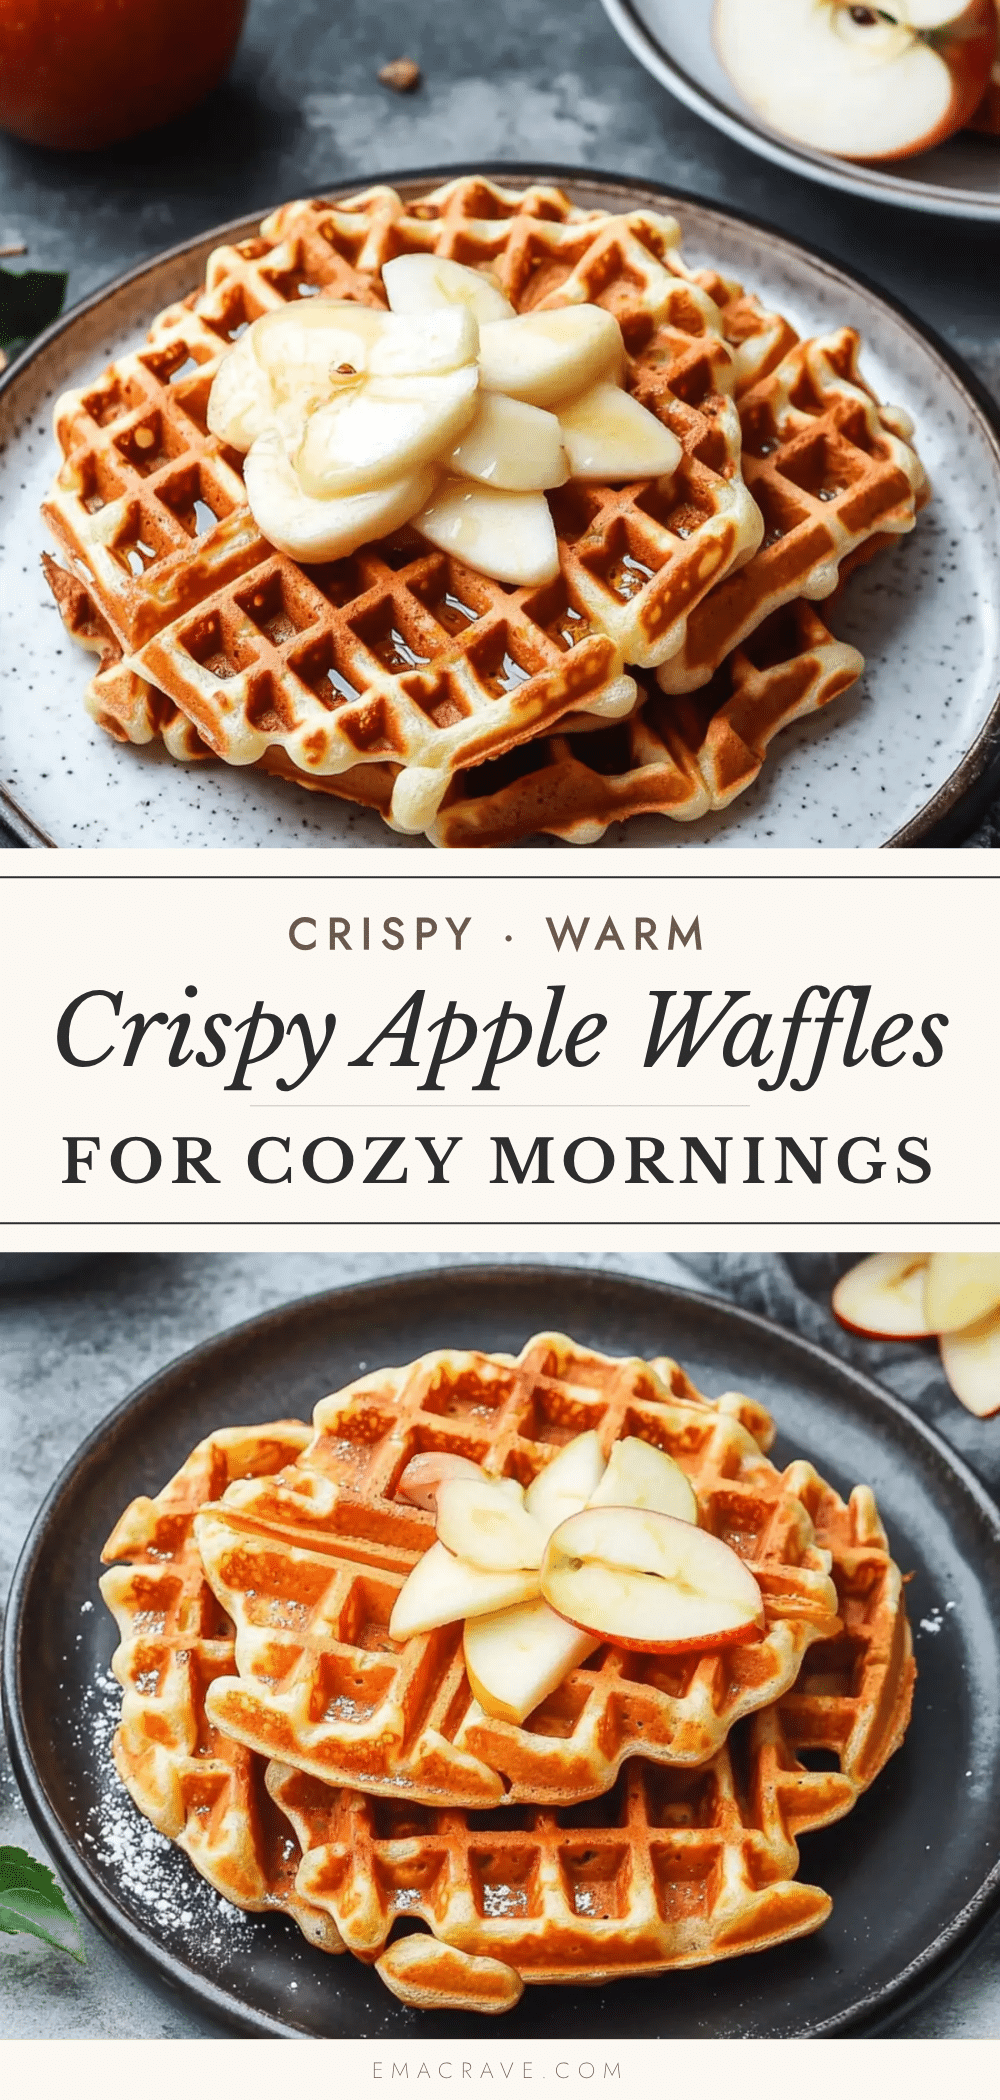
Crispy Apple Waffles Recipe: Easy Fall Breakfast

These crispy apple waffles are perfectly golden and tender, made with simple ingredients and ready in under 30 minutes. A cozy fall breakfast that’s family-approved and naturally sweetened by apples.
- Prep Time: 10 minutes
- Cook Time: 15 minutes
- Total Time: 25 minutes
- Yield: 4-5 servings 1x
- Category: Breakfast
- Cuisine: American
Ingredients
- 1 ½ cups all-purpose flour
- 2 tablespoons granulated sugar
- 1 tablespoon baking powder
- ½ teaspoon ground cinnamon
- ¼ teaspoon salt
- 1 cup milk
- 2 large eggs
- 4 tablespoons unsalted butter, melted and slightly cooled
- 1 teaspoon vanilla extract
- 1 ½ cups grated apple (about 2 medium apples)
- Optional: ¼ cup chopped walnuts or pecans
Instructions
- Preheat your waffle iron to medium-high heat.
- Grate the apples using the large holes of a box grater. Place the grated apple in a clean kitchen towel or cheesecloth and gently squeeze out some of the excess liquid. Set aside.
- In a large bowl, whisk together the flour, sugar, baking powder, cinnamon, and salt.
- In a separate medium bowl, whisk the milk, eggs, melted butter, and vanilla extract until smooth and slightly frothy.
- Pour the wet ingredients into the dry ingredients and stir gently with a rubber spatula until just combined. A few lumps are fine.
- Fold in the squeezed apples (and walnuts if using) gently until evenly distributed.
- Lightly grease the hot waffle iron with a little butter or nonstick spray. Pour about ⅓ to ½ cup of batter onto the center of the iron. Close the lid and cook for 4-5 minutes, or until golden brown and crispy.
- Transfer the cooked waffle to a cooling rack or a baking sheet in a 200°F oven to keep warm. Repeat with the remaining batter.
- Serve immediately with butter, maple syrup, cinnamon, or other toppings.
Notes
Don’t skip squeezing the apples to avoid gummy waffles. Let the batter rest for 5 minutes before cooking for lighter waffles. For extra crispiness, place cooked waffles directly on the oven rack at 300°F for 2-3 minutes.
Nutrition
- Serving Size: 1 waffle
- Calories: 300
- Sugar: 13.5
- Sodium: 350
- Fat: 12
- Saturated Fat: 7
- Carbohydrates: 40
- Fiber: 2.5
- Protein: 7.5
Keywords: crispy apple waffles, apple waffles, fall breakfast, easy waffle recipe, homemade waffles



