Love this? Save it for later!
Share the inspiration with your friends
I was staring at a half-eaten bowl of leftover rice and a lonely piece of grilled chicken, feeling that familiar dinner-time blah. You know the one—where everything on your plate looks beige and boring. I needed a pop, a zing, something to wake up my taste buds without a trip to the store. I grabbed a red onion, some vinegar I found lurking in the back of the pantry, and decided to see what happened in the time it takes to set the table.
Honestly, I wasn’t expecting much. I mean, pickling usually sounds like a weekend project, right? But within fifteen minutes, those harsh, sharp onion slices had transformed into something almost pretty. They turned a brilliant shade of magenta and softened just enough to be tender but still had that satisfying crunch. When I piled them on top of my sad chicken and rice, it was like someone turned the lights on. That first bite was a total game-changer.
These quick zesty pickled onions are now my secret weapon for making any meal feel intentional. They’re not just a garnish; they’re the little detail that makes you look like you tried way harder than you did. And the best part? You don’t need any fancy canning skills or weird equipment. Just a bowl, a knife, and fifteen minutes. That’s it.
Why You’ll Love This Recipe
I’ve made a lot of pickled onions in my time—some that sat in the fridge for days before they were ready, others that came out way too sour or weirdly bitter. This version is the one I keep coming back to. It’s been tested on busy weeknights, lazy Sunday afternoons, and even when I was trying to impress a guest with a taco bar. It never fails.
- Quick & Easy: They’re ready in 15 minutes flat. No boiling water baths, no complicated ratios.
- Simple Ingredients: You probably have everything in your pantry right now. Vinegar, sugar, salt, water, and an onion.
- Perfect for Almost Everything: Tacos, salads, sandwiches, grain bowls, eggs, barbecue—you name it, these onions make it better.
- Crowd-Pleaser: Even people who swear they hate raw onions end up asking for the recipe.
- Unbelievably Delicious: The balance of tangy, sweet, and a little bit spicy is just right. It’s not overpowering, just perfectly zesty.
What makes this recipe different from all the others? It’s the timing. Most recipes tell you to let them sit for an hour or even overnight. But I found that a quick hot brine gently softens the onion just enough without turning it into a mushy mess. You get that satisfying crunch with the pickled flavor already locked in. It’s the best of both worlds.
This isn’t just another pickled onion recipe. It’s the one that will make you look forward to taco Tuesday, the one that turns a simple avocado toast into something special, the one you’ll text your friends about. It’s comfort food’s tangy, vibrant sidekick.
What Ingredients You Will Need
This recipe uses simple, humble ingredients to create something that tastes surprisingly complex. The magic is in the balance, not the grocery list. Here’s what you’ll need to grab.
- 1 large red onion (about 250g) — Look for one that feels firm and heavy. The deeper the purple color, the prettier your final onions will be. I find that red onions have a milder, sweeter bite than white or yellow, which makes them perfect for quick pickling.
- 1/2 cup apple cider vinegar (120 ml) — This is my go-to for a reason. It has a fruity, slightly sweet tang that’s less harsh than white vinegar. If you only have white vinegar, it will still work, just add an extra teaspoon of sugar to balance the sharpness.
- 1/2 cup water (120 ml)
- 1 1/2 tablespoons granulated sugar (about 20g) — This isn’t just for sweetness; it helps balance the acidity and gives the onions a nice, glossy finish. You can use honey or maple syrup in a pinch, but the flavor will change slightly.
- 1 teaspoon fine sea salt (about 5g) — Don’t skip this. Salt is crucial for drawing out the onion’s natural moisture and helping the brine penetrate quickly.
- Optional but recommended: 1/2 teaspoon red pepper flakes — This adds a gentle warmth, not a fiery heat. If you want a spicier kick, add a small sliced jalapeño or a pinch of cayenne.
- Optional: 2-3 black peppercorns and 1 clove of garlic, smashed — These add a subtle layer of savory depth. I throw them in when I’m feeling fancy or when I know these onions are going on a steak sandwich.
One thing I’ve learned is that the quality of your vinegar matters. I personally prefer Bragg’s apple cider vinegar because it has a nice, mellow acidity. But any brand will work. Just make sure it’s not a “cleaning” vinegar—those are way too strong and not meant for eating.
Equipment Needed
You don’t need a fully stocked kitchen for this one. In fact, you probably have everything you need already. Here’s the short list.
- A sharp knife and cutting board — A sharp knife makes all the difference when slicing onions thinly. A dull knife will crush the onion layers and make them release more of that eye-stinging gas.
- A small saucepan — For heating the brine. Any small pot will do. I use a 1-quart saucepan.
- A glass bowl or jar — Glass is best because it won’t react with the acid in the vinegar. A mason jar works perfectly. Avoid metal bowls unless they’re stainless steel.
- A measuring cup and spoons — Precision is nice here, but honestly, I’ve eyeballed it plenty of times and it still turned out great.
- A whisk or spoon — For stirring the brine until the sugar and salt dissolve.
If you don’t have a mandoline slicer, don’t worry. A steady hand and a sharp knife will get you perfectly thin slices. I actually prefer using a knife because I have more control and it’s one less thing to clean.
Preparation Method
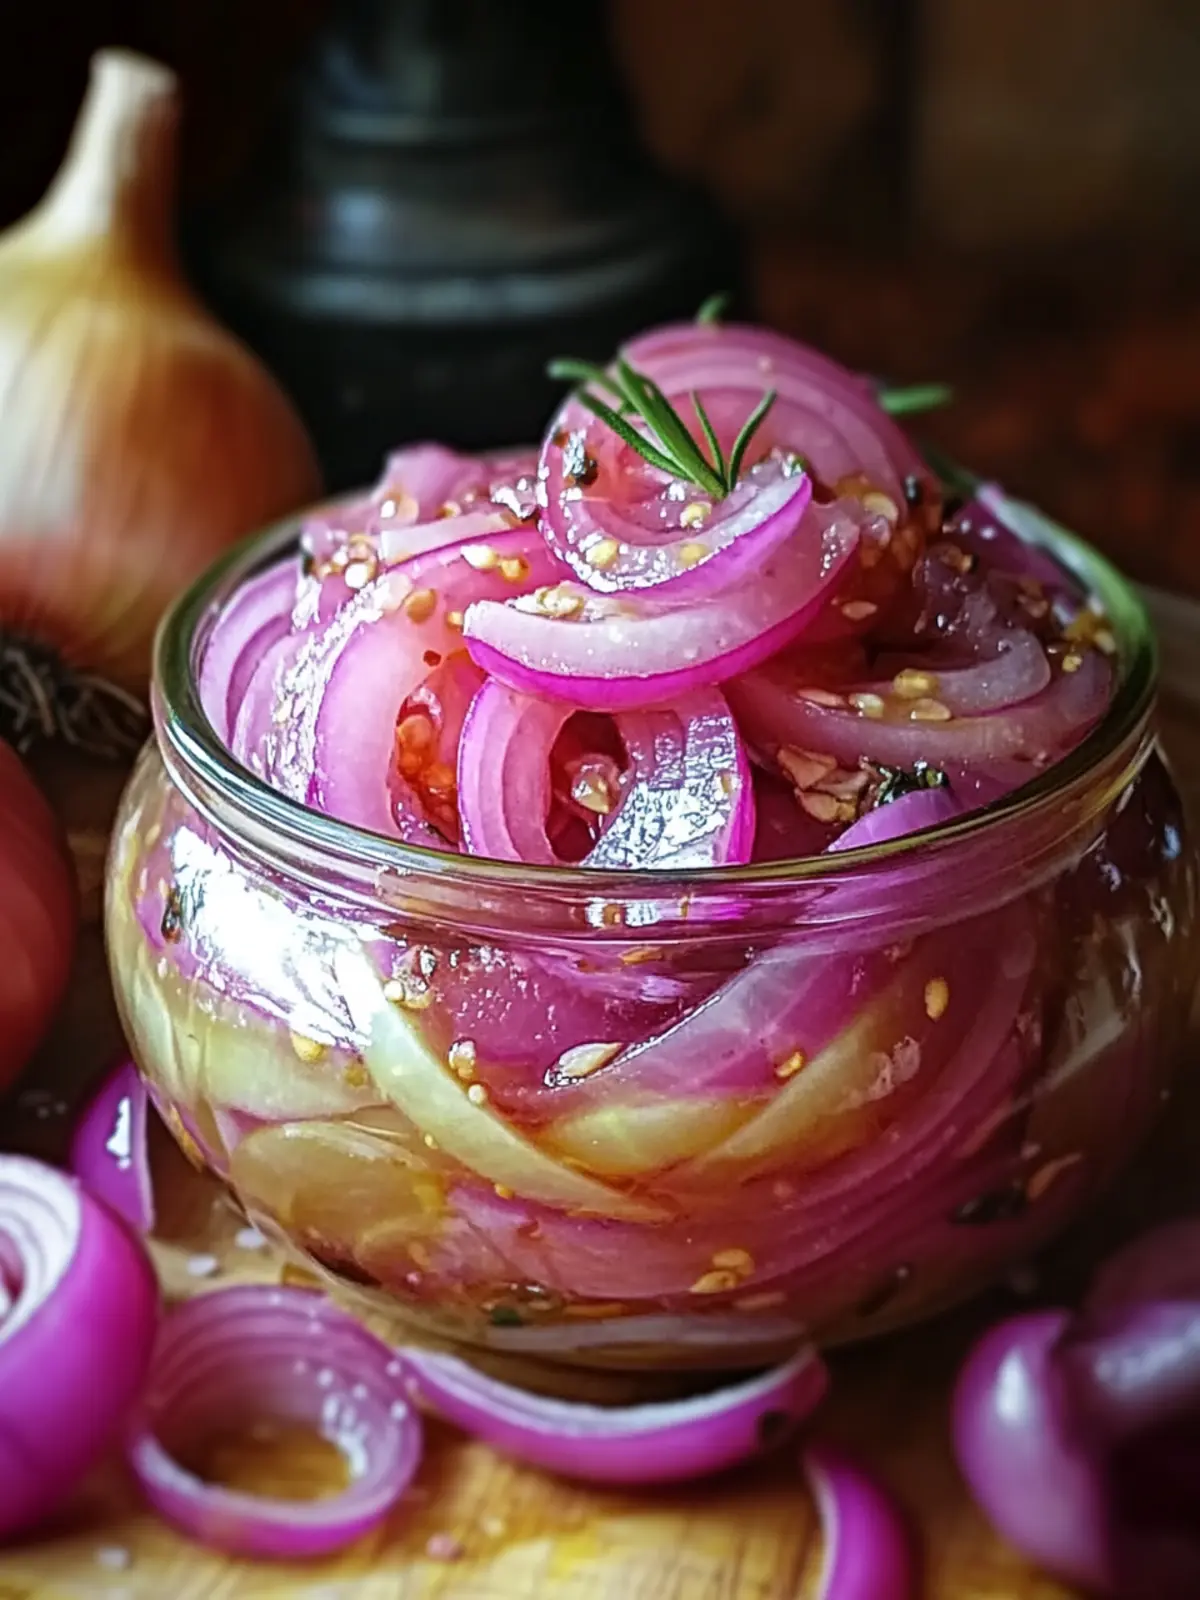
Alright, let’s make some magic happen. This whole process takes about 15 minutes from start to finish, and most of that is just waiting for the brine to work its magic.
- Slice the onion. Peel your red onion and cut it in half through the root end. Then, slice it into thin half-moons, about 1/8-inch thick. You want them thin enough to pickle quickly but thick enough to still have a crunch. If you slice them too thin, they can turn mushy. Too thick, and they won’t soften enough in the short time. I usually aim for about the thickness of a nickel.
- Place the sliced onion in your glass bowl or jar. If you’re using the optional red pepper flakes, black peppercorns, or garlic, toss them in with the onions now. This lets the flavors meld together as the hot brine hits them.
- Make the brine. In your small saucepan, combine the apple cider vinegar, water, sugar, and salt. Give it a quick whisk. Bring it to a boil over medium-high heat. You want to see a full, rolling boil—not just a few lazy bubbles. This usually takes about 2-3 minutes.
- Pour the hot brine over the onions. Carefully pour the boiling liquid directly over the sliced onions in the bowl. Make sure all the onion slices are submerged. If they’re not, you can gently press them down with a spoon. You’ll see the onions start to change color almost immediately, turning a gorgeous, vibrant pink.
- Let them sit for 10-15 minutes. This is the hardest part, I know. But trust the process. The hot brine will soften the onions and infuse them with flavor. After about 5 minutes, give them a gentle stir to make sure everything is evenly pickling.
- Check for doneness. After 10 minutes, fish out a slice and taste it. It should be slightly softened but still have a good crunch. The flavor should be tangy, a little sweet, and perfectly balanced. If you want them even softer, let them sit for another 5 minutes. If you want them crunchier, you can actually pull them out after 5 minutes.
- Cool and use or store. If you’re using them right away, you can let them cool slightly and pile them on whatever you’re eating. If you’re storing them, let the whole mixture cool to room temperature, then transfer the onions and the brine to a sealed jar and pop them in the fridge.
One thing I always tell people: don’t throw away the leftover pickling liquid! It’s fantastic for adding a tangy kick to salad dressings, marinades, or even a bloody mary.
Cooking Tips & Techniques
I’ve made this recipe probably two dozen times now, and I’ve learned a few things the hard way. Here are my best tips to make sure yours turn out perfect every time.
Slice against the grain. If you slice your onion along the lines that run from root to stem, you’ll get longer, stringier pieces. Slicing across the grain gives you those classic half-moons that are easier to pile on a taco or sandwich. It also makes them slightly more tender.
Don’t skip the salt. I know it seems like a small amount, but salt does more than just add flavor. It helps draw out the onion’s natural moisture and allows the brine to penetrate faster. Without it, your onions will taste more like raw onions soaked in vinegar—not the same thing at all.
Use hot, not boiling, water. Wait, I told you to bring the brine to a boil. And you should. But if you’re using a plastic container instead of glass, let the brine cool for about 30 seconds before pouring it in. Glass or metal is always better for hot liquids.
My biggest failure: The first time I made these, I used white vinegar and way too much sugar. They came out tasting like candy-flavored cleaning solution. It was awful. The apple cider vinegar is really the star here—it gives a mellow, fruity tang that white vinegar just can’t match.
Timing is everything. If you let them sit for more than 30 minutes in the hot brine, they’ll start to lose their crunch. If you want them for later, pour the brine over them, let them cool, and then refrigerate. The cold slows down the pickling process and keeps them crisp.
If you love quick, flavorful condiments, you should also try making our easy zesty green onion kimchi. It’s another 15-minute recipe that adds a huge punch of flavor to any meal.
Variations & Adaptations
This recipe is incredibly flexible. Once you get the basic ratio down, you can play around with different flavors and uses. Here are a few of my favorite variations.
Spicy Pickled Onions. Add a whole sliced jalapeño or a teaspoon of chili flakes to the jar along with the onions. For an even bigger kick, use a habanero (just be careful handling it). These are amazing on tacos or grilled fish. They pair perfectly with our savory black pepper beef for a spicy-savory combo.
Herb-Infused Pickled Onions. Add a sprig of fresh dill, a few sprigs of thyme, or a bay leaf to the jar before pouring the hot brine. The herbs infuse a subtle, earthy flavor that’s fantastic on smoked salmon or in a grain bowl.
Mexican-Style Pickled Onions (Cebollas Encurtidas). Use Mexican oregano instead of regular, and add a pinch of cumin seeds to the brine. This version is a staple on any good taco table. I love serving these alongside our ground beef bibimbap bowl for a fusion twist.
Sweet Pickled Onions. Double the sugar to 3 tablespoons for a sweeter, more candied version. This is great for balancing out rich, fatty meats like pulled pork or brisket.
Dietary Adaptations. This recipe is naturally gluten-free, dairy-free, and vegan. For a sugar-free version, use a monk fruit sweetener or allulose in place of the granulated sugar. The texture will be the same, and the flavor will still be deliciously tangy.
Serving & Storage Suggestions
These pickled onions are incredibly versatile. Here’s how I love to use them and how to keep them fresh for weeks.
How to Serve: They’re best at room temperature or slightly chilled. Pile them high on tacos, burgers, hot dogs, or sandwiches. They’re amazing on avocado toast, in salads, or stirred into a grain bowl with quinoa and roasted vegetables. I also love them on top of scrambled eggs or a fluffy miso scrambled eggs for a breakfast that feels fancy but takes no time at all. They’re a fantastic addition to a cheese board, cutting through the richness of aged cheddar or brie.
How to Store: Transfer the cooled onions and all their pickling liquid into a clean, airtight glass jar. They will keep in the refrigerator for up to 2-3 weeks. The flavor actually deepens and mellows over the first few days, so they’re even better on day two.
How to Reheat: Honestly, you don’t need to. They’re meant to be eaten cold or at room temperature. If you want to warm them slightly for a hot dish, just let them sit out for 10 minutes before serving.
Flavor Development: The onions will continue to pickle in the fridge. After about a week, they’ll be softer and more intensely flavored. I actually prefer them after about 3-4 days, when the sharpness has mellowed and the sweetness comes through more clearly.
Nutritional Information & Benefits
These pickled onions are a healthy, low-calorie way to add a ton of flavor to your meals. Here’s a rough breakdown per serving (about 2 tablespoons of onions, without the brine).
- Calories: ~10-15
- Carbohydrates: ~3g
- Sugar: ~2g (from the added sugar and natural onion sugars)
- Sodium: ~150mg
- Fat: 0g
- Protein: 0g
Red onions are a good source of quercetin, a powerful antioxidant that can help reduce inflammation and support heart health. The apple cider vinegar is also known for its potential benefits in aiding digestion and helping to stabilize blood sugar levels when consumed as part of a balanced meal.
Dietary Considerations: This recipe is naturally vegan, vegetarian, gluten-free, dairy-free, and nut-free. The only potential allergen to note is the sulfites naturally present in vinegar, but this is generally not a concern for most people. If you’re watching your sugar intake, you can easily swap the sugar for a zero-calorie sweetener.
I personally love that I can add this to almost any dish without feeling like I’m piling on empty calories. It’s a way to make healthy food taste exciting.
Conclusion
Honestly, these quick zesty pickled onions have become a fridge staple in my house, right next to the hot sauce and the good mustard. They’re proof that you don’t need a complicated recipe or a long list of ingredients to make something truly special. Just a little time, a few pantry staples, and the willingness to try something new.
I really hope you give these a try. Don’t be afraid to play around with the spices and make them your own. Maybe you like them extra garlicky, or with a big hit of chili. That’s the beauty of a simple recipe—it’s a perfect canvas for your own taste.
I’d love to hear how they turn out for you! Drop a comment below and let me know what you put them on. Did you try a fun variation? Tag me in your photos—I’m always looking for new inspiration. Until next time, happy cooking, and don’t forget to add a little zing to your plate.
Frequently Asked Questions
How long do these pickled onions last in the fridge?
They will keep well for 2 to 3 weeks when stored in a sealed glass jar in the refrigerator. The flavor will continue to develop and mellow over time.
Can I use white vinegar instead of apple cider vinegar?
Yes, you can. However, white vinegar is much sharper and more acidic. I recommend adding an extra teaspoon of sugar to balance the flavor. Apple cider vinegar gives a fruitier, milder tang that I much prefer.
Why did my pickled onions turn out mushy?
This usually happens if you sliced the onions too thin, or if you let them sit in the hot brine for too long (more than 30 minutes). For a crunchier texture, aim for 1/8-inch thick slices and pull them out of the brine after 10-15 minutes.
Can I reuse the pickling liquid?
Absolutely! The leftover liquid is fantastic in salad dressings, marinades for chicken or tofu, or even added to a pot of beans for extra tang. You can also use it to quick-pickle a new batch of onions, though the flavor will be slightly less intense the second time around.
Do I need to boil the jar for canning?
No. This is a quick refrigerator pickle, not a shelf-stable canned product. It must be stored in the refrigerator at all times and will not last at room temperature.
Pin This Recipe!
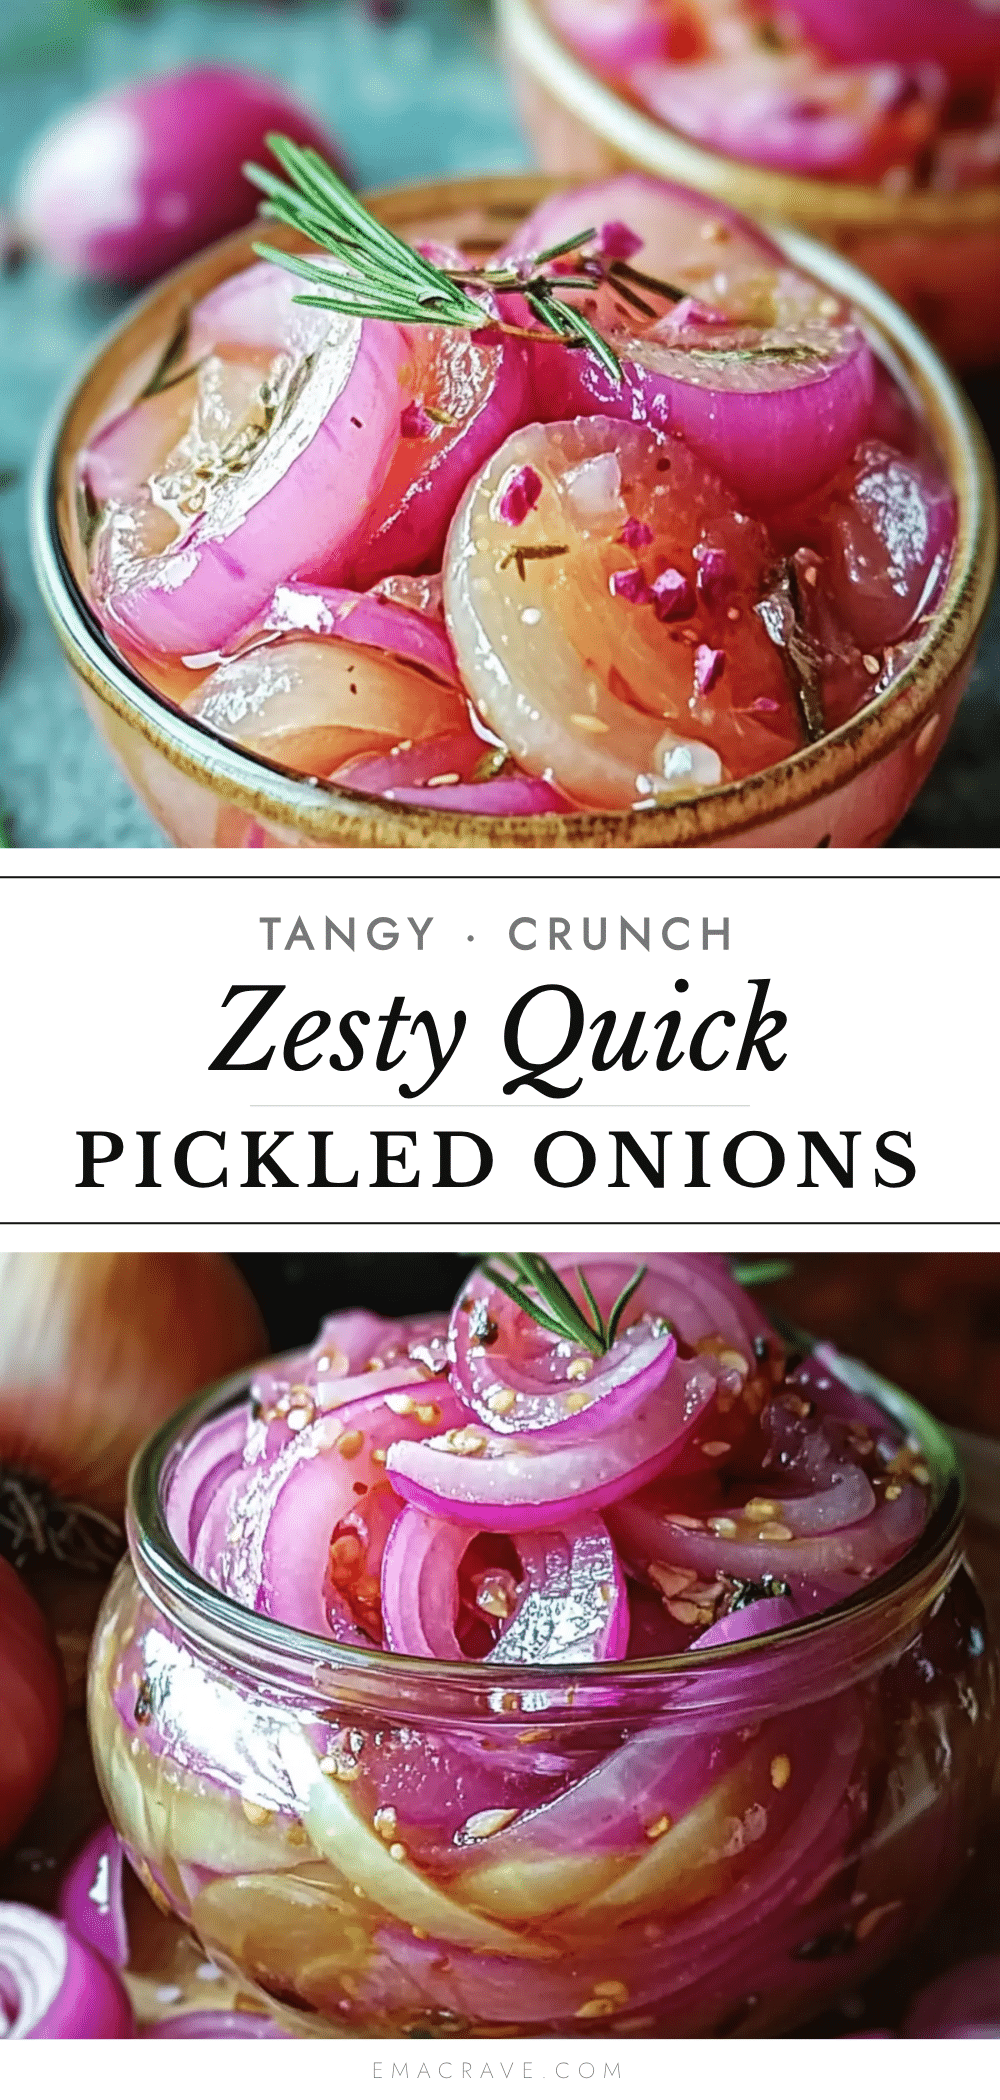
Quick Zesty Pickled Onions in 15 Minutes
Transform any meal with these quick and easy pickled onions. Ready in just 15 minutes, they add a vibrant, tangy crunch to tacos, salads, sandwiches, and more.
- Prep Time: 5 minutes
- Cook Time: 10 minutes
- Total Time: 15 minutes
- Yield: 4 servings 1x
- Category: Condiment
- Cuisine: American
Ingredients
- 1 large red onion (about 250g), thinly sliced
- 1/2 cup apple cider vinegar (120 ml)
- 1/2 cup water (120 ml)
- 1 1/2 tablespoons granulated sugar (about 20g)
- 1 teaspoon fine sea salt (about 5g)
- 1/2 teaspoon red pepper flakes (optional)
- 2–3 black peppercorns (optional)
- 1 clove garlic, smashed (optional)
Instructions
- Slice the onion: Peel the red onion, cut in half through the root end, and slice into thin half-moons about 1/8-inch thick.
- Place the sliced onion in a glass bowl or jar. Add any optional spices (red pepper flakes, peppercorns, garlic) if using.
- Make the brine: In a small saucepan, combine apple cider vinegar, water, sugar, and salt. Bring to a rolling boil over medium-high heat, about 2-3 minutes.
- Pour the hot brine over the onions, ensuring all slices are submerged. The onions will start to turn pink immediately.
- Let sit for 10-15 minutes. Stir gently after 5 minutes to ensure even pickling.
- Check for doneness: After 10 minutes, taste a slice. It should be slightly softened but still crunchy. Adjust time as desired.
- Cool and use or store: If using immediately, let cool slightly. For storage, cool to room temperature, then transfer onions and brine to a sealed jar and refrigerate.
Notes
Don’t throw away the leftover pickling liquid! It’s fantastic for adding a tangy kick to salad dressings, marinades, or even a bloody mary. For a crunchier texture, slice onions 1/8-inch thick and don’t let them sit in the hot brine for more than 15 minutes. The flavor deepens and mellows over the first few days in the fridge.
Nutrition
- Serving Size: 2 tablespoons
- Calories: 1015
- Sugar: 2
- Sodium: 150
- Carbohydrates: 3
Keywords: pickled onions, quick pickled onions, easy pickled onions, red onion pickles, 15 minute pickled onions, zesty pickled onions



