Love this? Save it for later!
Share the inspiration with your friends
The strawberries were threatening to go soft. You know that moment—you buy a beautiful pint at the farmer’s market with grand plans, and then life happens. I had a stick of butter softening on the counter, a carton of buttermilk that needed using, and honestly, a serious craving for something that felt like spring on a plate. I didn’t want another pie or a shortcake. I wanted something sticky, caramelized, and a little bit dramatic when you flip it over.
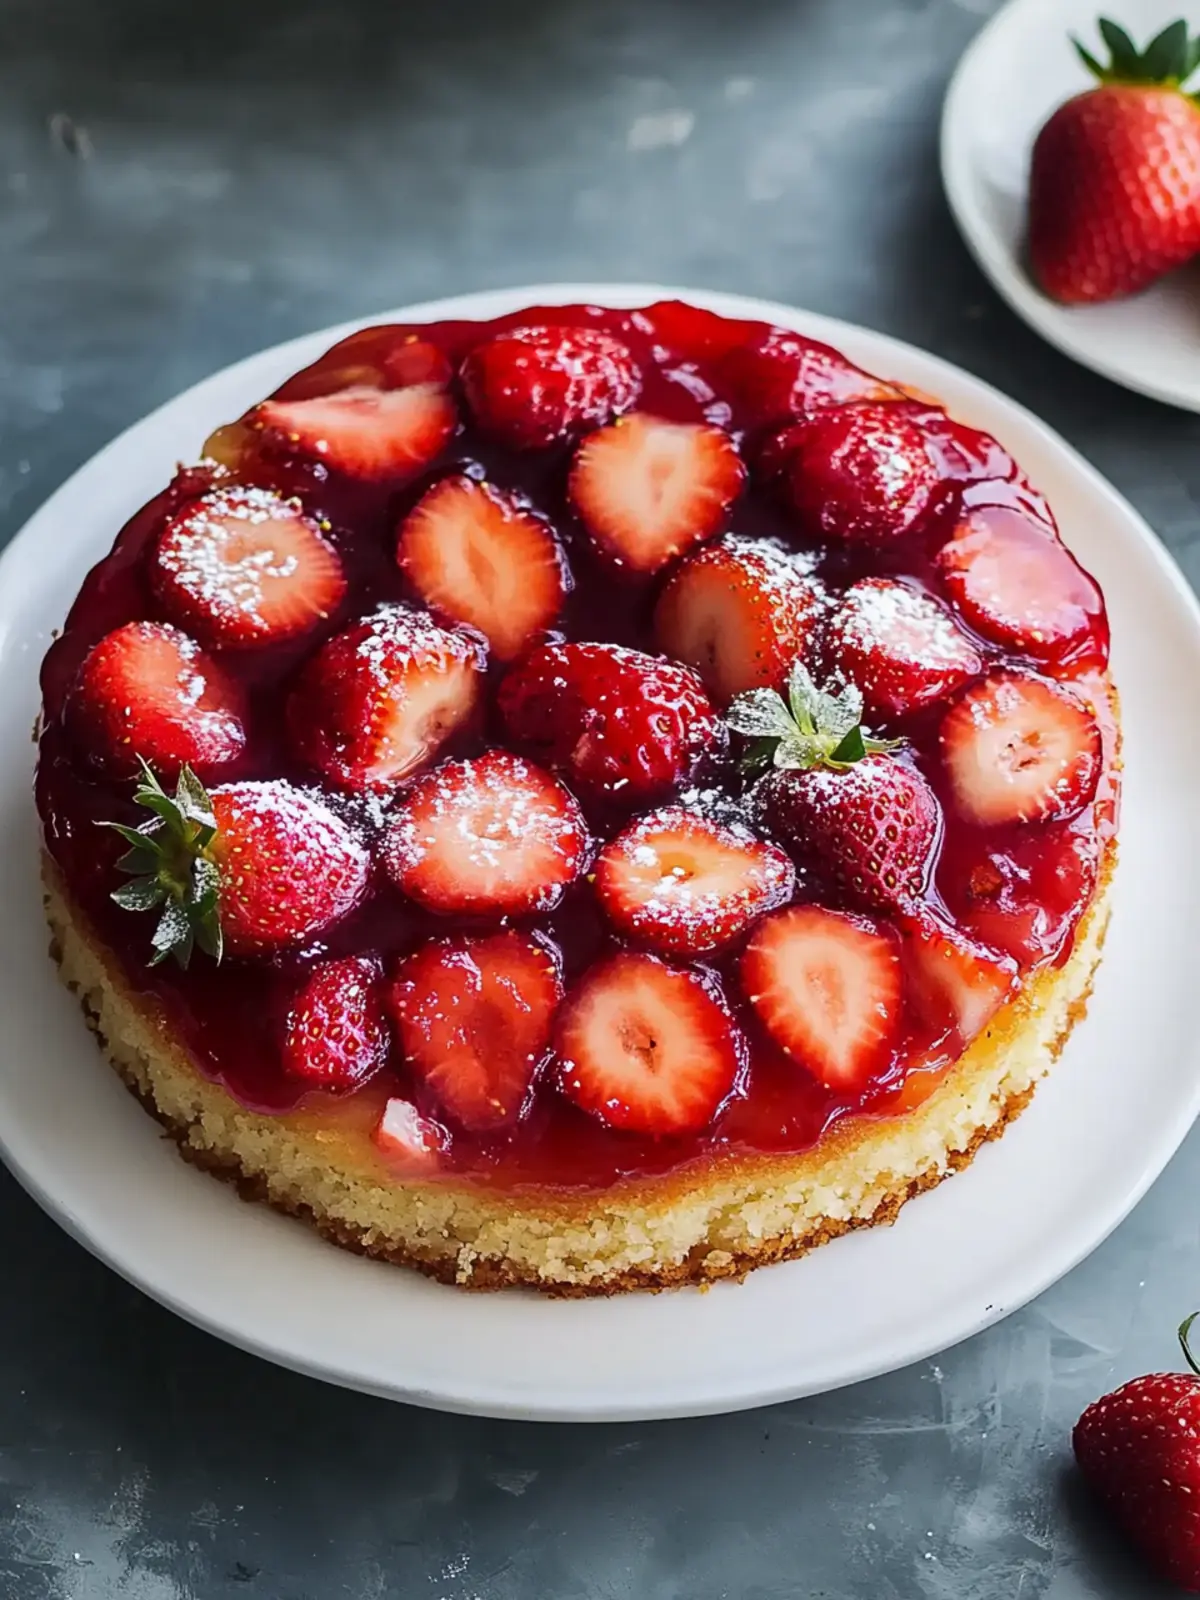
That’s how this Perfect Strawberry Upside Down Cake came to life. It was born from a Tuesday afternoon with no real plan and a whole lot of optimism. I remembered the classic pineapple version my grandmother used to make, but strawberries felt right for the season. The first time I pulled it from the oven and flipped it onto a plate, I actually gasped. The berries had melted into this gorgeous ruby-red caramel, and the cake was tender and buttery. It was one of those rare kitchen wins where the result looks way more impressive than the effort you put in.
This cake has become my go-to for everything from casual brunches to “I need to bring dessert” emergencies. It’s forgiving, it’s beautiful, and it tastes like summer. Let me show you how to make it.
Why You’ll Love This Recipe
I’ve tested this cake about seven times to get the texture just right. The first batch was too dense. The second was too sweet. But this version? It’s the Goldilocks of upside-down cakes.
- Simple Ingredients: No fancy extracts or hard-to-find items. You probably have most of this in your pantry right now.
- One-Pan Wonder: Everything comes together in a single skillet. Less cleanup, more enjoyment.
- Perfect for Spring and Summer: When strawberries are at their peak, this cake is a showstopper. It’s also amazing for Mother’s Day brunch or a backyard barbecue.
- Crowd-Pleaser: I’ve served this to kids who usually push fruit desserts aside, and they went back for seconds. The caramelized topping wins everyone over.
- Unbelievably Moist: The buttermilk and butter combination creates a tender crumb that stays soft for days. No dry cake here.
What makes this recipe different from the rest? It’s the technique of browning the butter and sugar just enough before adding the strawberries. Most recipes skip this step, but it creates a deeper, almost nutty caramel that pairs perfectly with the bright fruit. This isn’t just another cake—it’s the one you’ll make when you want to impress without the stress.
There’s something about flipping that cake over and seeing those glossy, jammy strawberries staring back at you. It feels like a little magic trick in your own kitchen.
What Ingredients You Will Need
This recipe uses simple, wholesome ingredients to deliver bold flavor and a tender texture. Most of these are pantry staples, which makes this cake perfect for spontaneous baking.
For the Strawberry Topping
- 4 tablespoons unsalted butter (salted works too, just reduce the added salt in the cake)
- ½ cup packed light brown sugar (dark brown sugar gives a deeper molasses flavor if you prefer)
- 1 pound fresh strawberries, hulled and halved (if they’re large, quarter them; frozen berries release too much liquid and won’t caramelize properly)
- 1 teaspoon vanilla extract (I use pure vanilla extract here—it makes a difference in the caramel)
For the Cake Batter
- 1½ cups all-purpose flour (spoon and level for accuracy; cake flour works for an even lighter crumb)
- 1½ teaspoons baking powder
- ½ teaspoon baking soda
- ½ teaspoon salt
- ½ cup unsalted butter, softened (room temperature is crucial for proper creaming)
- 1 cup granulated sugar
- 2 large eggs, room temperature (cold eggs can seize the batter)
- 1 teaspoon vanilla extract
- ¾ cup buttermilk, room temperature (adds tenderness and a subtle tang that balances the sweetness)
Ingredient Tips and Substitutions
For the best results, use fresh, ripe strawberries that are firm but fragrant. I personally prefer California strawberries for their consistent sweetness, but any local variety works. If you’re in a pinch, you can make a quick buttermilk substitute by adding 1 tablespoon of lemon juice or white vinegar to ¾ cup of milk and letting it sit for 5 minutes. For a dairy-free version, use plant-based butter and a dairy-free milk mixed with a little lemon juice. The texture will be slightly different but still delicious.
If you love working with fresh fruit, you might also enjoy this strawberry flaugnarde for another elegant way to showcase seasonal berries.
Equipment Needed
You don’t need a lot of fancy tools for this cake, which is part of its charm.
- 10-inch cast iron skillet (this is my preference for even heat distribution and that beautiful caramelization; a 9-inch round cake pan works too, but you’ll need to adjust the baking time slightly)
- Mixing bowls (one large, one medium)
- Electric hand mixer or stand mixer (you can mix by hand, but it takes some elbow grease)
- Rubber spatula
- Cooling rack
- Large plate or serving platter (for the flip)
If you don’t have a cast iron skillet, use a heavy-bottomed oven-safe pan. The key is something that can go from stovetop to oven without issue. I’ve used a well-seasoned skillet for years, and it only gets better with time. A 9-inch round cake pan works, but line the bottom with parchment paper for easy release.
Preparation Method
Let’s get baking. This recipe takes about 15 minutes of active prep and 35 minutes in the oven. The smell alone is worth it.
Step 1: Preheat and Prep
Preheat your oven to 350°F (175°C). Place your cast iron skillet on the stovetop over medium heat.
Step 2: Make the Caramel Topping
Add the 4 tablespoons of butter to the skillet and let it melt completely. Sprinkle the brown sugar evenly over the melted butter. Stir gently with a spatula until the sugar dissolves and the mixture starts bubbling, about 2 minutes. Remove from heat. Arrange the halved strawberries cut-side down in a single layer over the caramel. Don’t overcrowd them—it’s okay if there are small gaps. Drizzle the 1 teaspoon of vanilla over the top. Set aside while you make the batter.
Step 3: Mix the Dry Ingredients
In a medium bowl, whisk together the flour, baking powder, baking soda, and salt. Set aside.
Step 4: Cream the Butter and Sugar
In a large bowl, beat the softened butter and granulated sugar together until light and fluffy, about 3 to 4 minutes. Scrape down the sides of the bowl. Add the eggs one at a time, beating well after each addition. Stir in the 1 teaspoon of vanilla extract. The mixture should look pale and airy.
Step 5: Alternate Wet and Dry
Add half of the flour mixture to the butter mixture and mix on low speed until just combined. Pour in half of the buttermilk and mix again. Repeat with the remaining flour and buttermilk. Mix until the batter is smooth but don’t overmix—overworking the gluten will make the cake tough. The batter will be thick and luscious.
Step 6: Assemble and Bake
Spoon the batter gently over the strawberries in the skillet. Use a spatula to spread it evenly, being careful not to disturb the fruit layer. Bake for 35 to 40 minutes, or until a toothpick inserted into the center of the cake comes out clean or with a few moist crumbs. The top should be golden brown and spring back when lightly touched.
Step 7: The Flip
Let the cake cool in the skillet for exactly 10 minutes. Don’t skip this step—if you flip it too soon, the caramel will run everywhere. If you wait too long, the cake will stick. Run a knife around the edge of the skillet to loosen the cake. Place a large plate or serving platter over the skillet. Using oven mitts, carefully invert the skillet onto the plate. Lift the skillet slowly. If any strawberries stick, just rearrange them on top. Serve warm or at room temperature.
Cooking Tips & Techniques
I’ve learned a few things the hard way so you don’t have to. The first time I made this, I flipped the cake too early and ended up with a sticky mess on my counter. Patience is key.
Don’t skip browning the butter and sugar. That extra minute on the stovetop creates a deeper caramel flavor that elevates the entire cake. It’s a small step with a big payoff.
Use room temperature ingredients. Cold eggs and buttermilk can cause the batter to curdle or become lumpy. Take them out of the fridge about 30 minutes before you start baking. If you forget, place the eggs in a bowl of warm water for 5 minutes.
Check for doneness early. Ovens vary, so start checking at the 30-minute mark. If the top is browning too quickly, tent the cake loosely with aluminum foil for the last 10 minutes.
Let it cool properly. That 10-minute rest is non-negotiable. It allows the caramel to set slightly so it doesn’t flood the plate. Set a timer if you have to—I’ve forgotten more than once.
For another dessert that uses a similar caramelized fruit technique, check out this strawberry cheesecake gelato for a cold, creamy counterpart.
Variations & Adaptations
This cake is wonderfully adaptable. Here are a few ways to make it your own.
Mixed Berry Upside Down Cake
Replace half the strawberries with blueberries, raspberries, or sliced peaches. The combination of flavors is gorgeous, and the colors look stunning when you flip it.
Gluten-Free Version
Swap the all-purpose flour with a 1:1 gluten-free baking blend. I’ve tested this with Bob’s Red Mill and King Arthur brands, and both work well. Add an extra tablespoon of buttermilk to compensate for the drier flour.
Vegan Adaptation
Use plant-based butter and a flax egg (1 tablespoon ground flaxseed mixed with 3 tablespoons water, let sit for 5 minutes). Replace the buttermilk with a dairy-free milk mixed with lemon juice. The texture will be slightly denser but still delicious.
Spiced Variation
Add ½ teaspoon of cinnamon and ¼ teaspoon of cardamom to the dry ingredients. It adds a warm, aromatic note that pairs beautifully with strawberries.
Serving & Storage Suggestions
This cake is best served warm, about 20 minutes after flipping. The caramel is still slightly sticky, and the cake is tender. A dollop of lightly sweetened whipped cream or a scoop of vanilla ice cream takes it over the top. For a brunch spread, serve it alongside fresh fruit and coffee.
To store, cover the cake loosely with plastic wrap or place it in an airtight container. It will keep at room temperature for up to 2 days. The caramel will soak into the cake slightly, making it even more moist. If you refrigerate it, let slices come to room temperature before serving for the best texture.
You can freeze this cake for up to 3 months. Wrap it tightly in plastic wrap, then aluminum foil. Thaw overnight in the refrigerator and reheat individual slices in a 300°F oven for about 10 minutes.
The flavors actually develop and deepen after a day. I’ve been known to sneak a slice for breakfast with my coffee—it’s that good.
Nutritional Information & Benefits
Per serving (based on 10 servings): approximately 320 calories, 16g fat, 42g carbohydrates, 4g protein, 2g fiber, 28g sugar. Values are estimates and may vary based on specific ingredients used.
Strawberries are packed with vitamin C and antioxidants, which support immune health and reduce inflammation. Buttermilk adds calcium and probiotics, while the eggs provide high-quality protein. This cake is a treat, but it uses real, recognizable ingredients. For a lighter option, serve smaller slices with extra fresh berries on the side.
If you’re looking for a healthier breakfast option that still feels indulgent, try these strawberry cheesecake protein cups for a protein-packed morning treat.
Conclusion
This Perfect Strawberry Upside Down Cake is the kind of dessert that makes people think you spent hours in the kitchen. The truth is, it comes together quickly with simple ingredients and a little bit of patience. The caramelized strawberries, the tender buttermilk cake, that dramatic flip—it’s all part of the magic.
I love this recipe because it feels like a celebration. Whether you’re making it for a holiday brunch, a summer gathering, or just because the strawberries at the market looked too good to pass up, it never disappoints. Don’t be afraid to make it your own—swap in different fruits, adjust the spices, or serve it with your favorite ice cream.
I’d love to hear how yours turns out. Leave a comment below and let me know what variations you tried. Share a photo on Pinterest and tag me—I’m always looking for inspiration. Happy baking, friend.
Frequently Asked Questions
Can I use frozen strawberries for this cake?
I don’t recommend it. Frozen strawberries release too much liquid during baking, which makes the caramel watery and the cake soggy. Fresh strawberries give the best texture and flavor. If you only have frozen, thaw them first, drain the excess liquid, and pat them dry before using.
Why did my cake stick to the skillet?
This usually happens if you didn’t let the caramel set long enough before adding the batter, or if you flipped the cake too soon. Make sure the butter and sugar mixture is bubbly and slightly thickened before adding the strawberries. And don’t rush the 10-minute cooling time after baking.
Can I make this cake ahead of time?
Absolutely. You can bake the cake a day ahead and store it at room temperature, covered. The caramel will soak into the cake, making it even more moist. Reheat individual slices in the microwave for 15 seconds or in a 300°F oven for 5 minutes before serving.
What if I don’t have a cast iron skillet?
No problem. Use a 9-inch round cake pan or a heavy oven-safe nonstick skillet. Line the bottom with parchment paper for easy release. The baking time may vary slightly, so start checking at the 30-minute mark.
Can I reduce the sugar in this recipe?
You can reduce the granulated sugar in the cake batter to ¾ cup without affecting the texture too much. However, the brown sugar in the topping is essential for the caramelization. Reducing it will result in a less sticky, less flavorful topping.
Pin This Recipe!
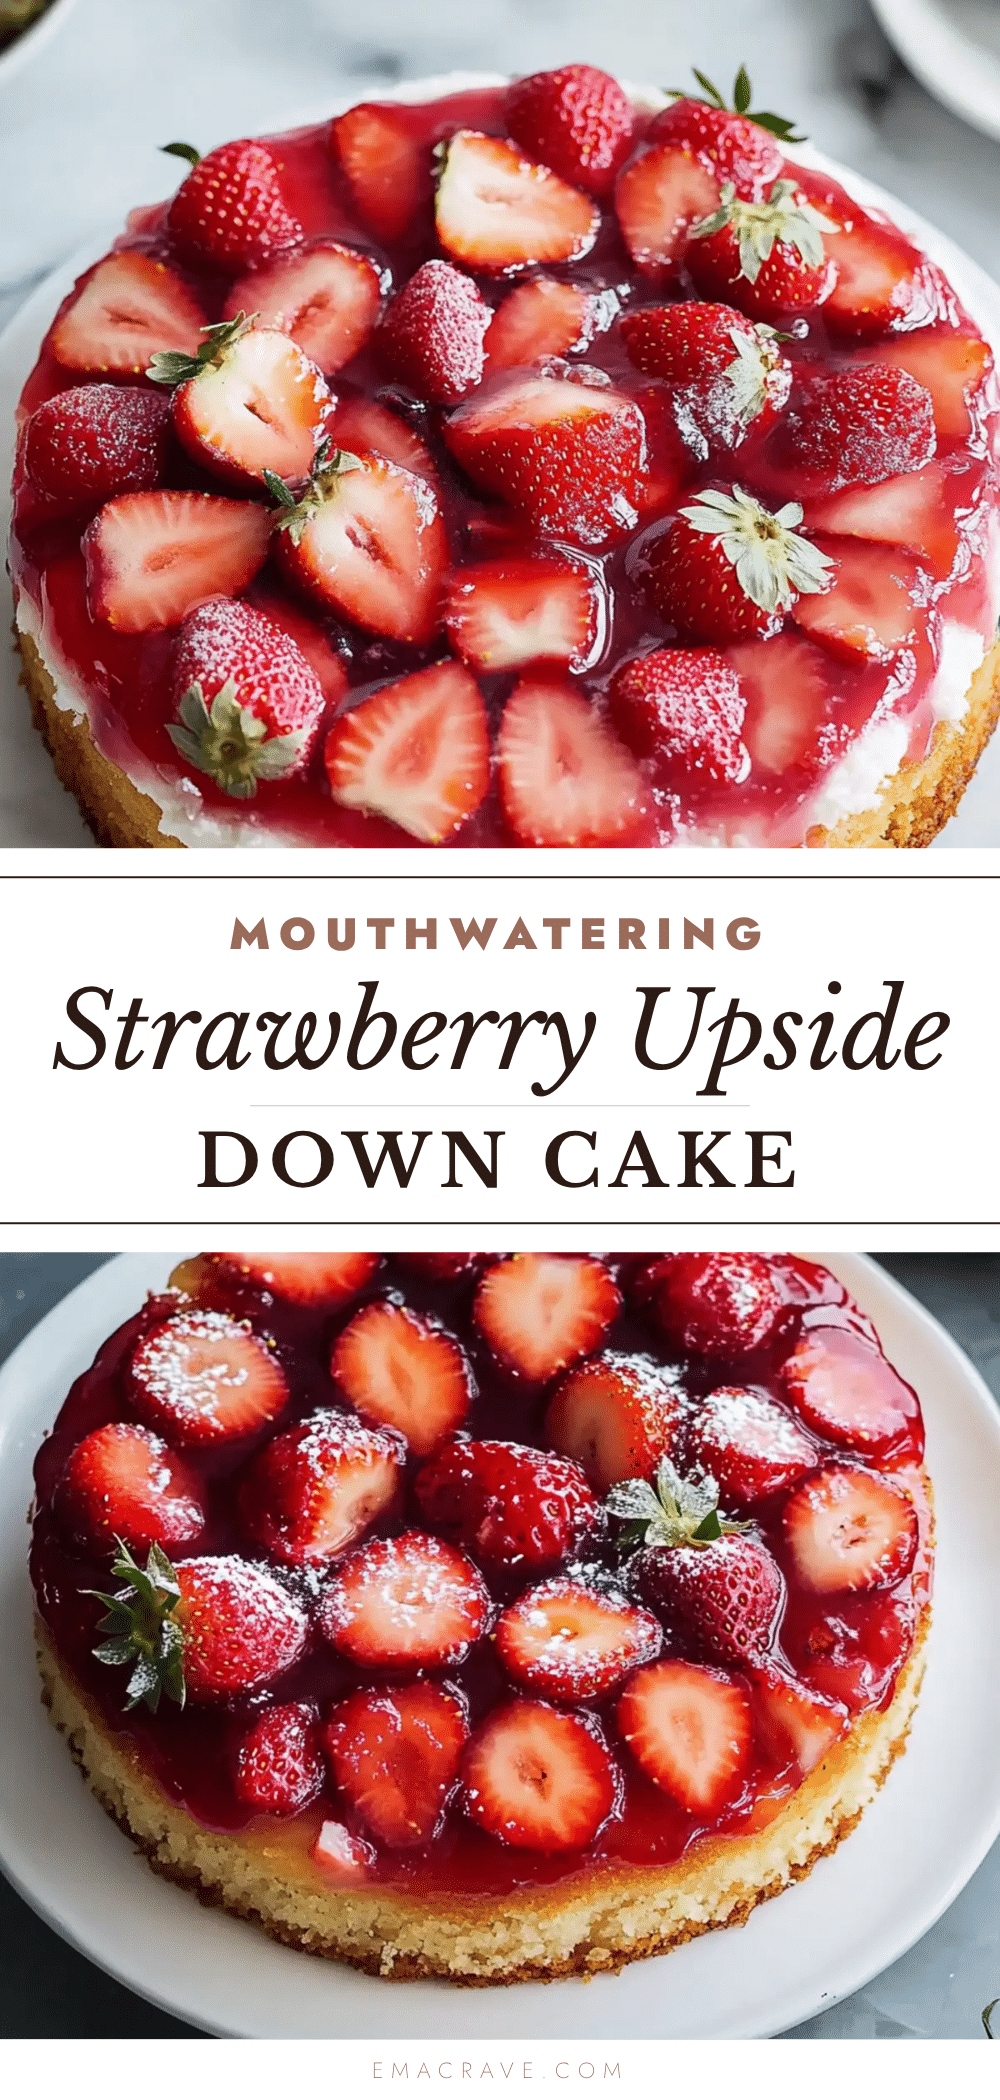
Perfect Strawberry Upside Down Cake Recipe: Easy Homemade Dessert
This Perfect Strawberry Upside Down Cake is a tender, buttermilk-based cake topped with caramelized strawberries. It’s an easy, one-pan dessert that looks dramatic when flipped and tastes like summer.
- Prep Time: 15 minutes
- Cook Time: 35 minutes
- Total Time: 50 minutes
- Yield: 10 servings 1x
- Category: Dessert
- Cuisine: American
Ingredients
- 4 tablespoons unsalted butter
- 1/2 cup packed light brown sugar
- 1 pound fresh strawberries, hulled and halved
- 1 teaspoon vanilla extract
- 1 1/2 cups all-purpose flour
- 1 1/2 teaspoons baking powder
- 1/2 teaspoon baking soda
- 1/2 teaspoon salt
- 1/2 cup unsalted butter, softened
- 1 cup granulated sugar
- 2 large eggs, room temperature
- 1 teaspoon vanilla extract
- 3/4 cup buttermilk, room temperature
Instructions
- Preheat your oven to 350°F (175°C). Place your cast iron skillet on the stovetop over medium heat.
- Add the 4 tablespoons of butter to the skillet and let it melt completely. Sprinkle the brown sugar evenly over the melted butter. Stir gently with a spatula until the sugar dissolves and the mixture starts bubbling, about 2 minutes. Remove from heat. Arrange the halved strawberries cut-side down in a single layer over the caramel. Drizzle the 1 teaspoon of vanilla over the top. Set aside while you make the batter.
- In a medium bowl, whisk together the flour, baking powder, baking soda, and salt. Set aside.
- In a large bowl, beat the softened butter and granulated sugar together until light and fluffy, about 3 to 4 minutes. Scrape down the sides of the bowl. Add the eggs one at a time, beating well after each addition. Stir in the 1 teaspoon of vanilla extract.
- Add half of the flour mixture to the butter mixture and mix on low speed until just combined. Pour in half of the buttermilk and mix again. Repeat with the remaining flour and buttermilk. Mix until the batter is smooth but don’t overmix.
- Spoon the batter gently over the strawberries in the skillet. Use a spatula to spread it evenly, being careful not to disturb the fruit layer. Bake for 35 to 40 minutes, or until a toothpick inserted into the center of the cake comes out clean or with a few moist crumbs.
- Let the cake cool in the skillet for exactly 10 minutes. Run a knife around the edge of the skillet to loosen the cake. Place a large plate or serving platter over the skillet. Using oven mitts, carefully invert the skillet onto the plate. Lift the skillet slowly. If any strawberries stick, just rearrange them on top. Serve warm or at room temperature.
Notes
Don’t skip browning the butter and sugar for deeper caramel flavor. Use room temperature ingredients for best texture. Let the cake cool exactly 10 minutes before flipping to prevent the caramel from running. For a gluten-free version, use a 1:1 gluten-free baking blend. For a vegan adaptation, use plant-based butter, flax egg, and dairy-free milk with lemon juice.
Nutrition
- Serving Size: 1 slice
- Calories: 320
- Sugar: 28
- Fat: 16
- Carbohydrates: 42
- Fiber: 2
- Protein: 4
Keywords: strawberry upside down cake, easy strawberry cake, homemade dessert, spring dessert, summer dessert, buttermilk cake, one-pan cake



