Love this? Save it for later!
Share the inspiration with your friends
I pulled the baking dish out of the oven and set it on the trivet, and honestly, the whole kitchen went quiet for a second. That’s not something that happens often in my house, not with two kids arguing over who gets the last piece of something and a dog pacing under the table. But this olive cheese bread—it was bubbling around the edges, the top was this deep golden brown, and little pockets of melted cheese were still popping. My friend Jen, who had stopped by to drop off a book, just stared at it and said, “I’m not leaving until I have some of that.” She didn’t. She stayed for an hour, and we ate nearly half the loaf standing up in the kitchen, using nothing but our fingers.
I didn’t set out to make anything special that day. I had a half-used jar of pimento-stuffed green olives in the fridge, a block of sharp cheddar that was starting to dry out, and a loaf of French bread that was going stale on the counter. It was one of those afternoons where you’re hungry but not hungry enough to actually cook a meal, you know? So I started messing around. I chopped the olives, grated the cheese, mixed in some butter and mayo, spread it all over the bread, and threw it in the oven. I figured worst case, I’d have a salty, cheesy snack that nobody else would touch. Best case, I’d have something worth writing down.
Turns out, it was the kind of recipe that makes you mad you didn’t think of it sooner. The olives bring this briny, tangy punch that cuts right through all that rich melted cheese. The bread gets crispy on the outside but stays soft and buttery in the middle. And the whole thing comes together in under 20 minutes with ingredients you probably already have. It’s not fancy, it’s not complicated, and it doesn’t try to be. It’s just really, really good. And honestly, that’s the kind of recipe I actually make twice.
Why You’ll Love This Recipe
Look, I’ve tested a lot of appetizer recipes over the years. Some are too fussy, some need ingredients you’ll use once and forget about, and some just don’t deliver on the hype. This olive cheese bread is none of those things. It’s the appetizer I bring to every potluck, every game day gathering, and every holiday party where I know I’ll be hungry. Here’s why it works:
- Quick & Easy : From start to finish, you’re looking at about 20 minutes. That’s it. No marinating, no resting, no complicated steps. Just mix, spread, and bake.
- Simple Ingredients : You need bread, cheese, olives, butter, and a few pantry staples. No weird specialty items, no trips to three different stores. I’ve made this with whatever cheese I had in the drawer and it still turned out great.
- Perfect for Entertaining : This is the kind of thing you set out and watch disappear. It works for game day, holiday appetizer spreads, brunch, or even just a lazy Sunday snack. I’ve brought it to a BBQ chicken dip party and it was gone before the dip.
- Crowd-Pleaser : I’ve served this to kids, picky eaters, and serious food people. Everyone loves it. There’s something about warm, melty cheese and salty olives that just works on a primal level.
- Unbelievably Delicious : The texture is what gets you. The bread soaks up all that buttery, cheesy goodness without getting soggy. The edges get crispy and almost caramelized. And the olives? They burst with little pops of briny flavor in every bite.
What makes this recipe different from all the other olive cheese breads out there? It’s the ratio. I’ve tweaked this over maybe a dozen batches to get the perfect balance of cheese to olive to bread. Too much cheese and it’s greasy. Too much olive and it’s salty. This version hits that sweet spot where every bite is cohesive and satisfying. Plus, I’m using a mix of cheddar and mozzarella, which gives you both sharp flavor and that stretchy, gooey pull that makes people actually say “oooh” when you lift the spoon.
What Ingredients You Will Need
This recipe uses simple, everyday ingredients to create something that tastes way more impressive than the sum of its parts. Most of these are pantry and fridge staples, which is exactly why I make this so often. Here’s what you need and why each one matters:
For the Bread Base
- 1 loaf French bread or sourdough (about 12-14 inches) – You want a sturdy bread that can hold up to all that topping without turning into mush. A day-old loaf actually works best here because it’s a little drier and soaks up the butter mixture without getting soggy. I’ve used both French bread and sourdough, and honestly, sourdough gives it a little extra tang that I love.
- 4 tablespoons unsalted butter, softened – This is the base that carries all the flavor. Don’t skip it or try to use margarine. The butter helps the topping spread evenly and gives the bread that rich, golden crust. I use unsalted so I can control the salt level, since olives and cheese already bring plenty.
For the Cheesy Olive Topping
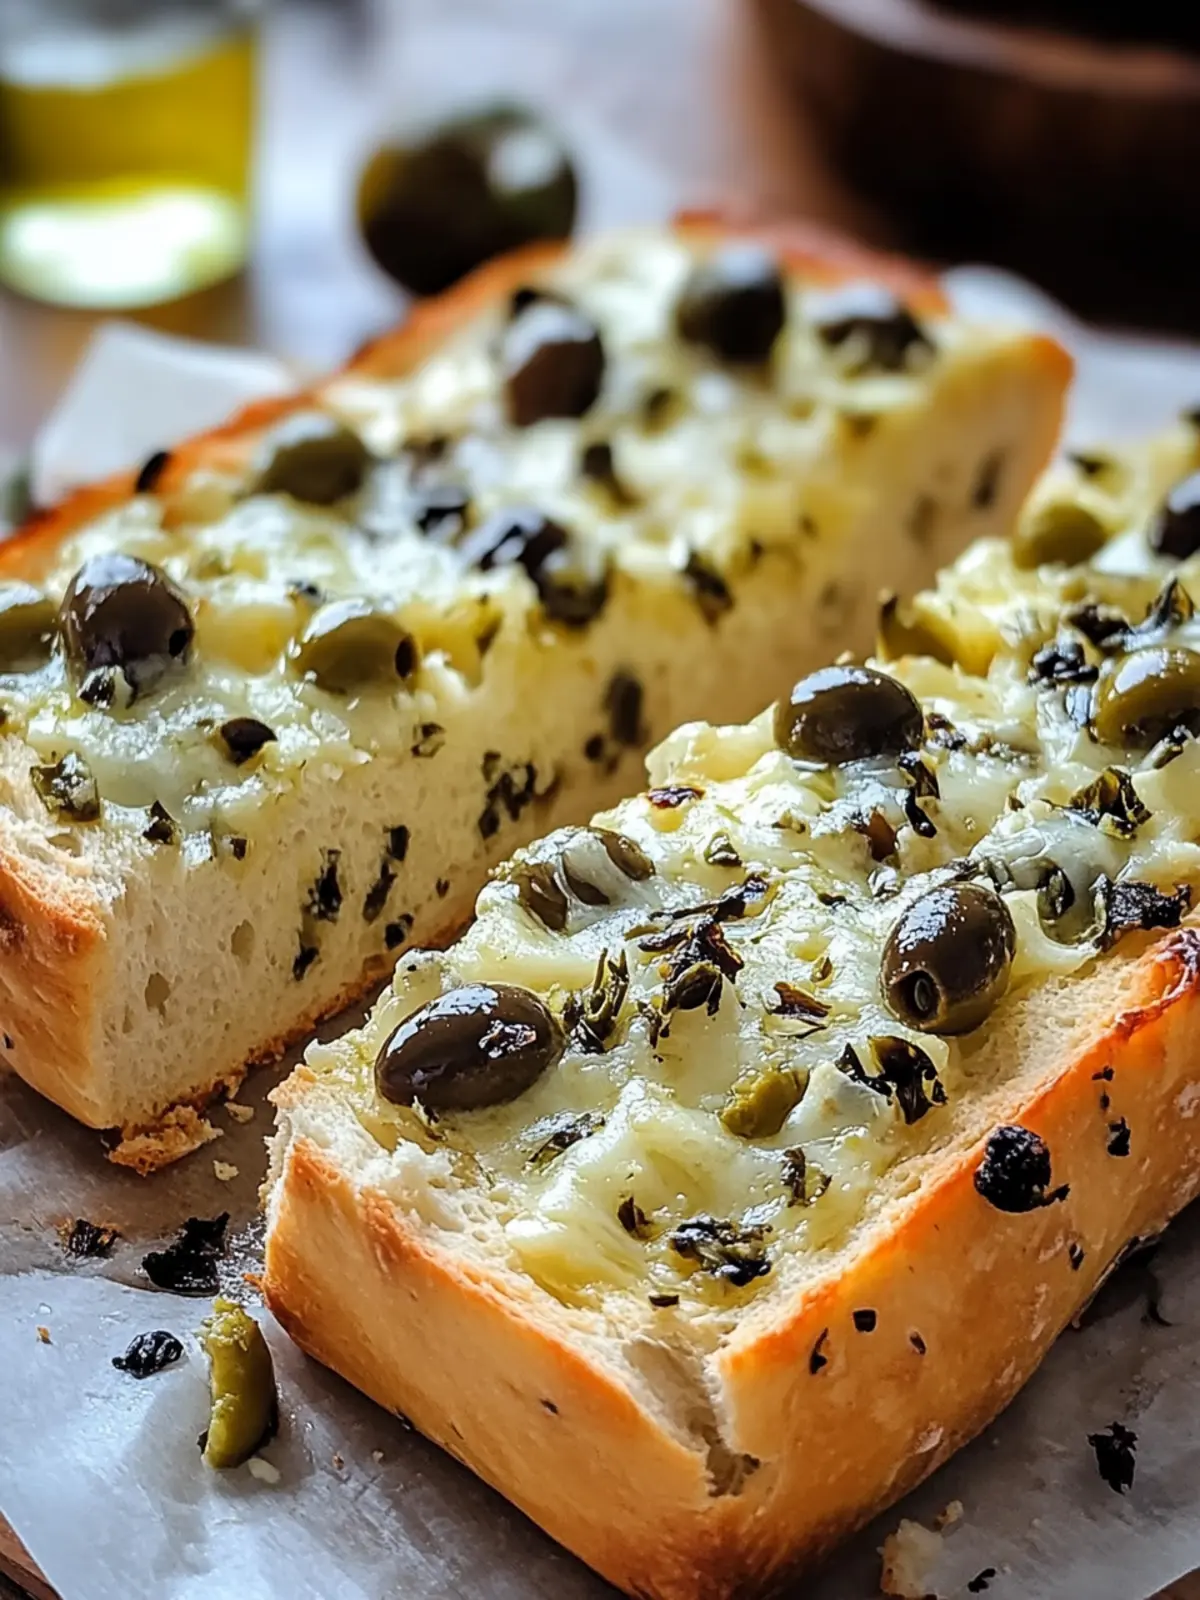
- 1 cup sharp cheddar cheese, shredded – Sharp cheddar gives you that bold, unmistakable cheese flavor. I recommend shredding it yourself from a block—pre-shredded cheese has anti-caking agents that prevent it from melting as smoothly. Tillamook or Cabot are my go-to brands for sharp cheddar.
- 1 cup mozzarella cheese, shredded – This is your stretch factor. Mozzarella gives that beautiful, gooey pull that makes this bread so satisfying. It also mellows out the sharpness of the cheddar so the olives can shine.
- 1/2 cup pimento-stuffed green olives, chopped – The star of the show. Green olives are briny, tangy, and slightly salty, which cuts through all that richness. I chop them into roughly 1/4-inch pieces so you get little pops of olive in every bite. Don’t use black olives here—they’re too mild and will get lost. I prefer the jarred ones from the olive bar at the grocery store, but any brand works. If you’re feeling fancy, you can use Cerignola or Castelvetrano olives, but honestly, the standard pimento-stuffed ones are perfect.
- 1/4 cup mayonnaise – This might seem weird, but trust me. Mayo adds creaminess and a little tang, and it helps the topping stay moist and spreadable. It also prevents the cheese from separating or getting greasy in the oven. I use full-fat mayo for best results.
- 2 green onions, thinly sliced – These add a mild oniony freshness that balances the richness. The white parts give a little bite, and the green tops add color. If you don’t have green onions, you can use a tablespoon of finely diced red onion or even a pinch of onion powder.
- 1 clove garlic, minced – Just enough to add depth without overpowering everything else. I use fresh garlic here—the jarred stuff won’t give you the same punch. If you’re in a rush, you can use 1/4 teaspoon garlic powder instead.
- 1/4 teaspoon black pepper – A little freshness and heat to round everything out. I use freshly cracked black pepper here.
- Pinch of red pepper flakes (optional) – I add this about half the time. It gives a tiny kick of heat that plays really well with the briny olives. Totally optional, but highly recommended if you like a little spice.
Substitution Notes: If you want to make this gluten-free, use a good quality gluten-free French bread or baguette. For a dairy-free version, use vegan butter and your favorite dairy-free shredded cheeses—just note that the texture will be slightly different. You can also swap the cheddar for Monterey Jack or Pepper Jack if you want more heat. And if you’re not an olive person (though I have to ask—why are you here?), you can substitute chopped sun-dried tomatoes or roasted red peppers for a completely different but still delicious appetizer.
Equipment Needed
You don’t need anything fancy to make this olive cheese bread, which is honestly one of the best things about it. Here’s what you’ll need:
- Cutting board and chef’s knife – For chopping the olives and green onions. A sharp knife makes a big difference here, especially with the olives. Dull knives tend to squish them.
- Baking sheet or oven-safe dish – I use a rimmed baking sheet lined with parchment paper for easy cleanup. You can also use a 9×13-inch baking dish or even a cast iron skillet if you want a rustic look. Just make sure whatever you use has a rim, because the butter can drip a little.
- Small mixing bowl – For combining the topping ingredients. Any medium bowl works.
- Spatula or spoon – For mixing and spreading the topping. A rubber spatula works great for getting every last bit out of the bowl.
- Oven – Preheated to 375°F (190°C). A toaster oven also works if you’re making a smaller batch.
- Measuring cups and spoons – Standard set for measuring ingredients. I know some people eyeball it, but for this recipe, the ratios matter.
- Cheese grater – If you’re shredding your own cheese (and you should be), a box grater or a food processor with a shredding disc works great.
Budget-Friendly Tip: If you don’t have a baking sheet, a cast iron skillet or even a disposable aluminum pan from the grocery store works perfectly. And if you don’t have a cheese grater, you can ask the deli counter at your grocery store to shred the cheese for you—most will do it for free.
Preparation Method
This recipe comes together fast, so I like to have everything prepped and ready before I start. Here’s how to make the best olive cheese bread of your life:
- Preheat your oven to 375°F (190°C). Position the rack in the middle of the oven. While it’s heating, line a baking sheet with parchment paper or foil for easy cleanup. Trust me on this one—the cheese will bubble over, and scraping it off a bare pan is no fun.
- Prep the bread. Take your loaf of French bread or sourdough and slice it in half lengthwise, like you’re making a giant sub sandwich. You want two long halves, cut side up. If your bread is really fresh and soft, let it sit out for 10-15 minutes to dry out a little—this helps it hold up to the topping. Place both halves on the prepared baking sheet, cut side up.
- Make the butter base. In a small bowl, combine 4 tablespoons of softened unsalted butter with the minced garlic and a pinch of black pepper. Mix until everything is well combined. Spread this butter mixture evenly over the cut sides of both bread halves. Don’t be shy—get it all the way to the edges. This is what gives you that golden, crispy crust.
- Mix the cheesy olive topping. In a medium bowl, combine the shredded cheddar, shredded mozzarella, chopped olives, mayonnaise, sliced green onions, and red pepper flakes if you’re using them. Stir everything together until it’s well combined. The mixture should be thick and slightly sticky. Taste a tiny bit—it should be salty, tangy, and creamy. If it tastes flat, add another pinch of black pepper.
- Spread the topping. Divide the topping evenly between the two bread halves, spreading it all the way to the edges. Don’t press it down too hard—you want it mounded slightly so it gets those beautiful golden peaks as it bakes. Make sure every inch of bread is covered, because bare bread is sad bread.
- Bake. Place the baking sheet in the preheated oven and bake for 12-15 minutes, or until the topping is bubbly and golden brown. The edges should be slightly crispy, and the cheese should be melted all the way through. If you want a deeper golden color, you can switch the oven to broil for the last 1-2 minutes, but watch it carefully—it can go from perfect to burnt in seconds.
- Rest and serve. Remove the baking sheet from the oven and let the bread rest for 2-3 minutes. This is important—it gives the cheese time to set slightly so it doesn’t slide off the bread when you cut it. Use a sharp serrated knife to slice each half into 1-inch pieces. Arrange on a serving platter and serve warm.
- Garnish (optional but pretty). If you’re feeling fancy, sprinkle a few extra sliced green onions or a pinch of red pepper flakes over the top before serving. It adds a pop of color and makes it look like you tried way harder than you actually did.
Visual Cue: When it’s done, the cheese should be bubbling and slightly browned in spots. The edges of the bread should be golden and crispy. If you lift a piece, the cheese should stretch slightly but not be runny. That’s the sweet spot.
Cooking Tips & Techniques
I’ve made this olive cheese bread more times than I can count, and I’ve definitely learned a few things the hard way. Here are my best tips to make sure yours turns out perfect every time:
- Don’t skip the butter. I know it adds extra calories, but the butter is what gives the bread that rich, golden crust. Without it, the bread stays pale and soft. If you’re trying to cut back, you can use a butter spray, but honestly, it’s not the same.
- Shred your own cheese. I know it’s tempting to buy the pre-shredded bags, but they have anti-caking agents that prevent the cheese from melting smoothly. Your topping will be grainy instead of creamy. It takes two extra minutes to shred a block of cheese, and it makes a real difference.
- Chop the olives evenly. You want them about the size of a pea. Too big and you get overwhelming bites of olive. Too small and they disappear into the cheese. Take the extra 30 seconds to make them uniform.
- Let the bread rest before cutting. This is the mistake I made the first time. I cut into it immediately, and all the cheese slid right off. Give it 2-3 minutes to set up, and you’ll get clean, beautiful slices.
- Watch the broiler. If you decide to broil it at the end for extra browning, stand right there and watch it. I’ve burned more than one batch by walking away “just for a second.” It takes about 30-60 seconds under the broiler to go from perfect to charcoal.
- Make it ahead. You can assemble the whole thing up to a few hours ahead of time and keep it in the fridge. Just add 2-3 minutes to the baking time since you’re starting from cold. This is a lifesaver when you’re hosting a party.
- Double the recipe. Seriously, if you’re serving more than 4 people, make two loaves. This stuff disappears fast. I learned this the hard way at a swamp potatoes party where one loaf was gone before the main dish even hit the table.
Variations & Adaptations
One of the best things about this olive cheese bread is how easy it is to customize. I’ve tried quite a few variations over the years, and here are my favorites:
- Spicy Sausage Version : Cook 1/2 pound of spicy Italian sausage, crumble it, and mix it into the topping before spreading. The sausage adds meatiness and heat that pairs beautifully with the olives. I made this for a chimichanga night and it was a huge hit.
- Mediterranean Twist : Swap the green olives for a mix of kalamata olives, sun-dried tomatoes, and crumbled feta cheese. Use a little oregano in the butter base. This version feels lighter and brighter, perfect for summer parties.
- Bacon Lover’s Dream : Cook 4-5 slices of bacon until crispy, crumble them, and stir into the topping. The smoky, salty bacon with the briny olives and melty cheese is just unfair. I’ve made this for game day and it was gone in 10 minutes.
- Vegetarian Option : The base recipe is already vegetarian, but you can add sauteed mushrooms, caramelized onions, or roasted red peppers for extra depth. I love adding sauteed mushrooms with a splash of balsamic vinegar—it adds an earthy richness that’s amazing.
- Gluten-Free Adaptation : Use a good quality gluten-free baguette or French bread. I’ve tested this with several brands, and the ones that work best are the ones that are sturdy enough to hold the topping without falling apart. Schär and Udi’s both work well.
- Dairy-Free Version : Use vegan butter and your favorite dairy-free shredded cheeses. I recommend a mix of vegan mozzarella and vegan cheddar for the best texture and flavor. Miyoko’s and Violife are my go-to brands. The texture will be slightly different—less stretchy—but the flavor is still fantastic.
Serving & Storage Suggestions
This olive cheese bread is best served warm, straight from the oven, when the cheese is still gooey and the bread is crispy. Here’s how to make the most of it:
Serving Temperature: Serve it hot, right after it comes out of the oven. The cheese should be bubbly and stretchy. If it cools down too much, the cheese sets and loses that beautiful gooey texture. I usually set it out on a cutting board or a wooden serving platter with a small knife or spatula for people to serve themselves.
What to Serve With It: This bread is rich and indulgent, so it pairs well with lighter, fresher things. I love serving it alongside a crisp green salad, a bowl of tomato soup, or even a tomato garlic salad for a contrast in textures. It’s also amazing with a cold beer or a glass of white wine—something crisp and acidic to cut through all that richness.
Storage: If you have leftovers (which, let’s be honest, is rare), store them in an airtight container in the refrigerator for up to 3 days. The bread will soften as it sits, but the flavor will still be great.
Reheating: The best way to reheat is in the oven or a toaster oven at 350°F (175°C) for 5-7 minutes, or until the cheese is bubbly again. You can also reheat it in an air fryer at 350°F for 3-4 minutes. Avoid the microwave—it makes the bread soggy and the cheese rubbery.
Freezing: You can freeze the assembled but unbaked bread for up to 2 months. Wrap it tightly in plastic wrap and then foil. When you’re ready to bake, thaw it in the refrigerator overnight and bake as directed, adding 2-3 minutes to the baking time. I’ve done this for holiday prep and it works beautifully.
Nutritional Information & Benefits
Let’s be real—this is not health food. It’s an indulgent, cheesy, buttery appetizer that’s meant to be enjoyed in moderation. But here’s what you’re looking at per serving (based on 8 servings per loaf):
- Calories: Approximately 320-350 per serving
- Fat: 22-25g (mostly from cheese, butter, and olives)
- Carbohydrates: 20-22g
- Protein: 12-14g
- Fiber: 1-2g
- Sodium: 650-750mg (olives and cheese are naturally high in sodium)
Health Benefits: Okay, let’s find the silver lining. Olives are rich in healthy monounsaturated fats and antioxidants, which are good for heart health. Cheese provides calcium and protein. Garlic has anti-inflammatory properties. And the bread gives you energy. So it’s not all bad, right? Just keep portions reasonable—think of it as a treat, not a daily staple.
Dietary Considerations: This recipe contains gluten, dairy, and eggs (in the mayo). It’s not suitable for vegans or those with celiac disease without modifications. I’ve included gluten-free and dairy-free adaptations in the variations section above.
Conclusion
This olive cheese bread is one of those recipes that feels like a secret weapon. It’s simple enough to throw together on a random Tuesday, but impressive enough to serve at a holiday party. It uses ingredients you probably already have, takes almost no active time, and delivers every single time. The combination of salty, briny olives with rich, melty cheese on crispy, buttery bread is just unbeatable.
I love this recipe because it reminds me that you don’t need fancy techniques or rare ingredients to make something truly delicious. Sometimes the best dishes come from looking at what’s in your fridge and just going for it. And when you pull that golden, bubbly bread out of the oven and watch everyone’s eyes light up? That’s the best feeling.
I’d love to hear how yours turns out. Did you add bacon? Swap the olives for something else? Serve it with soup? Drop a comment below and let me know—I read every single one. And if you loved this recipe, share it with a friend who needs a good appetizer in their life. Happy cooking!
Frequently Asked Questions
Can I make this olive cheese bread ahead of time?
Yes! You can assemble the bread completely up to 4 hours ahead of time and keep it in the refrigerator. When you’re ready to bake, just add 2-3 minutes to the baking time since you’re starting from cold. You can also freeze the assembled unbaked bread for up to 2 months—just thaw overnight in the fridge before baking.
What kind of olives work best for this recipe?
Pimento-stuffed green olives are the classic choice and work beautifully. Their briny, tangy flavor cuts through the richness of the cheese and butter. You can also use Cerignola or Castelvetrano olives for a milder flavor, or mix in some kalamata olives for a Mediterranean twist. I don’t recommend black olives—they’re too mild and tend to get lost in the cheese.
Can I use a different type of bread?
Absolutely. French bread and sourdough are my top picks because they’re sturdy enough to hold the topping without getting soggy. You can also use ciabatta, focaccia, or even a thick baguette. Just avoid soft sandwich bread or brioche—they’ll fall apart under all that cheesy goodness. Day-old bread actually works best because it’s a little drier and absorbs the butter better.
How do I reheat leftovers without making the bread soggy?
The best way to reheat is in the oven or a toaster oven at 350°F (175°C) for 5-7 minutes, or until the cheese is bubbly again. An air fryer at 350°F for 3-4 minutes also works great. Whatever you do, avoid the microwave—it will make the bread soggy and the cheese rubbery. If you’re reheating a large batch, cover it loosely with foil for the first few minutes to prevent the cheese from burning.
Can I make this dairy-free or gluten-free?
Yes to both! For a dairy-free version, use vegan butter and your favorite dairy-free shredded cheeses. Miyoko’s and Violife are my go-to brands for the best melt and flavor. For a gluten-free version, use a good quality gluten-free baguette or French bread. Schär and Udi’s both work well. Just note that the texture will be slightly different—less stretchy with the dairy-free cheese, and a bit more delicate with gluten-free bread—but the flavor is still fantastic.
Pin This Recipe!
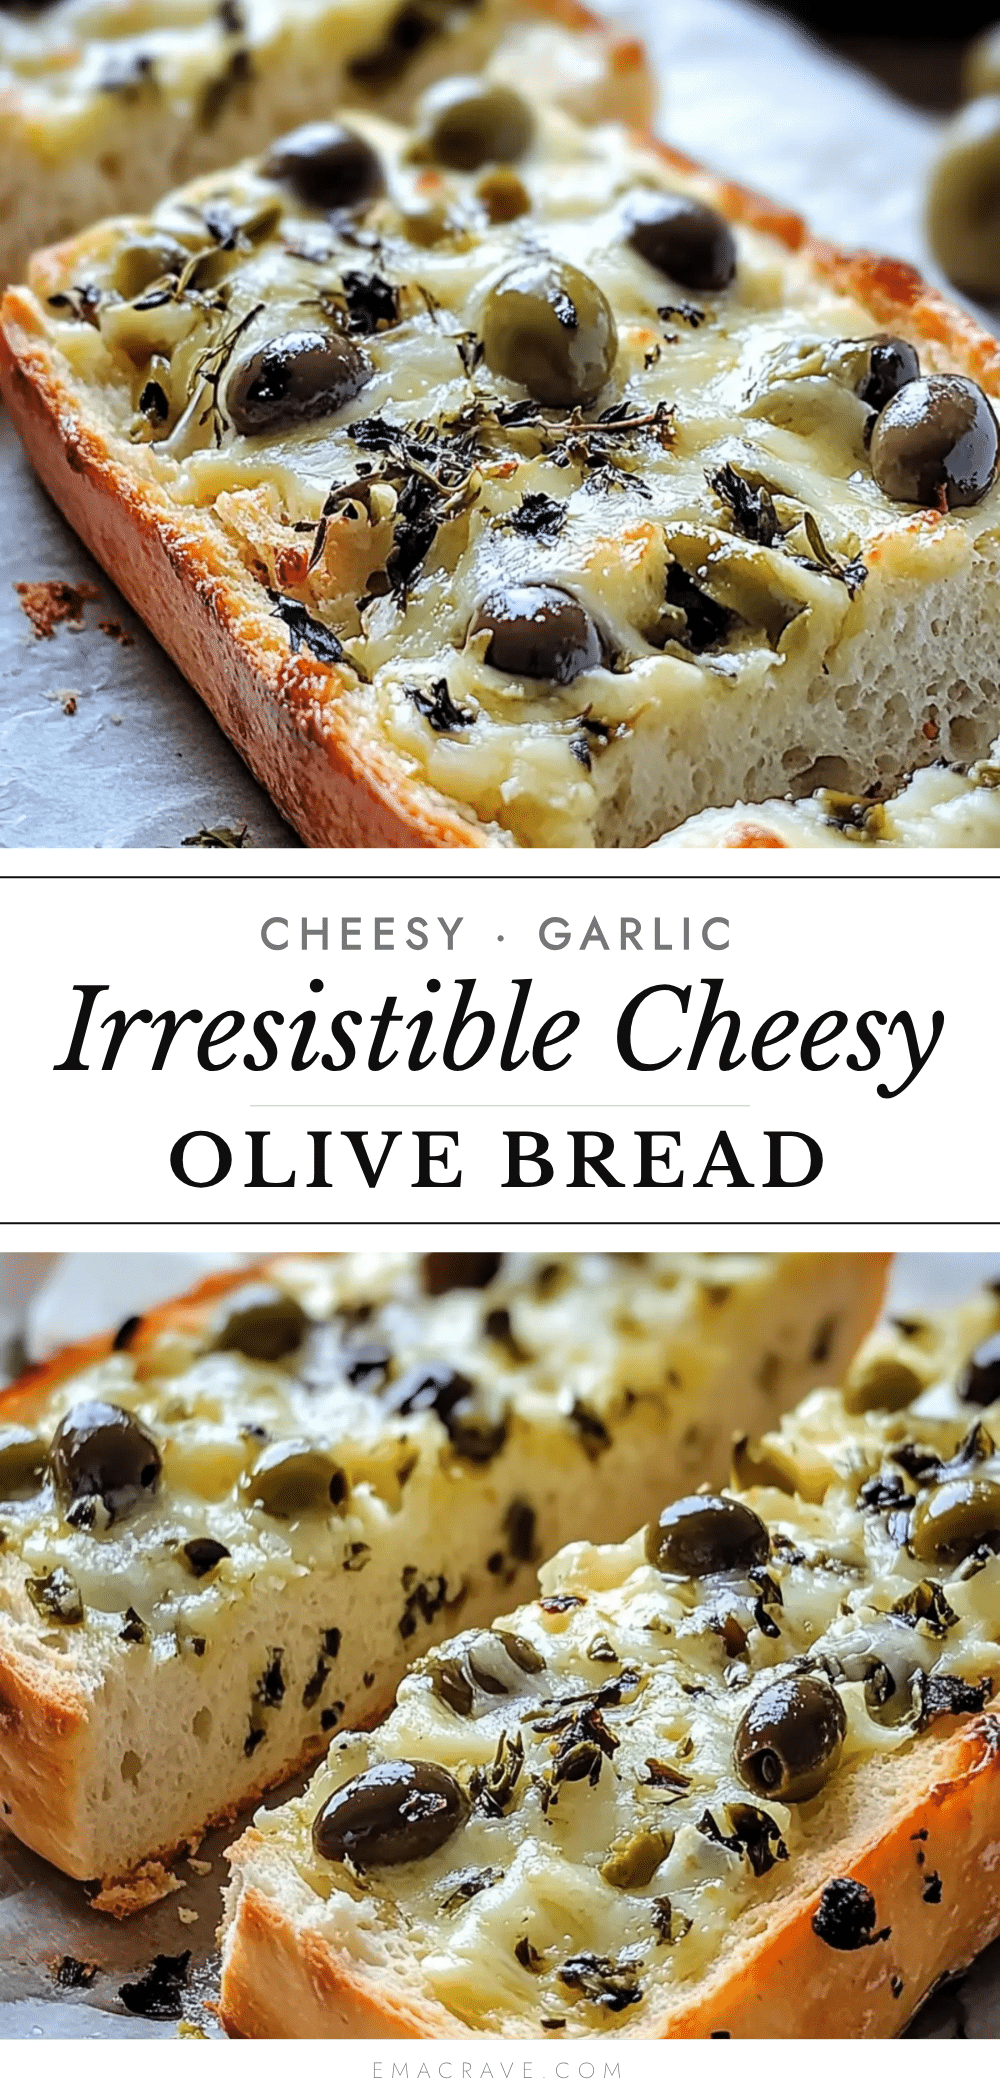
Irresistible Olive Cheese Bread: Easy Cheesy Appetizer
This olive cheese bread is a quick and easy appetizer that combines briny green olives, sharp cheddar, and gooey mozzarella on crispy French bread. Ready in under 20 minutes, it’s perfect for parties, game day, or a lazy Sunday snack.
- Prep Time: 10 minutes
- Cook Time: 15 minutes
- Total Time: 25 minutes
- Yield: 8 servings 1x
- Category: Appetizer
- Cuisine: American
Ingredients
- 1 loaf French bread or sourdough (about 12–14 inches)
- 4 tablespoons unsalted butter, softened
- 1 cup sharp cheddar cheese, shredded
- 1 cup mozzarella cheese, shredded
- 1/2 cup pimento-stuffed green olives, chopped
- 1/4 cup mayonnaise
- 2 green onions, thinly sliced
- 1 clove garlic, minced
- 1/4 teaspoon black pepper
- Pinch of red pepper flakes (optional)
Instructions
- Preheat your oven to 375°F (190°C). Position the rack in the middle of the oven. Line a baking sheet with parchment paper or foil.
- Slice the loaf of French bread or sourdough in half lengthwise, cut side up. If the bread is very fresh, let it sit out for 10-15 minutes to dry slightly.
- In a small bowl, combine the softened butter, minced garlic, and black pepper. Spread this mixture evenly over the cut sides of both bread halves.
- In a medium bowl, combine the shredded cheddar, shredded mozzarella, chopped olives, mayonnaise, sliced green onions, and red pepper flakes (if using). Stir until well combined.
- Divide the topping evenly between the two bread halves, spreading it to the edges. Do not press down too hard.
- Place the baking sheet in the preheated oven and bake for 12-15 minutes, or until the topping is bubbly and golden brown. For deeper color, broil for the last 1-2 minutes, watching carefully.
- Remove from the oven and let the bread rest for 2-3 minutes. Slice each half into 1-inch pieces using a sharp serrated knife. Serve warm.
- Optional: Garnish with extra sliced green onions or a pinch of red pepper flakes.
Notes
For best results, shred your own cheese from a block. Day-old bread works best as it absorbs the butter without getting soggy. Let the bread rest before cutting to prevent the cheese from sliding off. If broiling, watch carefully to avoid burning.
Nutrition
- Serving Size: 1 serving (about 2-3
- Calories: 335
- Sugar: 2
- Sodium: 700
- Fat: 23
- Saturated Fat: 12
- Carbohydrates: 21
- Fiber: 1
- Protein: 13
Keywords: olive cheese bread, easy appetizer, cheesy bread, party appetizer, game day snack, quick appetizer



