Love this? Save it for later!
Share the inspiration with your friends
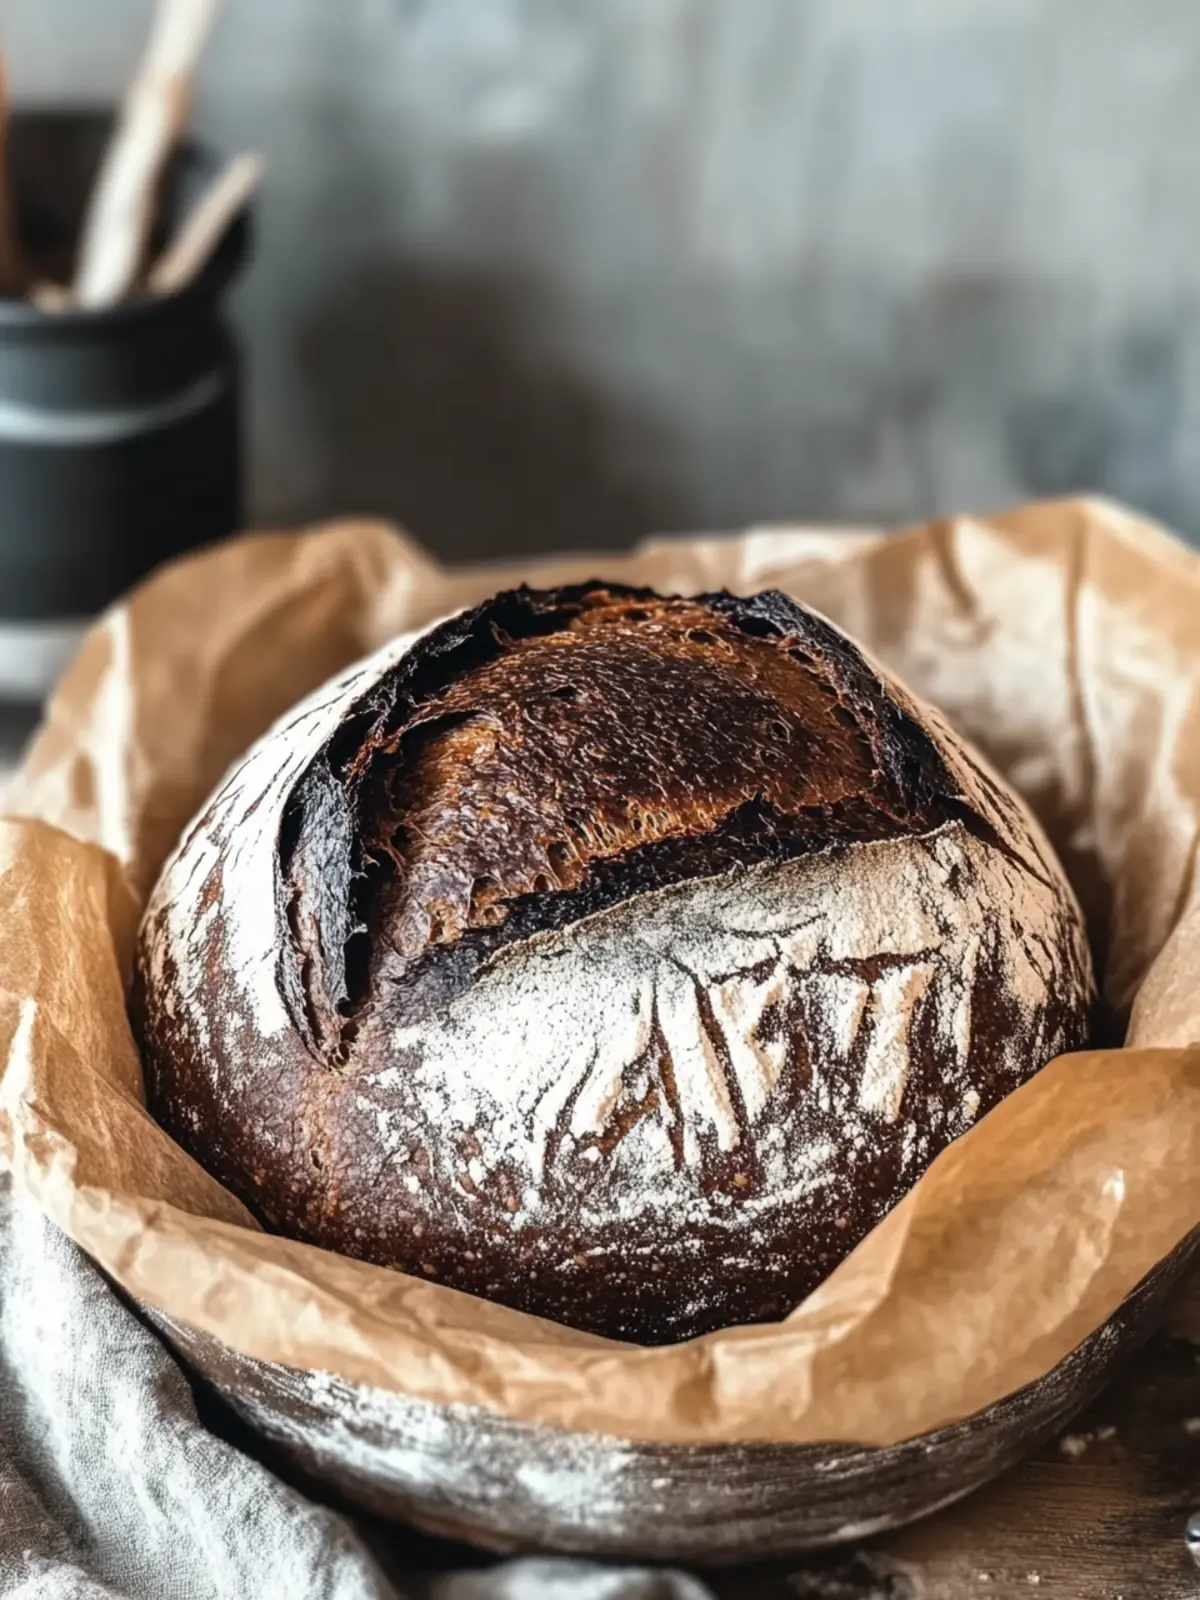
“You seriously haven’t tried bread like this,” my friend said, sliding a warm slice across the kitchen counter. I was skeptical — chocolate and bread? But that bite, with its tender crumb and pockets of melty chocolate, changed my mind right then and there. Honestly, this Irresistible Chocolate No Knead Bread started as a bit of an experiment on a lazy weekend when I was craving something sweet but didn’t want to fuss with complicated baking. What I ended up with was something so cozy and comforting, it quickly became a repeat in my kitchen.
There’s something about the smell of yeast mingling with cocoa that fills the house with a gentle warmth — like a hug you didn’t see coming. I remember sitting on my couch after the first batch cooled off, breaking off chunks and savoring the soft, slightly chewy texture paired with those little bursts of chocolate. It wasn’t just a snack; it was a moment of calm, a small celebration of simple comforts. That quiet joy is why I keep coming back to this recipe, especially on chilly mornings or when I need a sweet pick-me-up without the hassle.
What’s great is how this bread feels homemade without the usual kneading marathon. The no-knead method means the dough does most of the work while you’re busy doing other things — like prepping dinner or even catching up on a good book. And trust me, having a fresh loaf on the counter that’s both subtly sweet and rich with chocolate is a little luxury that never gets old. Plus, it pairs beautifully with a steaming mug of coffee or tea, making it perfect for slow weekend breakfasts or cozy evening treats. This bread has quietly earned a spot as my go-to for when I want something indulgent but easy — the kind of recipe that reminds me why home baking is so satisfying.
Why You’ll Love This Recipe
After testing and tweaking this chocolate no knead bread multiple times (okay, maybe more than a handful), I’m convinced it ticks all the boxes for a cozy homemade treat. Here’s why it stands out:
- Quick & Easy: The dough comes together in just 10 minutes, and the no-knead magic happens overnight. Perfect for busy days when you want fresh bread waiting for you.
- Simple Ingredients: Nothing fancy needed — just pantry basics with the addition of cocoa powder and chocolate chips. No last-minute grocery runs!
- Perfect for Cozy Occasions: Whether it’s a weekend brunch, a chilly night in, or an impromptu gathering, this bread fits right in with its warm, comforting vibe.
- Crowd-Pleaser: I’ve brought this to book clubs and casual get-togethers, and folks always ask for the recipe. Kids especially love the little chocolate pockets.
- Unbelievably Delicious: The tender crumb, the crisp crust, and the chocolate swirls make each bite a satisfying treat that’s not too sweet but deeply flavorful.
What sets this chocolate bread apart? It’s the balance — you get that lightly sweet, chocolatey richness without it feeling like dessert bread. The slow fermentation gives the dough a subtle tang and great texture, and the chocolate chips stay soft and melty, not overpowering the bread itself. And the no-knead approach? Honestly, it’s a game changer for me. I’m not a fan of spending ages kneading dough, and this lets the yeast and time do their thing quietly in the background.
It’s like comfort food reimagined in a simple loaf — a recipe that’s both indulgent and easy, inviting you to slow down and savor the moment. It’s one of those recipes I’ll keep coming back to, whether I’m making a batch for myself or sharing with friends. And if you’ve ever enjoyed the cozy vibes of a warm, fresh loaf like the coconut chicken and brothy rice or the sweet touches in vanilla custard strawberry tart, you’ll appreciate the way this bread fits right in with those comforting flavors.
What Ingredients You Will Need
This recipe keeps things straightforward with ingredients that you probably already have on hand. Each one plays a key role in building that tender crumb, crispy crust, and rich chocolate flavor. The ingredients are pantry staples with a twist — cocoa powder and chocolate chips bring the chocolate magic, while the no-knead dough relies on time to develop its character.
- All-Purpose Flour – 3 cups (360g). The base for the dough; I like King Arthur flour for consistent results.
- Cocoa Powder – 1/4 cup (25g), unsweetened. Adds deep chocolate flavor without extra sweetness.
- Instant Yeast – 1 tsp (3g). Quick to activate and perfect for no-knead recipes.
- Sugar – 2 tbsp (25g). Balances the bitterness of the cocoa and feeds the yeast a bit.
- Salt – 1 tsp (6g). Enhances flavor and controls yeast activity.
- Warm Water – 1 1/2 cups (355ml), about 100°F (38°C). Hydrates the dough and activates yeast.
- Chocolate Chips – 1 cup (175g), semi-sweet or dark. These melt into delightful pockets inside the bread.
- Optional: 1 tsp vanilla extract for extra aroma (adds a cozy, warm note).
- Optional: A handful of chopped nuts like walnuts or pecans for texture and flavor contrast.
If you want to swap the all-purpose flour with whole wheat or a gluten-free blend, that can work but might change the texture a bit. For dairy-free versions, just make sure your chocolate chips don’t contain milk. I recommend Ghirardelli or Enjoy Life brands for chocolate chips — they melt beautifully and taste great.
Equipment Needed
- Large Mixing Bowl: Big enough to hold the dough as it rises. Glass or stainless steel works well.
- Dutch Oven or Heavy Oven-Safe Pot with Lid: This traps steam and helps create that crisp crust. If you don’t have one, a cast iron skillet with a heatproof lid or a baking stone can be used.
- Measuring Cups and Spoons: For accurate ingredient measurement — super important for baking.
- Wooden Spoon or Silicone Spatula: To mix the sticky dough without fuss.
- Kitchen Scale (Optional but Recommended): For precise flour and cocoa powder measurement, especially if you want consistent results.
- Plastic Wrap or Clean Kitchen Towel: To cover the dough while it rises.
For anyone new to bread baking, the Dutch oven might seem like a splurge, but it really makes a difference. I’ve used budget-friendly enamel-coated pots with great results. Maintenance is simple — just hand wash and dry thoroughly. If you’re curious about easy bread recipes, tools like these also help with recipes like quick zesty lemon rosemary salmon dinners where having the right equipment speeds things up.
Preparation Method
- Mix the dry ingredients: In your large mixing bowl, combine 3 cups (360g) of all-purpose flour, 1/4 cup (25g) unsweetened cocoa powder, 1 tsp (3g) instant yeast, 2 tbsp (25g) sugar, and 1 tsp (6g) salt. Give it a good stir to distribute everything evenly. This step takes about 2 minutes.
- Add the warm water and vanilla (if using): Pour in 1 1/2 cups (355ml) of warm water around 100°F (38°C) along with 1 tsp vanilla extract if you like. Stir with a wooden spoon or spatula until a shaggy, sticky dough forms. No kneading needed here — just make sure all the flour is hydrated. This should take about 3-4 minutes.
- Fold in chocolate chips: Gently fold 1 cup (175g) of chocolate chips into the dough. Don’t overmix; just enough to distribute them. If you’re adding nuts, fold them in here as well.
- Cover and let rise: Cover the bowl tightly with plastic wrap or a clean kitchen towel. Let the dough rest at room temperature for 12 to 18 hours — overnight works perfectly. You’ll notice the dough will double in size and develop bubbles on the surface, which means the yeast is doing its job.
- Shape the dough: After the long rise, lightly flour a work surface and gently scrape the dough out. Shape it into a rough ball by folding the edges underneath. Be gentle — the dough will be quite sticky and soft. Sprinkle a bit of flour on top to prevent sticking.
- Second rise: Place the dough ball on a piece of parchment paper and cover it lightly with a towel. Let it rest for 1 to 2 hours until it puffs up a bit.
- Preheat your oven and pot: About 30 minutes before baking, place your Dutch oven with its lid in the oven and preheat to 450°F (230°C). Getting the pot hot is key to a crispy crust.
- Bake the bread: Carefully remove the hot pot from the oven. Lift the parchment paper with the dough and place it inside the pot. Cover with the lid and bake for 30 minutes. Then, remove the lid and bake for another 10-15 minutes until the crust is deep brown and crackly.
- Cool before slicing: Transfer the bread to a wire rack and let it cool for at least an hour before cutting. This step is tempting to skip, but trust me — the crumb finishes setting during this time.
Tips: If your dough feels too sticky after the first rise, just lightly flour your hands and work surface — no need to add extra flour to the dough itself. When removing the lid for the final bake, watch the bread closely so it doesn’t burn. That rich chocolate aroma filling the kitchen is the best sign you’re almost done!
Cooking Tips & Techniques
One of the trickiest parts with no-knead bread is patience — the long rise is essential for developing flavor and texture. Don’t rush this step; I’ve learned that cutting the rise short results in dense, bland bread. Letting the dough rest overnight gives it that subtle tang and open crumb texture that makes this chocolate bread special.
A hot baking vessel (like a Dutch oven) is your best friend here. It traps steam, which helps the crust turn golden and crisp without drying out the interior. If you don’t have a covered pot, try spritzing the oven walls with water or placing a pan of water below the rack to create steam.
Chocolate chips can sometimes sink to the bottom during baking. To help prevent this, toss them lightly in flour before folding into the dough — it adds just enough grip to keep them suspended. Also, try mixing in a few finely chopped nuts or dried fruit to vary texture and flavor.
For a consistent rise, make sure your yeast is fresh. I once used expired yeast and ended up with a flat loaf — lesson learned! Also, keep your water temperature around 100°F (38°C); too hot and you’ll kill the yeast, too cold and it won’t activate well.
If you want crustier bread, leave it uncovered for the last 10-15 minutes of baking, but keep an eye so it doesn’t get overly dark. And if you find slicing fresh bread tricky, a serrated bread knife and a gentle sawing motion make all the difference.
Variations & Adaptations
This recipe is quite flexible, so you can tailor it to your preferences or dietary needs with a few tweaks.
- Gluten-Free Version: Swap all-purpose flour with a gluten-free all-purpose blend that includes xanthan gum. The texture will be slightly different but still delicious. You might want to reduce water slightly as gluten-free flours absorb moisture differently.
- Vegan Adaptation: This recipe is naturally vegan if your chocolate chips are dairy-free. Simply double-check the ingredients and use maple syrup or coconut sugar if you want to replace granulated sugar with a less refined option.
- Seasonal Twist: Add orange zest or cinnamon to the dough for a festive touch. In summer, a handful of fresh raspberries or cherries folded in with the chocolate chips turns it into a fruity-chocolate delight.
- Nutty Bread: Mix in toasted walnuts or pecans for crunch. I once added chopped hazelnuts and it gave the bread a lovely autumn vibe that paired beautifully with a cup of hot cocoa.
- Alternative Sweeteners: Use honey or agave syrup instead of sugar, adjusting water slightly to keep dough consistency right.
For a quick snack, you can also slice the bread and toast it lightly, then spread with butter or your favorite nut butter. If you like savory with chocolate, sprinkle a tiny pinch of sea salt on top right out of the oven — it’s a game changer.
Serving & Storage Suggestions
This bread is best enjoyed fresh, warm from the oven or within a day of baking. Serve it sliced thick with a pat of butter or a drizzle of honey for a simple treat. It also pairs wonderfully with coffee, tea, or even a glass of cold milk, making it a perfect cozy breakfast or afternoon snack.
If you want to turn it into a more indulgent dessert, try spreading it with mascarpone and fresh berries, or use it as a base for bread pudding. It’s surprisingly versatile.
To store, wrap the cooled loaf tightly in plastic wrap or store in an airtight container at room temperature for up to 3 days. For longer storage, slice and freeze the bread in a zip-top bag for up to 3 months. Toast frozen slices directly from the freezer for a quick treat.
Reheating in a warm oven (about 300°F/150°C for 10 minutes) helps revive the crust’s crispness. Over time, the chocolate flavor deepens and the crumb softens, making leftovers even more enjoyable.
Nutritional Information & Benefits
Each slice of this chocolate no knead bread offers roughly 180-220 calories, depending on slice thickness and chocolate chip quantity. It contains moderate carbohydrates from the flour and sugar, with a touch of fat from the chocolate. The cocoa powder adds antioxidants, while the slow fermentation slightly improves digestibility.
This bread is a treat but also offers some nutritional perks compared to typical sugary baked goods because it’s less sweet and uses simple ingredients. For those mindful of allergens, it contains gluten and soy (in chocolate chips), so alternatives may be necessary.
From my personal health-conscious perspective, it strikes a nice balance — indulgent enough to satisfy a sweet craving but wholesome enough to feel like a real homemade treat rather than a processed snack.
Conclusion
This Irresistible Chocolate No Knead Bread is one of those recipes that brings warmth and comfort without demanding your whole day. It’s easy, forgiving, and downright delicious — a cozy homemade treat you’ll want to make over and over. Feel free to tweak it with your favorite mix-ins or spices to make it truly your own.
I love this bread because it reminds me that sometimes the simplest recipes make the best memories — a quiet morning with a fresh slice, a friend’s smile when they take that first bite, or the smell that fills the kitchen on a cold day. If you give this recipe a try, I’d love to hear how you make it yours. Sharing your variations and experiences helps keep the joy of baking alive!
FAQs about Irresistible Chocolate No Knead Bread
Can I use regular active dry yeast instead of instant yeast?
Yes, but you’ll need to proof it first by dissolving it in warm water with a pinch of sugar and waiting about 5-10 minutes until bubbly before mixing with the other ingredients.
How can I make the crust extra crispy?
Baking in a preheated Dutch oven helps trap steam and crisp the crust. Removing the lid for the final 10-15 minutes also deepens the crust’s texture.
Will the bread rise if I shorten the fermentation time?
Shortening the rise will reduce flavor and texture quality. Overnight fermentation (12-18 hours) is best for that tender crumb and subtle tang.
Can I add other mix-ins besides chocolate chips?
Absolutely! Nuts, dried fruit, or even a swirl of peanut butter work well. Just fold them in gently with the chocolate chips.
How do I store leftover bread to keep it fresh?
Wrap cooled bread tightly in plastic wrap or an airtight container at room temperature for up to 3 days, or slice and freeze for longer storage.
Pin This Recipe!
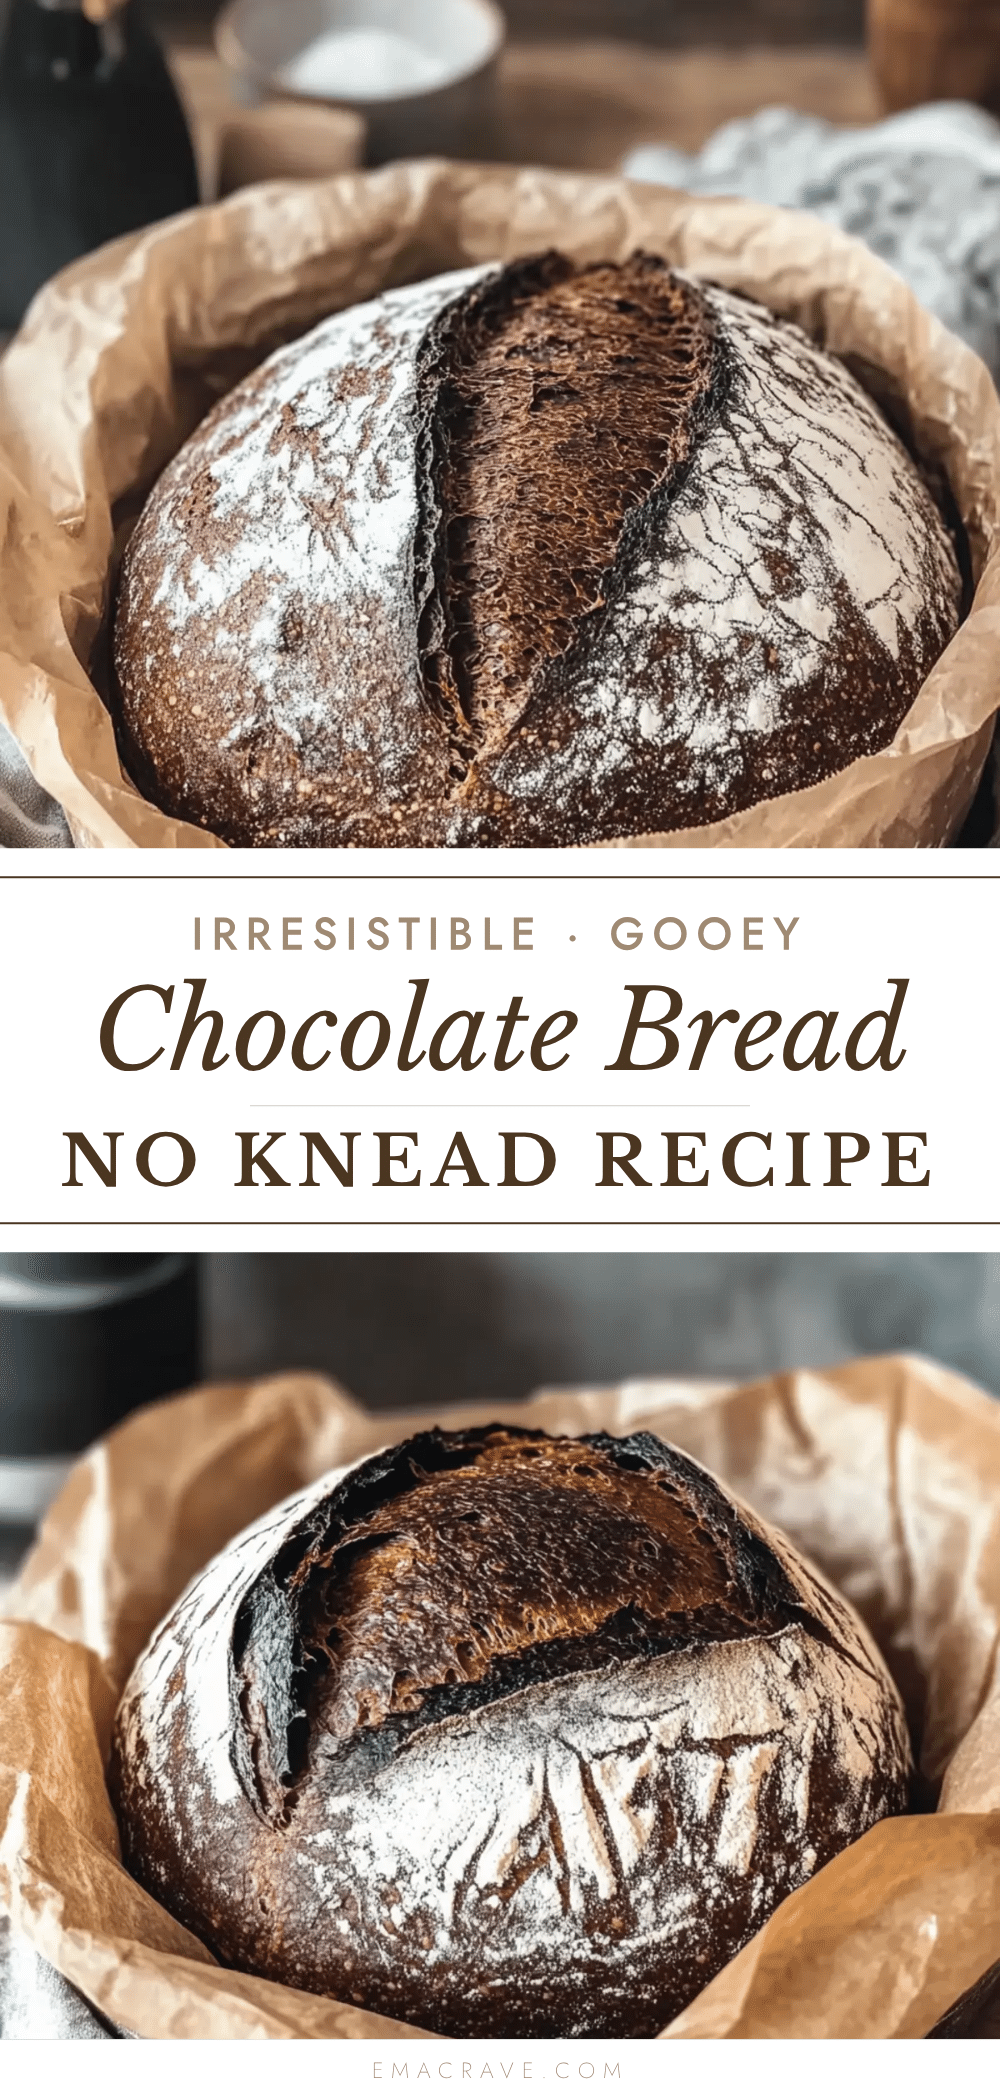
Irresistible Chocolate No Knead Bread
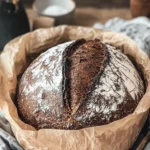
A cozy, easy-to-make chocolate bread with a tender crumb and melty chocolate pockets, perfect for slow weekend breakfasts or cozy treats without the fuss of kneading.
- Prep Time: 10 minutes
- Cook Time: 45 minutes
- Total Time: 13 hours 55 minutes
- Yield: 1 loaf (about 8-10 servings) 1x
- Category: Bread
- Cuisine: American
Ingredients
- 3 cups (360g) all-purpose flour
- 1/4 cup (25g) unsweetened cocoa powder
- 1 tsp (3g) instant yeast
- 2 tbsp (25g) sugar
- 1 tsp (6g) salt
- 1 1/2 cups (355ml) warm water (about 100°F / 38°C)
- 1 cup (175g) semi-sweet or dark chocolate chips
- Optional: 1 tsp vanilla extract
- Optional: A handful of chopped nuts like walnuts or pecans
Instructions
- Mix the dry ingredients: In a large mixing bowl, combine flour, cocoa powder, instant yeast, sugar, and salt. Stir to distribute evenly (about 2 minutes).
- Add warm water and vanilla extract (if using). Stir with a wooden spoon or spatula until a shaggy, sticky dough forms (3-4 minutes).
- Fold in chocolate chips and nuts (if using) gently to distribute without overmixing.
- Cover the bowl tightly with plastic wrap or a clean kitchen towel. Let the dough rise at room temperature for 12 to 18 hours until doubled in size and bubbly.
- Lightly flour a work surface and gently scrape out the dough. Shape into a rough ball by folding edges underneath. Sprinkle a bit of flour on top to prevent sticking.
- Place the dough ball on parchment paper and cover lightly with a towel. Let rest for 1 to 2 hours until puffed.
- Preheat oven to 450°F (230°C) with a Dutch oven or heavy oven-safe pot with lid inside for 30 minutes.
- Carefully remove the hot pot from the oven. Lift the parchment paper with dough and place inside the pot. Cover with lid and bake for 30 minutes.
- Remove lid and bake for an additional 10-15 minutes until crust is deep brown and crackly.
- Transfer bread to a wire rack and cool for at least 1 hour before slicing.
Notes
Use fresh yeast and maintain water temperature around 100°F (38°C) for best rise. Toss chocolate chips lightly in flour before folding to prevent sinking. For crustier bread, remove lid for last 10-15 minutes of baking and watch closely to avoid burning. Let bread cool completely before slicing to set crumb. Store wrapped at room temperature up to 3 days or freeze sliced up to 3 months.
Nutrition
- Serving Size: 1 slice (about 1/10t
- Calories: 200
- Sugar: 10
- Sodium: 200
- Fat: 7
- Saturated Fat: 4
- Carbohydrates: 32
- Fiber: 3
- Protein: 4
Keywords: chocolate bread, no knead bread, easy bread recipe, homemade bread, chocolate chips, cozy breakfast, no knead chocolate bread