Love this? Save it for later!
Share the inspiration with your friends
I was staring at a can of chickpea liquid—the stuff I normally pour down the drain—and honestly, I was desperate. My sister had texted me a photo of her latest baking project, some impossibly tall, glossy meringue pie, and I wanted to make something just as impressive but, you know, vegan. I had friends coming over in a few hours, and I needed a dessert that didn’t scream “I bought this at the store.” I’d heard whispers about aquafaba for years, but I always figured it was one of those internet trends that looked good on video and failed in real life. But there I was, a Thursday afternoon, with a carton of fresh strawberries threatening to go soft and a can of chickpeas staring me down from the pantry.
So I did what any reasonable person would do. I drained the chickpeas (saving the liquid, obviously), tossed the beans into a container for a future batch of creamy curried butter beans, and whipped that murky liquid with sugar and cream of tartar. I won’t lie—the first few minutes were nerve-wracking. It looked like dishwater. But then something magical happened. It started to foam, then it got white, then it got thick, and before I knew it, I had a bowl of glossy, stiff peaks that looked exactly like egg whites. I folded in my strawberry puree, spooned it into little glasses, and crossed my fingers. When I pulled one out of the fridge a few hours later, it was light, airy, and tasted like summer in a cup. That was the day I became an aquafaba believer.
This Fluffy Strawberry Aquafaba Mousse isn’t just a vegan dessert. It’s the kind of recipe that makes you feel like you’ve discovered a secret superpower. It’s ridiculously easy, uses ingredients you probably already have, and the result is so ethereally light that nobody will believe it’s made from bean water. Seriously.
Why You’ll Love This Recipe
Let me tell you why this mousse has become my go-to for everything from casual weeknight treats to fancy dinner parties. I’ve tested this recipe at least a dozen times, tweaking the sugar ratios, trying different berry purees, and even testing it with frozen fruit. Every single time, it delivers.
- Completely Vegan & Dairy-Free: No eggs, no cream, no dairy at all. This mousse is 100% plant-based and absolutely nobody will know the difference.
- Incredibly Light & Fluffy: The texture is what gets people every time. It’s not heavy like a traditional mousse made with cream. It’s airy, almost like a cloud, with a delicate strawberry flavor that dances on your tongue.
- Simple Ingredients: You need exactly six ingredients, and five of them are probably in your kitchen right now. No fancy stabilizers, no agar agar, no complicated techniques.
- Naturally Gluten-Free: Since there’s no flour or wheat involved, this dessert is safe for anyone avoiding gluten.
- Ready in Under 30 Minutes: The actual hands-on time is about 15 minutes. The rest is just waiting for it to chill, which is the hardest part.
- Perfect for Any Occasion: I’ve served this for birthday parties, Valentine’s Day, summer barbecues, and even a quiet Tuesday night when I needed something sweet. It always fits.
What makes this recipe different from every other mousse out there? It’s the aquafaba. I know it sounds weird, but trust me—once you see how easily it whips up into those glossy, stiff peaks, you’ll never look at a can of chickpeas the same way again. This isn’t just another vegan dessert that’s “pretty good for being vegan.” This is a genuinely spectacular dessert that happens to be vegan.
What Ingredients You Will Need
This recipe uses simple, wholesome ingredients to create something truly special. The magic really is in the aquafaba, but each component plays a crucial role in the final texture and flavor.
- Aquafaba (from one 15-oz can of chickpeas) – This is the liquid gold. You need about 1/2 cup (120 ml) of unsalted aquafaba. I prefer using the liquid from a can of chickpeas that has no added salt, or a low-sodium variety. The liquid should be room temperature for best whipping results.
- Granulated Sugar – 1/2 cup (100 grams). You need the sugar to stabilize the aquafaba and give it structure. I’ve tried this with coconut sugar, and it works but gives a slightly darker color and a hint of caramel flavor. For the classic pink mousse, stick with white sugar.
- Cream of Tartar – 1/4 teaspoon. This is non-negotiable. Cream of tartar helps stabilize the aquafaba and makes it whip up faster. If you don’t have it, you can substitute with a few drops of lemon juice or white vinegar, but cream of tartar works best.
- Fresh Strawberries – 1 cup (about 150 grams) of ripe, sweet strawberries. You’ll puree these and cook them down slightly to concentrate the flavor. I’ve used frozen strawberries in a pinch, but fresh ones give a brighter, more vibrant taste.
- Vanilla Extract – 1 teaspoon. Pure vanilla extract adds warmth and depth. Don’t use imitation vanilla here—you’ll taste the difference.
- Optional: Pinch of Salt – Just a tiny pinch enhances all the flavors and balances the sweetness.
For the strawberry puree, I like to use strawberries that are deep red all the way through. If they have white cores, they might be a little tart, so you may need to add a touch more sugar. I’ve found that the brand of chickpeas can affect the aquafaba quality—I personally love using the liquid from Bush’s or Whole Foods 365 brand chickpeas. They seem to whip up the most consistently.
One thing I learned the hard way: don’t use aquafaba from flavored or seasoned chickpeas. Stick with plain, unseasoned chickpeas. You don’t want your mousse tasting like garlic or cumin!
Equipment Needed
You don’t need a fancy kitchen to make this mousse, but a few key tools will make your life much easier.
- Electric Hand Mixer or Stand Mixer: You can technically whip aquafaba by hand with a whisk, but your arm will hate you. I use my trusty KitchenAid stand mixer with the whisk attachment. A hand mixer works just as well.
- Large Mixing Bowl: Make sure it’s completely clean and free of any grease. A tiny bit of oil can prevent the aquafaba from whipping up properly.
- Small Saucepan: For cooking down the strawberry puree.
- Blender or Food Processor: To puree the strawberries. An immersion blender works great too.
- Fine-Mesh Strainer: Optional, but recommended to remove strawberry seeds if you want a super smooth mousse.
- Serving Glasses or Ramekins: I love using clear glasses so you can see the pretty pink layers.
If you don’t have a stand mixer, don’t worry. A hand mixer works perfectly—just make sure you use a deep bowl to avoid splatters. I’ve even seen people use a milk frother for small batches, but I haven’t tried that myself.
Preparation Method
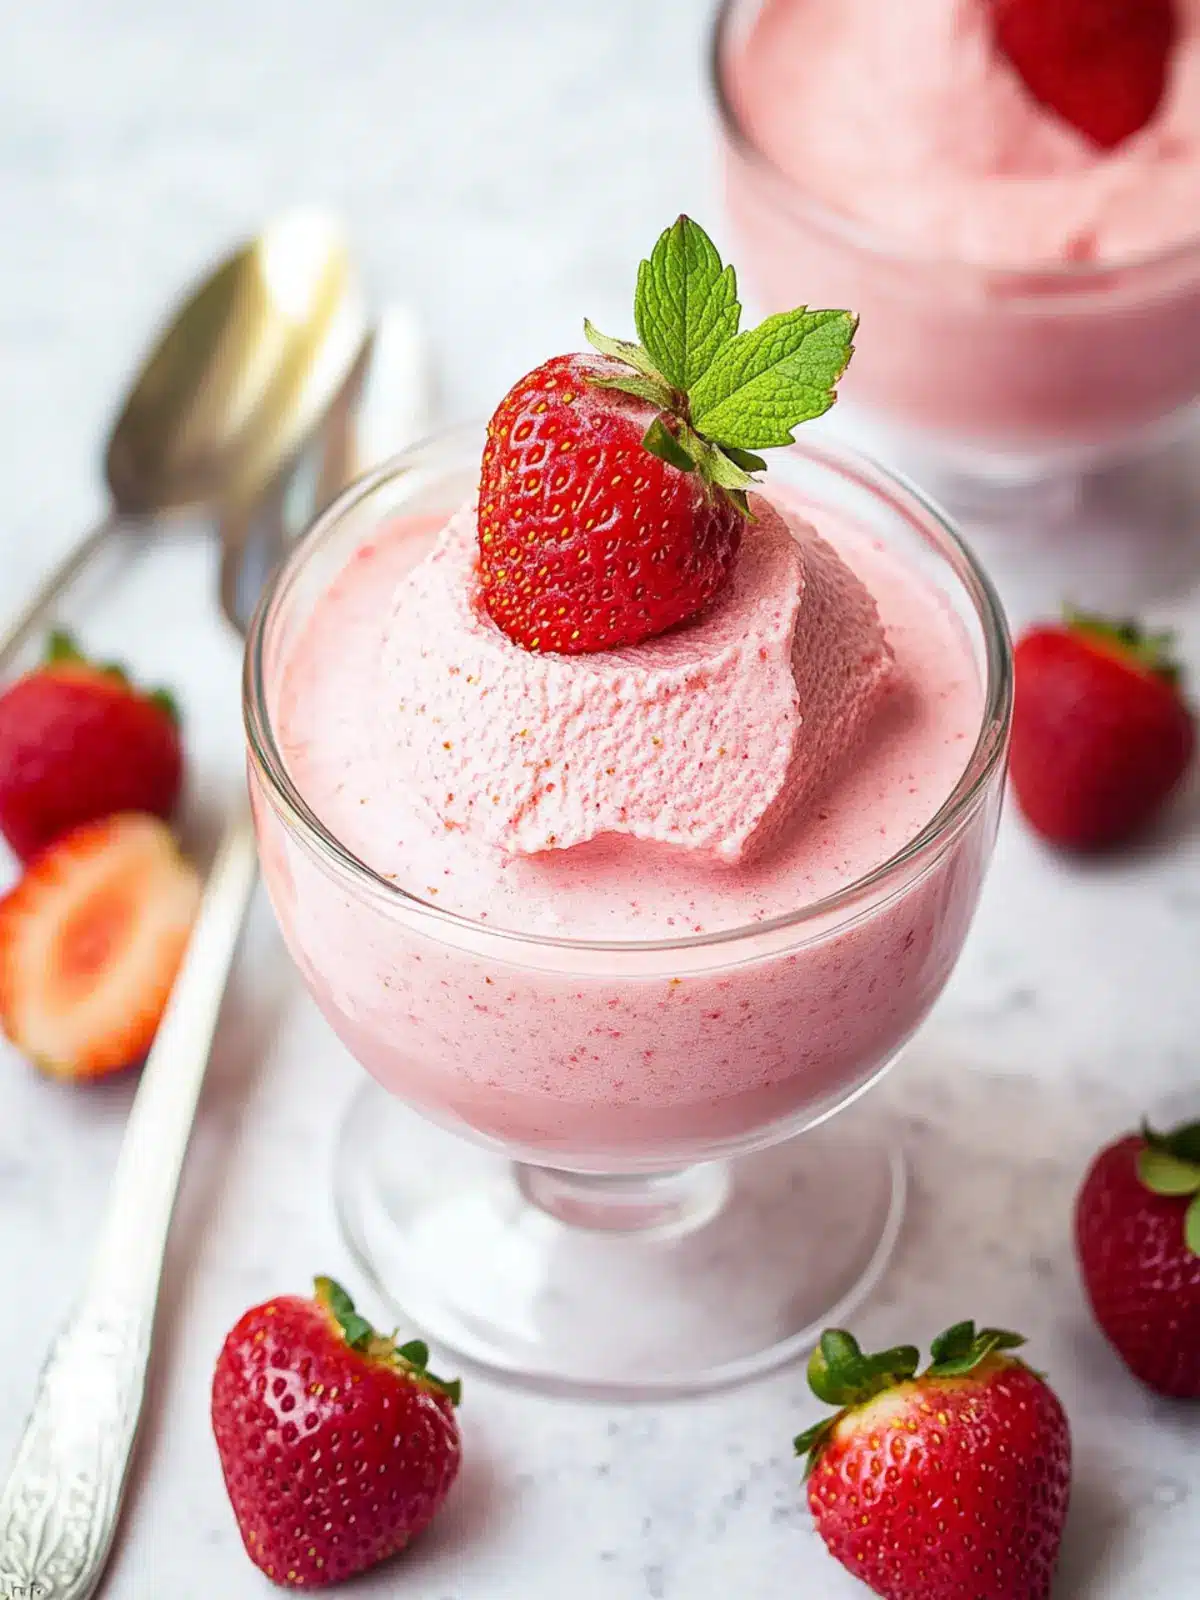
Alright, let’s get to the fun part. This recipe comes together faster than you think, but there are a few key moments where you need to pay attention.
- Prepare the Strawberry Puree: Wash and hull your strawberries. Place them in a blender or food processor and puree until completely smooth. Pour the puree into a small saucepan and bring it to a gentle simmer over medium heat. Let it cook for about 5-7 minutes, stirring occasionally, until it thickens slightly and reduces by about a third. You want it to be thick enough that it doesn’t water down your mousse. Remove from heat and let it cool completely. You can speed this up by spreading it on a plate and popping it in the fridge.
- Start the Aquafaba: Open your can of chickpeas and drain the liquid into a measuring cup. You need 1/2 cup (120 ml). If you have a little more, that’s fine—just measure exactly. Pour the aquafaba into your large mixing bowl. Add the cream of tartar.
- Whip the Aquafaba: Start mixing on medium speed. At first, it will look like soapy water. Don’t panic. After about 2-3 minutes, it will start to foam and turn white. Increase the speed to high and continue whipping. After about 5-7 minutes total, you should have stiff, glossy peaks. You know it’s ready when you can lift the whisk and the peaks stand up straight without flopping over. If they droop, keep whipping.
- Add the Sugar: With the mixer running on medium speed, gradually add the sugar, about a tablespoon at a time. This should take about 2 minutes. Once all the sugar is in, add the vanilla extract and the pinch of salt. Continue whipping on high for another 2-3 minutes until the mixture is thick, glossy, and holds its shape perfectly.
- Fold in the Strawberry Puree: Now for the delicate part. Gently fold the cooled strawberry puree into the whipped aquafaba. Use a rubber spatula and use a cutting motion, turning the bowl as you go. Be gentle—you don’t want to deflate all that air you just whipped in. Fold just until the streaks disappear. A few swirls are fine; overmixing will make it flat.
- Chill and Set: Spoon or pipe the mousse into your serving glasses. I like to use a piping bag for a clean look, but a spoon works perfectly fine. Tap the glasses gently on the counter to release any air bubbles. Cover each glass with plastic wrap and refrigerate for at least 4 hours, but overnight is better. The mousse needs time to firm up and develop its flavor.
Here’s a tip I learned from a failed batch: don’t skip the chilling step. I once tried to serve this after just 2 hours, and it was still too soft. It tasted good, but it didn’t have that perfect mousse texture. Patience pays off here.
Cooking Tips & Techniques
I’ve made this mousse more times than I can count, and I’ve definitely had my share of failures. Let me save you from my mistakes.
Temperature Matters: Aquafaba whips best at room temperature. If your kitchen is cold, let the aquafaba sit out for 30 minutes before whipping. I once tried using cold aquafaba straight from the fridge, and it took forever to get stiff peaks. Not worth it.
Clean Bowl is Crucial: Any trace of grease or oil will sabotage your aquafaba. I wash my mixing bowl and whisk attachment with hot, soapy water and dry them thoroughly before starting. Some people even wipe the bowl with a little lemon juice or vinegar to ensure it’s squeaky clean.
Don’t Overcook the Strawberries: You want the puree to thicken, but not turn into jam. If it gets too thick, it won’t fold in evenly. Aim for a consistency similar to a thick syrup.
Fold, Don’t Stir: This is the most important technique. When you add the strawberry puree, use a gentle folding motion. Imagine you’re trying to keep as much air in the mixture as possible. Stirring aggressively will deflate everything.
Patience with Chilling: I know it’s tempting to dig in early, but trust me on this one. The mousse needs at least 4 hours to set properly. Overnight is ideal. The texture becomes firmer and more stable, and the strawberry flavor melds beautifully with the vanilla.
One time, I was in a rush and tried to speed-chill the mousse in the freezer. Big mistake. The edges froze while the center stayed liquid. Just stick with the fridge.
Variations & Adaptations
This recipe is incredibly versatile. Here are some of my favorite variations:
- Berry Medley Mousse: Swap half the strawberries with raspberries or blueberries. The combination is gorgeous and tastes like a berry patch in a glass.
- Chocolate Strawberry Mousse: Add 2 tablespoons of cocoa powder to the aquafaba after it’s whipped. Fold in the strawberry puree gently, and you’ll have a beautiful chocolate-strawberry swirl.
- Mango Passionfruit Mousse: Replace the strawberries with mango puree and add a tablespoon of passionfruit pulp. This tropical version is perfect for summer.
- Low-Sugar Version: Use a sugar substitute like monk fruit or erythritol. I’ve tested this with allulose, and it works well, though the mousse might be slightly less stable. Reduce the sugar to 1/4 cup and add a few drops of stevia if needed.
- Lemon Strawberry Mousse: Add 1 tablespoon of fresh lemon juice and 1 teaspoon of lemon zest to the strawberry puree. It brightens up the flavor beautifully.
I once made a batch using frozen mixed berries and added a splash of rose water. It was ridiculously good—like something from a fancy French patisserie. Don’t be afraid to experiment!
Serving & Storage Suggestions
This mousse is gorgeous served chilled in clear glass cups or elegant ramekins. I love topping it with a dollop of coconut whipped cream, a few fresh strawberry slices, and a sprig of mint. It looks so fancy, and nobody believes it’s made from chickpea water.
For a fun presentation, layer the mousse with crushed vegan cookies or granola. It adds a nice crunch and makes it feel like a parfait.
Storage: This mousse keeps beautifully in the refrigerator for up to 3 days. Just keep it covered with plastic wrap. The texture stays light and fluffy for the first 48 hours, then gradually becomes a bit denser. It’s still delicious on day three, just not as airy.
Freezing: You can freeze this mousse! Spoon it into a freezer-safe container and freeze for up to 1 month. Thaw it in the refrigerator overnight before serving. The texture won’t be quite as perfect as fresh, but it’s still a lovely treat. I’ve used frozen mousse as a filling for a crème brûlée cheesecake before, and it was a hit.
One thing I love about this mousse is that the flavor actually improves after a day in the fridge. The strawberry flavor becomes more pronounced, and the texture firms up perfectly. So don’t stress about making it a day ahead—it’s actually better that way.
Nutritional Information & Benefits
Here’s the estimated nutritional breakdown for one serving (based on 4 servings):
- Calories: ~120
- Protein: 1g
- Fat: 0g
- Carbohydrates: 28g
- Fiber: 2g
- Sugar: 24g
This mousse is naturally low in fat and completely cholesterol-free. Strawberries are packed with vitamin C and antioxidants, which is always a nice bonus. The aquafaba itself is mostly water and a tiny bit of protein and fiber from the chickpeas.
If you’re watching your sugar intake, you can easily reduce the sugar by a third without affecting the texture too much. I’ve made it with 1/3 cup of sugar and it was still sweet enough for my taste.
For anyone with dietary restrictions, this recipe is naturally vegan, dairy-free, egg-free, gluten-free, and nut-free. Just double-check your vanilla extract to make sure it’s alcohol-free if that’s a concern.
Conclusion
This Fluffy Strawberry Aquafaba Mousse is proof that you don’t need fancy ingredients or complicated techniques to make something truly spectacular. It’s light, it’s airy, it’s bursting with fresh strawberry flavor, and it’s made from what most people throw away. I love how this recipe turns a humble can of chickpeas into a dessert that feels like a celebration.
I honestly believe this is one of those recipes that changes how you think about cooking. Once you see aquafaba whip up into those glossy peaks, you’ll start looking at everything differently. Can I make mayonnaise with it? (Yes.) Can I make meringues? (Absolutely.) It opens up a whole new world of possibilities.
I’d love to hear how yours turns out! Did you try a different fruit? Add a swirl of chocolate? Serve it at a party and watch everyone’s faces when you tell them the secret ingredient? Drop a comment below and share your experience. And if you loved this recipe, don’t forget to share it with a friend who needs a little dessert magic in their life.
Happy whipping!
Frequently Asked Questions
Can I use canned aquafaba from any brand of chickpeas?
Yes, but I’ve found that some brands work better than others. Look for cans without added salt or preservatives. The liquid should be slightly thick, not watery. I’ve had great results with Bush’s and Whole Foods 365 brand.
Why didn’t my aquafaba whip up into stiff peaks?
There are a few common culprits. Your bowl might have had a trace of grease, the aquafaba might have been too cold, or you might not have whipped it long enough. Make sure everything is clean and at room temperature. Sometimes it takes up to 10 minutes of whipping to get stiff peaks.
Can I make this mousse without cream of tartar?
Yes, you can substitute with a few drops of lemon juice or white vinegar. Cream of tartar helps stabilize the aquafaba and speeds up the whipping process, but it’s not absolutely essential. The mousse might be slightly less stable, but it will still work.
How long does this mousse last in the fridge?
It stays fresh for up to 3 days in the refrigerator. The texture is best within the first 48 hours. After that, it becomes slightly denser but still tastes delicious. Always keep it covered to prevent it from absorbing other fridge odors.
Can I use frozen strawberries instead of fresh?
Absolutely! Thaw them first and drain any excess liquid before pureeing. Frozen strawberries are often sweeter than fresh ones, so you might need to adjust the sugar slightly. I’ve used frozen berries many times with great results.
Pin This Recipe!
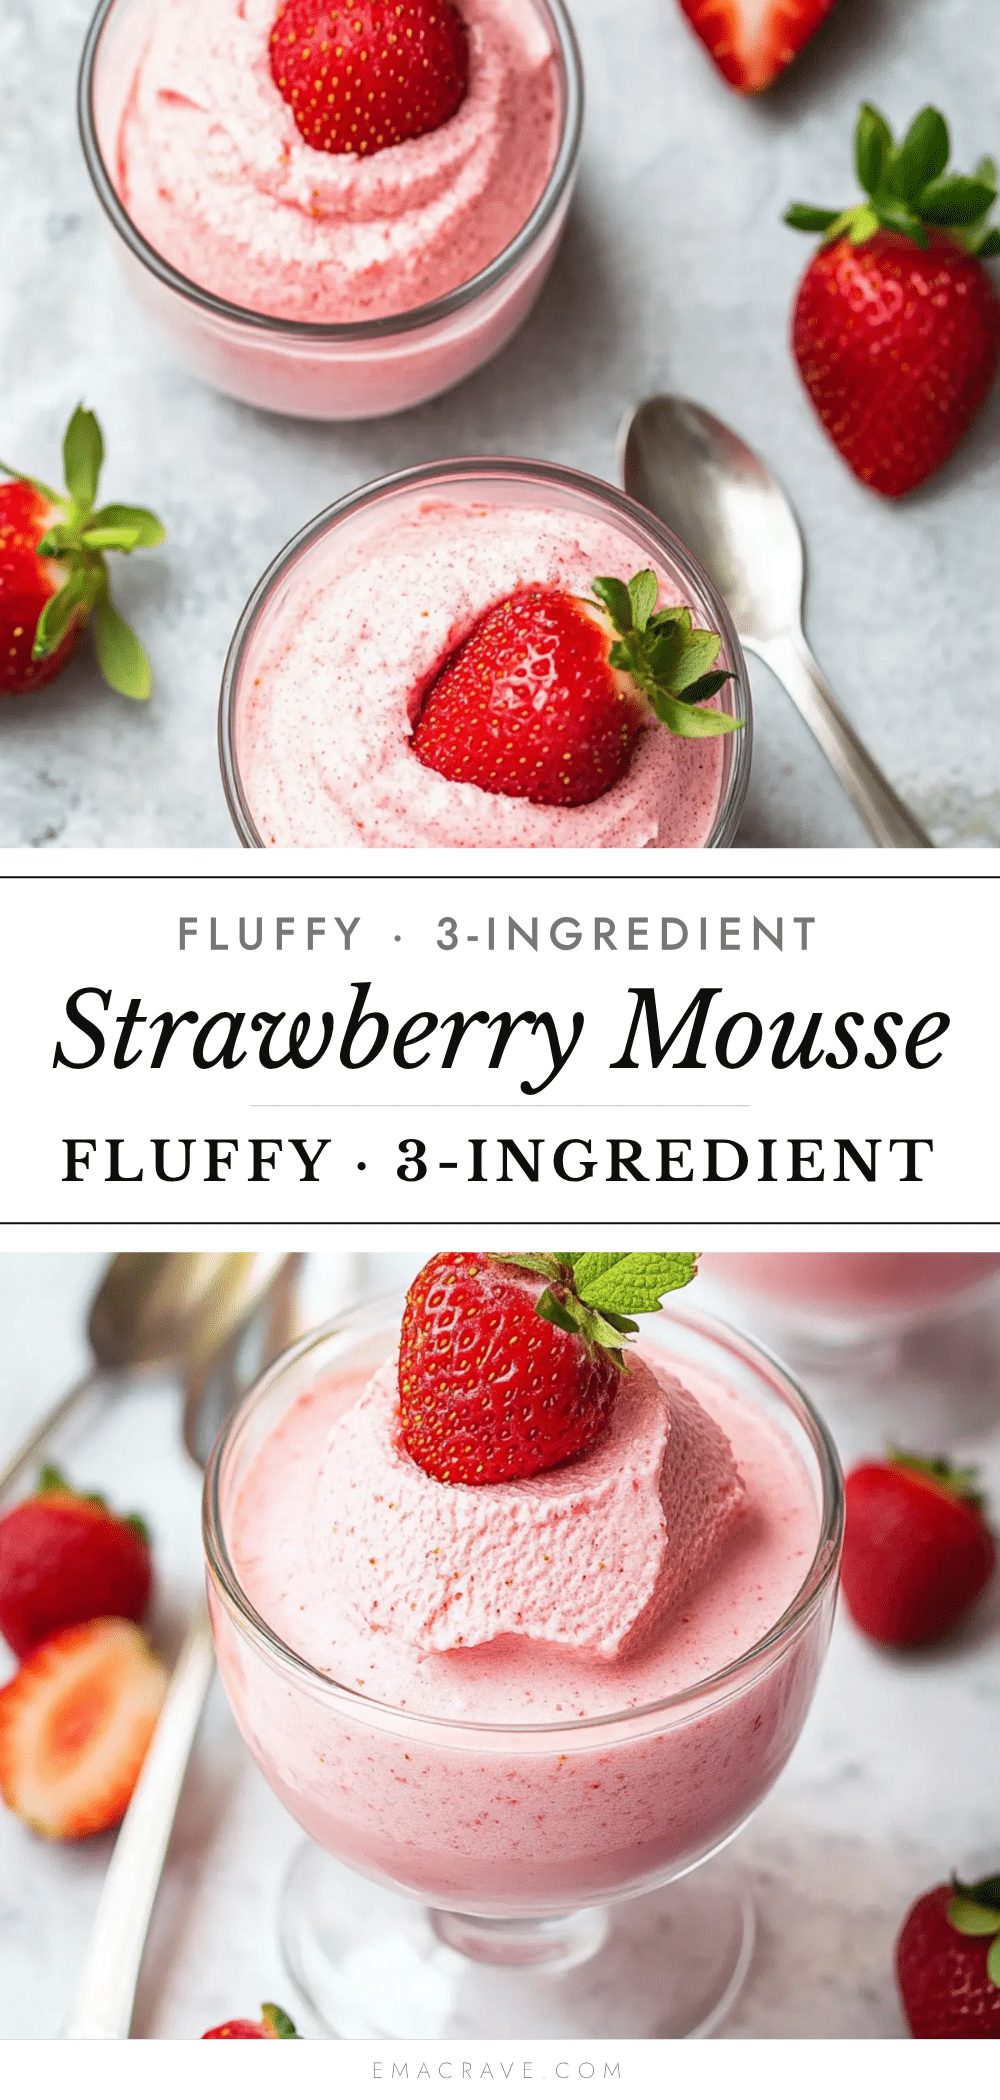
Fluffy Strawberry Aquafaba Mousse: Best Easy Vegan Dessert
This Fluffy Strawberry Aquafaba Mousse is a light, airy, and completely vegan dessert made from aquafaba (chickpea liquid) and fresh strawberries. It’s incredibly easy to make with simple ingredients and tastes like summer in a cup.
- Prep Time: 15 minutes
- Cook Time: 10 minutes
- Total Time: 4 hours 25 minutes (including chilling)
- Yield: 4 servings 1x
- Category: Dessert
- Cuisine: American
Ingredients
- 1/2 cup (120 ml) aquafaba (from one 15-oz can of unsalted chickpeas)
- 1/2 cup (100 g) granulated sugar
- 1/4 teaspoon cream of tartar
- 1 cup (150 g) fresh strawberries, hulled
- 1 teaspoon vanilla extract
- Pinch of salt (optional)
Instructions
- Prepare the strawberry puree: Wash and hull the strawberries. Puree in a blender or food processor until smooth. Pour into a small saucepan and bring to a gentle simmer over medium heat. Cook for 5-7 minutes, stirring occasionally, until thickened and reduced by about a third. Remove from heat and let cool completely.
- Start the aquafaba: Open the can of chickpeas and drain the liquid into a measuring cup. Measure 1/2 cup (120 ml) of aquafaba. Pour into a large, clean mixing bowl. Add the cream of tartar.
- Whip the aquafaba: Using an electric hand mixer or stand mixer with whisk attachment, start mixing on medium speed. After 2-3 minutes, it will foam and turn white. Increase speed to high and continue whipping for 5-7 minutes total, until stiff, glossy peaks form. The peaks should stand up straight without flopping.
- Add the sugar: With the mixer running on medium speed, gradually add the sugar, about a tablespoon at a time, over 2 minutes. Add the vanilla extract and pinch of salt. Continue whipping on high for another 2-3 minutes until thick, glossy, and holds its shape.
- Fold in the strawberry puree: Gently fold the cooled strawberry puree into the whipped aquafaba using a rubber spatula. Use a cutting motion and turn the bowl as you go. Fold just until the streaks disappear; do not overmix.
- Chill and set: Spoon or pipe the mousse into serving glasses. Tap gently to release air bubbles. Cover with plastic wrap and refrigerate for at least 4 hours, preferably overnight, until firm.
Notes
Ensure the mixing bowl is completely clean and free of grease. Aquafaba whips best at room temperature. Do not skip the chilling step; the mousse needs at least 4 hours to set properly. For best results, chill overnight.
Nutrition
- Serving Size: 1 serving
- Calories: 120
- Sugar: 24
- Carbohydrates: 28
- Fiber: 2
- Protein: 1
Keywords: vegan mousse, strawberry mousse, aquafaba dessert, dairy-free dessert, gluten-free dessert, easy vegan dessert



