Love this? Save it for later!
Share the inspiration with your friends
I was standing in my kitchen staring at a half-empty bag of jasmine rice and three chicken thighs, completely uninspired. It had been one of those weeks where takeout menus started looking better than my own cooking, which honestly felt a little depressing. My husband had just texted saying he’d be home in forty minutes, and I needed something that felt like actual effort without requiring any. That’s when I remembered a little rice dish my friend Yuki had described to me years ago—she called it something like “dirty rice but make it Japanese” and I’d never actually tried making it. But the idea stuck. Soy sauce, butter, a little garlic, some sesame oil. Simple stuff. I figured I’d just toss everything in one pot and hope for the best. Twenty minutes later, I was scraping the pot clean with a spoon, genuinely shocked at how good it tasted. The chicken came out tender, the rice had this deep savory flavor that felt way more complex than the ingredient list suggested, and I’d barely tried. That night, my husband asked if we could have it again the next day. So I made it twice in one week. Then again the week after. Some recipes you plan. This one just happened.
This Easy Japanese Seasoned Rice with Chicken is now my go-to when I want something hearty, fast, and genuinely satisfying without a sink full of dishes. It’s the kind of meal that feels like a warm hug after a long day—simple, comforting, and packed with umami flavor that keeps you coming back for more.
Why You’ll Love This Recipe
I’ve tested this recipe more times than I care to admit, tweaking the ratios, playing with the heat, and even burning a batch or two (we don’t talk about those). Here’s why this version stuck:
- One-Pot Wonder : Everything cooks in a single pot or skillet, which means minimal cleanup and maximum flavor absorption. The rice soaks up all the chicken juices and seasonings as it cooks.
- Quick & Easy : From start to finish, this comes together in about 35 minutes. Most of that time is hands-off while the rice simmers.
- Simple Ingredients : You probably already have soy sauce, garlic, butter, and rice in your pantry. No trips to specialty stores required.
- Perfect for Busy Weeknights : It’s hearty enough to be a complete meal on its own, but also works beautifully as a side dish alongside steamed veggies or a simple salad.
- Crowd-Pleaser : I’ve served this to picky eaters, spice lovers, and even my mom who usually side-eyes anything “fusion.” Everyone asked for seconds.
- Unbelievably Delicious : The combination of soy sauce, butter, and sesame oil creates this rich, savory flavor that tastes like you spent way more effort than you actually did.
What makes this recipe different from other rice dishes is the technique of toasting the rice briefly before adding liquid—it gives the final dish a slightly nutty, almost toasted flavor that elevates the whole thing. Plus, the chicken stays incredibly moist because it simmers gently right in the rice.
This isn’t just another chicken and rice recipe. It’s the kind of meal that makes you close your eyes after the first bite and forget about your stressful day for a minute. It’s comfort food that feels both familiar and exciting, and it’s become my secret weapon for turning a regular Tuesday night into something worth looking forward to.
What Ingredients You Will Need
This recipe uses simple, everyday ingredients to create something genuinely special. The magic is in how they come together, not in fancy additions.
- Chicken thighs (boneless, skinless) – 1 lb (450g). I prefer thighs over breasts here because they stay juicier during the simmering process. You can use breasts if that’s what you have, just watch the cooking time so they don’t dry out.
- Jasmine rice – 1 cup (200g). I’ve tested this with short-grain sushi rice and long-grain white rice too. Both work well, but jasmine gives the best aromatic quality. Rinse it well before using to remove excess starch.
- Soy sauce – 3 tablespoons (45ml). Use regular soy sauce, not low-sodium, for the best depth of flavor. If you’re gluten-sensitive, tamari works perfectly here.
- Chicken broth – 1 ½ cups (355ml). Low-sodium is ideal so you can control the salt level. Homemade broth adds even more richness if you have it on hand.
- Butter – 2 tablespoons (28g). Unsalted butter lets you manage the salt. I’ve used salted in a pinch and just reduced the added salt slightly—still delicious.
- Garlic – 3 cloves, minced. Fresh garlic makes a big difference here. The pre-minced stuff in jars works in a pinch but loses some of that sharp, aromatic punch.
- Sesame oil – 1 tablespoon (15ml). Toasted sesame oil is key here. It adds that unmistakable nutty, savory note that ties everything together. Don’t skip it if you can help it.
- Ginger – 1 teaspoon, grated fresh. I keep a knob of ginger in the freezer so I always have some ready to grate. Dried ginger won’t give you the same fresh pop.
- Green onions – 3 stalks, sliced. For garnish and a fresh finish. They add color and a mild oniony bite that cuts through the richness.
- Sugar – 1 teaspoon (4g). Just a pinch to balance the saltiness of the soy sauce. It doesn’t make the dish sweet, just rounds out the flavors.
- Salt and pepper – To taste. Go easy on the salt since soy sauce and broth already bring plenty.
- Sesame seeds – 1 tablespoon, toasted (optional garnish). Adds a nice crunch and visual appeal.
I personally recommend using Kikkoman soy sauce for its consistent quality, and if you can find it, Lundberg jasmine rice has never let me down. For the chicken, look for thighs that are roughly the same size so they cook evenly.
Equipment Needed
You don’t need a lot of fancy tools for this one, which is part of why I love it.
- Large skillet or Dutch oven – A 10-12 inch skillet with a tight-fitting lid works best. I use my trusty cast iron Dutch oven because it holds heat beautifully, but any heavy-bottomed pot will do.
- Wooden spoon or spatula – For stirring and scraping up any browned bits from the bottom.
- Sharp knife and cutting board – For prepping the chicken, garlic, ginger, and green onions.
- Measuring cups and spoons – Accuracy matters, especially with the liquid-to-rice ratio.
- Fine-mesh strainer – For rinsing the rice. You can use a bowl if you’re careful, but a strainer makes it much easier.
- Fork – For fluffing the rice at the end. A spoon can mash the grains.
If you don’t have a lid that fits perfectly, a piece of foil pressed tightly over the top works fine as a temporary cover. I’ve done it more times than I’d like to admit.
Preparation Method
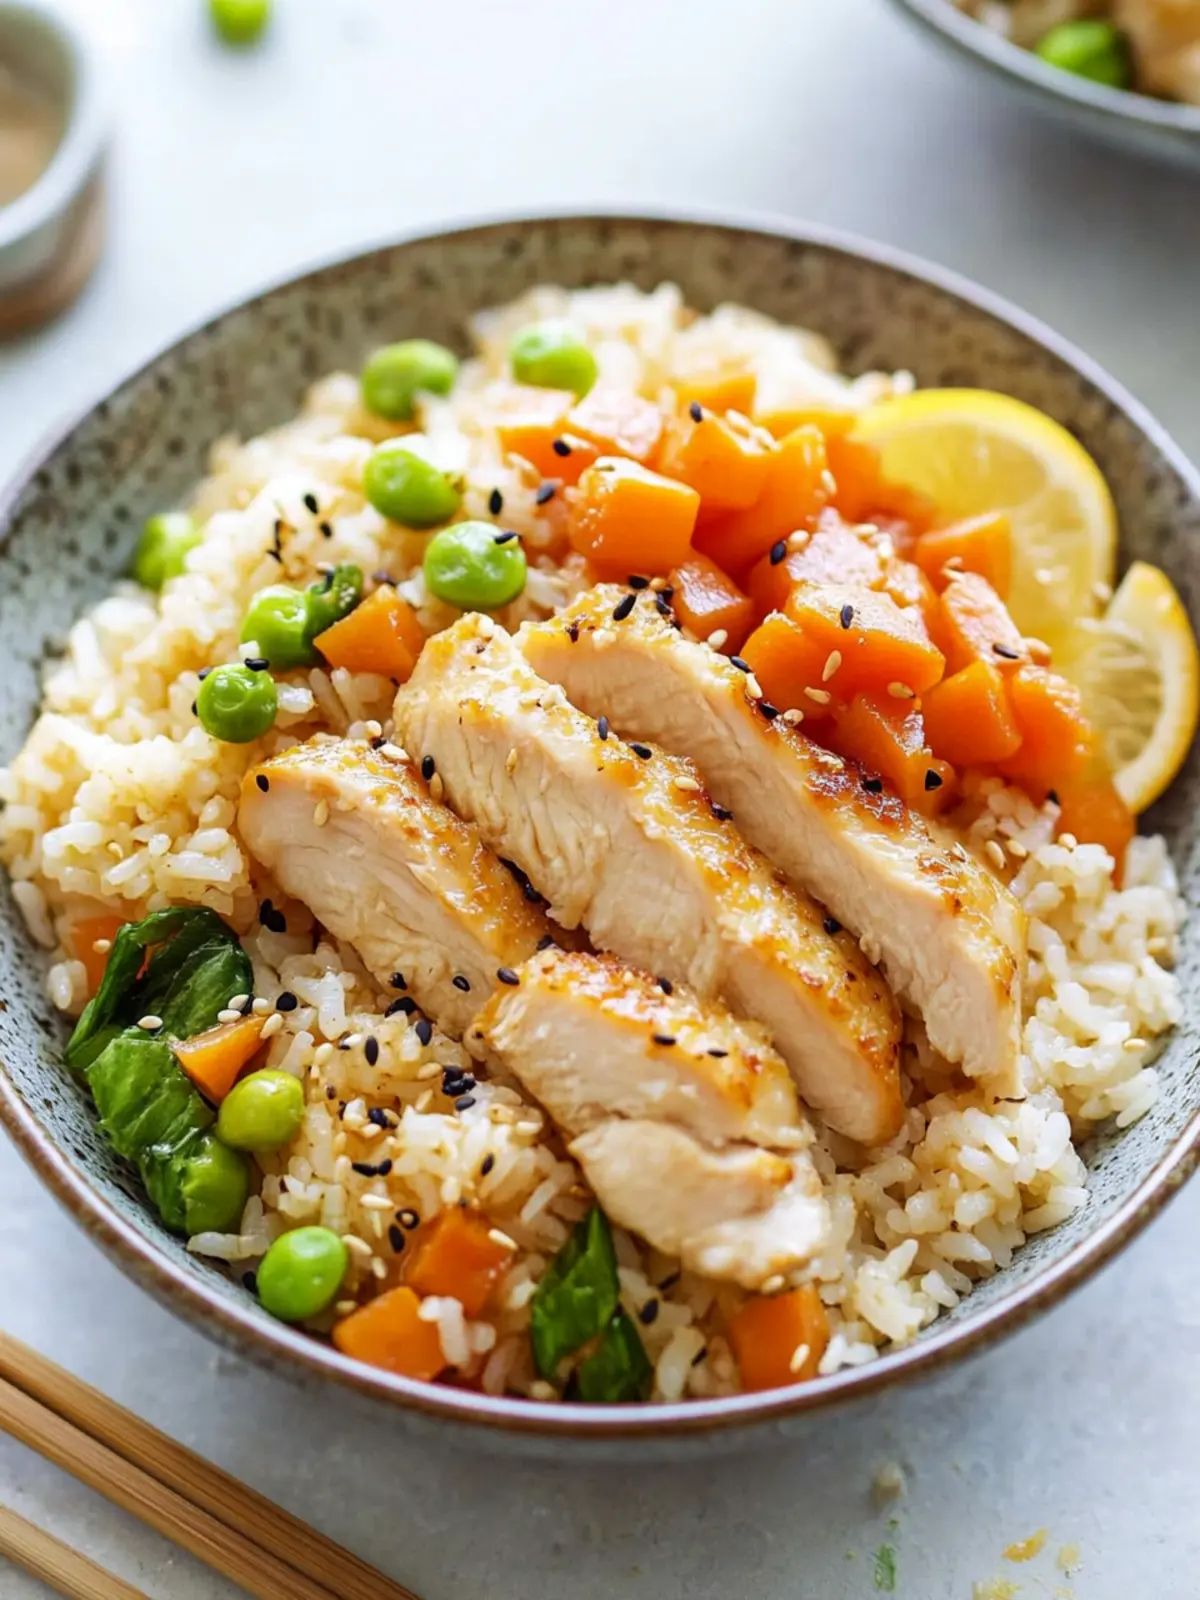
Let’s get cooking. This comes together faster than you’d think, so have everything prepped before you start.
- Rinse the rice. Place 1 cup of jasmine rice in a fine-mesh strainer and rinse under cold running water for about a minute, stirring with your fingers. The water will run cloudy at first, then clear. Drain well and set aside. This step removes excess starch and prevents the rice from turning gummy.
- Prep the chicken. Pat 1 lb of chicken thighs dry with paper towels. Season both sides lightly with salt and pepper. Cut each thigh into bite-sized pieces, about 1-inch chunks. I like keeping them slightly larger so they stay juicy during cooking.
- Sear the chicken. Heat 1 tablespoon of butter in your skillet or Dutch oven over medium-high heat. Once it’s sizzling and bubbly, add the chicken pieces in a single layer (work in batches if needed—don’t crowd the pan). Cook for 3-4 minutes per side until golden brown. The chicken won’t be fully cooked through yet, and that’s fine. Use a slotted spoon to transfer the chicken to a plate and set aside.
- Sauté the aromatics. Reduce the heat to medium. Add the remaining 1 tablespoon of butter to the same pan. Once melted, add 3 minced garlic cloves and 1 teaspoon of grated ginger. Stir constantly for about 30 seconds until fragrant. Be careful not to burn the garlic—it turns bitter fast.
- Toast the rice. Add the rinsed and drained rice to the pan. Stir it around in the butter and aromatics for about 2 minutes. You’ll notice the rice starts to smell nutty and toasty. This is where the magic begins. The grains should look slightly translucent at the edges.
- Add the liquids. Pour in 1 ½ cups of chicken broth, 3 tablespoons of soy sauce, and 1 teaspoon of sugar. Stir everything together, scraping up any browned bits from the bottom of the pan. Those bits are pure flavor gold.
- Return the chicken. Nestle the seared chicken pieces back into the rice mixture, pushing them down slightly so they’re mostly submerged. Bring the liquid to a gentle boil.
- Simmer and cover. Once boiling, reduce the heat to low. Cover the pan with a tight-fitting lid and let it simmer undisturbed for 18-20 minutes. Do not lift the lid during this time—the steam is what cooks the rice perfectly. Your kitchen will start smelling incredible about 10 minutes in.
- Rest and fluff. After 18-20 minutes, turn off the heat. Let the pan sit covered for another 5 minutes. This resting period allows the rice to absorb any remaining steam. Remove the lid, and use a fork to gently fluff the rice. The chicken should be tender and cooked through.
- Finish and serve. Drizzle 1 tablespoon of sesame oil over the top. Sprinkle with sliced green onions and toasted sesame seeds if using. Give everything a gentle toss to distribute the flavors. Serve hot.
One thing I learned the hard way—if your rice looks a little wet after the resting time, just leave the lid off for a couple of minutes and let the excess moisture evaporate. On the flip side, if the rice seems undercooked, add a tablespoon or two of water, cover, and let it steam on low heat for another 3-4 minutes.
Cooking Tips & Techniques
I’ve made this recipe more times than I can count, and I’ve definitely made some mistakes along the way. Here’s what I’ve learned so you don’t have to repeat them.
Don’t skip toasting the rice. I know it seems like an extra step, but that 2-minute toast makes a huge difference in the final texture and flavor. The rice ends up with separate, distinct grains instead of a mushy clump.
Use a heavy-bottomed pan. Thin pans create hot spots that can burn the rice before it’s fully cooked. A Dutch oven or thick stainless steel skillet distributes heat evenly and prevents scorching on the bottom. I learned this after scraping a burnt layer off my cheap nonstick pan one too many times.
Resist the urge to stir. Once you cover the rice and let it simmer, leave it alone. Stirring releases starch and makes the rice gummy. Trust the process and let the steam do its job.
Check your broth’s salt level. Different brands of chicken broth vary wildly in sodium content. If you’re using a salty broth, cut back on the soy sauce slightly. You can always add more salt at the end, but you can’t take it out.
Let the chicken come to room temperature. If you take the chicken straight from the fridge, it will cool down the pan too much when you add it. Let it sit on the counter for 10-15 minutes before searing. This helps achieve that nice golden crust.
Double the batch if you’re smart. This recipe reheats beautifully. I often make a double batch on Sunday and have lunch ready for two days. The flavors actually deepen overnight, making leftovers taste even better.
Variations & Adaptations
This recipe is incredibly forgiving and adaptable. Here are some ways I’ve tweaked it depending on what I have on hand or who I’m feeding.
Vegetarian Version : Skip the chicken and use 1 cup of diced firm tofu or chickpeas instead. Replace chicken broth with vegetable broth. Sear the tofu until golden before adding the rice. It’s lighter but still deeply satisfying.
Spicy Kick : Add 1 tablespoon of gochujang (Korean chili paste) or sriracha along with the soy sauce. I tried this on a whim one night and it’s become my favorite variation. The heat balances beautifully with the buttery rice. If you love bold flavors, you might also enjoy my Easy Sizzling Korean Spicy Pork Bowl for another spicy weeknight option.
Veggie-Packed : Toss in 1 cup of frozen peas and carrots during the last 5 minutes of cooking. Or add thinly sliced mushrooms along with the garlic. The mushrooms soak up all that savory sauce and become little flavor bombs.
Low-Carb Adaptation : Swap the jasmine rice for cauliflower rice. Reduce the broth to ¾ cup and cook for only 8-10 minutes covered, since cauliflower rice cooks much faster. The flavor profile works surprisingly well with cauliflower.
Coconut Twist : Replace half the chicken broth with coconut milk. It adds a subtle sweetness and creaminess that pairs beautifully with the soy sauce and ginger. This version feels almost like a Japanese-meets-Thai fusion dish.
I once made this with leftover rotisserie chicken instead of searing fresh thighs. I just added the shredded chicken after the rice was cooked and let it warm through for a couple of minutes. It wasn’t quite as good as the original, but it was ready in 20 minutes flat and still hit the spot.
Serving & Storage Suggestions
This dish is incredibly versatile when it comes to serving. Here’s how I like to enjoy it.
Serving Temperature: Serve this piping hot, straight from the pan. The butter and sesame oil really shine when everything is warm and fragrant. I’ve eaten it at room temperature too, and it’s still good, but hot is definitely best.
Presentation: Spoon the rice into shallow bowls, making sure to get some chicken on top. Garnish generously with green onions and sesame seeds for color and texture. A side of steamed edamame or a simple cucumber salad dressed with rice vinegar makes a perfect companion.
Complementary Dishes: This rice pairs beautifully with a light miso soup, a quick pickled vegetable side, or even a simple green salad with a ginger dressing. For a heartier meal, serve it alongside Creamy Coconut Garlic Shrimp Bowl for a surf-and-turf kind of night.
Storage: Store leftovers in an airtight container in the refrigerator for up to 4 days. The rice will absorb more liquid and become slightly softer, but the flavor actually improves. I love having this for lunch the next day.
Reheating: The best way to reheat is in a skillet over medium heat with a splash of water or broth. Cover and let it steam for 3-4 minutes, stirring occasionally. You can also microwave it in 30-second bursts, but the texture won’t be quite as good. Add a little drizzle of sesame oil after reheating to revive the flavor.
Freezing: This freezes surprisingly well. Portion it into freezer-safe containers and freeze for up to 3 months. Thaw overnight in the fridge and reheat as directed. The green onions will lose their crunch, so add fresh ones after reheating.
Nutritional Information & Benefits
This recipe provides a balanced meal with protein, carbohydrates, and healthy fats. Here are the approximate values per serving (based on 4 servings):
- Calories: ~420 per serving
- Protein: 28g
- Carbohydrates: 42g
- Fat: 14g
- Fiber: 1g
- Sodium: ~680mg (varies based on broth and soy sauce brands)
Health Benefits: Chicken thighs provide a good source of protein, iron, and B vitamins, which support energy metabolism. Ginger is known for its anti-inflammatory properties and can aid digestion. Garlic adds immune-boosting benefits. Sesame oil contains healthy unsaturated fats and antioxidants.
Dietary Considerations: This recipe is naturally dairy-free if you substitute the butter with a plant-based alternative or additional oil. For a gluten-free version, use tamari or coconut aminos instead of soy sauce. It’s also nut-free and egg-free.
Potential Allergens: Contains soy (soy sauce) and sesame (sesame oil). Check your chicken broth for any hidden allergens if needed.
I personally love that this dish feels indulgent but isn’t loaded with heavy cream or excessive oil. It’s the kind of meal that satisfies without weighing you down—perfect for those evenings when you want comfort food that still feels nourishing.
Conclusion
This Easy Japanese Seasoned Rice with Chicken has become a staple in my kitchen for good reason. It’s simple enough for a rushed weeknight, yet impressive enough to serve when you have company. The flavors are bold and comforting, the technique is forgiving, and the cleanup is minimal. What more could you ask for?
I love how this recipe has evolved in my kitchen—from a desperate last-minute experiment to a dish I genuinely look forward to making. It’s proof that you don’t need fancy ingredients or complicated techniques to create something truly delicious. Sometimes the best recipes are the ones that just happen.
I encourage you to make this your own. Add extra veggies, dial up the spice, or experiment with different proteins. Cooking should be flexible and fun. If you try this recipe, I’d love to hear how it turned out. Drop a comment below and let me know your favorite variation, or tag me in your photos. Happy cooking, friends. You’ve got this.
Frequently Asked Questions
Can I use chicken breast instead of thighs?
Absolutely. Chicken breast works fine, but it can dry out more easily since it cooks in the rice for 20 minutes. To prevent this, cut the breast into slightly larger chunks (1.5 inches) and check for doneness a couple minutes early. You can also swap in leftover rotisserie chicken at the end to avoid any risk of overcooking.
Do I need to rinse the rice before cooking?
Yes, I strongly recommend rinsing the rice until the water runs clear. This removes excess starch and prevents the rice from becoming gummy or sticky. It’s a small step that makes a noticeable difference in the final texture—fluffy, separate grains instead of a clumpy mess.
Can I make this in a rice cooker?
You can! Sear the chicken and sauté the aromatics in a skillet first, then transfer everything (including the rice, broth, and soy sauce) to your rice cooker. Cook on the regular white rice setting. The timing might vary slightly depending on your machine, but it works beautifully and frees up your stovetop.
What if my rice turns out too wet or too dry?
If the rice is too wet after cooking, remove the lid and let it sit uncovered for 2-3 minutes to let excess moisture evaporate. If it’s too dry or undercooked, add 2-3 tablespoons of water, cover, and cook on low heat for another 3-4 minutes. The ratio of 1 cup rice to 1.5 cups liquid usually works perfectly, but different pans and stovetops can vary.
Can I add vegetables directly into the pot?
Definitely. Frozen peas and carrots are my go-to addition. Add them during the last 5 minutes of cooking so they warm through without turning mushy. You can also add thinly sliced bell peppers, snap peas, or mushrooms along with the garlic. Just keep the total volume reasonable so the rice-to-veggie ratio stays balanced.
Pin This Recipe!
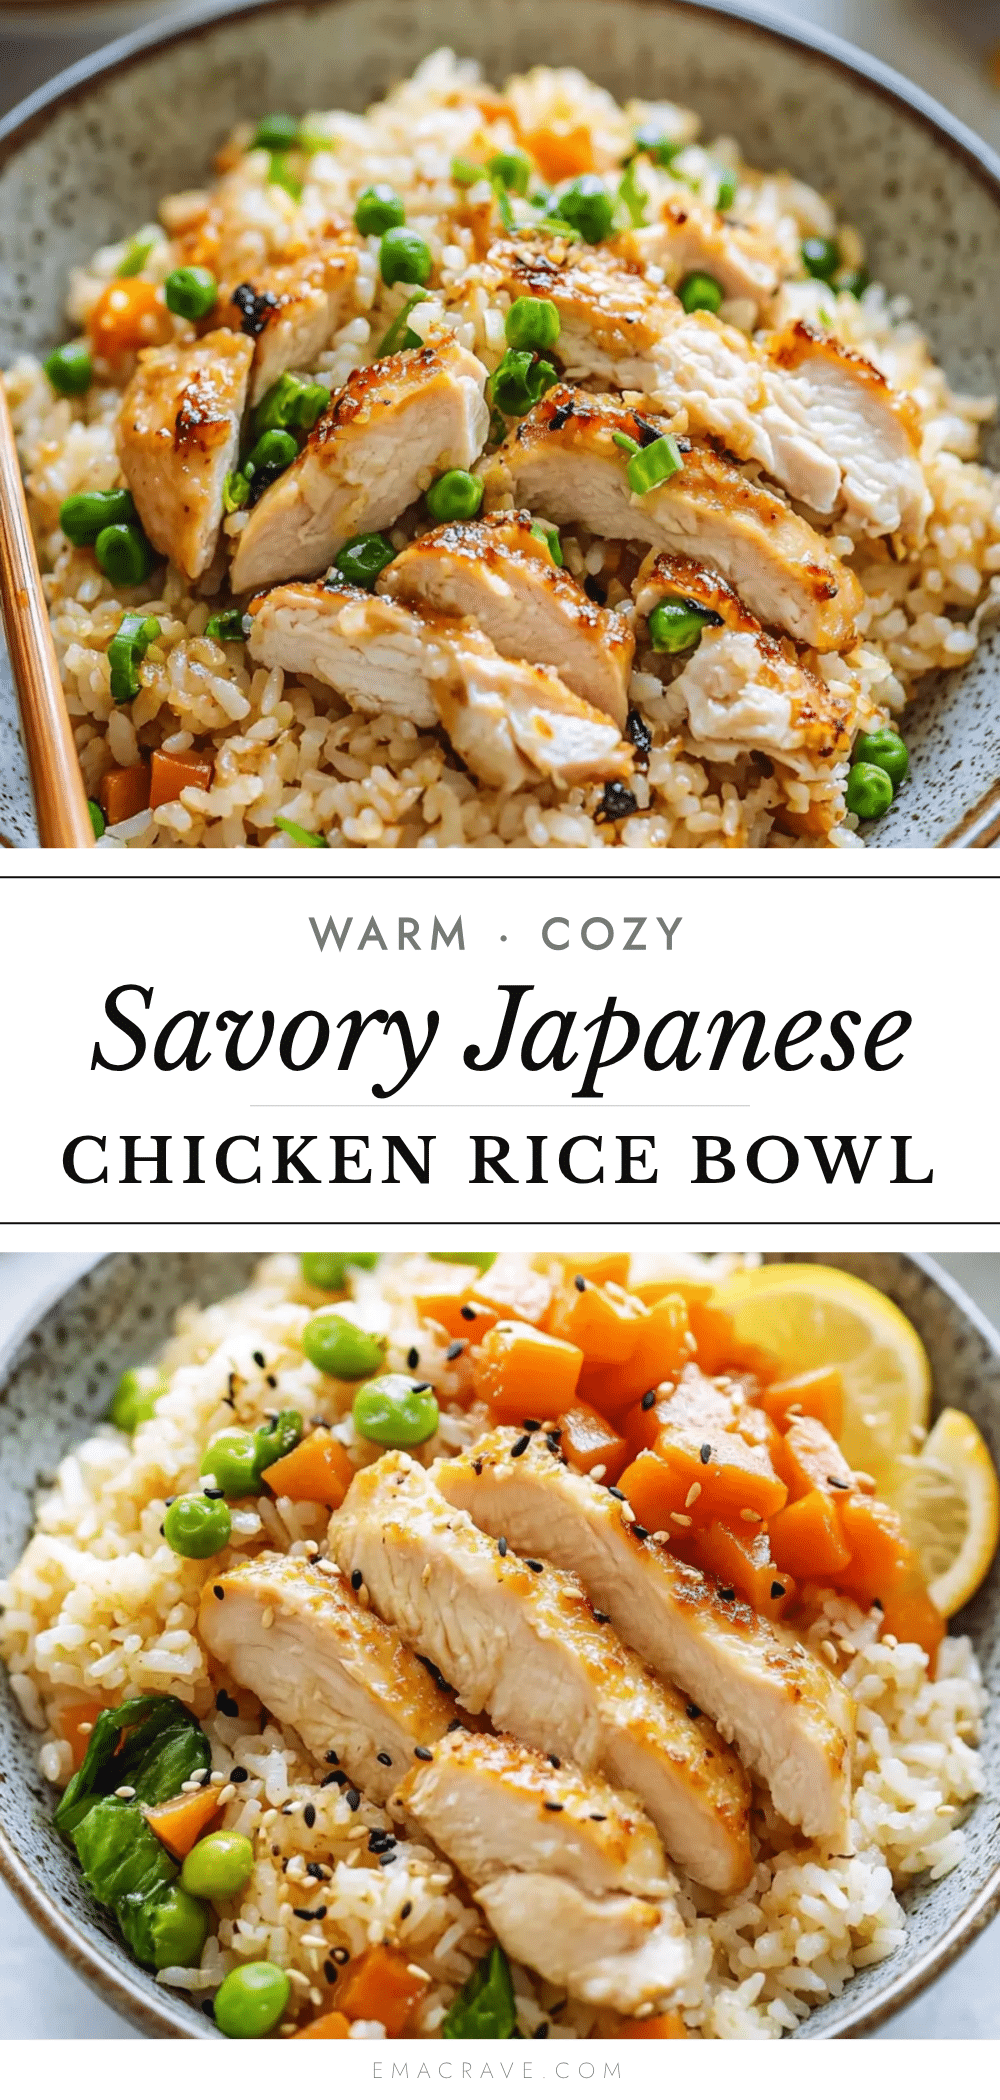
Easy Japanese Seasoned Rice with Chicken

A quick and comforting one-pot meal featuring tender chicken and fluffy jasmine rice infused with soy sauce, butter, garlic, and sesame oil. Perfect for busy weeknights, this dish delivers deep umami flavor with minimal effort and cleanup.
- Prep Time: 10 minutes
- Cook Time: 25 minutes
- Total Time: 35 minutes
- Yield: 4 servings 1x
- Category: Main Course
- Cuisine: Japanese
Ingredients
- 1 lb (450g) boneless, skinless chicken thighs, cut into bite-sized pieces
- 1 cup (200g) jasmine rice, rinsed
- 3 tablespoons (45ml) soy sauce
- 1 ½ cups (355ml) low-sodium chicken broth
- 2 tablespoons (28g) unsalted butter, divided
- 3 cloves garlic, minced
- 1 tablespoon (15ml) toasted sesame oil
- 1 teaspoon grated fresh ginger
- 3 stalks green onions, sliced
- 1 teaspoon (4g) sugar
- Salt and pepper to taste
- 1 tablespoon toasted sesame seeds (optional garnish)
Instructions
- Rinse the rice: Place 1 cup of jasmine rice in a fine-mesh strainer and rinse under cold running water for about a minute, stirring with your fingers, until the water runs clear. Drain well and set aside.
- Prep the chicken: Pat 1 lb of chicken thighs dry with paper towels. Season both sides lightly with salt and pepper. Cut each thigh into bite-sized pieces, about 1-inch chunks.
- Sear the chicken: Heat 1 tablespoon of butter in a large skillet or Dutch oven over medium-high heat. Once sizzling, add the chicken pieces in a single layer (work in batches if needed). Cook for 3-4 minutes per side until golden brown. Transfer to a plate and set aside.
- Sauté the aromatics: Reduce heat to medium. Add the remaining 1 tablespoon of butter to the same pan. Once melted, add 3 minced garlic cloves and 1 teaspoon of grated ginger. Stir constantly for about 30 seconds until fragrant.
- Toast the rice: Add the rinsed and drained rice to the pan. Stir for about 2 minutes until the rice smells nutty and looks slightly translucent at the edges.
- Add the liquids: Pour in 1 ½ cups of chicken broth, 3 tablespoons of soy sauce, and 1 teaspoon of sugar. Stir, scraping up any browned bits from the bottom of the pan.
- Return the chicken: Nestle the seared chicken pieces back into the rice mixture, pushing them down slightly so they’re mostly submerged. Bring the liquid to a gentle boil.
- Simmer and cover: Once boiling, reduce heat to low. Cover the pan with a tight-fitting lid and let it simmer undisturbed for 18-20 minutes. Do not lift the lid during this time.
- Rest and fluff: After 18-20 minutes, turn off the heat. Let the pan sit covered for another 5 minutes. Remove the lid and use a fork to gently fluff the rice.
- Finish and serve: Drizzle 1 tablespoon of sesame oil over the top. Sprinkle with sliced green onions and toasted sesame seeds if using. Give everything a gentle toss and serve hot.
Notes
Don’t skip toasting the rice—it adds a nutty flavor and helps keep grains separate. Resist stirring once covered to avoid gummy rice. If rice is too wet after resting, leave lid off for a few minutes. If undercooked, add a tablespoon of water and steam for 3-4 more minutes. Leftovers keep well for up to 4 days and flavors deepen overnight.
Nutrition
- Serving Size: 1 serving (about 1.5
- Calories: 420
- Sugar: 2
- Sodium: 680
- Fat: 14
- Saturated Fat: 5
- Carbohydrates: 42
- Fiber: 1
- Protein: 28
Keywords: Japanese seasoned rice, chicken and rice, one-pot meal, easy weeknight dinner, soy sauce rice, sesame chicken rice, quick dinner



