Love this? Save it for later!
Share the inspiration with your friends
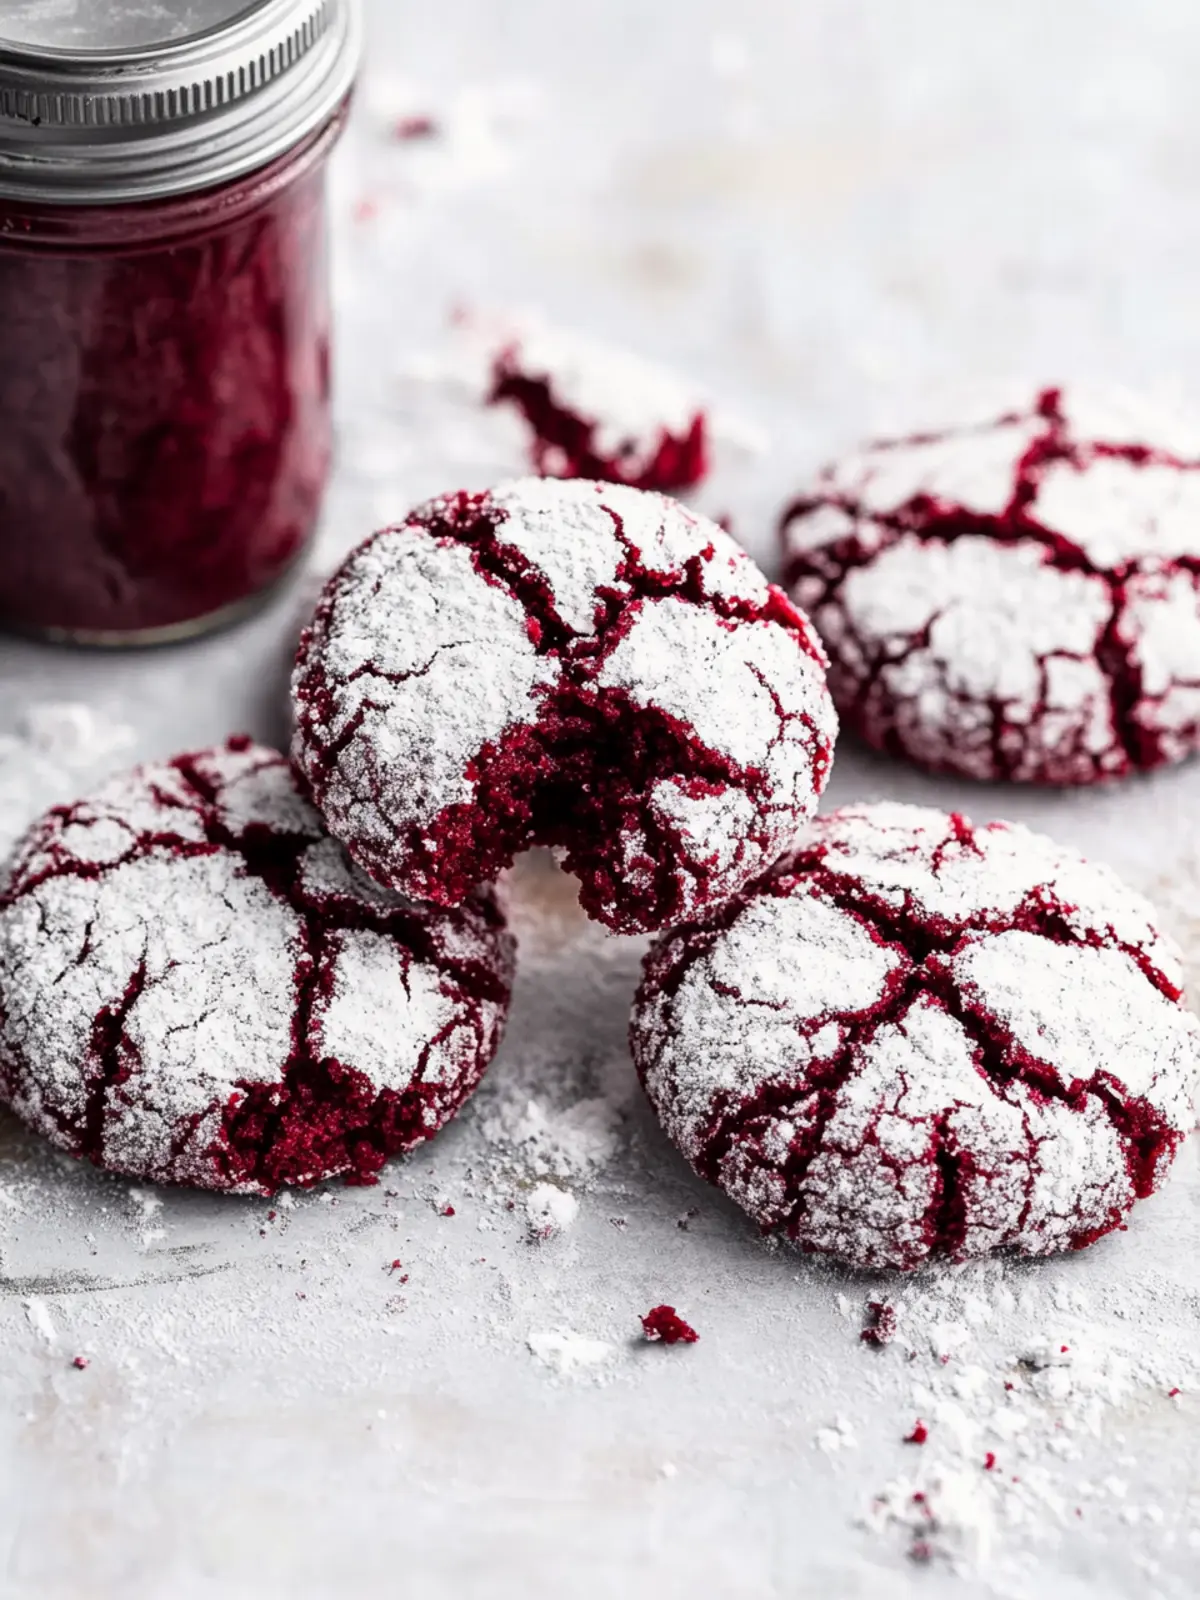
I pulled the baking sheet out of the oven, and for a second, I just stood there staring. The cookies had puffed up, cracked open like little geode rocks, and the deep red crumb was peeking through a snowy blanket of powdered sugar. My phone buzzed on the counter—my sister asking if I’d made “those red cookies” yet. I sent her a photo without a caption. She replied with three exclamation points and a “SEND ME THE RECIPE NOW.”
Honestly, this recipe started as a bit of an accident. I was trying to adapt my go-to chocolate crinkle cookie for Valentine’s Day, but I wanted something that actually looked festive without needing frosting or sprinkles. (I am not a decorator. Let’s just get that out there.) So I grabbed the cocoa powder, a bottle of red food coloring, and crossed my fingers. The first batch came out a bit cakey—good, but not what I was after. I wanted fudgy. The kind of cookie that bends before it breaks, with a center that stays soft for days.
After a few tweaks—more butter, an extra yolk, and a chill time I almost skipped—I landed on these. They crack beautifully every time. The edges get just a little crisp, but the inside stays rich and almost brownie-like. And that color? It’s ridiculous. It makes everything else on the dessert table look boring.
These Fudgy Red Velvet Crinkle Cookies have become my most-requested bake. Not just for holidays, but for random Tuesdays when someone needs a little pick-me-up. They’re the kind of cookie you make when you want people to think you tried really hard—but you didn’t. And honestly, that’s my favorite kind of recipe.
Why You’ll Love This Recipe
I have tested this recipe at least six times to get the texture exactly right. Too much flour and they turn into little cakes. Too little and they spread into flat, ugly puddles. These cookies hit that sweet spot—fudgy centers, crackly tops, and just enough chew around the edges.
- Quick & Easy: From start to finish, you’re looking at about 30 minutes of active work. The rest is just chilling and baking.
- Simple Ingredients: You probably have most of this in your pantry right now. No weird extracts or hard-to-find flours.
- Perfect for Gifting: These cookies travel well, stack beautifully in a tin, and look like you bought them from a bakery.
- Crowd-Pleaser: I’ve brought these to cookie swaps, potlucks, and family dinners. They disappear fast. Kids love the color, adults love the flavor.
- Unbelievably Fudgy: The secret is a touch of melted butter and an extra egg yolk. It gives you that dense, rich texture without making the cookies greasy.
What makes these different from other red velvet cookies? Most recipes lean too cakey or too sweet. This one balances the tang of the cocoa with just enough sugar, and the powdered sugar coating creates that signature crinkle look without being messy. It’s the kind of cookie that makes you close your eyes after the first bite. Not kidding.
What Ingredients You Will Need
This recipe uses straightforward ingredients, but each one plays an important role. Don’t skip the chill time—it’s not just for convenience, it actually affects how the cookies crack.
- Unsalted butter, melted (½ cup / 113g): Melting the butter instead of creaming it gives these cookies their dense, fudgy texture. I use unsalted so I can control the salt level.
- Granulated sugar (1 cup / 200g): Regular white sugar works best here. It dissolves into the butter and helps create that crackly top.
- Light brown sugar, packed (¼ cup / 50g): Just a little brown sugar adds moisture and a hint of molasses flavor. Don’t skip it—it keeps the centers soft.
- Large egg (1 whole) + 1 egg yolk: The extra yolk is the secret to fudginess. It adds richness without making the dough too wet.
- Vanilla extract (1 teaspoon): Use real vanilla if you have it. It rounds out the chocolate flavor beautifully.
- Red food coloring (1 tablespoon, or gel equivalent): I prefer gel food coloring because it gives a deeper color without thinning the dough. Liquid works fine too, just don’t go overboard.
- All-purpose flour (1 ½ cups / 190g): Standard AP flour. Spoon and level it—don’t scoop directly from the bag or you’ll end up with dry cookies.
- Unsweetened cocoa powder (¼ cup / 25g): Natural cocoa powder works best. Dutch-process will give a milder flavor and darker color, but either is fine.
- Baking powder (1 teaspoon): This gives the cookies a little lift so they puff up and crack open.
- Salt (¼ teaspoon): Balances the sweetness and enhances the chocolate.
- Powdered sugar (about ½ cup / 60g, for rolling): This is what creates the crinkle effect. Make sure it’s fresh and not clumpy.
I’ve tried this recipe with both natural and Dutch-process cocoa. If you only have Dutch-process, add an extra tablespoon of flour to compensate for the difference in acidity. For a fun twist, you can swap the red food coloring for beet powder—it gives a more muted, natural red that some people actually prefer.
Equipment Needed
You don’t need fancy equipment for these cookies, which is part of why I love them. Here’s what you’ll need:
- Mixing bowls: One medium, one small. Nothing fancy.
- Whisk and rubber spatula: A whisk for the wet ingredients, a spatula for folding in the dry stuff.
- Baking sheets: Two standard half-sheet pans work well. Line them with parchment paper—no greasing needed.
- Cookie scoop (about 1.5 tablespoons): This helps keep the cookies uniform. If you don’t have one, use two spoons.
- Cooling rack: Lets the cookies cool evenly so the bottoms don’t get soggy.
- Plastic wrap: For chilling the dough. You can also use a covered bowl.
If you don’t have a stand mixer, don’t worry. A hand mixer works, but honestly, you can mix this dough by hand with a sturdy spatula. The dough is forgiving and doesn’t require much effort.
Preparation Method
- Melt the butter in a medium microwave-safe bowl or in a small saucepan over low heat. Let it cool for about 2 minutes—you don’t want it hot enough to cook the egg.
- Whisk in the sugars: Add the granulated sugar and brown sugar to the melted butter. Whisk until combined. It will look a bit grainy—that’s normal.
- Add the egg, yolk, vanilla, and food coloring: Whisk vigorously until the mixture is smooth and slightly thickened, about 1 minute. The color should be evenly red. If it looks streaky, keep whisking.
- Combine the dry ingredients: In a separate small bowl, whisk together the flour, cocoa powder, baking powder, and salt. Make sure there are no cocoa lumps.
- Fold the dry into the wet: Add the flour mixture to the wet ingredients. Use a rubber spatula to fold gently until just combined. Do not overmix—stop as soon as you no longer see white streaks. The dough will be soft and a little sticky.
- Chill the dough: Cover the bowl with plastic wrap and refrigerate for at least 1 hour. This is non-negotiable. Chilling firms up the butter and prevents the cookies from spreading too much. If you skip this, you’ll get flat, sad cookies.
- Preheat the oven to 350°F (175°C). Line two baking sheets with parchment paper.
- Roll the dough balls: Scoop out rounded tablespoons of dough (about 20g each). Roll them into smooth balls between your palms. The dough will be slightly tacky but should hold its shape.
- Coat in powdered sugar: Place the powdered sugar in a small shallow bowl. Roll each dough ball generously in the sugar, making sure it’s completely coated. The thicker the coating, the better the crinkle.
- Bake: Place the sugar-coated dough balls on the prepared baking sheets, spacing them about 2 inches apart. Bake for 10–12 minutes. The cookies will look puffed and cracked, and the edges will be set but the centers will still look slightly soft.
- Cool: Let the cookies rest on the baking sheet for 5 minutes. They will continue to set as they cool. Then transfer them to a wire rack to cool completely.
One thing I learned the hard way: don’t overbake. At 11 minutes, they look underdone in the center. That’s exactly what you want. They’ll firm up as they cool, leaving you with that perfect fudgy texture.
Cooking Tips & Techniques
Getting that perfect crinkle isn’t hard, but there are a few tricks I’ve picked up after making these more times than I’ll admit.
Chill the dough long enough. I know it’s tempting to skip this, but the dough needs at least an hour in the fridge. If you’re in a hurry, pop it in the freezer for 20 minutes. The cold butter prevents the cookies from spreading into thin discs.
Use fresh powdered sugar. If your powdered sugar has been sitting in the pantry for months, it might be clumpy. Sift it if needed. A smooth, even coating gives you those beautiful white cracks against the red dough.
Don’t overmix the dough. I’ve done it—mixed too enthusiastically and ended up with tough cookies. Mix until the flour just disappears. A few streaks are fine.
Test your baking powder. If your baking powder is old, your cookies won’t puff and crack. Drop a little in hot water—if it fizzes, it’s good. If not, buy a new can.
I once forgot to add the extra egg yolk and ended up with cookies that spread into flat, crispy discs. They still tasted good, but they looked nothing like crinkle cookies. So trust me on that extra yolk.
Variations & Adaptations
One of the best things about this recipe is how easy it is to tweak. Here are some variations I’ve tried and loved:
- White Chocolate Chips: Fold in ½ cup of white chocolate chips before chilling. The sweetness pairs beautifully with the red velvet flavor.
- Gluten-Free: Swap the all-purpose flour for a 1:1 gluten-free baking flour blend. I’ve used Bob’s Red Mill with great results. Add an extra tablespoon of flour if the dough feels too sticky.
- Vegan Option: Use melted coconut oil instead of butter, a flax egg (1 tablespoon flaxseed meal + 3 tablespoons water), and a vegan egg yolk substitute. The texture will be slightly less fudgy but still delicious.
- Peppermint Twist: Add ½ teaspoon peppermint extract along with the vanilla. It makes these cookies perfect for Christmas cookie exchanges.
- Mini Size: Scoop teaspoon-sized dough balls and bake for 7–8 minutes. Perfect for snacking or party platters.
I personally love the white chocolate chip version. The creamy sweetness against the rich cocoa is just irresistible. If you’re a fan of that combination, you might also enjoy these Irresistibly Soft Cream Cheese Chocolate Chip Cookies—they have a similar soft, tender crumb.
Serving & Storage Suggestions
These cookies are best served at room temperature. The centers stay soft and fudgy, and the powdered sugar coating stays intact. If you want to go all out, serve them with a cold glass of milk or a warm cup of coffee.
For storage, place the cooled cookies in an airtight container at room temperature. They’ll stay fresh for up to 5 days. I actually think they taste even better on day two—the flavors meld together and the texture softens slightly.
To freeze, arrange the baked and cooled cookies in a single layer in a freezer-safe container, separating layers with parchment paper. They’ll keep for up to 3 months. Thaw at room temperature for about 30 minutes before serving.
You can also freeze the unbaked dough balls. Roll them, coat them in powdered sugar, and place them on a parchment-lined baking sheet. Freeze until solid, then transfer to a freezer bag. Bake directly from frozen, adding 2–3 minutes to the baking time. Fresh cookies on demand—what’s not to love?
Nutritional Information & Benefits
Here’s the estimated nutrition per cookie (based on 24 cookies):
- Calories: 145
- Fat: 7g
- Carbohydrates: 21g
- Protein: 2g
- Sugar: 14g
These cookies are a treat, not a health food. But they do use real butter and eggs, which means you’re getting some protein and healthy fats. The cocoa powder is rich in antioxidants, and the powdered sugar coating means you’re not overloading the dough with extra sweetness.
If you’re watching your sugar intake, you can reduce the granulated sugar to ¾ cup. The cookies will still be sweet, just a little less so. For a dairy-free version, use vegan butter and a plant-based milk in place of the egg yolk (though the texture will change slightly).
If you’re looking for a lighter dessert option, these Fluffy Chocolate Oat Pancakes are a great alternative for breakfast or a healthier treat.
Conclusion
These Fudgy Red Velvet Crinkle Cookies are everything I want in a dessert—rich, fudgy, and stunning without any fuss. They’ve become my go-to for holidays, bake sales, and those days when I just need something pretty to look at while I sip my coffee.
The best part? They’re forgiving. You don’t need to be a pastry chef to nail them. Just follow the chill time, don’t overbake, and roll generously in powdered sugar. That’s it.
I’d love to hear how they turn out for you. Did you add white chocolate chips? Try the peppermint version? Let me know in the comments below. And if you share them on social media, tag me—I always love seeing your bakes.
Happy baking, friends. These cookies are waiting for you.
Frequently Asked Questions
Can I make these cookies without red food coloring?
Yes. You can use beet powder or natural red food dye. The color will be less vibrant, but the flavor stays the same.
Why did my cookies not crack?
This usually happens if the dough wasn’t chilled long enough or if the powdered sugar coating was too thin. Make sure to chill for at least 1 hour and roll generously in sugar.
Can I use Dutch-process cocoa powder?
Yes, but the cookies will be darker and the flavor will be milder. Add an extra tablespoon of flour to help with structure.
How do I store these cookies to keep them soft?
Store them in an airtight container at room temperature with a slice of bread. The bread absorbs excess moisture and keeps the cookies soft for days.
Can I double this recipe?
Absolutely. Just double all the ingredients and chill the dough in two separate bowls if your fridge is tight. The baking time stays the same.
Pin This Recipe!
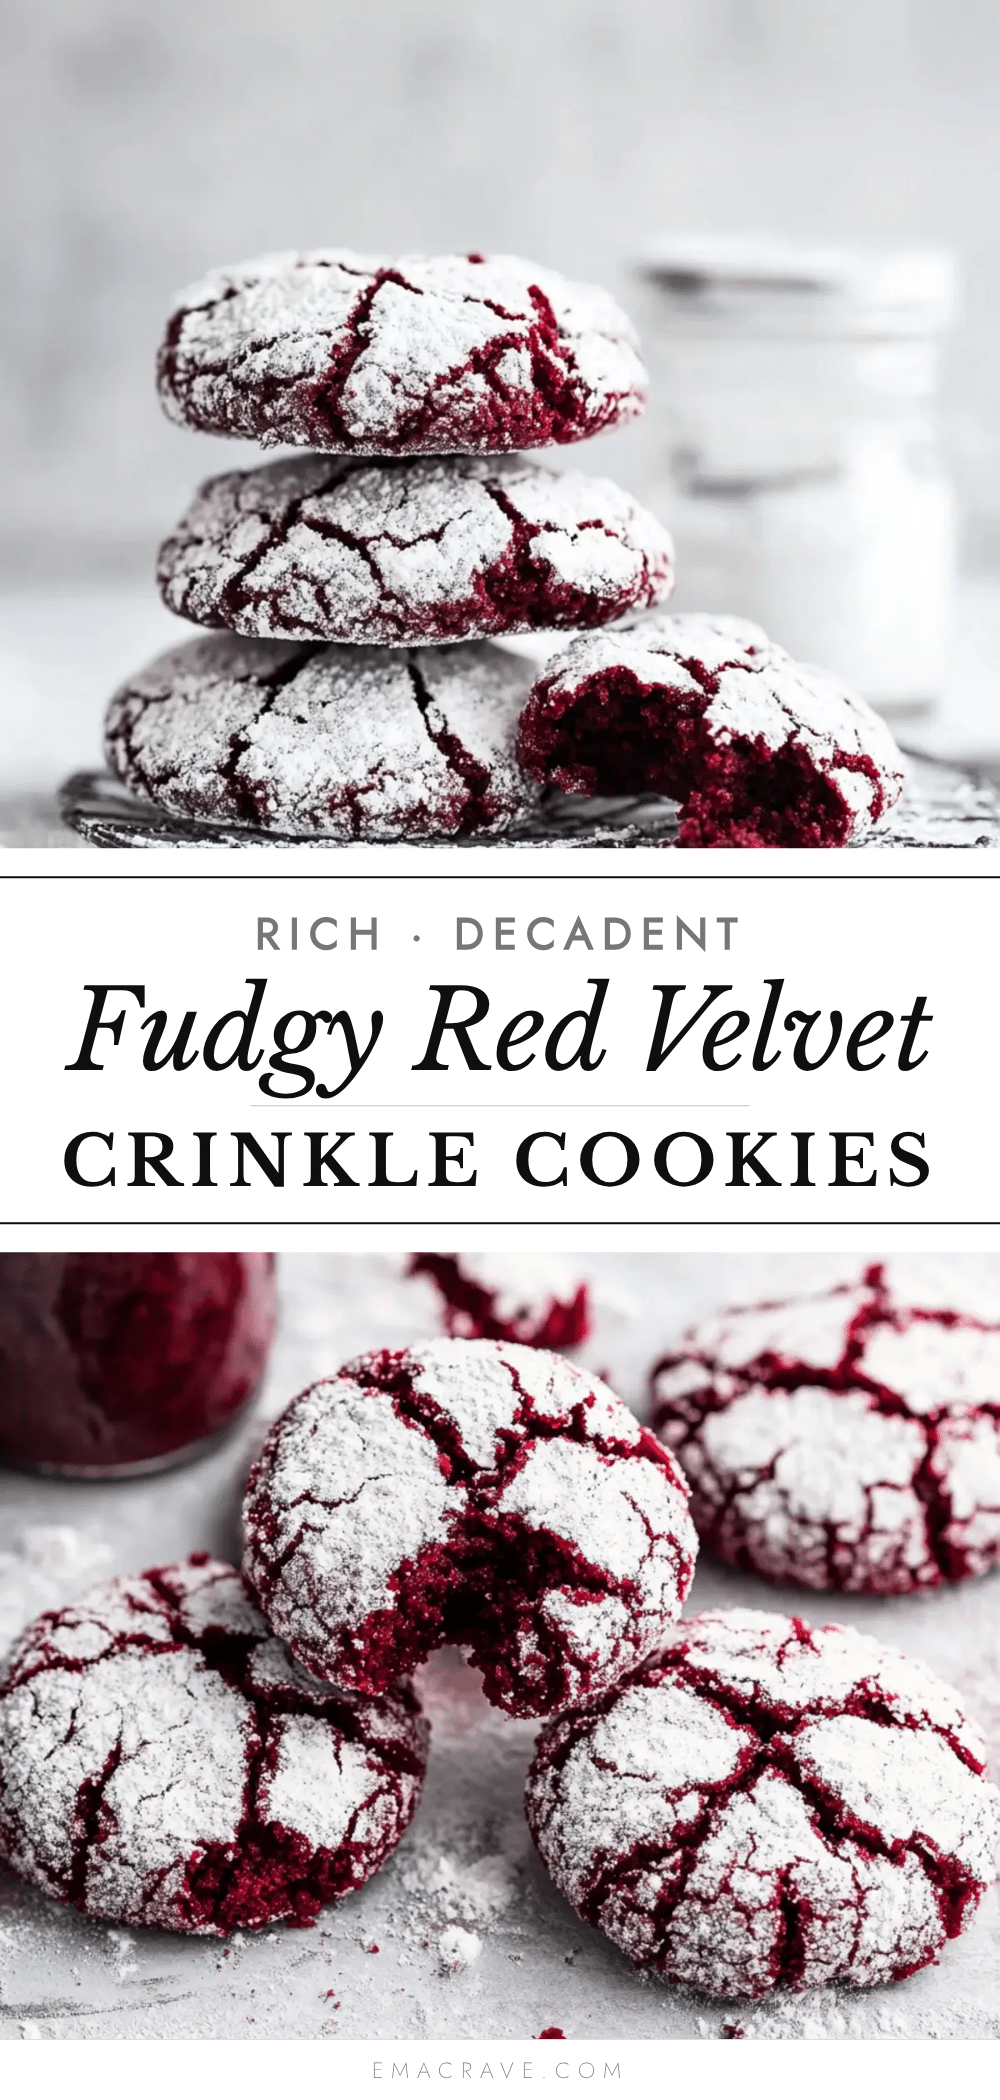
Easy Fudgy Red Velvet Crinkle Cookies Recipe
These fudgy red velvet crinkle cookies are rich, soft, and stunning with a crackly powdered sugar coating. They’re easy to make and perfect for holidays, gifting, or any day you need a beautiful, delicious treat.
- Prep Time: 15 minutes
- Cook Time: 12 minutes
- Total Time: 1 hour 27 minutes
- Yield: 24 cookies 1x
- Category: Dessert
- Cuisine: American
Ingredients
- ½ cup (113g) unsalted butter, melted
- 1 cup (200g) granulated sugar
- ¼ cup (50g) light brown sugar, packed
- 1 large egg + 1 egg yolk
- 1 teaspoon vanilla extract
- 1 tablespoon red food coloring (or gel equivalent)
- 1½ cups (190g) all-purpose flour
- ¼ cup (25g) unsweetened cocoa powder
- 1 teaspoon baking powder
- ¼ teaspoon salt
- ½ cup (60g) powdered sugar, for rolling
Instructions
- Melt the butter in a medium microwave-safe bowl or small saucepan over low heat. Let cool for about 2 minutes.
- Whisk in the granulated sugar and brown sugar until combined. The mixture will look grainy.
- Add the egg, egg yolk, vanilla extract, and red food coloring. Whisk vigorously until smooth and slightly thickened, about 1 minute.
- In a separate small bowl, whisk together the flour, cocoa powder, baking powder, and salt.
- Add the dry ingredients to the wet ingredients. Fold gently with a rubber spatula until just combined. Do not overmix.
- Cover the bowl with plastic wrap and refrigerate for at least 1 hour.
- Preheat the oven to 350°F (175°C). Line two baking sheets with parchment paper.
- Scoop rounded tablespoons of dough (about 20g each) and roll into smooth balls.
- Place the powdered sugar in a small shallow bowl. Roll each dough ball generously in the sugar until completely coated.
- Place the sugar-coated dough balls on the prepared baking sheets, spacing them about 2 inches apart.
- Bake for 10–12 minutes. The cookies will look puffed and cracked, with set edges and soft centers.
- Let the cookies rest on the baking sheet for 5 minutes, then transfer to a wire rack to cool completely.
Notes
Chill the dough for at least 1 hour to prevent spreading. Use fresh powdered sugar for the best crinkle effect. Do not overbake; cookies will set as they cool. For a fun twist, add ½ cup white chocolate chips or ½ teaspoon peppermint extract.
Nutrition
- Serving Size: 1 cookie
- Calories: 145
- Sugar: 14
- Sodium: 95
- Fat: 7
- Saturated Fat: 4
- Carbohydrates: 21
- Fiber: 1
- Protein: 2
Keywords: red velvet crinkle cookies, fudgy red velvet cookies, easy red velvet cookies, crinkle cookies, red velvet dessert



