Love this? Save it for later!
Share the inspiration with your friends
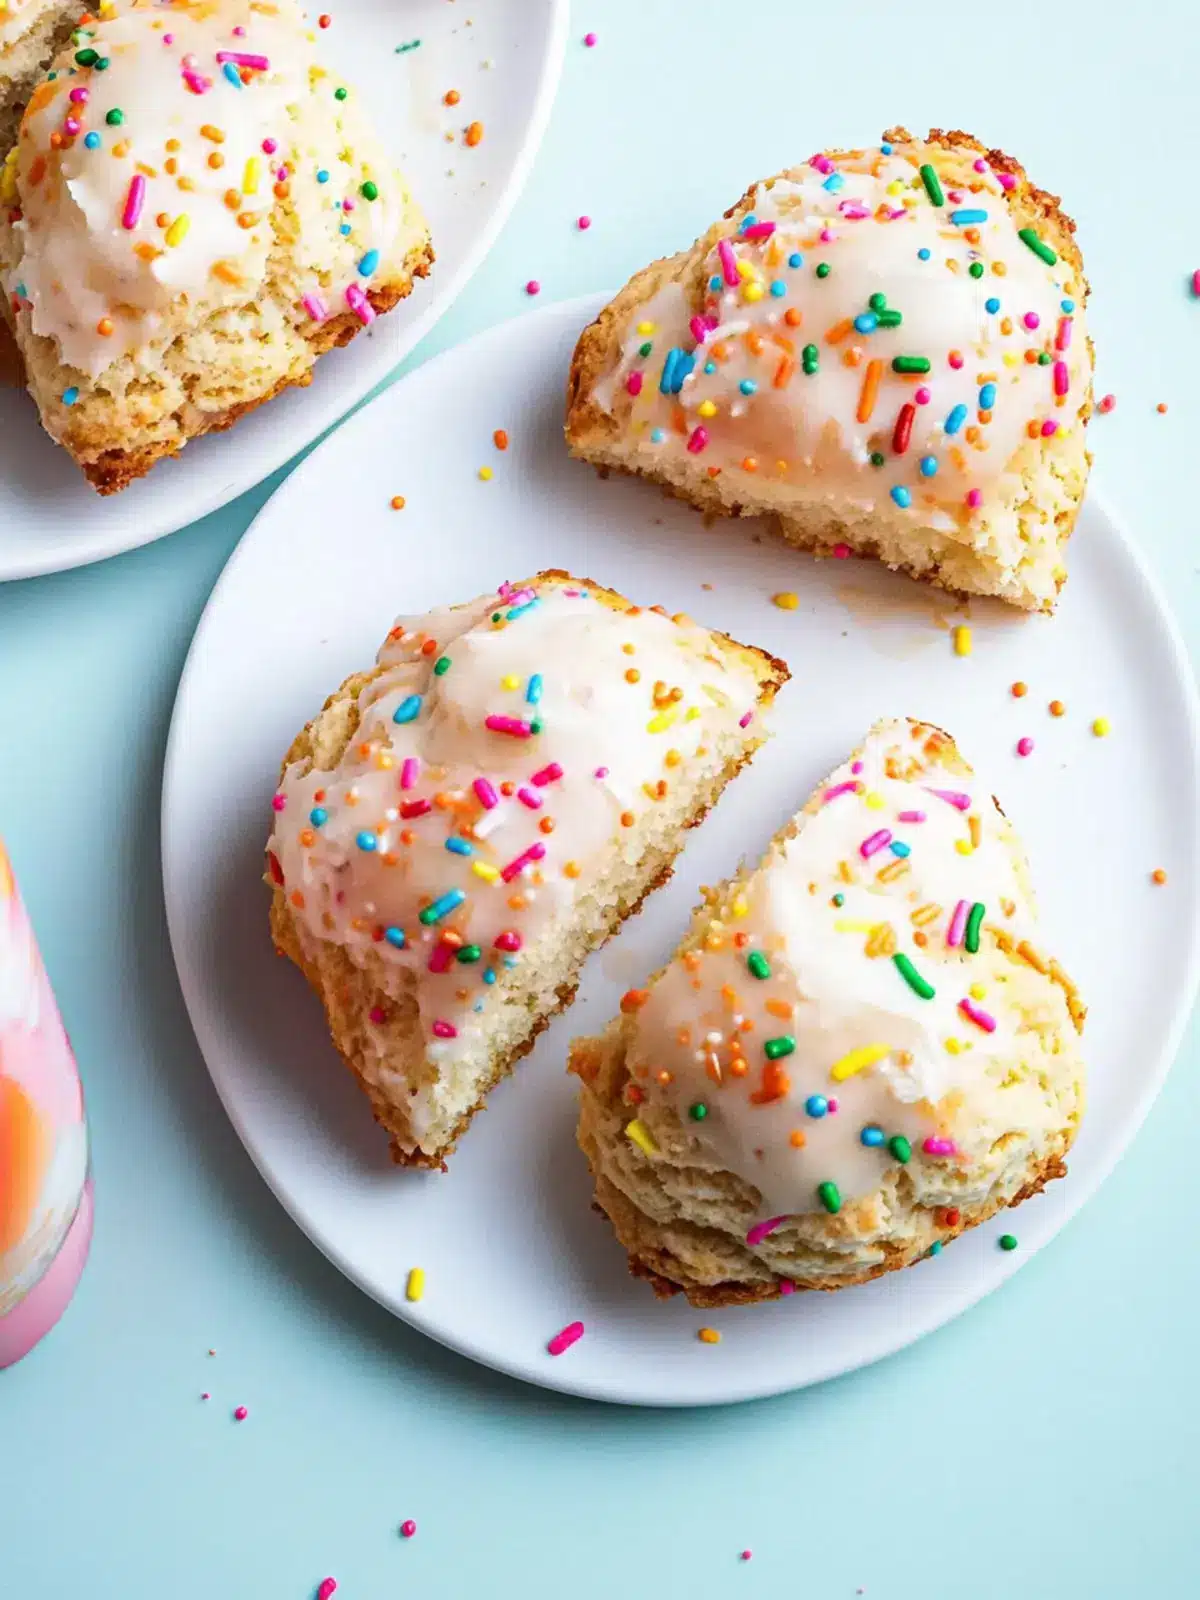
“Hey, did you ever think scones could look like a party on a plate?” That’s exactly what I thought the first time I stumbled upon these Delicious Birthday Cake Scones Bursting with Colorful Sprinkles. Honestly, I was just trying to whip up a quick breakfast before a hectic day, and I grabbed some sprinkles sitting on the counter from a neglected baking project. I wasn’t expecting much—just a fun twist on my usual scone routine. But as the oven timer dinged and I pulled those warm beauties out, I realized this wasn’t just a breakfast—it was a mood lifter wrapped in buttery, crumbly dough and dotted with cheerful sprinkles.
The kitchen smelled like a bakery celebrating a birthday, and suddenly the morning chaos felt a little lighter. These scones, with their perfectly tender crumb and bursts of colorful sweetness, quickly became my go-to for easy weekend treats and even unexpected guests. There’s something about the way the sprinkles soften just a bit inside the dough yet keep that playful crunch that makes every bite a little surprise. I’ve made them so many times that they’ve become a little ritual—each batch a reminder that a bit of whimsy goes a long way in the kitchen.
What’s stuck with me is how this recipe turns a simple, classic scone into a joyful occasion without any fuss or fancy ingredients. It’s the kind of recipe you can trust to brighten up an ordinary day or add a splash of fun to a brunch spread. Honestly, these Birthday Cake Scones feel like a small celebration you can bake anytime, and that’s why I’m still making them weeks later, always with a smile and a cup of coffee nearby.
Why You’ll Love This Recipe
After perfecting these Delicious Birthday Cake Scones Bursting with Colorful Sprinkles, I can confidently say they’re a delightful mix of familiar comfort and playful fun. Here’s why they stand out in my recipe collection:
- Quick & Easy: Whip these up in just about 30 minutes, making them perfect when you want something special without a long prep time.
- Simple Ingredients: No need for any exotic or hard-to-find items—basic pantry staples and sprinkles add all the magic.
- Perfect for Celebrations: Whether it’s a birthday morning, a casual brunch, or just a treat-yourself moment, these scones fit right in.
- Crowd-Pleaser: Kids love the bursts of color and sweetness, while adults appreciate the buttery, tender texture.
- Unbelievably Delicious: The subtle vanilla flavor combined with the lightly sweet crumb and surprise sprinkles is genuinely comforting and fun.
This recipe isn’t just another scone. The trick is blending in the sprinkles without melting away the texture, and balancing the sweetness so they don’t feel like a dessert but rather a joyful breakfast treat. I also like to add a tiny splash of vanilla extract for depth, making these scones taste like a birthday cake you can eat any day of the week. It’s comfort food with a twist—something that feels festive but not over the top. If you want a simple recipe that brings a little sparkle to your mornings without a lot of fuss, these Birthday Cake Scones are it.
What Ingredients You Will Need
This recipe uses simple, wholesome ingredients to create scones that are tender, flaky, and dotted with colorful sprinkles for that festive touch. Most of these ingredients are pantry staples, so it’s easy to pull together quickly.
- All-purpose flour – 2 cups (240 g), the base for a tender scone crumb
- Baking powder – 1 tablespoon, to help the scones rise beautifully
- Sugar – 1/4 cup (50 g), just enough to bring sweetness without overpowering
- Salt – 1/2 teaspoon, balances the flavors
- Unsalted butter – 1/2 cup (113 g), cold and cubed for flaky layers (I personally trust brands like Kerrygold for that rich flavor)
- Heavy cream – 2/3 cup (160 ml), adds moisture and richness (can swap for full-fat milk if needed)
- Vanilla extract – 1 teaspoon, boosts the birthday cake flavor
- Large egg – 1, beaten, for binding and a golden finish
- Colorful sprinkles – 1/2 cup (about 75 g), I like to use sturdy jimmies rather than nonpareils because they hold their shape better during baking
Optional: If you’re feeling fancy (or want a glaze), you can whisk together some powdered sugar and a splash of cream or lemon juice for a light drizzle. Also, for a dairy-free version, substitute the butter with vegan margarine and the cream with coconut milk.
Equipment Needed
- Mixing bowls – At least two, one for dry ingredients and one for wet
- Pastry cutter or fork – To cut the cold butter into the flour (a food processor can work too, but I’ve found the cutter gives better control)
- Baking sheet – Lined with parchment paper for easy cleanup and even baking
- Measuring cups and spoons – For precise ingredient amounts
- Rolling pin – Optional, but helpful for gently flattening the dough to an even thickness
- Cooling rack – To let the scones rest without getting soggy on the bottom
If you don’t have a pastry cutter, two knives or even your fingertips can work to cut in the butter, though your hands can warm the butter too much if you’re not quick. For a budget-friendly option, a sturdy fork and a sharp knife will do just fine. Over time, I’ve learned that keeping the butter cold and not over-mixing the dough makes all the difference, so simple tools and a bit of patience are all you really need.
Preparation Method
- Preheat your oven to 400°F (200°C) and line a baking sheet with parchment paper. This step is key—hot oven means those scones get a lovely rise and golden crust.
- Mix the dry ingredients: In a large bowl, whisk together 2 cups (240 g) all-purpose flour, 1 tablespoon baking powder, 1/4 cup (50 g) sugar, and 1/2 teaspoon salt until evenly combined.
- Cut in the butter: Add 1/2 cup (113 g) cold, cubed unsalted butter to the dry mix. Use a pastry cutter or fork to work the butter into the flour, aiming for pea-sized lumps. You want visible bits of butter for that flaky texture—don’t overwork it or it’ll get too dense.
- Add the sprinkles: Gently fold in 1/2 cup (75 g) colorful sprinkles. Be careful not to overmix so the colors don’t bleed into the dough.
- Mix wet ingredients: In a separate bowl, combine 2/3 cup (160 ml) heavy cream, 1 teaspoon vanilla extract, and 1 large beaten egg. Whisk until smooth.
- Bring the dough together: Pour the wet ingredients into the dry mixture and stir gently with a spatula until just combined. The dough will be sticky but manageable. If it feels too wet, sprinkle a little extra flour, a tablespoon at a time.
- Shape the scones: Turn the dough onto a floured surface and gently pat or roll into a 7-inch (18 cm) circle about 1-inch (2.5 cm) thick. Use a sharp knife or bench scraper to cut into 8 equal triangles.
- Transfer to baking sheet: Place the scones about 2 inches (5 cm) apart on the prepared sheet. Brush the tops with a little extra cream or beaten egg for a golden finish.
- Bake: Slide into the oven and bake for 15–18 minutes, or until the scones are puffed and golden brown on top. The edges should feel firm but not hard.
- Cool and enjoy: Let them cool on a wire rack for at least 10 minutes before serving. This helps keep the bottoms crisp and the insides tender.
Tip: If you notice the sprinkles melting too much, try mixing them in at the very last step before shaping the dough next time. Also, watch your oven closely—every oven bakes differently, and you don’t want the scones to dry out.
Cooking Tips & Techniques
Honestly, the secret to these Delicious Birthday Cake Scones is keeping everything cold and mixing just enough. Overworking the dough wakes up the gluten and makes the scones tough, so treat it gently. I learned this the hard way after a batch came out denser than I wanted (lesson: stop stirring once it holds together!).
For a tender crumb, the cold butter chunks create steam pockets while baking, which gives that flaky texture. If your kitchen is warm, pop the dough in the fridge for 10–15 minutes before shaping.
Timing is everything here: get your oven fully preheated before baking so the scones rise quickly and get that golden crust. And don’t skip the parchment paper or a silicone mat—it prevents sticking and makes cleanup a breeze.
Want to multitask? While the scones bake, I often prepare a simple glaze or brew a pot of tea. The smell filling the kitchen really makes the wait worthwhile. For consistency, I stick with jimmies-style sprinkles because nonpareils tend to bleed color and change the dough’s look.
Variations & Adaptations
You can easily tweak these scones to suit your mood or dietary needs:
- Gluten-Free Version: Swap all-purpose flour for a gluten-free blend, but make sure it contains xanthan gum to hold the dough together.
- Vegan Adaptation: Use plant-based butter and substitute cream with coconut or almond milk. Replace the egg with a flax egg (1 tablespoon ground flaxseed + 3 tablespoons water).
- Flavor Twists: Add a handful of mini chocolate chips along with sprinkles for extra indulgence, or swap vanilla extract for almond extract for a nutty note.
- Seasonal Sprinkles: Use holiday-themed sprinkles for festive occasions or swap sprinkles for chopped nuts and dried fruit for a less sweet, more rustic scone.
Personally, I once swapped the vanilla for orange zest and added a few dried cranberries—totally changed the vibe but kept that birthday cake fun. Also, you can bake these in a muffin tin for a slightly different shape and easier portion control.
Serving & Storage Suggestions
These Birthday Cake Scones are best served warm, fresh from the oven, with a slather of butter or a drizzle of glaze if you’re feeling fancy. They pair wonderfully with a cup of coffee or a chilled glass of milk for kids.
For a special brunch, serve alongside fresh fruit or a creamy spread like homemade strawberry butter (which is fantastic and easy to make). These scones also make a cheerful addition to any dessert table or tea party.
Storage-wise, keep leftovers in an airtight container at room temperature for up to 2 days. To keep them fresh longer, freeze the baked scones individually wrapped for up to 3 months. Reheat in a 350°F (175°C) oven for 10 minutes or until warm throughout. Avoid microwaving if possible, as it can make them rubbery.
Over time, the flavors meld nicely, and the sprinkles soften a bit, making the scones even more tender. Just don’t expect the same crunch after a day or two—that’s the price of convenience!
Nutritional Information & Benefits
Each scone (based on 8 per batch) contains approximately 250 calories, 12 grams of fat, 30 grams of carbohydrates, and 4 grams of protein. These are estimates but give a good idea of the treat’s energy content.
The key ingredients like butter and cream provide richness and satiating fat, while the flour offers energy through carbohydrates. Adding sprinkles adds a touch of sugar but nothing too overwhelming if enjoyed in moderation.
If you want a lighter option, you can reduce sugar slightly or use a lower-fat milk substitute. The recipe is naturally vegetarian and can be adapted for gluten-free or vegan diets as mentioned. Just keep an eye on allergy concerns with sprinkles, as some contain food dyes or trace gluten.
From a wellness perspective, these scones are a joyous treat that balances indulgence with simple ingredients, making them ideal for celebrating special moments without guilt or fuss.
Conclusion
These Delicious Birthday Cake Scones Bursting with Colorful Sprinkles bring a little extra celebration to your everyday baking. They’re simple enough to make on a whim but special enough to feel like a treat worth savoring. I love how they combine the buttery, flaky texture of classic scones with the playful snap of sprinkles—each bite is a little happy dance for your taste buds.
Feel free to customize them to your liking—whether that means adding a glaze, swapping sprinkles for nuts, or trying a vegan version. This recipe is flexible and forgiving, which is exactly what you want in a go-to scone.
And hey, if you ever want to switch up your brunch with something savory, these grilled salsa verde pepper jack chicken bites or stacked potato and chorizo enchiladas might be just the thing. But for now, enjoy this colorful, comforting slice of celebration any time you need a smile.
Can’t wait to hear how your scones turn out—drop a comment or share your twist. Baking’s always better when it’s a little colorful and a lot fun.
FAQs
- Can I use different types of sprinkles?
Yes, but jimmies work best as they hold up to baking without melting completely. Nonpareils tend to bleed colors more. - How do I keep my scones flaky and tender?
Keep your butter cold and mix the dough just until it comes together. Overworking toughens the gluten and ruins the texture. - Can I make these scones ahead of time?
You can prepare the dough and freeze it before baking. Bake from frozen, adding a few extra minutes to the baking time. - What’s a good substitute for heavy cream?
Full-fat milk or a dairy-free alternative like coconut milk can work, but the scones might be slightly less rich. - How should I store leftover scones?
Keep them in an airtight container at room temperature for up to 2 days or freeze for longer storage. Reheat in the oven for best texture.
Pin This Recipe!
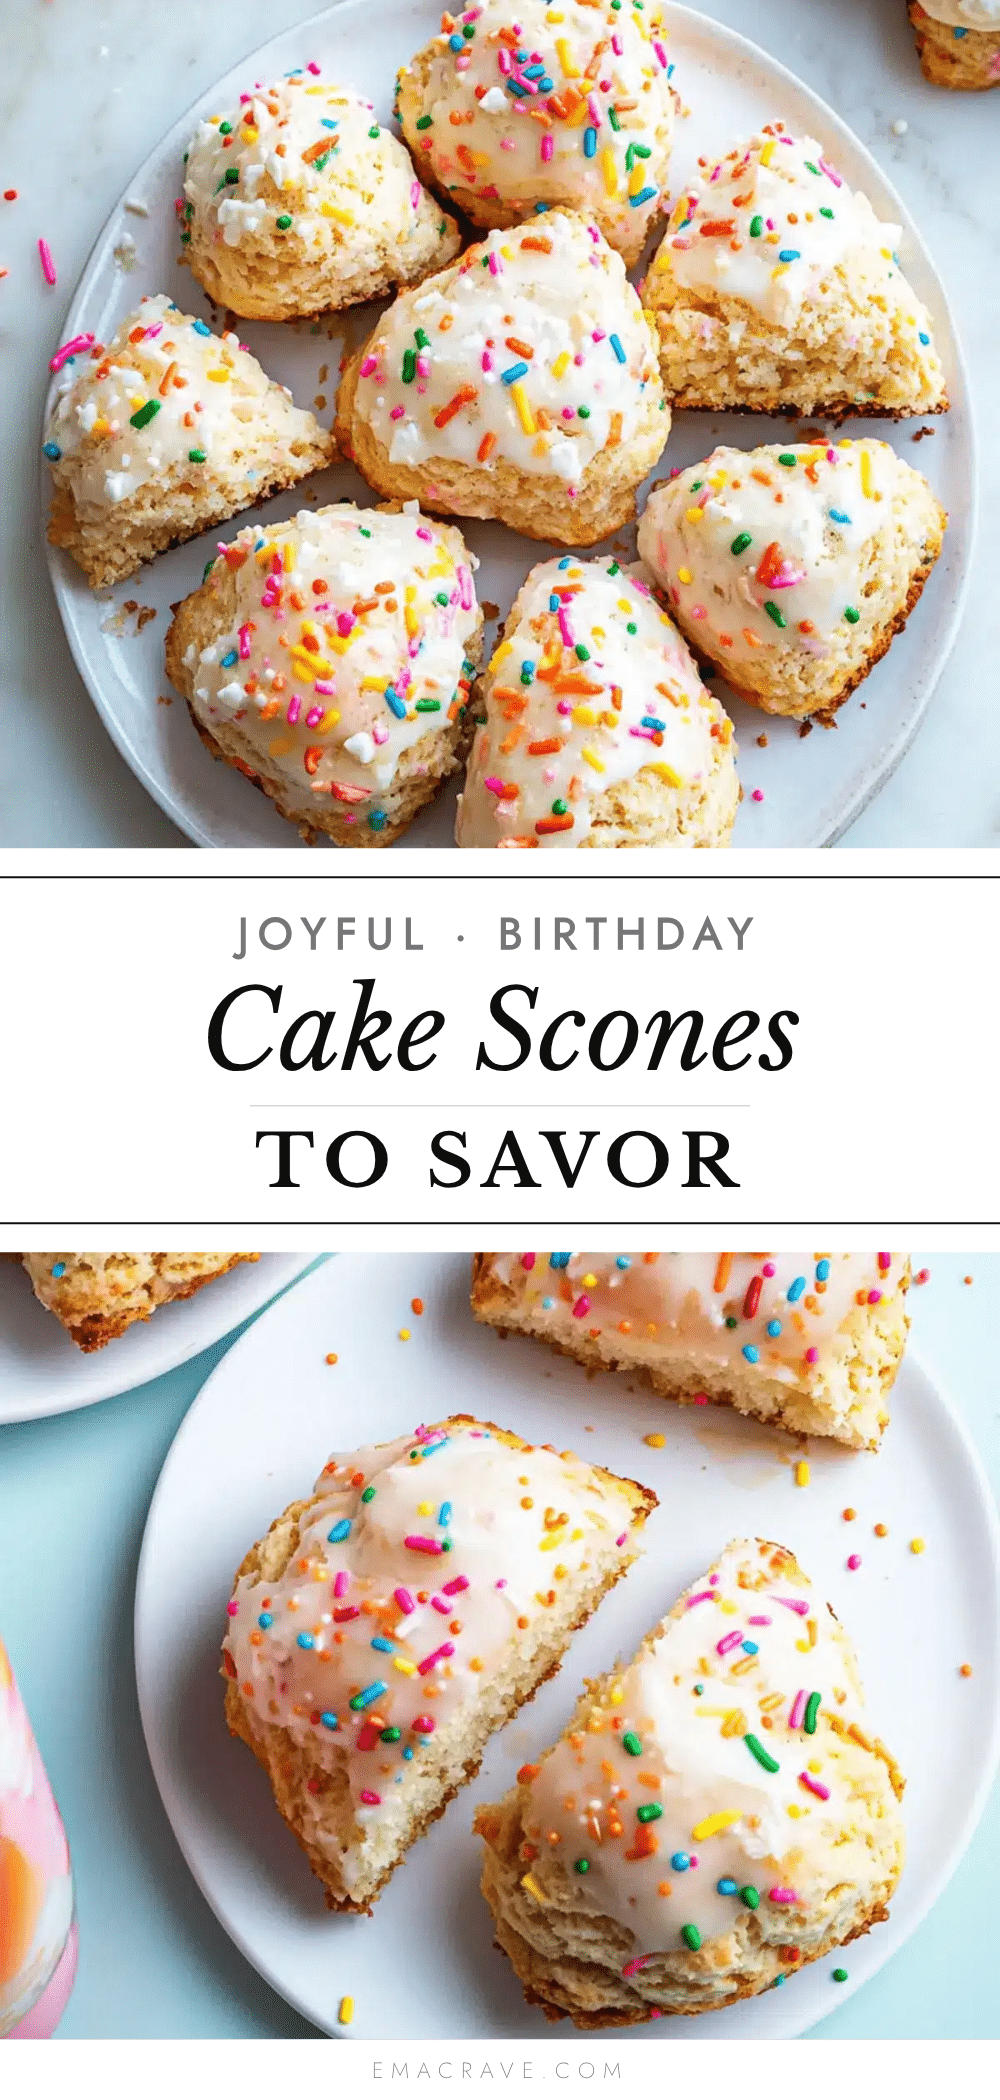
Delicious Birthday Cake Scones Recipe with Colorful Sprinkles Easy and Perfect

These Birthday Cake Scones are tender, flaky, and bursting with colorful sprinkles, making them a joyful and easy breakfast treat perfect for celebrations or any day.
- Prep Time: 15 minutes
- Cook Time: 18 minutes
- Total Time: 33 minutes
- Yield: 8 scones 1x
- Category: Breakfast
- Cuisine: American
Ingredients
- 2 cups (240 g) all-purpose flour
- 1 tablespoon baking powder
- 1/4 cup (50 g) sugar
- 1/2 teaspoon salt
- 1/2 cup (113 g) unsalted butter, cold and cubed
- 2/3 cup (160 ml) heavy cream (can substitute full-fat milk)
- 1 teaspoon vanilla extract
- 1 large egg, beaten
- 1/2 cup (about 75 g) colorful sprinkles (preferably jimmies)
Instructions
- Preheat your oven to 400°F (200°C) and line a baking sheet with parchment paper.
- In a large bowl, whisk together the flour, baking powder, sugar, and salt until evenly combined.
- Add the cold, cubed butter to the dry mix. Use a pastry cutter or fork to work the butter into the flour until pea-sized lumps form.
- Gently fold in the colorful sprinkles, being careful not to overmix to avoid color bleeding.
- In a separate bowl, whisk together the heavy cream, vanilla extract, and beaten egg until smooth.
- Pour the wet ingredients into the dry mixture and stir gently with a spatula until just combined. If the dough is too wet, add a tablespoon of flour at a time.
- Turn the dough onto a floured surface and gently pat or roll into a 7-inch (18 cm) circle about 1-inch (2.5 cm) thick.
- Cut the dough into 8 equal triangles using a sharp knife or bench scraper.
- Place the scones about 2 inches (5 cm) apart on the prepared baking sheet. Brush the tops with a little extra cream or beaten egg for a golden finish.
- Bake for 15–18 minutes, or until the scones are puffed and golden brown on top.
- Let the scones cool on a wire rack for at least 10 minutes before serving.
Notes
Keep butter cold and mix dough just until combined to maintain flaky texture. Use jimmies sprinkles to prevent color bleeding. For a dairy-free version, substitute butter with vegan margarine and cream with coconut milk. Dough can be chilled for 10-15 minutes before shaping if kitchen is warm. Avoid microwaving leftovers to prevent rubbery texture; reheat in oven instead.
Nutrition
- Serving Size: 1 scone
- Calories: 250
- Fat: 12
- Carbohydrates: 30
- Protein: 4
Keywords: birthday cake scones, colorful sprinkles, easy scones, breakfast scones, party scones, vanilla scones, flaky scones



