Love this? Save it for later!
Share the inspiration with your friends
The first time I made this red velvet pie, it was a total accident. I had a tub of cream cheese frosting leftover from a cake disaster—don’t ask—and a single box of red velvet cake mix staring at me from the pantry. I wasn’t about to bake another layer cake. I wanted something easier, something that didn’t require precision or patience. So I grabbed a pie dish, mixed the batter, and just poured it in. I figured it would be a quick, unremarkable dessert. Honestly, I was just trying to use up ingredients.
When it came out of the oven, the edges were slightly puffed and the center had that perfect, tender crumb. I let it cool, spread that leftover cream cheese frosting on top, and took a bite. And then I just stood there in my kitchen, fork in hand, genuinely surprised. It was rich and velvety, with that classic red velvet tang and a soft, almost fudgy texture. The frosting melted into the warm pie, creating this creamy layer that was honestly better than any cake I’d ever made. I ate two slices that night. No regrets.
That’s the thing about this decadent red velvet pie with cream cheese frosting. It feels like a special occasion dessert, but it comes together in a fraction of the time. It’s the kind of recipe you make when you want something impressive without the stress. And honestly, it’s the pie that made me stop trying so hard in the kitchen. Sometimes the best recipes are the ones you stumble into.
Why You’ll Love This Recipe
I’ve tested this recipe more times than I care to admit. I’ve tried different pans, different frosting consistencies, and even a gluten-free version. This version is the one I keep coming back to. Here’s why I think you’ll love it too:
- Quick to Make: From mixing to baking, you’re looking at about 35 minutes. No complicated layers, no chilling dough. Just simple, straightforward steps.
- Simple Ingredients: You probably have most of these in your kitchen already. The base uses a cake mix, but the result tastes completely homemade. It’s a little secret I don’t mind sharing.
- Perfect for Celebrations: This pie is a showstopper. It’s perfect for Valentine’s Day, Christmas, birthdays, or just a Tuesday that needs a little color. The deep red against the white frosting is gorgeous.
- Crowd-Pleaser: I’ve brought this to potlucks and family dinners, and it disappears fast. Kids love the color, and adults love the flavor. It’s a win-win.
- Unbelievably Delicious: The texture is what gets me. It’s denser than cake but lighter than a brownie. The cream cheese frosting adds that tangy richness that balances the sweetness perfectly. It’s comfort food in pie form.
What makes this red velvet pie different from the rest? It’s the texture. By baking it in a pie dish, you get a higher filling-to-frosting ratio. Every bite has that perfect balance of soft crumb and creamy topping. Plus, the edges get slightly crisp, which is a texture you just don’t get with a regular cake. It’s a small change that makes a big difference.
This recipe isn’t just good—it’s the kind that makes you close your eyes after the first bite. It’s comfort food reimagined. Faster, easier, but with the same soul-soothing satisfaction. Perfect for impressing guests without stress, or turning a simple meal into something memorable.
What Ingredients You Will Need
This recipe uses simple, mostly pantry-friendly ingredients to deliver that signature red velvet flavor and creamy frosting. Nothing fancy, just good staples that work together beautifully.
For the Pie Crust
- 1 refrigerated pie crust (9-inch) – I like Pillsbury for convenience, but any store-bought or homemade crust works. Just make sure it’s thawed if frozen.
For the Red Velvet Filling
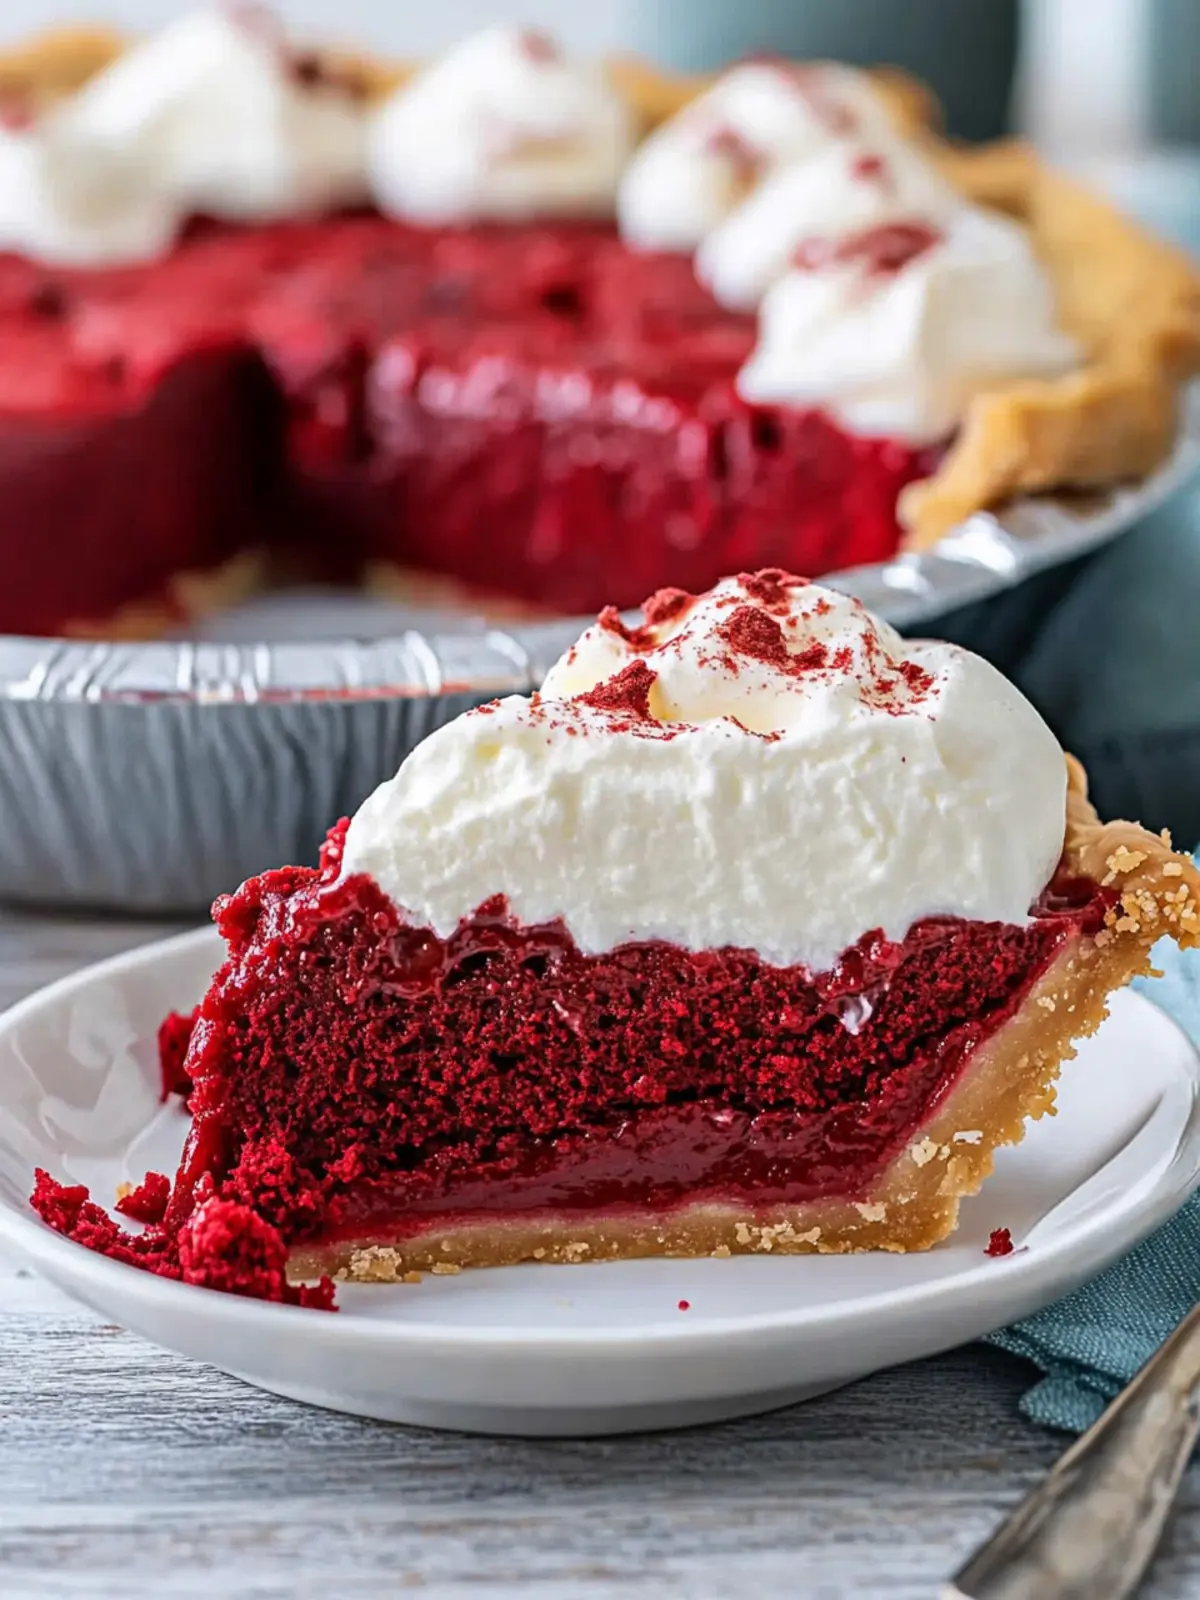
- 1 box (15.25 oz) red velvet cake mix – I recommend Duncan Hines or Betty Crocker. The quality is consistent, and the color is always vibrant.
- 2 large eggs – Room temperature is best for a smooth batter. (Adds structure and richness)
- 1/2 cup vegetable oil – Keeps the pie moist. You can use melted coconut oil, but the flavor will change slightly.
- 1/2 cup buttermilk – This is the secret to that tender crumb. If you don’t have buttermilk, add 1 tablespoon of lemon juice or vinegar to regular milk and let it sit for 5 minutes.
- 1 teaspoon vanilla extract – Pure vanilla adds depth. Imitation works, but pure is better.
For the Cream Cheese Frosting
- 4 oz cream cheese, softened – Full-fat is best for a stable, creamy frosting. Let it sit out for 20 minutes before using.
- 1/4 cup unsalted butter, softened – Adds richness and helps the frosting hold its shape.
- 1 1/2 cups powdered sugar – Sifted if you want an extra-smooth finish. (Sweetens and thickens)
- 1/2 teaspoon vanilla extract – For that classic flavor.
- 1 tablespoon heavy cream or milk – Use just enough to reach your desired consistency. Start with less and add more as needed.
Ingredient Tips: For the best texture, use full-fat buttermilk. It makes the pie noticeably softer. If you’re dairy-free, you can swap the buttermilk with almond milk mixed with lemon juice, and use dairy-free cream cheese. I’ve tested it, and it works, though the frosting is a little softer. Also, look for a cake mix that actually has cocoa powder in it—some cheaper brands skip it, and the flavor just isn’t the same.
Equipment Needed
You don’t need a lot of fancy tools for this recipe. Here’s what I use:
- 9-inch pie dish – A standard glass or ceramic dish works perfectly. I prefer glass because you can see the crust browning.
- Large mixing bowl – For the pie filling.
- Whisk or electric mixer – A whisk works fine, but a hand mixer makes the frosting smoother.
- Spatula – For scraping the bowl clean and spreading the frosting.
- Measuring cups and spoons – Accuracy matters, especially for the buttermilk and oil.
- Cooling rack – Lets the pie cool evenly so the frosting doesn’t melt.
Budget Tip: If you don’t have a pie dish, you can use a 9-inch cake pan or even a cast-iron skillet. The bake time might change slightly, so keep an eye on it. I’ve used a skillet before, and the edges get wonderfully crisp.
Preparation Method
Let’s get baking. This is straightforward, but I’ll walk you through every step so you feel confident.
- Preheat your oven to 350°F (175°C). Place the oven rack in the center position. While it’s heating, take your pie crust out of the fridge and let it sit for 5 minutes at room temperature. This makes it easier to handle without cracking.
- Prepare the pie crust. Gently unroll or place the pie crust into your 9-inch pie dish. Press it into the bottom and up the sides. Don’t stretch it—just let it settle naturally. Crimp the edges with your fingers or a fork for a decorative look. Set aside.
- Mix the red velvet filling. In a large bowl, combine the red velvet cake mix, eggs, vegetable oil, buttermilk, and vanilla extract. Whisk until smooth and fully combined. The batter will be thick and glossy—that’s perfect. Scrape the sides and bottom of the bowl to make sure there are no dry pockets.
- Pour the batter into the crust. Use a spatula to spread it evenly. The batter will fill the pie dish almost to the top. Don’t worry—it doesn’t rise much. Tap the dish gently on the counter to release any air bubbles.
- Bake the pie. Place the pie dish on a baking sheet (this catches any drips and helps the bottom cook evenly). Bake for 28 to 32 minutes. The pie is done when the edges are set and the center is just slightly jiggly—like a brownie. A toothpick inserted into the center should come out with a few moist crumbs, not raw batter.
- Cool completely. Transfer the pie dish to a cooling rack. Let it cool for at least 1 hour at room temperature. The pie needs to be completely cool before you add the frosting, or it will melt into a puddle. Trust me on this—I learned the hard way.
- Make the cream cheese frosting. While the pie cools, beat the softened cream cheese and butter together in a medium bowl until smooth and creamy. Add the powdered sugar, vanilla extract, and heavy cream. Beat on low speed until combined, then increase to medium and beat for 2 minutes until light and fluffy. If the frosting is too thick, add another teaspoon of cream. If it’s too thin, add a little more powdered sugar.
- Frost the pie. Once the pie is completely cool, spread the cream cheese frosting evenly over the top. Use a spatula to create swirls or a smooth finish. For a prettier presentation, you can pipe the frosting using a star tip.
- Chill before serving. Refrigerate the frosted pie for at least 30 minutes. This helps the frosting set and makes slicing cleaner. The pie is best served cold or at room temperature.
Cooking Tips & Techniques
I’ve made this pie about a dozen times now, and I’ve picked up a few tricks along the way. Here’s what I’ve learned:
- Don’t overmix the batter. Once the dry ingredients are incorporated, stop. Overmixing develops the gluten and makes the pie tough instead of tender. You want a smooth batter, not a workout.
- Use room-temperature ingredients. Cold eggs and buttermilk can make the batter lumpy. Let them sit out for 15 minutes before mixing. It makes a real difference in the texture.
- Watch the bake time. Ovens vary. Start checking at 28 minutes. The pie is done when the top springs back lightly when touched. If the edges are browning too fast, tent the pie with foil for the last 5 minutes.
- Let it cool completely. I know it’s tempting, but warm pie + cream cheese frosting = a melty mess. Give it the full hour. If you’re in a hurry, pop it in the fridge for 30 minutes after it reaches room temperature.
- Chill your frosting bowl. If your kitchen is warm, chill the mixing bowl and beaters for 10 minutes before making the frosting. It helps the cream cheese stay firm and gives you a fluffier result.
One mistake I made early on? I used low-fat cream cheese. The frosting turned out runny and never set properly. Stick with full-fat cream cheese for the best texture. It’s worth it.
Variations & Adaptations
This recipe is flexible. Here are a few ways to make it your own:
- Gluten-Free Version: Use a gluten-free red velvet cake mix. I’ve tried King Arthur’s, and it works perfectly. Just follow the same instructions. No one will know the difference.
- Chocolate Swirl: Before baking, drop spoonfuls of melted dark chocolate into the batter and swirl with a knife. It adds a rich, fudgy ribbon throughout the pie.
- Berry Topping: Top the frosted pie with fresh raspberries or strawberries. The tartness cuts through the sweetness and adds a pop of color. I did this for a summer barbecue, and it was a hit.
- Dairy-Free Adaptation: Use a dairy-free cake mix, replace the buttermilk with almond milk plus lemon juice, and use vegan cream cheese and butter for the frosting. The texture is a bit softer, but the flavor is still great.
- Extra Tangy Frosting: Add a tablespoon of sour cream to the cream cheese frosting. It makes it even more tangy and luxurious. I tried this on a whim, and now I do it every time.
If you’re looking for another impressive dessert that’s just as easy, you’ll love this creamy dream cherry cheesecake. It has that same rich, satisfying vibe.
Serving & Storage Suggestions
This pie is versatile when it comes to serving. Here’s how I like to do it:
- Serving Temperature: I prefer it cold, straight from the fridge. The frosting is firm, and the pie has a dense, fudgy texture. Room temperature is also lovely—the pie softens and the frosting becomes creamier.
- Presentation: Slice with a sharp knife, wiping it clean between cuts for neat pieces. A dollop of whipped cream and a few chocolate shavings on top make it look extra special.
- Pairings: A glass of cold milk is classic. For a grown-up twist, try it with a cup of strong coffee or a small glass of port. The richness of the pie pairs beautifully with something bitter or acidic.
- Storage: Cover the pie loosely with plastic wrap or foil and store it in the refrigerator for up to 5 days. The flavors actually deepen after a day or two. I think it tastes even better on day two.
- Freezing: You can freeze the unfrosted pie for up to 3 months. Wrap it tightly in plastic wrap and then foil. Thaw in the fridge overnight, then frost and serve. The frosted pie can also be frozen, but the texture of the frosting may change slightly.
- Reheating: If you want a warm slice, pop it in the microwave for 15 seconds. The pie warms up while the frosting stays cool. It’s a nice contrast.
If you’re planning a dessert table, this homemade chocolate chip cookie rolls recipe is another great option. They’re easy to make ahead and slice for serving.
Nutritional Information & Benefits
Let’s be real—this is a decadent dessert. But here’s a rough estimate per slice (based on 8 servings):
- Calories: 450-500
- Fat: 25g
- Carbohydrates: 55g
- Protein: 5g
- Sugar: 35g
Health Benefits: The buttermilk adds a small amount of calcium and probiotics. The cream cheese provides a bit of protein and calcium too. And honestly? There’s a mental health benefit to enjoying a slice of something this good. Dessert is about joy, and this pie delivers.
Dietary Considerations: This recipe contains gluten, dairy, and eggs. For a gluten-free option, use a gluten-free cake mix. For a dairy-free version, follow the adaptations above. It’s not a health food, but it’s a treat worth every bite.
Conclusion
This decadent red velvet pie with cream cheese frosting is proof that simple recipes can be the most memorable. It’s quick enough for a weeknight but impressive enough for a holiday table. The texture is perfect, the frosting is divine, and the whole thing comes together with minimal effort. I honestly think it’s one of the best desserts I’ve ever made—and I’ve made a lot of desserts.
I’d love for you to try this and make it your own. Add your favorite toppings, adjust the sweetness, or try a different frosting. The beauty of this recipe is how forgiving it is. If you make it, let me know how it turns out. Leave a comment below or tag me in your photos. I can’t wait to see your version.
And if you’re in the mood for another easy, crowd-pleasing dessert, check out this perfect peach upside-down mini cakes recipe. It’s just as simple and just as delicious. Happy baking!
Frequently Asked Questions
Can I use a homemade pie crust instead of store-bought?
Absolutely. A homemade butter crust adds a lovely flakiness. Just make sure it’s fully chilled before adding the batter. Blind bake it for 10 minutes first if you want a crispier bottom.
Why is my pie sinking in the middle?
This is normal for a pie this dense. It’s caused by the filling settling as it cools. To minimize it, don’t overmix the batter and let the pie cool slowly on a rack. A little dip is actually perfect for holding the frosting.
Can I make this pie ahead of time?
Yes! You can bake the pie a day ahead, cool it completely, and store it covered in the fridge. Frost it just before serving for the best presentation. The pie tastes even better the next day.
How do I get clean slices?
Use a sharp knife and wipe it clean with a damp paper towel between each slice. For the cleanest cuts, chill the pie for at least an hour after frosting. A warm knife also helps—run it under hot water and dry it off.
Can I use a different frosting?
Of course. A simple whipped cream frosting or a chocolate ganache would work beautifully. If you want a less sweet option, try a mascarpone frosting. Just keep in mind that the tangy cream cheese frosting is what makes this pie so special.
Pin This Recipe!
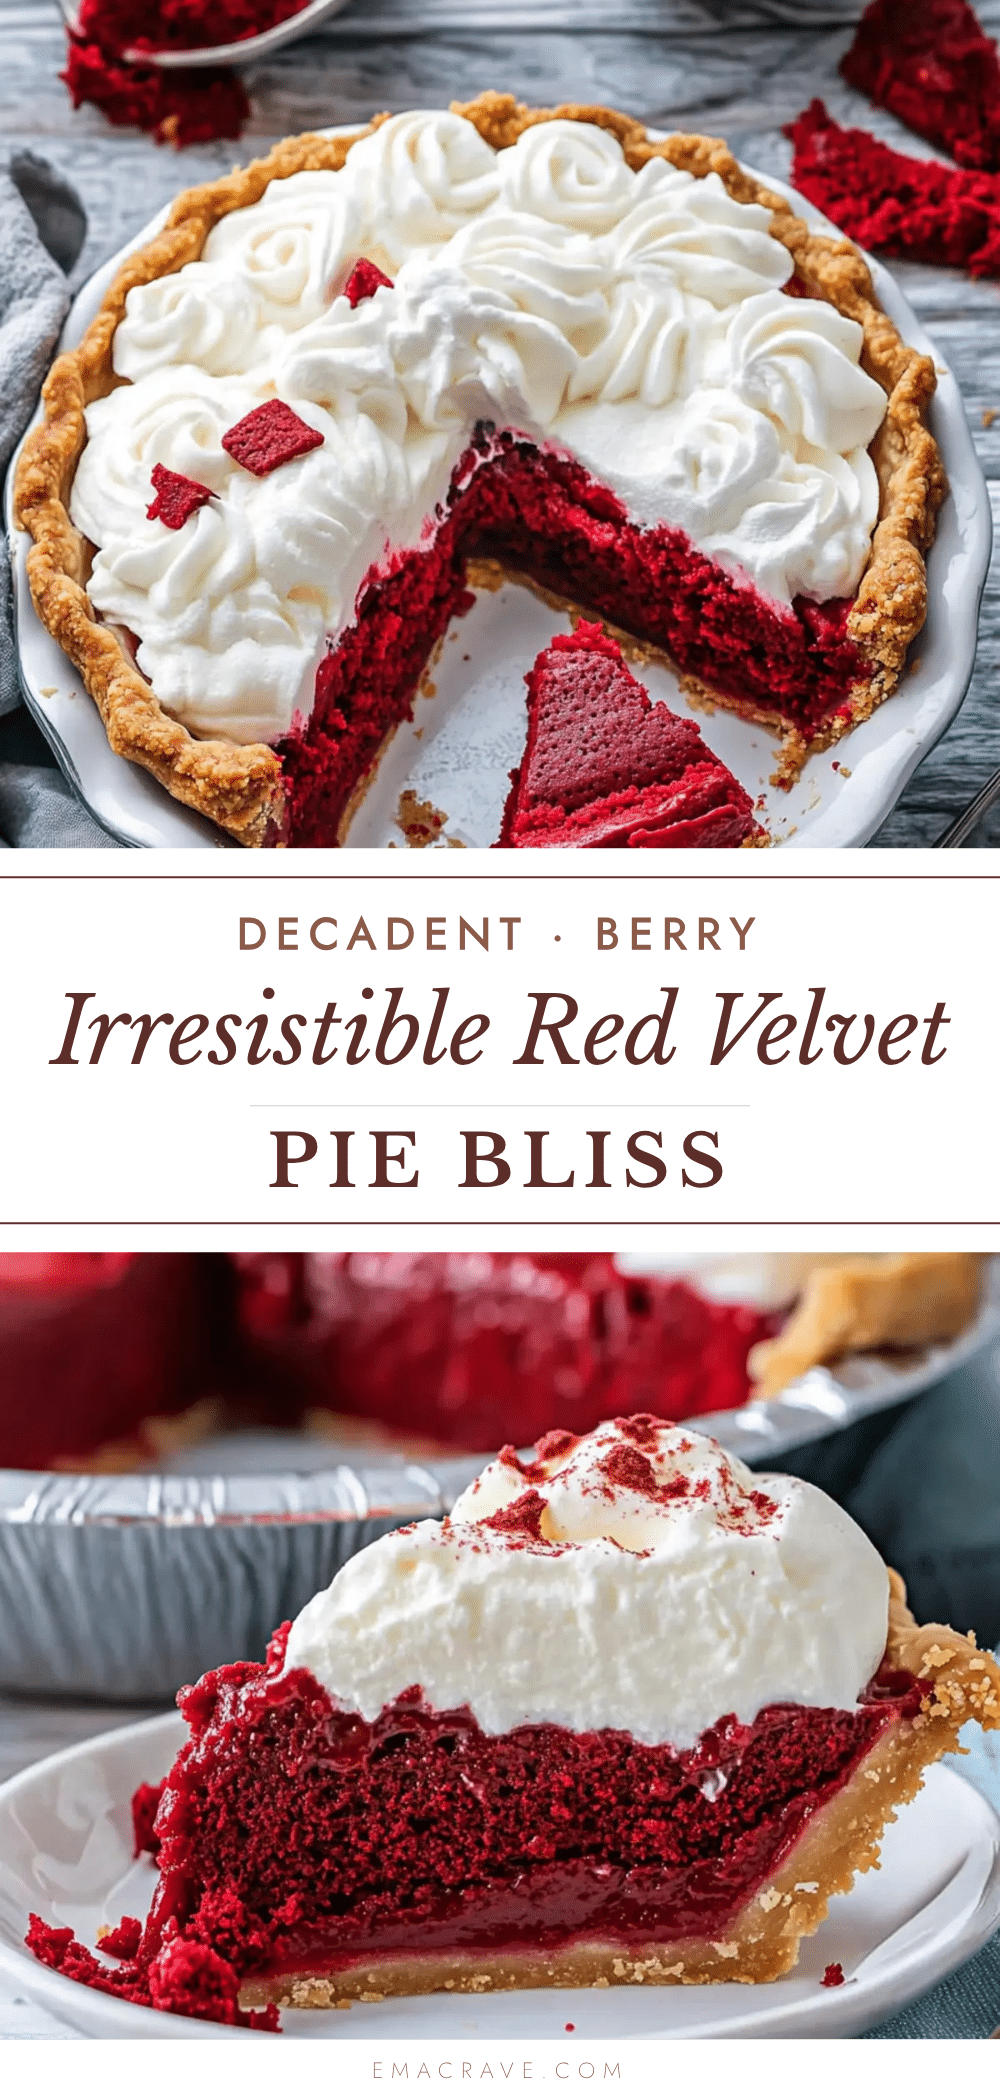
Decadent Red Velvet Pie with Easy Cream Cheese Frosting

A quick and easy red velvet pie with a tender, fudgy texture and tangy cream cheese frosting. Perfect for celebrations or a simple weeknight dessert.
- Prep Time: 15 minutes
- Cook Time: 30 minutes
- Total Time: 45 minutes
- Yield: 8 servings 1x
- Category: Dessert
- Cuisine: American
Ingredients
- 1 refrigerated pie crust (9-inch)
- 1 box (15.25 oz) red velvet cake mix
- 2 large eggs, room temperature
- 1/2 cup vegetable oil
- 1/2 cup buttermilk
- 1 teaspoon vanilla extract
- 4 oz cream cheese, softened
- 1/4 cup unsalted butter, softened
- 1 1/2 cups powdered sugar, sifted
- 1/2 teaspoon vanilla extract
- 1 tablespoon heavy cream or milk
Instructions
- Preheat your oven to 350°F (175°C). Place the oven rack in the center position. While it’s heating, take your pie crust out of the fridge and let it sit for 5 minutes at room temperature.
- Gently unroll or place the pie crust into your 9-inch pie dish. Press it into the bottom and up the sides. Crimp the edges with your fingers or a fork. Set aside.
- In a large bowl, combine the red velvet cake mix, eggs, vegetable oil, buttermilk, and vanilla extract. Whisk until smooth and fully combined. Scrape the sides and bottom of the bowl.
- Pour the batter into the crust and spread it evenly with a spatula. Tap the dish gently on the counter to release air bubbles.
- Place the pie dish on a baking sheet. Bake for 28 to 32 minutes, until the edges are set and the center is just slightly jiggly. A toothpick inserted into the center should come out with a few moist crumbs.
- Transfer the pie dish to a cooling rack and let it cool completely, at least 1 hour.
- While the pie cools, beat the softened cream cheese and butter together in a medium bowl until smooth and creamy. Add the powdered sugar, vanilla extract, and heavy cream. Beat on low speed until combined, then increase to medium and beat for 2 minutes until light and fluffy.
- Once the pie is completely cool, spread the cream cheese frosting evenly over the top. Use a spatula to create swirls or a smooth finish.
- Refrigerate the frosted pie for at least 30 minutes before serving. Serve cold or at room temperature.
Notes
For best results, use full-fat cream cheese and buttermilk. Let the pie cool completely before frosting to prevent melting. The pie can be stored in the refrigerator for up to 5 days.
Nutrition
- Serving Size: 1 slice
- Calories: 475
- Sugar: 35
- Sodium: 380
- Fat: 25
- Saturated Fat: 8
- Carbohydrates: 55
- Fiber: 1
- Protein: 5
Keywords: red velvet pie, cream cheese frosting, easy dessert, quick pie, holiday dessert



