Love this? Save it for later!
Share the inspiration with your friends
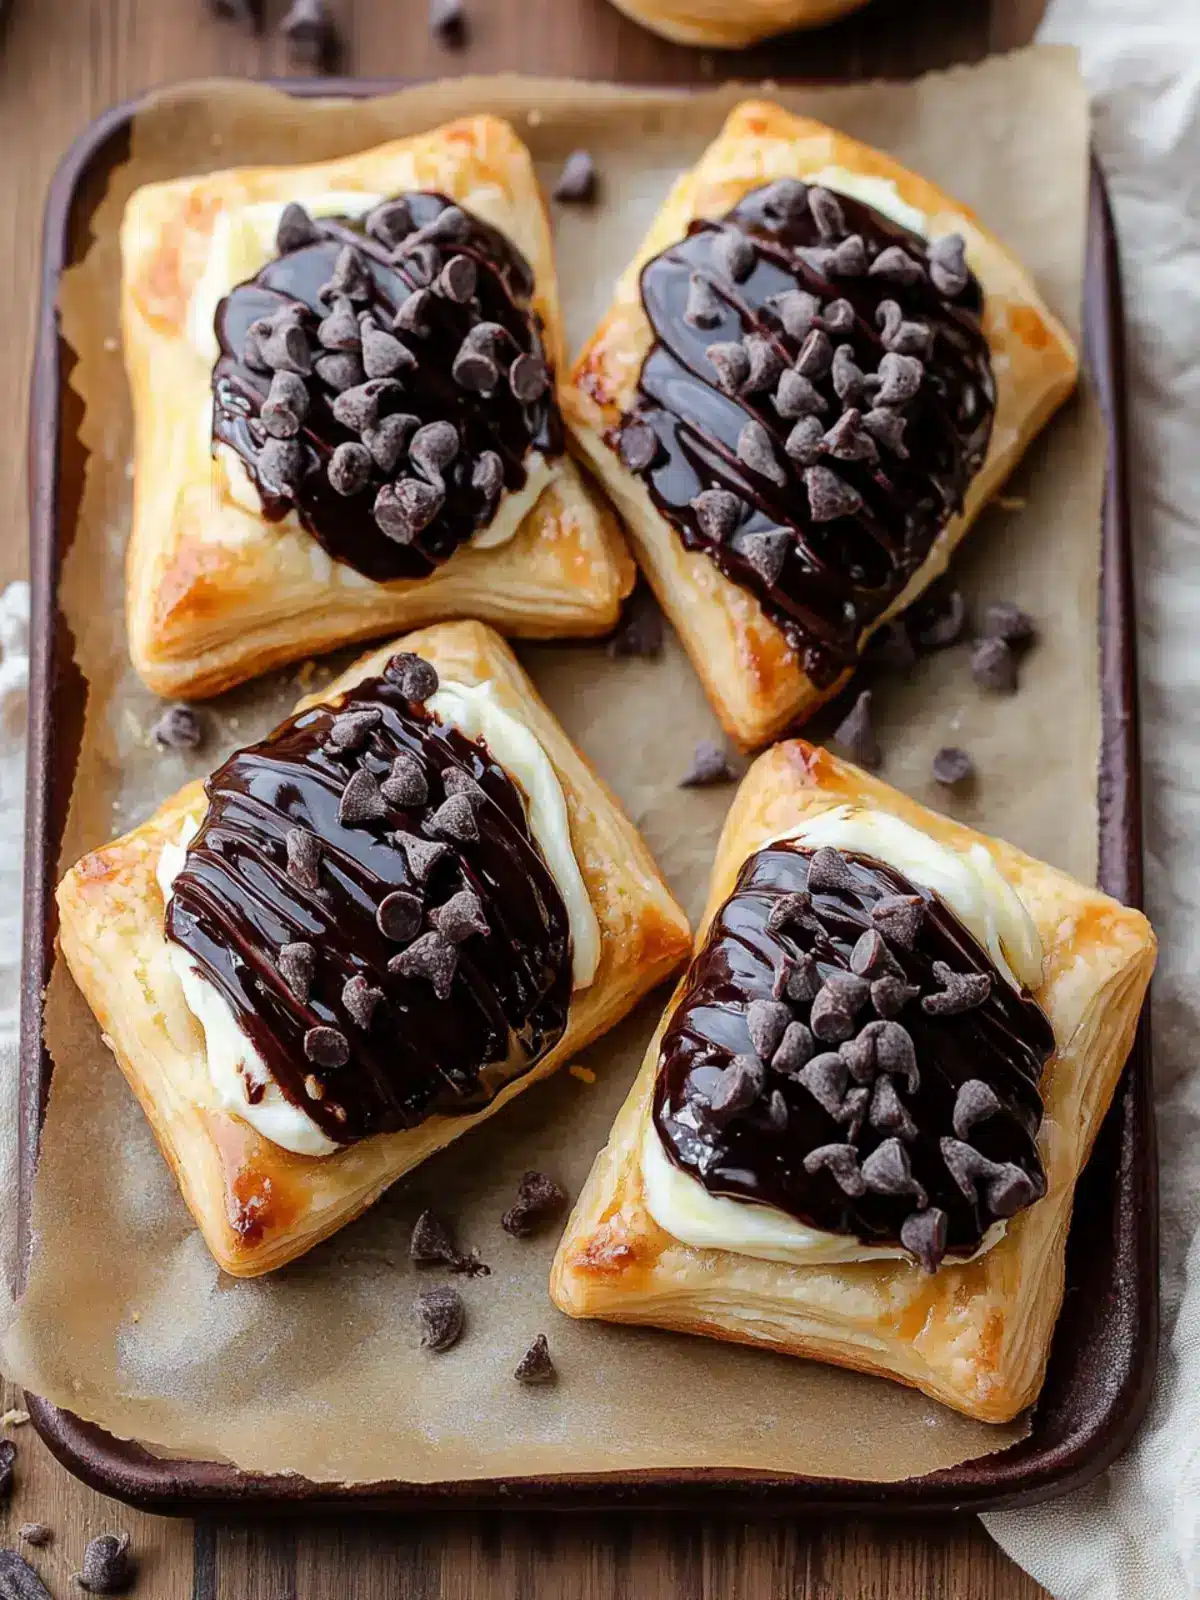
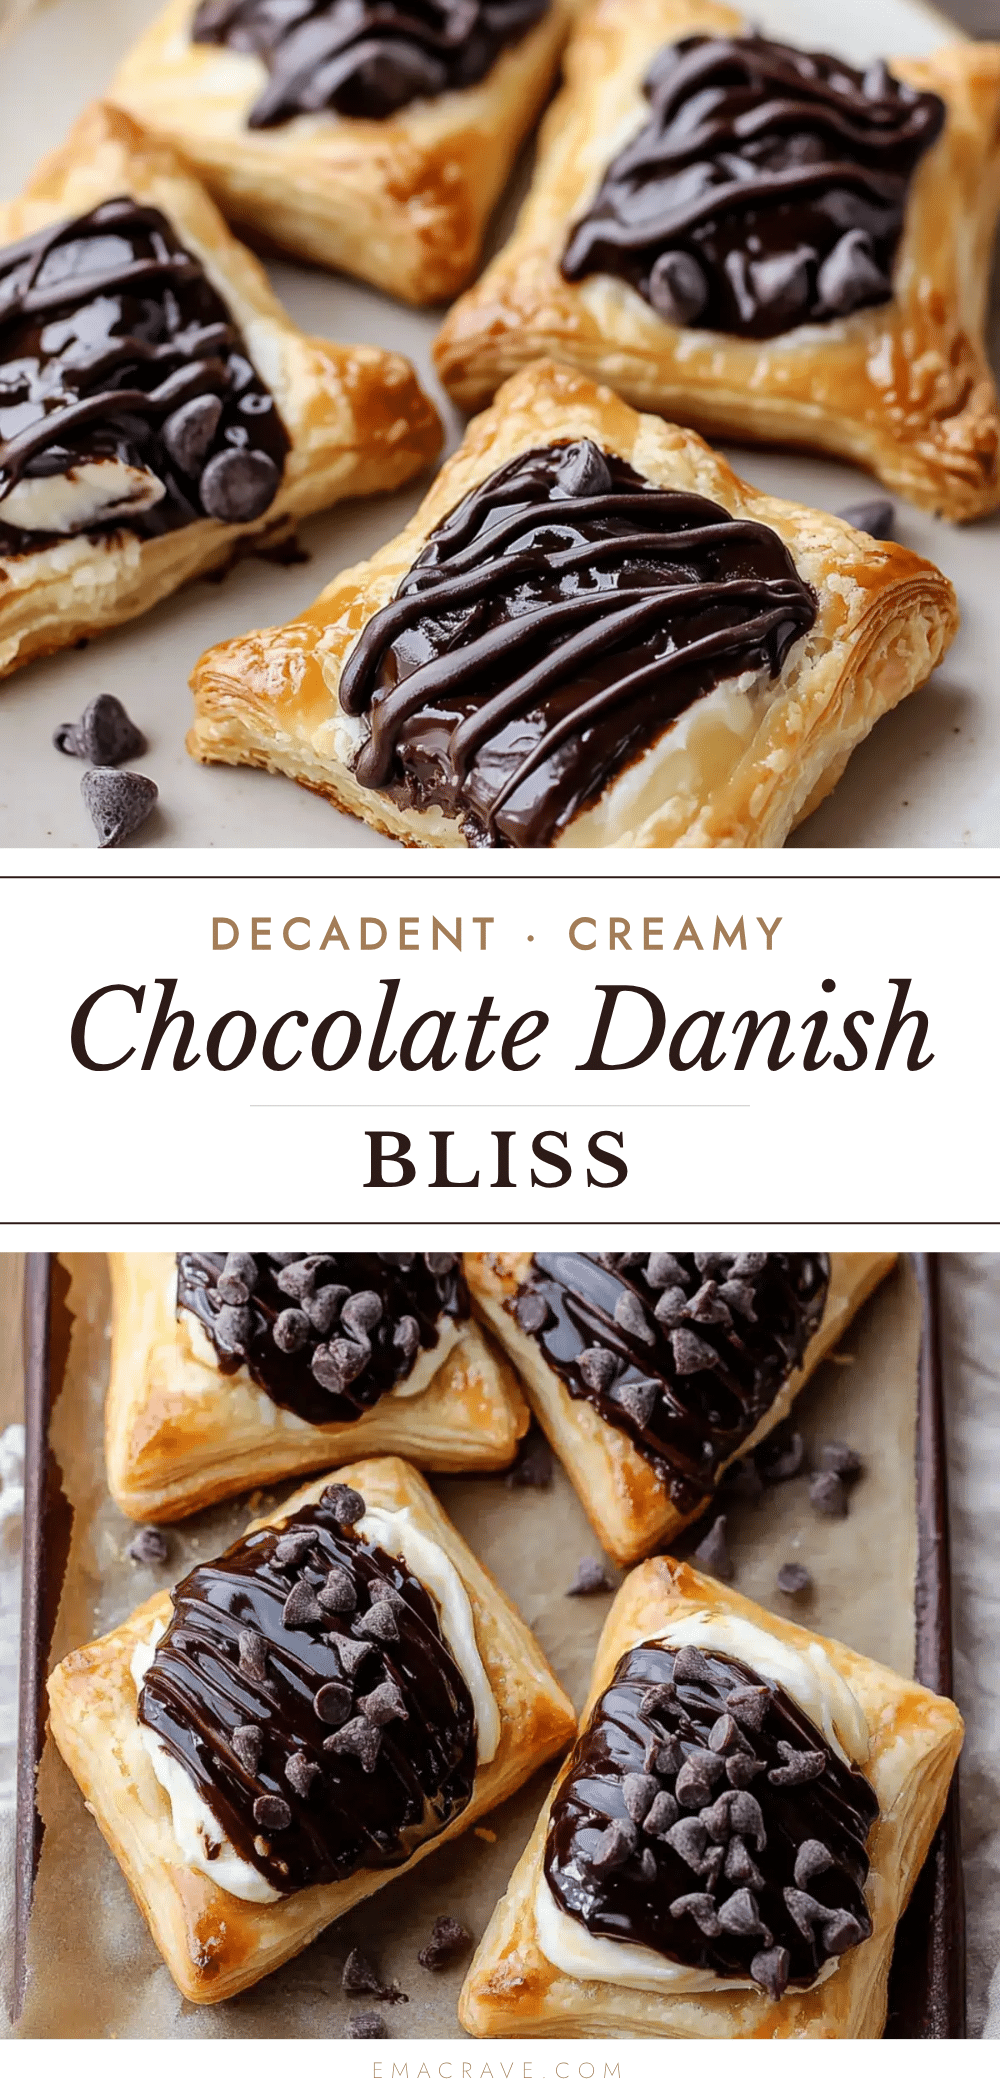
“You really have to try this,” my friend insisted one Saturday morning, waving a plate of what looked like golden, flaky pastries filled with something creamy and dark. Honestly, I was skeptical—chocolate and cream cheese in a Danish? It sounded like a wild combo that might end up too rich or oddly sweet. But as soon as I bit into that Decadent Chocolate Cream Cheese Danish Bliss, the skepticism melted away like butter on warm pastry. The rich cream cheese filling mingled flawlessly with the bittersweet chocolate, all wrapped in a tender, flaky crust that practically disappeared with every bite.
I kept making this recipe over and over that weekend, testing it with tweaks here and there—sometimes swapping in a little orange zest, other times folding in crushed nuts for crunch. It became a quiet obsession, the kind of dessert that feels fancy without needing hours in the kitchen or fancy equipment. If you’ve ever thought that homemade Danish pastries were only for seasoned bakers, this recipe will quietly prove you wrong.
What stuck with me most? How this chocolate cream cheese Danish isn’t just a treat, but a little moment of bliss you can pull together anytime, whether for a slow weekend brunch or a spontaneous dessert emergency. It’s that perfect balance of indulgence and comfort, the kind you wish you had in your freezer ready to warm up and enjoy at a moment’s notice.
Why You’ll Love This Recipe
This Decadent Chocolate Cream Cheese Danish Bliss recipe is honestly one of those rare gems that checks all the boxes. After a few trials in my kitchen, I can say it’s:
- Quick & Easy: The entire process takes about 45 minutes, which is great for when you want a homemade dessert without a day-long commitment.
- Simple Ingredients: Nothing fancy or hard to find here — just staples like cream cheese, semi-sweet chocolate, puff pastry, and a few pantry basics.
- Perfect for Anytime: Whether it’s a weekend brunch, a cozy night in, or impressing friends with minimal fuss, these Danish pastries fit the bill.
- Crowd-Pleaser: Every time I bring them to gatherings, from casual coffee meetups to family dinners, they vanish fast.
- Unbelievably Delicious: The contrast of the airy, flaky dough with the smooth cream cheese and rich chocolate hits all the right notes — it’s like a hug in pastry form.
What sets this recipe apart is the secret step of blending the cream cheese filling smooth for a velvety texture, paired with melting chunks of chocolate that keep each bite interesting. Plus, it’s flexible enough to tweak — I’ve made versions with a hint of espresso powder or swapped the chocolate for raspberry jam for a fruity twist. It’s not just another chocolate Danish; it’s your new go-to blissful treat.
What Ingredients You Will Need
This recipe uses simple, wholesome ingredients to deliver bold flavor and a satisfying texture without any fuss. Most are pantry staples you probably have on hand, and substitutions are easy if needed.
- Puff pastry sheets (2 sheets, thawed; I recommend Pepperidge Farm for its reliable flakiness)
- Cream cheese (8 ounces, softened; full-fat gives the best richness)
- Sugar (1/3 cup granulated; balances the tang of cream cheese)
- Vanilla extract (1 teaspoon; pure vanilla makes a difference here)
- Egg (1 large, beaten for egg wash to add that golden sheen)
- Semi-sweet chocolate chips or chunks (1 cup; chopped bar chocolate works great for melty pockets)
- Lemon zest (optional, 1 teaspoon; adds a subtle brightness to cream cheese filling)
- Powdered sugar (for dusting or optional glaze)
If you want to make it dairy-free, swapping cream cheese with a plant-based alternative and using vegan puff pastry works well. For a gluten-free option, almond flour-based pastry is trickier but possible with some tweaking.
Equipment Needed
- Baking sheet lined with parchment paper or a silicone baking mat — makes cleanup easier and prevents sticking.
- Mixing bowl for the cream cheese filling — a medium-sized one works fine.
- Electric mixer or sturdy whisk — to get that cream cheese perfectly smooth and fluffy.
- Sharp knife or pizza cutter — for cutting the puff pastry into squares.
- Pastry brush — for applying the egg wash; if you don’t have one, a clean fingertip can work in a pinch.
- Cooling rack — helps the Danishes cool evenly without sogginess.
Honestly, I’ve made these with just a fork and a bowl when I was short on tools, but the electric mixer really speeds things up and improves texture. Parchment paper is a game-changer, too—it’s a small investment that saves tons of hassle.
Preparation Method
- Preheat your oven to 400°F (200°C). Line a baking sheet with parchment paper to keep your pastries from sticking and to avoid messy cleanup.
- Prepare the cream cheese filling: In a medium bowl, beat 8 ounces (225 grams) of softened cream cheese with 1/3 cup (67 grams) granulated sugar and 1 teaspoon vanilla extract until smooth and fluffy, about 2-3 minutes. If using, fold in 1 teaspoon lemon zest for a pop of freshness.
- Roll out the puff pastry sheets: On a lightly floured surface, unfold each sheet and gently roll to smooth any creases. Cut each sheet into 6 equal squares for a total of 12 pastries.
- Assemble the Danishes: Place a heaping tablespoon of the cream cheese mixture in the center of each square. Top with about 1 tablespoon of semi-sweet chocolate chips or chunks.
- Fold the corners: Bring each corner of the puff pastry toward the center, pinching gently to seal but leaving some space so the filling can peek through during baking.
- Apply the egg wash: Brush each Danish with beaten egg to get that beautiful golden finish. This step is worth the extra effort for the look and slight crispness it adds.
- Bake: Place the tray in the oven and bake for 15-18 minutes, or until puffed and golden brown. Keep an eye on them after 12 minutes — ovens vary and you want to catch them at peak flakiness without burning.
- Cool and finish: Transfer the Danishes to a wire rack to cool for at least 10 minutes. Dust with powdered sugar or drizzle a simple glaze if you like. Serve warm or at room temperature.
One time, I accidentally left a batch in the oven a few minutes too long, and while they were crispier than intended, the flavor was still spot on — proof that this recipe is forgiving if you get a bit distracted!
Cooking Tips & Techniques
Working with puff pastry can feel intimidating, but here are some tricks I’ve picked up to keep things smooth:
- Keep everything cold: Puff pastry warms up fast, which can make it sticky and hard to handle. If it softens too much while cutting, pop it back in the fridge for 10 minutes.
- Don’t overload the filling: Adding too much cream cheese or chocolate can cause the pastry to leak or not seal well. A heaping tablespoon is just right.
- Seal gently: You want the corners sealed enough to hold, but not too tight — a little opening adds to that rustic, bakery look.
- Watch baking time: Puff pastry can quickly go from golden to burnt. Set a timer for 12 minutes and check frequently after that.
- Multitask while baking: While the Danishes bake, clean up your prep mess or make a quick cup of coffee (or something like the creamy tangerine banana smoothie I love for a refreshing drink). This keeps the kitchen flow smooth.
Variations & Adaptations
This Danish recipe is a fantastic base for creative spins:
- Fruit twist: Swap the chocolate for fresh berries or a spoonful of your favorite jam for a bright, fruity version.
- Nutty crunch: Sprinkle chopped toasted nuts like pecans or almonds on top of the cream cheese filling before baking for texture.
- Espresso kick: Stir in a pinch of espresso powder into the cream cheese mix for a mocha-inspired delight.
- Dairy-free adaptation: Use coconut cream cheese and vegan puff pastry to keep things plant-based without losing flavor.
- Gluten-free option: While puff pastry is traditionally wheat-based, you can try gluten-free puff pastry brands or make a laminated gluten-free dough if you’re feeling adventurous.
Personally, I once made a batch with a sprinkle of flaky sea salt on top just before baking — it created a sophisticated sweet-salty contrast that surprised my guests. If you enjoy a little savory edge, you might want to try that too!
Serving & Storage Suggestions
These Danishes are best enjoyed fresh and warm, when the chocolate is still melty and the pastry is at its flakiest. Serve them alongside a hot cup of coffee or tea for a cozy moment.
If you have leftovers, store them in an airtight container at room temperature for up to 2 days. For longer storage, freeze the unbaked assembled Danishes on a tray, then transfer to a freezer-safe bag and bake straight from frozen, adding a few extra minutes to the baking time.
To reheat, pop them in a 350°F (175°C) oven for 5-7 minutes. Avoid the microwave if you want to keep that crispy, flaky texture intact.
Flavors actually mellow and blend a bit after a day, so if you aren’t in a rush, letting the Danishes sit overnight wrapped loosely in foil can deepen the cream cheese and chocolate harmony.
Nutritional Information & Benefits
Each Danish contains roughly 320 calories, with about 18 grams of fat, 30 grams of carbohydrates, and 5 grams of protein. The cream cheese adds calcium and protein, while the dark chocolate contributes antioxidants — so it’s not just a treat, but a little indulgence with some nutritional perks.
Keep in mind this recipe contains dairy and gluten; for those with sensitivities, adaptations mentioned earlier will help. I like to think of this dessert as a balanced occasional pleasure, perfect for sharing and celebrating simple moments.
Conclusion
This Decadent Chocolate Cream Cheese Danish Bliss recipe is a keeper — it’s straightforward yet feels luxurious enough to impress without stress. What I love most is how it invites you to slow down for a moment, whether that’s a quiet morning or a casual gathering. You can tweak it to your taste, swap ingredients, and still come out with a beautiful pastry that tastes like it belongs in a bakery display.
Give it a try, make it your own, and don’t be surprised if it becomes your new favorite quick homemade dessert. If you’ve enjoyed treats like the easy glazed donut muffins or the crispy garlic bread grilled cheese for savory bites, this Danish fits right into that lineup of comforting, crowd-pleasing recipes.
Feel free to share your versions or questions below — I’m always curious how you make this your own!
Frequently Asked Questions
Can I use frozen puff pastry directly from the freezer?
It’s best to thaw puff pastry sheets according to package instructions (usually overnight in the fridge or about 30-40 minutes at room temperature) to make them easier to handle and prevent tearing.
What type of cream cheese works best?
Full-fat cream cheese gives the richest, creamiest filling. Softened but not melted is key for the smoothest texture.
Can I make these Danishes vegan or gluten-free?
Yes! Use dairy-free cream cheese and vegan puff pastry for a plant-based version. Gluten-free puff pastry is trickier but available from specialty brands.
How do I prevent the pastry from getting soggy?
Make sure to brush with egg wash and bake on parchment or a silicone mat. Also, don’t overload the filling, as excess moisture can make the bottom soggy.
Can I prepare these ahead of time?
Absolutely! Assemble the Danishes, freeze them on a baking sheet, then transfer to a freezer bag. Bake directly from frozen, adding a few extra minutes to the baking time.
Pin This Recipe!
Decadent Chocolate Cream Cheese Danish Bliss

A quick and easy homemade dessert featuring flaky puff pastry filled with a smooth cream cheese and semi-sweet chocolate filling, perfect for brunch or any cozy occasion.
- Prep Time: 15 minutes
- Cook Time: 18 minutes
- Total Time: 33 minutes
- Yield: 12 pastries 1x
- Category: Dessert
- Cuisine: American
Ingredients
- 2 sheets puff pastry, thawed
- 8 ounces cream cheese, softened (full-fat recommended)
- 1/3 cup granulated sugar
- 1 teaspoon vanilla extract
- 1 large egg, beaten (for egg wash)
- 1 cup semi-sweet chocolate chips or chunks
- 1 teaspoon lemon zest (optional)
- Powdered sugar (for dusting or optional glaze)
Instructions
- Preheat your oven to 400°F (200°C). Line a baking sheet with parchment paper.
- In a medium bowl, beat the softened cream cheese with granulated sugar and vanilla extract until smooth and fluffy, about 2-3 minutes. Fold in lemon zest if using.
- On a lightly floured surface, unfold each puff pastry sheet and gently roll to smooth creases. Cut each sheet into 6 equal squares, making 12 pastries total.
- Place a heaping tablespoon of cream cheese mixture in the center of each square. Top with about 1 tablespoon of semi-sweet chocolate chips or chunks.
- Fold each corner of the puff pastry toward the center, pinching gently to seal but leaving some space for filling to peek through.
- Brush each Danish with beaten egg for a golden finish.
- Bake for 15-18 minutes until puffed and golden brown, checking after 12 minutes to avoid burning.
- Transfer to a wire rack to cool for at least 10 minutes. Dust with powdered sugar or drizzle glaze if desired. Serve warm or at room temperature.
Notes
Keep puff pastry cold to prevent stickiness; do not overload filling to avoid leakage; brush with egg wash for golden color; bake on parchment for easy cleanup; can freeze unbaked Danishes and bake from frozen with extra minutes.
Nutrition
- Serving Size: 1 Danish pastry
- Calories: 320
- Sugar: 12
- Sodium: 220
- Fat: 18
- Saturated Fat: 10
- Carbohydrates: 30
- Fiber: 2
- Protein: 5
Keywords: chocolate cream cheese danish, puff pastry dessert, easy homemade dessert, quick danish recipe, flaky pastry dessert