Love this? Save it for later!
Share the inspiration with your friends
“You won’t believe how easy this is,” my friend whispered as she plopped a generous scoop of honeycomb ice cream on my plate during a casual summer hangout. I was skeptical at first—homemade ice cream always felt like a big production to me. But that first bite? Honestly, it was like a little sweet explosion. The creamy, dreamy texture combined with the light crunch of honeycomb bits made me pause mid-chew. That day, I tucked away the recipe, thinking maybe I could pull it off myself.
Fast forward a few weeks, and my kitchen was a sticky, slightly chaotic mess (because, let’s face it, making honeycomb can get messy). But the payoff? Totally worth it. The ice cream was rich without being heavy and had this magical balance between the smooth cream and golden honeycomb shards. I found myself making it three times in one week—yes, three! It somehow became my go-to sweet treat, especially after long days when I just wanted something comforting but a little special.
What really stuck with me about this creamy homemade honeycomb ice cream bliss is how it feels like a secret treat you make just for yourself or your closest friends. It’s not flashy, no complicated ingredients, but it has that “wow” factor that sneaks up on you. Plus, it’s a reminder that sometimes the best desserts come from a tiny bit of patience and a hint of adventure in the kitchen.
So here’s the thing—if you’ve ever been intimidated by homemade ice cream or honeycomb candy, this recipe’s for you. It’s straightforward, fun, and honestly, ridiculously satisfying. I promise you’ll be making it again and again, just like I did. And hey, if you enjoy creamy indulgences, you might appreciate the creamy homemade strawberry cheesecake gelato I shared recently—another favorite that’s just as simple but packed with flavor.
Why You’ll Love This Recipe
Over the years of experimenting with ice creams and sweets, I’ve learned what makes a recipe truly stand out, and this creamy homemade honeycomb ice cream checks all the right boxes:
- Quick & Easy: You can have this done in about 45 minutes of active prep, then just let your ice cream churn and freeze. Perfect for those summer evenings when you want something cool and rewarding without fuss.
- Simple Ingredients: No need for exotic or hard-to-find items. Most of the ingredients are pantry staples, like sugar, cream, and honey, with just a touch of baking soda for that perfect honeycomb crunch.
- Perfect for Summer: Nothing beats homemade ice cream when the temperatures rise. It’s refreshing, luscious, and makes any day feel like a little celebration.
- Crowd-Pleaser: Whether you’re serving family, friends, or unexpected guests, this ice cream gets rave reviews every time. Kids love the crunchy bits, and adults appreciate the balanced sweetness.
- Unbelievably Delicious: The combo of creamy, smooth ice cream with the airy, caramelized honeycomb bites is pure magic. It’s a texture and flavor combo that’s hard to forget.
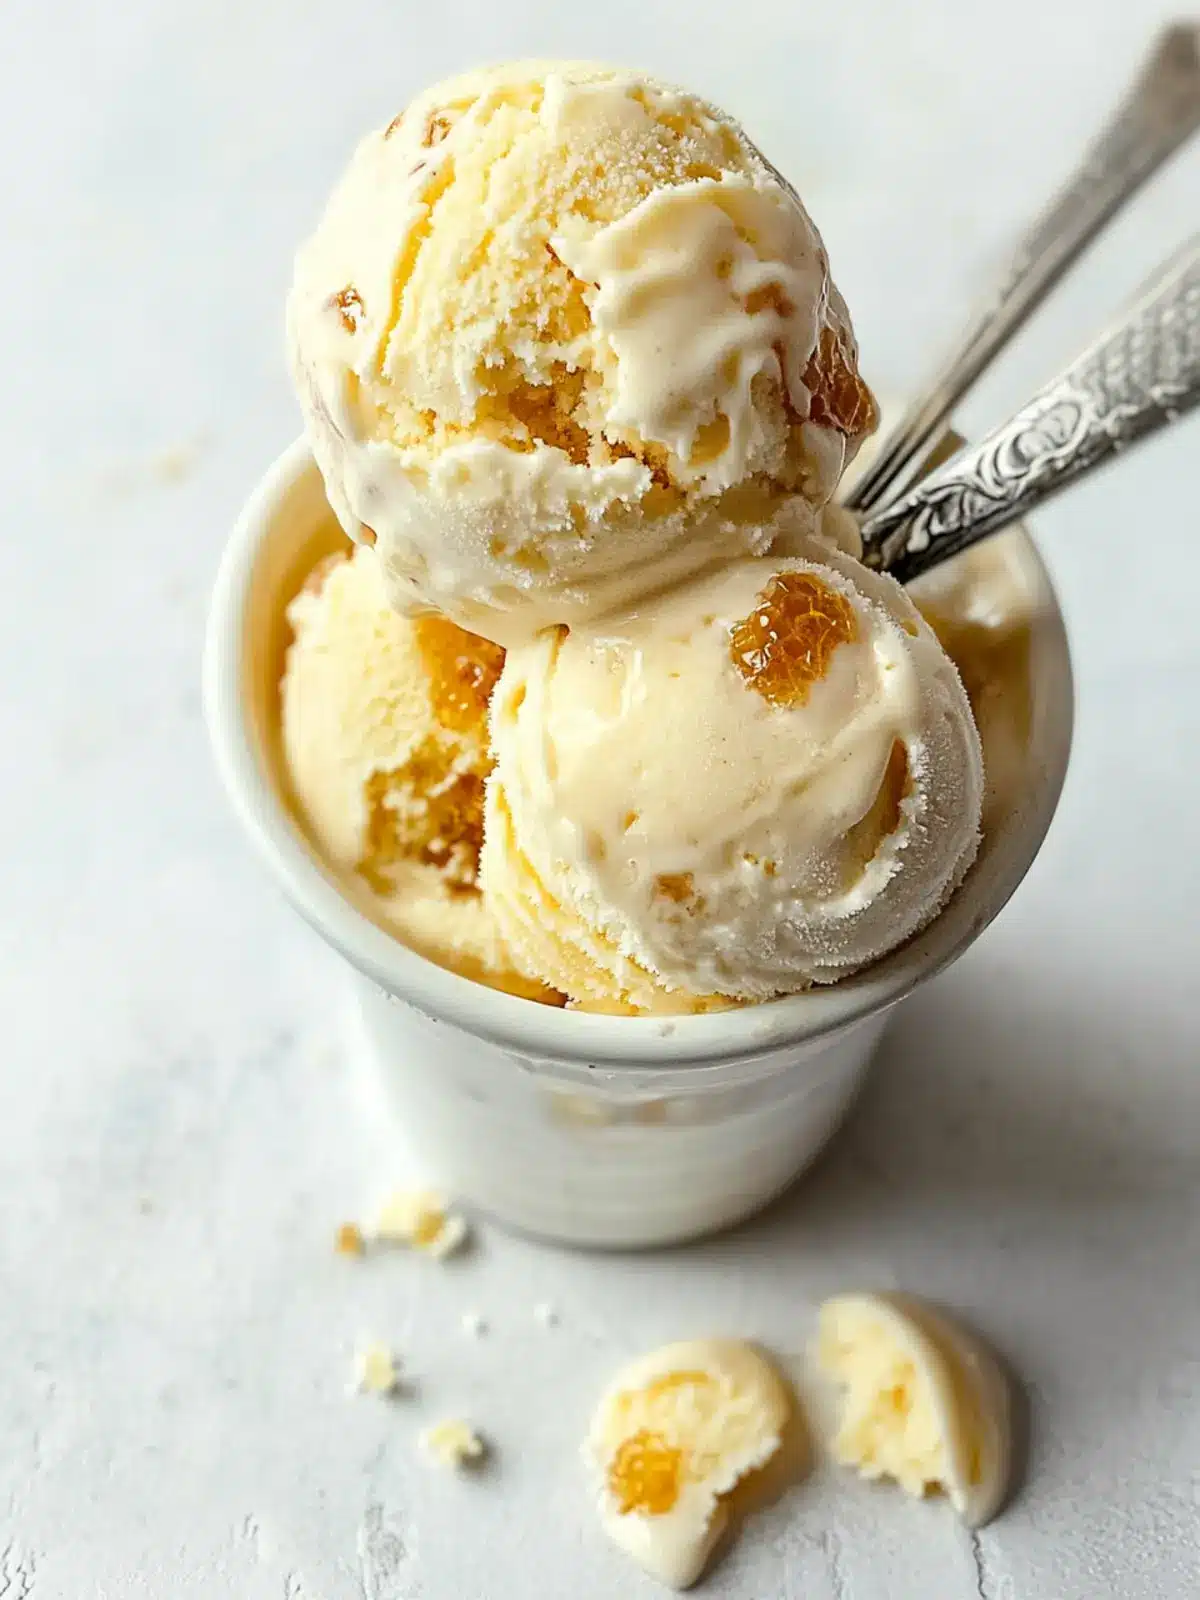
What really makes this honeycomb ice cream different is the way the honeycomb is made fresh and folded gently into the ice cream base. This way, the honeycomb stays crisp and doesn’t get soggy, unlike store-bought versions. Plus, folding it in at the right moment locks in that crunch and honeyed caramel flavor perfectly. It’s the kind of homemade treat that makes you close your eyes after the first bite and smile.
Honestly, this recipe feels like a little secret weapon for impressing guests or spoiling yourself without breaking a sweat. And if you’re into creamy, dreamy desserts, you might also enjoy the rich texture and bold flavors of the creamy Korean cream cheese garlic bread—a savory treat that’s just as satisfying in a totally different way.
What Ingredients You Will Need
This recipe uses simple, wholesome ingredients to deliver bold flavor and satisfying texture without the fuss. Most are pantry staples, so you can whip this up with what you have on hand—and the honeycomb candy adds that special something that turns homemade ice cream into a true indulgence.
- For the Ice Cream Base:
- Heavy cream – 2 cups (480 ml), the foundation for creamy texture
- Whole milk – 1 cup (240 ml), balances richness
- Granulated sugar – 3/4 cup (150 g), for sweetness
- Egg yolks – 4 large, room temperature (adds velvety smoothness)
- Vanilla extract – 1 tablespoon (pure vanilla for best flavor)
- Salt – a pinch (just enough to enhance flavors)
- For the Honeycomb Candy:
- Granulated sugar – 1 cup (200 g), the main caramelizing agent
- Honey – 2 tablespoons (choose a mild-flavored honey to avoid overpowering)
- Baking soda – 1 1/2 teaspoons (creates the bubbly honeycomb texture)
- Light corn syrup – 1 tablespoon (optional, helps prevent crystallization)
Ingredient Tips: Look for fresh, good-quality heavy cream and eggs for the richest results. For the honey, I like using a local wildflower honey because it adds a subtle floral note without being too strong. If you prefer a dairy-free version, swap the cream and milk with full-fat coconut milk, but note the flavor will shift slightly.
Equipment Needed
- Ice cream maker – essential for the smooth, creamy texture (If you don’t have one, you can use a no-churn method, but the texture won’t be quite the same.)
- Medium saucepan – for heating the ice cream base and making the honeycomb candy
- Whisk – for tempering eggs and mixing the base
- Heatproof spatula – handy for folding in ingredients gently without breaking the honeycomb too much
- Candy thermometer – very helpful when making honeycomb to hit the right temperature precisely (around 300°F / 150°C)
- Baking sheet lined with parchment paper – for cooling the honeycomb candy
If you don’t have a candy thermometer, you can test the honeycomb by dropping a small amount into cold water—it should harden immediately and crack when bent. I’ve also used silicone mats instead of parchment with great results, and they’re super easy to clean.
Preparation Method
- Make the Ice Cream Base: In a medium saucepan, combine 2 cups (480 ml) heavy cream, 1 cup (240 ml) whole milk, and 3/4 cup (150 g) sugar. Warm over medium heat, stirring occasionally until the sugar dissolves and the mixture is hot but not boiling (around 170°F or 77°C). This should take about 5-7 minutes.
- Temper the Egg Yolks: In a separate bowl, whisk 4 large egg yolks until smooth. Slowly pour about 1 cup (240 ml) of the hot cream mixture into the yolks while whisking constantly. This prevents the yolks from scrambling. Then, pour the yolk mixture back into the saucepan with the remaining cream.
- Cook the Custard: Cook over low heat, stirring constantly with a heatproof spatula, until the mixture thickens enough to coat the back of a spoon (around 175°F or 80°C). This usually takes 5-8 minutes. Remove from heat, stir in 1 tablespoon vanilla extract and a pinch of salt. Strain through a fine sieve into a clean bowl to catch any cooked egg bits.
- Chill the Base: Let the custard cool at room temperature for 15 minutes, then cover and refrigerate for at least 4 hours or overnight. Cold base churns better and results in creamier ice cream.
- Make the Honeycomb Candy: Line a baking sheet with parchment paper. In a medium saucepan, combine 1 cup (200 g) sugar, 2 tablespoons honey, and 1 tablespoon light corn syrup (optional). Heat over medium heat, stirring until sugar dissolves. Bring mixture to a boil without stirring, and monitor temperature with a candy thermometer.
- When the mixture reaches 300°F (150°C) — the hard crack stage — immediately remove from heat. Quickly whisk in 1 1/2 teaspoons baking soda. The mixture will foam up dramatically; pour it swiftly onto the prepared baking sheet. Let cool completely (about 30 minutes), then break into bite-sized pieces.
- Churn the Ice Cream: Pour the chilled custard into your ice cream maker and churn according to manufacturer’s instructions—usually 20-25 minutes until it thickens.
- Fold in the Honeycomb: When the ice cream is nearly done churning, fold in most of the honeycomb pieces gently to keep their crunch. Reserve a few pieces for garnish.
- Freeze: Transfer the ice cream to an airtight container, sprinkle the remaining honeycomb on top, and freeze for at least 2 hours to firm up before serving.
Tip: If your honeycomb starts to soften before folding, break it into smaller pieces and fold in quickly to avoid sogginess.
Cooking Tips & Techniques
Making homemade ice cream and honeycomb candy sounds intimidating, but a few tricks make it much easier:
- Patience with Temperature: Don’t rush the custard cooking stage. Use a thermometer or watch for the right thickness by spoon test. Overheating scrambles the eggs; underheating leaves it runny.
- Chill Thoroughly: The ice cream base must be really cold before churning. I usually make it the day before to save time and get better texture.
- Honeycomb Magic: The secret to great honeycomb is adding baking soda at the perfect moment. It foams so fast you want to pour it immediately. Keep your baking sheet ready and don’t linger.
- Folding Gently: When adding honeycomb to ice cream, fold gently with a spatula to keep the candy crunchy and intact. Otherwise, it will melt and lose the signature texture.
- Storage Matters: Homemade ice cream can get icy if not stored properly. Use an airtight container and press a piece of parchment or plastic wrap directly on the surface before sealing.
I once learned the hard way that skipping the chilling step results in grainy ice cream, so trust me on this one! And if you like experimenting with textures, try mixing in bits of chocolate cherry popcorn crunch for an extra layer of fun.
Variations & Adaptations
This creamy homemade honeycomb ice cream is a fantastic base for tweaking according to your mood or dietary needs:
- Vegan Version: Use full-fat coconut milk and coconut cream instead of dairy. Swap egg yolks for a cornstarch thickener in the custard base. The honeycomb can be replaced with a vegan caramelized sugar candy.
- Flavor Twists: Add a pinch of sea salt to the honeycomb for salted honeycomb ice cream. Or swirl in some rich chocolate fudge during the last minutes of churning for a honeycomb-chocolate combo.
- Seasonal Adaptation: During berry season, fold in fresh crushed raspberries or strawberries just before freezing for a fruity contrast. This works beautifully with the creamy base.
- Nutty Upgrade: Sprinkle chopped toasted hazelnuts or almonds into the ice cream for added crunch and depth.
One time, I tried folding in tiny bits of creamy tiramisu overnight oats for a playful breakfast-inspired dessert. It was surprisingly good, balancing the honeycomb’s sweet crunch with coffee-soaked oats.
Serving & Storage Suggestions
Serve this honeycomb ice cream chilled but not rock-hard—let it sit at room temperature for 5 minutes before scooping for easier serving. Garnish with a few extra honeycomb shards on top for that wow factor.
This ice cream pairs wonderfully with a drizzle of warm caramel sauce or alongside a simple fruit tart. For a fun contrast, serve it with a hot espresso or a cold glass of sparkling soda for a refreshing combo.
Store leftovers in an airtight container in the freezer. Press a piece of parchment directly on the surface to prevent ice crystals. It keeps beautifully for up to two weeks, though I doubt it will last that long!
When reheating or softening, avoid microwaves which can melt unevenly. Instead, let it thaw gently in the fridge or at room temperature for a few minutes. The flavor actually deepens after a day or two as the honeycomb infuses a bit more into the creamy base.
Nutritional Information & Benefits
This homemade honeycomb ice cream is a treat, but using real ingredients means you know exactly what’s going in. Per serving (about 1/2 cup or 125 ml), it contains approximately:
| Calories | 280 |
|---|---|
| Fat | 20g (mostly from cream) |
| Sugar | 18g (including natural honey) |
| Protein | 4g (from eggs and dairy) |
The honey adds antioxidants, and the egg yolks provide vitamins A, D, and E. Using real vanilla extract adds depth without artificial flavorings. If you opt for coconut milk in the vegan version, you get healthy medium-chain triglycerides (MCTs). Just be mindful that it’s still a dessert, so enjoy in moderation!
Conclusion
Creamy homemade honeycomb ice cream bliss is one of those recipes that turns an ordinary day into a little celebration. It’s approachable, fun, and honestly, pretty addictive once you get the hang of the honeycomb candy. The balance of smooth custard and crispy, sweet honeycomb pieces makes it a memorable treat you’ll want to share—or maybe keep all to yourself.
Feel free to tweak it to your liking, whether that’s adding nuts, fruit, or a swirl of chocolate. This recipe has been a comforting favorite that I return to again and again, especially during warm months when nothing beats a cold, creamy scoop.
And if you’re curious about other creamy delights, you might also enjoy the creamy asparagus soup recipe—perfect for cozy evenings when you want something comforting but savory.
Give this honeycomb ice cream a try, and I’d love to hear how you made it your own. Drop a comment below with your favorite variations or tips—there’s nothing better than swapping ideas with fellow dessert lovers!
FAQs
Can I make the honeycomb candy ahead of time?
Yes! Honeycomb can be made several days in advance and stored in an airtight container at room temperature. Just fold it into the ice cream right before freezing to keep it crunchy.
What if I don’t have an ice cream maker?
You can use a no-churn method by whipping heavy cream and folding it into sweetened condensed milk plus honeycomb pieces. The texture will be less smooth but still delicious.
How do I prevent the honeycomb from getting soggy in the ice cream?
Fold the honeycomb in at the end of churning and freeze immediately. Avoid mixing it in too early or stirring excessively, which can cause it to dissolve.
Can I use other flavors instead of vanilla?
Absolutely! Try almond extract, maple syrup, or even a splash of bourbon for an adult twist. Just adjust quantities to taste.
How long should I let the ice cream soften before serving?
About 5-10 minutes at room temperature makes scooping easier and enhances the creamy texture without melting it too much.
Pin This Recipe!
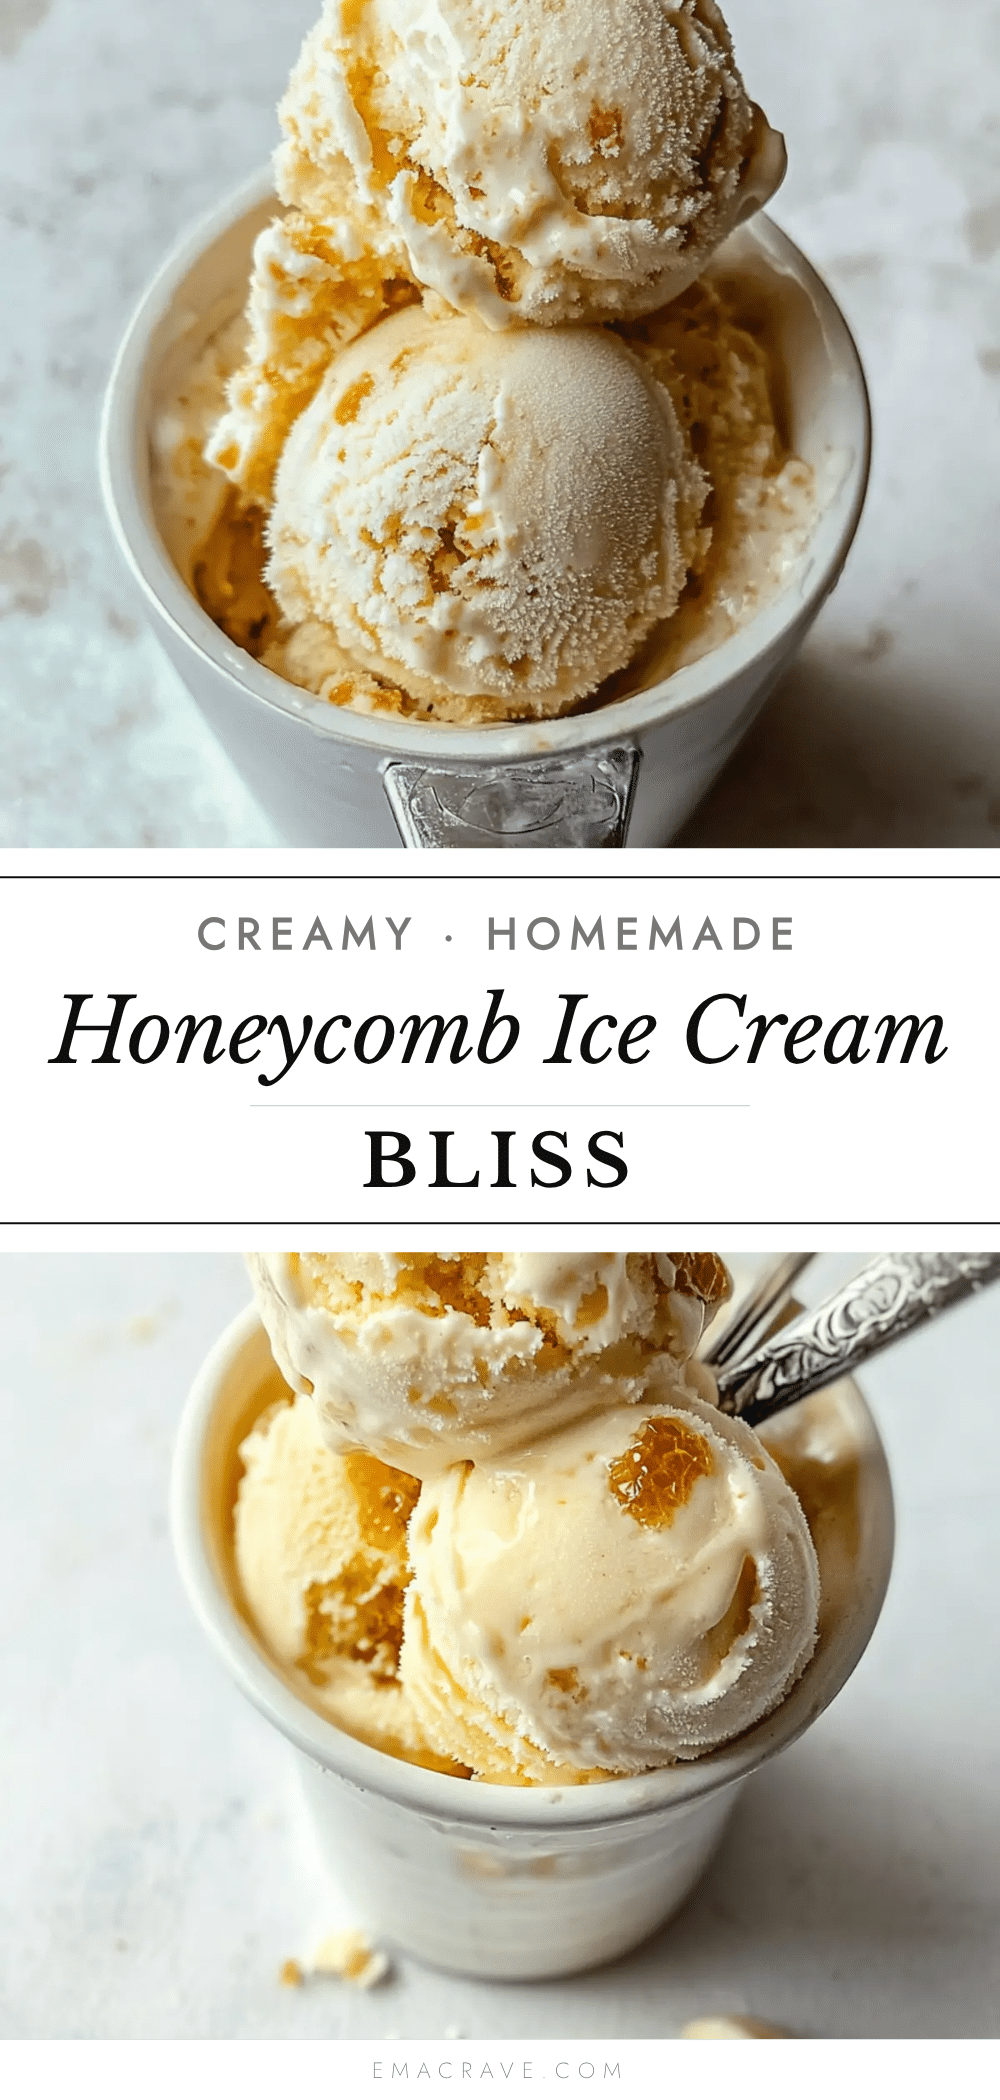
Creamy Homemade Honeycomb Ice Cream

A rich and creamy homemade honeycomb ice cream featuring a smooth custard base and crunchy, caramelized honeycomb pieces. Perfect for summer and easy to make with simple pantry ingredients.
- Prep Time: 45 minutes (active prep)
- Cook Time: 15 minutes
- Total Time: 5 hours 45 minutes (including chilling and freezing time)
- Yield: 6 servings 1x
- Category: Dessert
- Cuisine: American
Ingredients
- 2 cups heavy cream (480 ml)
- 1 cup whole milk (240 ml)
- 3/4 cup granulated sugar (150 g)
- 4 large egg yolks, room temperature
- 1 tablespoon vanilla extract
- Pinch of salt
- 1 cup granulated sugar (200 g) for honeycomb candy
- 2 tablespoons honey (mild-flavored)
- 1 1/2 teaspoons baking soda
- 1 tablespoon light corn syrup (optional)
Instructions
- In a medium saucepan, combine heavy cream, whole milk, and sugar. Warm over medium heat, stirring occasionally until sugar dissolves and mixture is hot but not boiling (about 5-7 minutes, around 170°F/77°C).
- Whisk egg yolks in a separate bowl until smooth. Slowly pour about 1 cup of the hot cream mixture into the yolks while whisking constantly to temper them.
- Pour the yolk mixture back into the saucepan with the remaining cream. Cook over low heat, stirring constantly with a heatproof spatula until mixture thickens enough to coat the back of a spoon (about 5-8 minutes, around 175°F/80°C).
- Remove from heat, stir in vanilla extract and salt. Strain through a fine sieve into a clean bowl.
- Let custard cool at room temperature for 15 minutes, then cover and refrigerate for at least 4 hours or overnight.
- Line a baking sheet with parchment paper. In a medium saucepan, combine sugar, honey, and light corn syrup (if using). Heat over medium heat, stirring until sugar dissolves.
- Bring mixture to a boil without stirring and monitor temperature with a candy thermometer.
- When mixture reaches 300°F (150°C), remove from heat immediately. Quickly whisk in baking soda; mixture will foam up. Pour swiftly onto prepared baking sheet and let cool completely (about 30 minutes). Break into bite-sized pieces.
- Pour chilled custard into an ice cream maker and churn according to manufacturer’s instructions (usually 20-25 minutes).
- When ice cream is nearly done churning, fold in most of the honeycomb pieces gently to keep crunch. Reserve some pieces for garnish.
- Transfer ice cream to an airtight container, sprinkle remaining honeycomb on top, and freeze for at least 2 hours before serving.
Notes
If honeycomb softens before folding, break into smaller pieces and fold in quickly to avoid sogginess. Chill custard thoroughly before churning for best texture. Store ice cream in an airtight container with parchment on surface to prevent ice crystals.
Nutrition
- Serving Size: About 1/2 cup (125 m
- Calories: 280
- Sugar: 18
- Fat: 20
- Protein: 4
Keywords: honeycomb ice cream, homemade ice cream, summer dessert, creamy ice cream, honeycomb candy, easy ice cream recipe



