Love this? Save it for later!
Share the inspiration with your friends
“You really think you can turn crème brûlée into ice cream?” my friend challenged me one sweltering summer evening. Honestly, I was skeptical too at first. Crème brûlée is this elegant, delicate custard with that signature crisp caramelized sugar topping, not something you’d expect to find in a freezer. But the idea stuck in my head, especially as the heatwave rolled on and my freezer hummed in the background. I grabbed some heavy cream, vanilla beans, and eggs, figuring why not try an ice cream that’s rich and creamy like the classic but chill enough for the scorching days ahead.
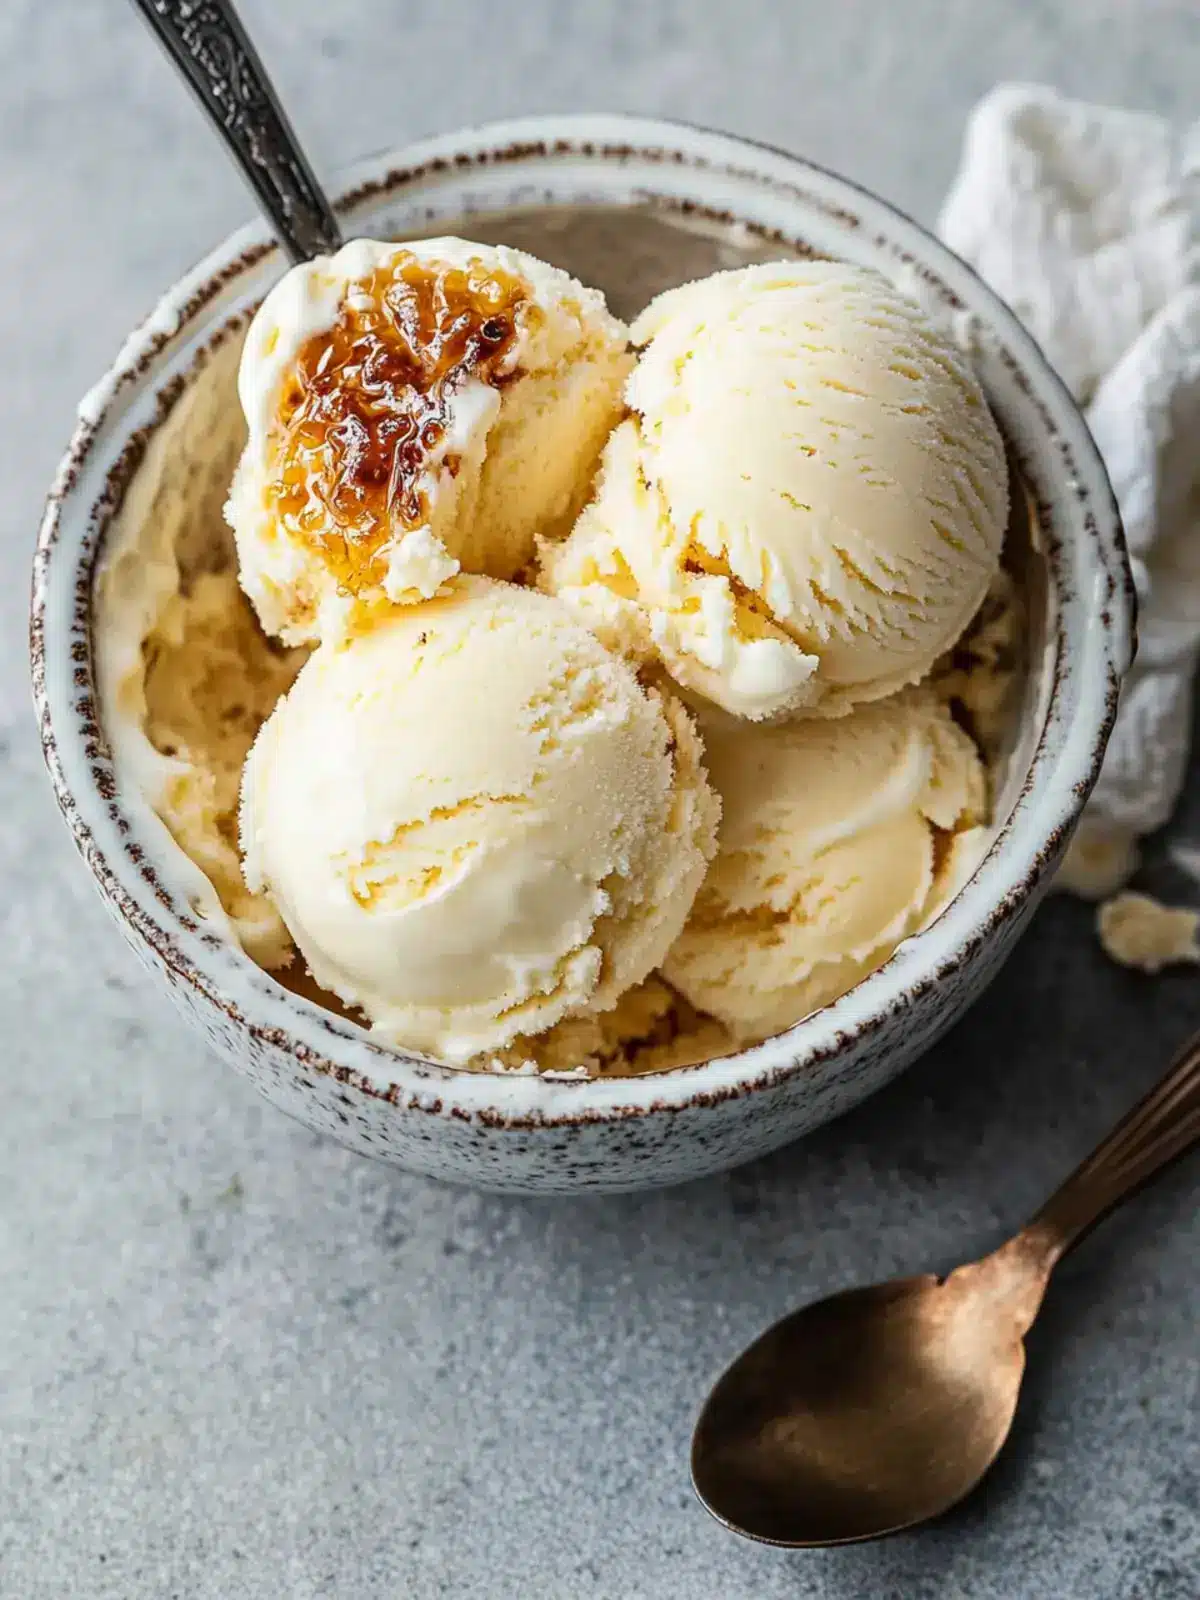
What happened next was a bit of a surprise: a luscious, silky, and indulgent ice cream that somehow kept the essence of crème brûlée’s custardy goodness. The caramelized sugar crunch? That came last, sprinkled on top just before serving, because, let’s be real, the crack of burnt sugar on cold ice cream is a tiny moment of magic. This recipe quickly became my go-to treat during summer nights when I wanted something comforting yet refreshing.
I’m not really a baker, so the fact that this recipe came together without fuss made it all the sweeter. Plus, it’s a little reminder that sometimes the best ideas come from casual dares and a bit of kitchen experimentation. If you’ve ever wondered how to get that creamy richness of crème brûlée in ice cream form, this one’s for you. It’s honestly the kind of dessert that makes you pause and savor, the perfect cool-down after a busy day or alongside a cozy homemade dinner like the savory sausage and peppers spaghetti squash casserole I often whip up for a balanced meal.
So, if you’re curious how to make this dreamy, creamy homemade crème brûlée ice cream recipe, stick around — it might just become your new summer obsession.
Why You’ll Love This Recipe
After testing this creamy homemade crème brûlée ice cream recipe dozens of times (yes, more than a few scoops were sacrificed for science), I can say it’s pretty special. Here’s why you might find yourself reaching for the ice cream scoop more than once this summer:
- Quick & Easy: The whole process takes about 40 minutes active prep, plus chilling time — perfect for when you want a homemade dessert without spending hours in the kitchen.
- Simple Ingredients: You don’t need anything exotic here — just pantry staples like cream, eggs, sugar, and vanilla beans. I prefer using Madagascar Bourbon vanilla for that classic warm aroma.
- Perfect for Summer: This is a cool, indulgent treat that’s great for hot evenings, backyard gatherings, or just a quiet night in with a book.
- Crowd-Pleaser: I’ve served this at casual get-togethers, and it always gets nods of approval — especially when paired with a caramel drizzle or alongside something savory like the spaghetti squash casserole.
- Unbelievably Delicious: That custard base is so silky and rich, it melts in your mouth — the subtle vanilla and creamy texture make it feel luxurious without being heavy.
What sets this recipe apart is the step where you gently cook the custard base with eggs and cream, just like traditional crème brûlée, before cooling and churning. It’s not just vanilla ice cream with a fancy name — it’s the real deal in frozen form. Plus, the final touch of caramelized sugar sprinkled on top before serving is a game changer, giving you that signature crack and a hint of burnt caramel flavor that’s hard to resist.
If you want a dessert that feels both comforting and a little fancy, without the fuss of baking or torching sugar for hours, this homemade crème brûlée ice cream recipe really delivers. It’s the kind of treat that makes hot summer nights a little sweeter and more memorable.
What Ingredients You Will Need
This recipe uses simple, wholesome ingredients to deliver that bold, creamy flavor and silky texture you expect from crème brûlée — without the need for complicated or hard-to-find items. Most are pantry staples, and you can swap a few depending on your preferences or dietary needs.
- Heavy cream (2 cups / 480 ml) – The backbone of the ice cream’s rich texture. Look for full-fat cream for best results.
- Whole milk (1 cup / 240 ml) – Adds creaminess while balancing richness.
- Granulated sugar (3/4 cup / 150 g) – Divided: some for the custard, some for the brûlée topping.
- Egg yolks (5 large) – The magic ingredient for that custardy base. Fresh, large eggs work best.
- Vanilla bean (1 whole) or 2 tsp vanilla extract – I always prefer scraping a fresh vanilla bean for that intense, aromatic flavor, but extract works fine too.
- Salt (a pinch) – Just enough to bring out flavors.
- Optional caramel sauce or sea salt flakes – For drizzling or sprinkling on top to balance sweetness if you like a salty-sweet combo.
If you want to make this recipe gluten-free or dairy-free, you can substitute the milk and cream with coconut milk or almond milk, though the texture will be a bit different. For a lower-fat option, swap half the cream with evaporated milk, but remember it won’t be quite as rich.
For the brûlée topping, I recommend using a fine granulated sugar like cane sugar to get that crisp crack when you torch or broil it quickly before serving.
Equipment Needed
- Medium saucepan – For gently heating your custard base. A heavy-bottomed pan helps avoid scorching.
- Mixing bowls – For whisking egg yolks and combining ingredients.
- Whisk – Essential for smooth custard without lumps.
- Fine mesh sieve – To strain the custard for silky texture, removing any cooked egg bits.
- Ice cream maker – Highly recommended for churning. I’ve tried the recipe with a Cuisinart ICE-30BC, which works well for home use. No ice cream maker? No worries — you can use the freeze-and-stir method described below.
- Kitchen torch – For caramelizing sugar topping. If you don’t have one, the broiler in your oven works too, but watch closely to avoid burning.
- Freezer-safe container – To store the ice cream until ready to serve.
Pro tip: Keep your ice cream maker bowl in the freezer at least 24 hours before making this recipe — it really helps with a smooth, creamy churn. Also, clean your torch regularly to prevent clogging and uneven flame.
Preparation Method
- Prepare the vanilla custard base: Split the vanilla bean lengthwise and scrape out the seeds. In a medium saucepan, combine heavy cream, milk, half the sugar (about 3/8 cup or 75 g), vanilla seeds, and the bean pod. Heat over medium, stirring occasionally, until the mixture is just about to simmer — bubbles forming around edges but not boiling (about 5-7 minutes). Remove from heat and let it infuse for 10 minutes.
- Whisk egg yolks and sugar: In a separate bowl, whisk together the egg yolks and remaining sugar (3/8 cup or 75 g) until pale and slightly thickened, about 2 minutes. This is crucial for a smooth custard texture.
- Temper the eggs: Slowly pour about 1/3 of the hot cream mixture into the yolks while whisking constantly to raise the temperature without scrambling the eggs. Then, gradually whisk the yolk mixture back into the saucepan with the rest of the cream.
- Cook the custard: Return the saucepan to medium-low heat. Stir constantly with a wooden spoon or heatproof spatula, scraping the bottom, until the custard thickens enough to coat the back of the spoon (about 170°F / 77°C). This can take 5-8 minutes. Be patient — overheating will cause curdling.
- Strain and chill: Remove the vanilla pod and pour the custard through a fine mesh sieve into a clean bowl. Let it cool at room temperature for 20 minutes, then cover and refrigerate for at least 4 hours or overnight. Chilling is key for rich flavor and smooth texture.
- Churn the ice cream: Pour the chilled custard into your ice cream maker and churn according to manufacturer’s instructions until it reaches a soft-serve consistency (usually 20-25 minutes).
- Freeze to firm up: Transfer the churned ice cream to a freezer-safe container, smoothing the top with a spatula. Press a piece of parchment paper directly on the surface to prevent ice crystals. Freeze for at least 4 hours or until firm.
- Caramelize the topping: Just before serving, sprinkle a thin layer of granulated sugar evenly over the ice cream surface. Use a kitchen torch to melt and caramelize the sugar until it’s golden and crisp. If you don’t have a torch, set your oven broiler on high and place the ice cream container under it for 1-2 minutes, watching carefully.
Tip: If you don’t have an ice cream maker, freeze the custard in a shallow dish and stir vigorously every 30 minutes for 3-4 hours to break up ice crystals and mimic churning.
Cooking Tips & Techniques
Making this creamy homemade crème brûlée ice cream recipe is all about patience and gentle handling. Here are some things I’ve learned along the way:
- Slow and steady wins: When cooking the custard, keep the heat low and stir constantly. Rushing this step can scramble your eggs, leaving you with a grainy texture instead of silky smoothness.
- Don’t skip the chilling: Cooling the custard fully before churning is crucial. Warm custard will churn poorly and cause ice crystals. I usually refrigerate mine overnight if I can.
- Vanilla bean vs. extract: Real vanilla bean seeds make a huge difference in flavor and visual appeal — those little black specks add authenticity. But vanilla extract works fine if you’re in a pinch.
- Torching sugar tips: Move the flame in circular motions and keep it about 2 inches away from the sugar to prevent burning. If you’re using the broiler method, don’t walk away — sugar can burn in seconds!
- Multitasking: While the custard chills, it’s a good time to prep other parts of your meal, maybe a fresh batch of crispy Italian zucchini scarpaccia or a light salad to balance the richness.
- Storage matters: Keep your ice cream airtight in the freezer to avoid freezer burn and icy texture.
Variations & Adaptations
This creamy homemade crème brûlée ice cream recipe is a wonderful base that’s easy to tweak depending on your mood or dietary needs. Here are some ideas I’ve tried or thought about:
- Chocolate Crème Brûlée Ice Cream: Add 1/4 cup (25 g) unsweetened cocoa powder to the cream mixture for a chocolate twist. It pairs surprisingly well with a sprinkle of flaky sea salt on top.
- Lavender Infused: Add 1 tablespoon dried culinary lavender buds to the cream while heating, then strain out before combining with eggs. It adds a subtle floral note that’s perfect for summer evenings.
- Dairy-Free Version: Use full-fat coconut milk instead of cream and milk. The texture will be slightly less creamy but still rich and indulgent, and the coconut flavor works nicely with the vanilla.
- Spiced Twist: Add a pinch of cinnamon or cardamom to the custard base for a warm, aromatic touch. Great for late summer or early fall vibes.
- Fruit-Infused: Swirl in a homemade berry compote or mango puree just before freezing for a refreshing contrast. For a tropical spin, try pairing it with creamy cantaloupe ice cream.
Personally, I once layered this ice cream in a summer trifle with fresh berries and crushed cookies — it was a hit at a potluck!
Serving & Storage Suggestions
This ice cream is best served slightly softened — take it out of the freezer 5-10 minutes before scooping. The caramelized sugar topping is a must; it adds crunch and that signature brûlée experience. For a simple presentation, serve in small bowls or elegant dessert glasses with an extra drizzle of caramel sauce or a sprinkle of flaky sea salt.
It pairs beautifully with light desserts or fresh fruit, but if you want a more substantial meal to follow, something like the easy crispy baked salmon with creamy avocado mash balances the richness wonderfully.
Store leftovers in an airtight container in the freezer. The ice cream keeps well for up to 2 weeks. If you want to refresh the brûlée topping after storage, just sprinkle sugar on the surface and torch or broil again before serving.
Flavors deepen and mellow after a day or two, so if you can wait, the ice cream tastes even better the next day.
Nutritional Information & Benefits
One half-cup (125 ml) serving of this creamy homemade crème brûlée ice cream contains approximately:
| Nutrient | Amount |
|---|---|
| Calories | 280 kcal |
| Fat | 22 g |
| Carbohydrates | 18 g |
| Sugars | 16 g |
| Protein | 4 g |
This recipe is rich in calcium and vitamin A thanks to the dairy and eggs, which support bone health and immune function. The vanilla bean adds antioxidants, and using real ingredients without artificial additives makes it a wholesome treat compared to many store-bought options.
For those watching sugar intake, you can reduce the sugar slightly or experiment with natural sweeteners, but keep in mind it will affect the texture and caramelization.
Conclusion
This creamy homemade crème brûlée ice cream recipe is proof that simple ingredients and a bit of patience can create something truly memorable. It’s rich, smooth, and just fancy enough to feel special — yet easy enough to make any time you crave a sweet, cool treat. Whether you stick to the classic or try one of the fun variations, it’s a dessert that invites you to savor each bite.
I love this recipe because it brings together the best of two worlds: the cozy comfort of crème brûlée with the refreshing chill of ice cream. It’s been a quiet star in my summer dessert lineup, alongside other favorites like the fluffy orange pancakes with creamy syrup, perfect for a weekend brunch or late-night treat.
Give it a try, and if you tweak it or put your spin on it, I’d love to hear how it turns out. Happy scooping!
Frequently Asked Questions (FAQs)
Can I make this ice cream without an ice cream maker?
Yes! You can use the freeze-and-stir method by freezing the custard in a shallow container and stirring every 30 minutes for a few hours to break up ice crystals.
What if I don’t have a kitchen torch for the brûlée topping?
No problem! Use your oven’s broiler on high and watch closely while caramelizing the sugar on top. It only takes 1-2 minutes, so stay nearby to avoid burning.
How long does the ice cream keep in the freezer?
Stored in an airtight container, it stays good for up to two weeks. The flavor actually improves a bit after a day or two.
Can I prepare the custard base ahead of time?
Absolutely. In fact, chilling the custard overnight makes the ice cream smoother and enhances the flavors.
Is there a way to make this recipe vegan?
For a vegan version, substitute dairy with coconut or almond milk, and replace egg yolks with a thickener like cornstarch or agar-agar, but the texture will differ from traditional crème brûlée ice cream.
Pin This Recipe!
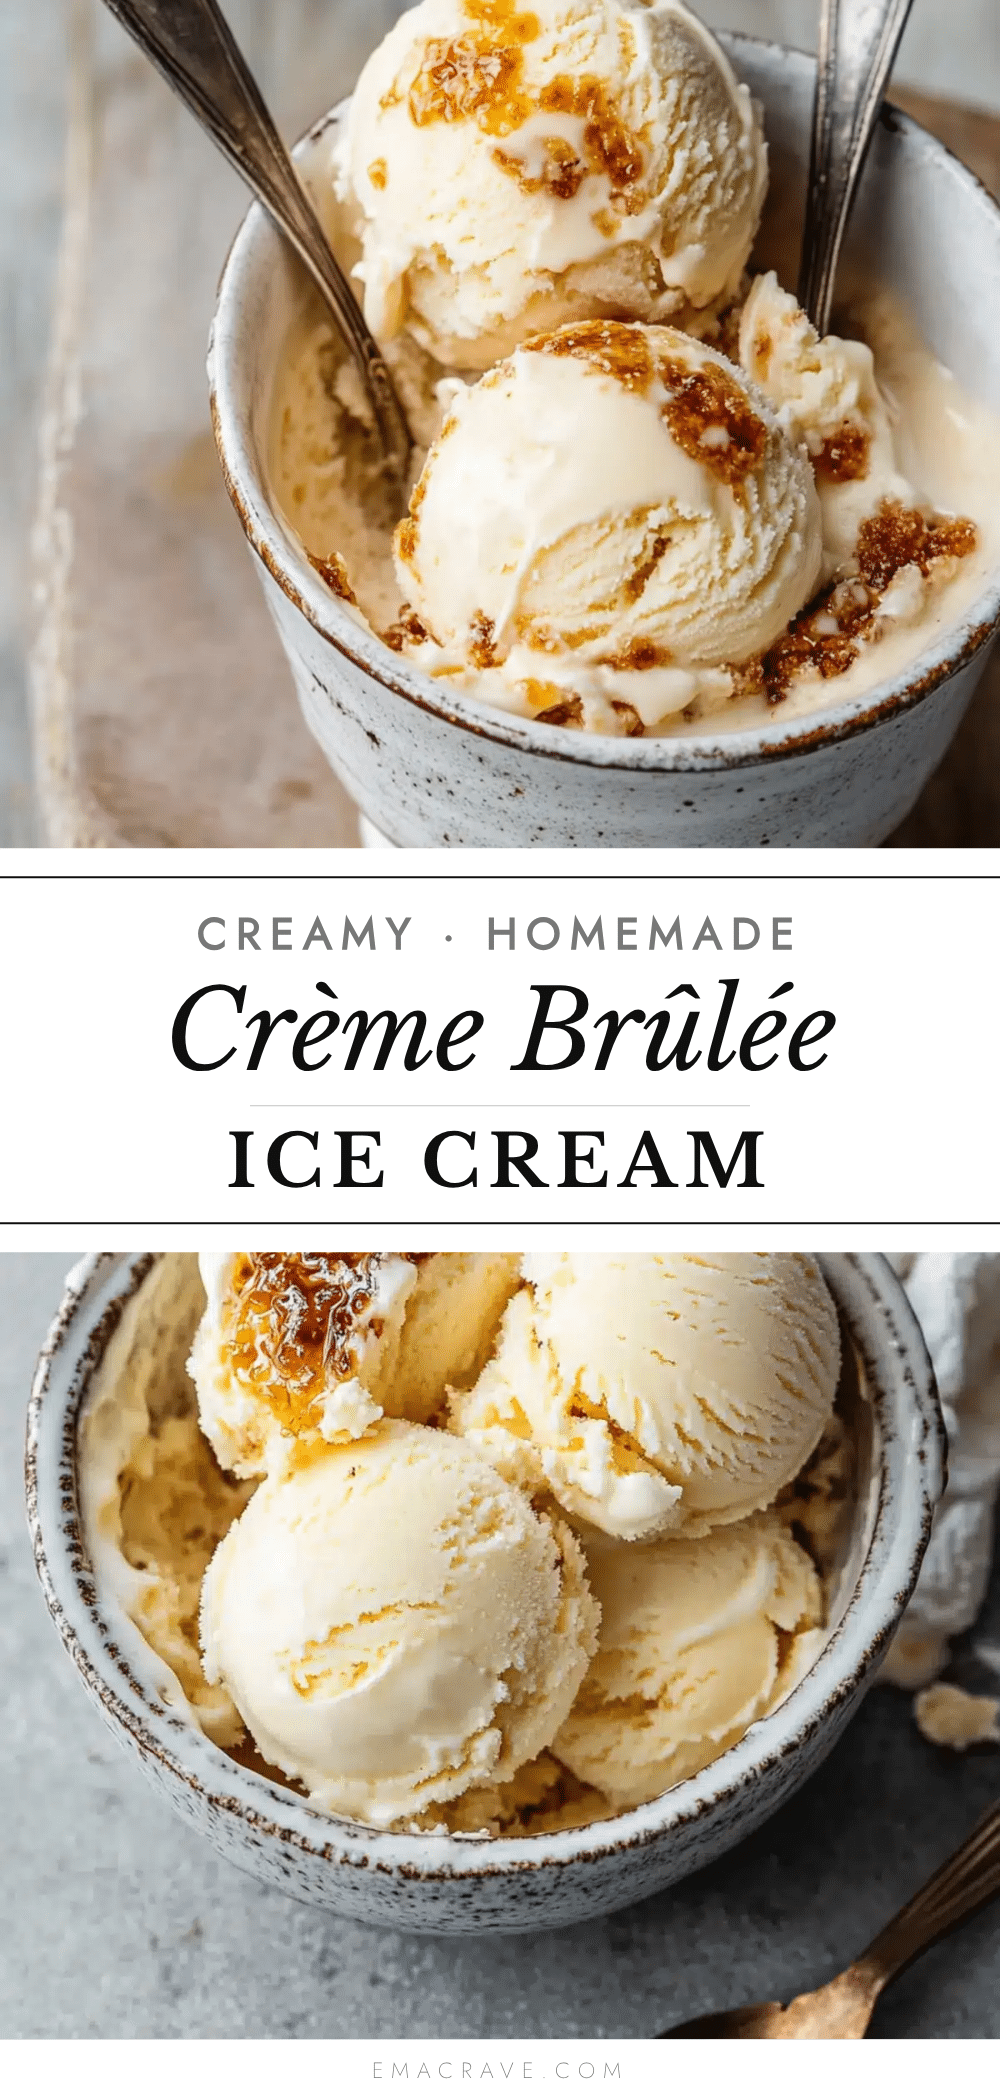
Creamy Homemade Crème Brûlée Ice Cream Recipe Easy and Perfect for Summer

A luscious, silky, and indulgent ice cream that captures the essence of classic crème brûlée custard with a caramelized sugar crunch topping, perfect for hot summer days.
- Prep Time: 40 minutes active prep
- Cook Time: 15 minutes
- Total Time: 5 hours 55 minutes (including chilling and freezing time)
- Yield: 6 servings 1x
- Category: Dessert
- Cuisine: French-inspired
Ingredients
- 2 cups (480 ml) heavy cream
- 1 cup (240 ml) whole milk
- 3/4 cup (150 g) granulated sugar, divided
- 5 large egg yolks
- 1 whole vanilla bean or 2 tsp vanilla extract
- Pinch of salt
- Optional: caramel sauce or sea salt flakes for drizzling or sprinkling
Instructions
- Split the vanilla bean lengthwise and scrape out the seeds. In a medium saucepan, combine heavy cream, milk, half the sugar (about 3/8 cup or 75 g), vanilla seeds, and the bean pod. Heat over medium, stirring occasionally, until the mixture is just about to simmer (about 5-7 minutes). Remove from heat and let it infuse for 10 minutes.
- In a separate bowl, whisk together the egg yolks and remaining sugar (3/8 cup or 75 g) until pale and slightly thickened, about 2 minutes.
- Slowly pour about 1/3 of the hot cream mixture into the yolks while whisking constantly to temper the eggs. Then gradually whisk the yolk mixture back into the saucepan with the rest of the cream.
- Return the saucepan to medium-low heat. Stir constantly with a wooden spoon or heatproof spatula until the custard thickens enough to coat the back of the spoon (about 170°F / 77°C), about 5-8 minutes. Avoid overheating to prevent curdling.
- Remove the vanilla pod and strain the custard through a fine mesh sieve into a clean bowl. Let cool at room temperature for 20 minutes, then cover and refrigerate for at least 4 hours or overnight.
- Pour the chilled custard into an ice cream maker and churn according to manufacturer’s instructions until it reaches a soft-serve consistency (usually 20-25 minutes).
- Transfer the churned ice cream to a freezer-safe container, smooth the top with a spatula, press parchment paper on the surface to prevent ice crystals, and freeze for at least 4 hours or until firm.
- Just before serving, sprinkle a thin layer of granulated sugar evenly over the ice cream surface. Use a kitchen torch to caramelize the sugar until golden and crisp. Alternatively, use the oven broiler on high for 1-2 minutes, watching carefully to avoid burning.
Notes
Keep the ice cream maker bowl frozen at least 24 hours before use for best results. Stir constantly when cooking custard to avoid curdling. Chill custard overnight for smoother texture. If no ice cream maker, use freeze-and-stir method every 30 minutes for 3-4 hours. Caramelize sugar topping just before serving for signature crack.
Nutrition
- Serving Size: 1/2 cup (125 ml)
- Calories: 280
- Sugar: 16
- Fat: 22
- Carbohydrates: 18
- Protein: 4
Keywords: crème brûlée ice cream, homemade ice cream, summer dessert, creamy ice cream, vanilla custard ice cream, caramelized sugar topping



