Love this? Save it for later!
Share the inspiration with your friends
I was staring into my fridge at a block of cream cheese that was about to hit its expiration date, and honestly, I was a little annoyed. I had bought it for a batch of my creamy blueberry swirl cheesecake bars but that plan fell through when I realized I had no blueberries. So there I was, coffee in hand, trying to figure out what to do. Then it hit me—why not just combine the two things I was already holding? The coffee and the cream cheese.
I figured it would either be a genius move or a complete disaster. Spoiler alert: it was the former. I creamed the cheese, added a shot of strong espresso, and the smell alone told me I was onto something. After a few tweaks (and a very generous pour of chocolate glaze), I had a dessert that felt fancy but was secretly easy. My roommate walked in, took one bite, and just said, “Okay, you have to make this again.”
That first bite was a quiet moment of victory. The coffee flavor wasn’t overpowering—it was smooth, subtle, and perfectly balanced by the rich chocolate on top. It didn’t need a special occasion. It just needed to exist. And now, I’m sharing it with you because honestly, this creamy coffee cheesecake with rich chocolate glaze deserves a permanent spot in your dessert rotation.
Why You’ll Love This Recipe
This isn’t just another cheesecake recipe. After testing this at least four times (yes, four—my coworkers were happy participants), I can confidently say this version hits differently. Here is why this creamy coffee cheesecake with rich chocolate glaze will become your new go-to:
- No Water Bath Needed: I hate fussing with water baths. This recipe bakes low and slow, so you get that silky, crack-free top without the hassle.
- Simple Pantry Ingredients: You probably have most of this already. No weird extracts or hard-to-find items.
- Perfect for Entertaining: Make it the night before, and you’re stress-free for dinner parties or holiday gatherings.
- Balanced Flavor Profile: The coffee cuts through the richness of the cream cheese, so it never feels heavy. The chocolate glaze adds just the right amount of sweetness.
- Crowd-Pleaser: I’ve served this to coffee lovers and non-coffee drinkers alike. Everyone goes back for seconds.
What makes this recipe different? It’s the texture. The cream cheese and sour cream create a velvety, almost mousse-like filling that melts in your mouth. And the glaze? It sets with a beautiful shine that looks professional but takes five minutes to make. This isn’t just good—it’s the kind of dessert that makes you close your eyes after the first bite.
What Ingredients You Will Need
This creamy coffee cheesecake with rich chocolate glaze uses simple, wholesome ingredients that come together to create something truly special. Most of these are pantry staples, which makes this recipe incredibly approachable.
For the Crust
- 1 ½ cups graham cracker crumbs (about 12 full sheets) — You can also use chocolate wafer cookies for a deeper flavor.
- ¼ cup granulated sugar — Just enough to sweeten the crust without overpowering it.
- 6 tablespoons unsalted butter, melted — I use salted butter in a pinch and just skip the added salt.
- Pinch of salt — Balances the sweetness.
For the Cheesecake Filling
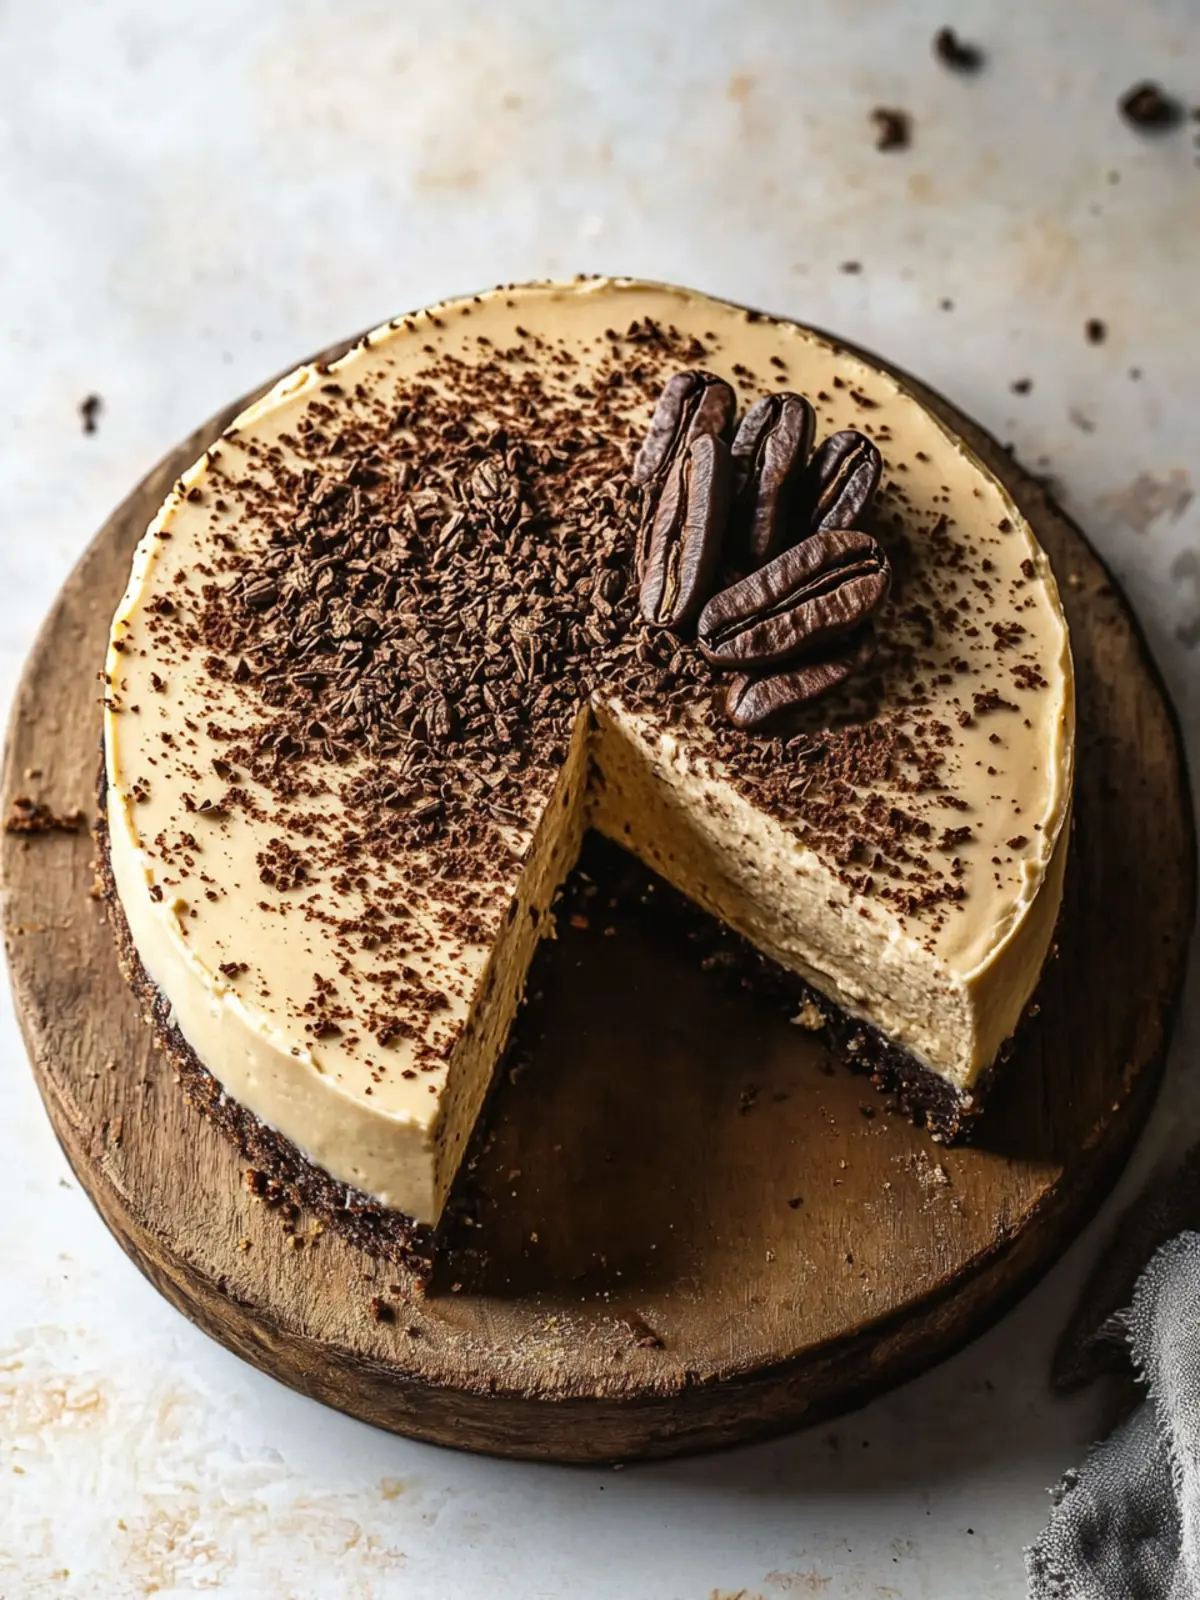
- 24 oz (680g) cream cheese, softened — Full-fat is key here. Low-fat versions won’t give you that luscious texture. I recommend Philadelphia brand for consistency.
- 1 cup (200g) granulated sugar — Standard white sugar works perfectly.
- 3 large eggs, room temperature — Cold eggs can cause the batter to curdle. Leave them out for 30 minutes before starting.
- ½ cup (120ml) sour cream, room temperature — Adds tanginess and extra creaminess. Greek yogurt works as a substitute.
- 2 tablespoons instant espresso powder — Dissolved in 2 tablespoons hot water. This gives a deep, rich coffee flavor without adding extra liquid.
- 1 teaspoon vanilla extract — Pure vanilla makes a difference here.
For the Chocolate Glaze
- ½ cup (120ml) heavy cream — Do not use half-and-half; it won’t set properly.
- 4 oz (115g) semi-sweet chocolate, finely chopped — I prefer Ghirardelli or Lindt bars. Chocolate chips work but may not be as smooth.
- 2 tablespoons unsalted butter — Adds shine and a silky mouthfeel.
- 1 tablespoon light corn syrup — Optional but helps the glaze stay glossy (substitute honey if needed).
Equipment Needed
You don’t need a fancy bakery setup for this creamy coffee cheesecake with rich chocolate glaze, but a few key tools make the process much smoother.
- 9-inch springform pan — Essential for easy removal. I’ve had good luck with the OXO brand; the seal is reliable and doesn’t leak.
- Electric hand mixer or stand mixer — A hand mixer works perfectly. Just don’t overmix once you add the eggs.
- Large mixing bowls — At least two for separating wet and dry ingredients.
- Rubber spatula — For scraping down the bowl and folding in ingredients gently.
- Measuring cups and spoons — Precision matters in baking.
- Small saucepan — For making the chocolate glaze.
- Parchment paper — Line the bottom of the pan for easy release.
- Roasting pan or large baking dish — For the water bath (even though we’re not using a traditional one, this helps stabilize temperature).
If you don’t have a springform pan, you can use a deep 9-inch cake pan lined with parchment paper, but removal will be trickier. Budget tip: check thrift stores for springform pans—I found my favorite one for three dollars.
Preparation Method
Let’s walk through this step by step. I’ll share exactly what to look for at each stage so you feel confident the whole way through.
Step 1: Prepare the Crust
Preheat your oven to 325°F (160°C). In a medium bowl, combine the graham cracker crumbs, sugar, and salt. Pour in the melted butter and stir until the mixture looks like wet sand. Press this firmly into the bottom of your springform pan. Use the bottom of a measuring cup to really pack it down. Bake for 10 minutes, then set aside to cool. The crust should be lightly golden and smell toasty.
Step 2: Make the Filling
In a large bowl, beat the softened cream cheese with an electric mixer on medium speed until smooth—about 2 minutes. Scrape down the sides and bottom of the bowl. Add the sugar and beat for another 2 minutes until light and fluffy. Add the eggs one at a time, mixing on low after each addition just until combined. Overmixing at this stage incorporates too much air, which can cause cracks.
In a small bowl, dissolve the instant espresso powder in 2 tablespoons of hot water. Stir until completely dissolved. Add this espresso mixture, the sour cream, and the vanilla extract to the batter. Mix on low speed just until everything is uniform. The batter should be silky, smooth, and pale tan in color. Give it one final scrape with a rubber spatula to make sure nothing is hiding at the bottom.
Step 3: Assemble and Bake
Pour the filling over the cooled crust. Gently tap the pan on the counter a few times to release any air bubbles. Place the springform pan inside a larger roasting pan and carefully pour hot water into the roasting pan until it reaches about halfway up the sides of the springform pan. This gentle water bath creates steam that helps the cheesecake bake evenly without cracking.
Bake at 325°F (160°C) for 55-65 minutes. The edges should be set and slightly puffed, but the center should still jiggle slightly when you gently shake the pan. Turn off the oven, crack the door open, and let the cheesecake cool inside for 1 hour. This gradual cooling prevents that dreaded sinking center.
Step 4: Cool and Chill
Remove the cheesecake from the water bath and let it cool completely on a wire rack—about 2 hours. Then cover loosely with plastic wrap and refrigerate for at least 6 hours, but overnight is best. The texture improves dramatically as it chills and firms up.
Step 5: Make the Chocolate Glaze
Place the chopped chocolate in a heatproof bowl. In a small saucepan, heat the heavy cream over medium heat until it just begins to simmer—small bubbles around the edge, not a full boil. Pour the hot cream over the chocolate and let it sit for 2 minutes. Add the butter and corn syrup, then stir gently until completely smooth. Let the glaze cool for 10-15 minutes until it thickens slightly but is still pourable.
Step 6: Glaze and Serve
Remove the cheesecake from the springform pan and place it on a serving plate. Pour the glaze over the center and use a spatula to gently push it to the edges, letting it drip down the sides naturally. Refrigerate for 30 minutes to set the glaze before slicing. Use a sharp knife dipped in hot water and wiped dry for clean slices.
Cooking Tips & Techniques
After making this creamy coffee cheesecake with rich chocolate glaze more times than I care to admit, I’ve picked up a few tricks that make a real difference.
Room Temperature Ingredients Matter: I learned this the hard way. Cold cream cheese creates lumps that no amount of beating can fix. Leave everything out for at least 30 minutes before starting. If you’re in a rush, cut the cream cheese into cubes and microwave on low power for 10-second intervals.
Don’t Overmix the Batter: Once you add the eggs, mix on low speed and stop as soon as everything is combined. Overmixing incorporates too much air, which leads to cracks and a spongy texture. The perfect cheesecake should be dense and creamy, not airy.
The Jiggle Test: I used to stress about doneness until I learned this. A 2-3 inch area in the center should wobble when you shake the pan. It will continue to set as it cools. If the whole cheesecake is solid, it’s overbaked.
Patience with Chilling: I once cut into a cheesecake after only 4 hours, and it was a soupy mess. Trust the process—overnight chilling gives you that perfect sliceable texture. The flavors also meld and deepen overnight.
Glaze Temperature: If your glaze is too hot, it will run right off the cheesecake. Too cold, and it won’t spread smoothly. Aim for a consistency like thick maple syrup. Test it on a spoon first—it should coat the back without dripping too quickly.
Variations & Adaptations
One of the best things about this creamy coffee cheesecake with rich chocolate glaze is how customizable it is. Here are some variations I’ve tried and loved:
- Mocha Swirl Version: Reserve about ½ cup of the plain cheesecake batter and mix it with 2 tablespoons of melted dark chocolate. Drop spoonfuls of this chocolate batter over the coffee batter and swirl with a knife for a beautiful marbled effect.
- Dairy-Free Adaptation: Use vegan cream cheese (Kite Hill works well), full-fat coconut cream instead of sour cream, and a dairy-free butter substitute. The texture will be slightly softer but still delicious. Pair it with a dark chocolate glaze made with coconut cream.
- Keto-Friendly Option: Substitute the sugar with a 1:1 monk fruit sweetener, use almond flour for the crust (mix with butter and a pinch of salt), and choose a sugar-free chocolate for the glaze. The coffee flavor actually pairs beautifully with the nuttiness of almond flour.
- Caramel Coffee Twist: Drizzle salted caramel sauce over the top before adding the chocolate glaze. The combination of coffee, chocolate, and caramel is absolutely decadent.
- Spiced Version: Add ½ teaspoon of cinnamon and a pinch of nutmeg to the filling. It gives the cheesecake a cozy, almost holiday-like warmth that’s perfect for fall.
Serving & Storage Suggestions
This creamy coffee cheesecake with rich chocolate glaze is incredibly versatile when it comes to serving. For the best experience, let it sit at room temperature for about 15 minutes before slicing—this softens the texture just enough to make it perfectly creamy.
I love serving it with a dollop of lightly sweetened whipped cream and a few chocolate shavings on top. A side of fresh berries—raspberries or sliced strawberries—adds a bright, tart contrast that cuts through the richness. For a truly indulgent pairing, try it alongside a warm cup of creamy double chocolate protein shake for a dessert-and-drink combo that feels luxurious.
For storage, keep the cheesecake covered in the refrigerator for up to 5 days. The flavor actually improves after the first day as the coffee and chocolate meld together. To freeze, wrap the unglazed cheesecake tightly in plastic wrap, then foil, and freeze for up to 3 months. Thaw overnight in the refrigerator, then add the glaze fresh before serving. Do not freeze the glazed cheesecake—the texture of the glaze will become grainy.
Leftover slices also work beautifully crumbled over vanilla ice cream or folded into yogurt for a quick breakfast treat. Trust me, I’ve done it.
Nutritional Information & Benefits
Here’s the approximate nutritional breakdown for one slice of this creamy coffee cheesecake with rich chocolate glaze (based on 12 servings):
- Calories: 420
- Fat: 32g
- Carbohydrates: 30g
- Protein: 8g
- Sugar: 22g
- Fiber: 1g
While this is definitely an indulgence, there are some surprising benefits. The coffee provides a natural energy boost and is rich in antioxidants. Cream cheese and sour cream offer calcium and protein, which help with bone health. Dark chocolate (if you use 70% or higher) contains flavonoids that support heart health. This dessert is also relatively low in carbs compared to many other cheesecake recipes, making it a better option for those watching their sugar intake. Of course, portion control is key—but honestly, one slice is usually enough to satisfy that craving.
If you’re looking for a lighter option, consider serving smaller slices alongside fresh fruit. The natural sweetness of the fruit can help you feel satisfied with less.
Conclusion
This creamy coffee cheesecake with rich chocolate glaze is more than just a dessert—it’s the kind of recipe that makes you feel like you’ve accomplished something special. The smooth, velvety filling, the subtle coffee warmth, and that glossy chocolate finish come together in a way that feels both elegant and approachable.
I love that this recipe works for so many occasions. It’s impressive enough for a dinner party but simple enough for a random Tuesday night when you just want something delicious. The best part? It gets better with time. Make it a day ahead, and you’ll be rewarded with even deeper flavors.
I’d love to hear how yours turns out! Did you try any variations? Did the glaze set perfectly? Drop a comment below and share your experience. And if you loved this recipe, don’t forget to share it with a friend who needs a little dessert magic in their life. Happy baking!
Frequently Asked Questions
Can I use brewed coffee instead of instant espresso powder?
You can, but be careful. Brewed coffee adds extra liquid that can make the filling too loose. If you use brewed coffee, reduce the sour cream by 2 tablespoons to compensate. Instant espresso powder is preferred because it dissolves easily and gives a concentrated flavor without extra moisture.
Why did my cheesecake crack on top?
Cracks usually happen from overmixing the batter or overbaking. Make sure to mix on low speed once you add the eggs, and stop as soon as everything is combined. Also, the water bath and gradual cooling in the oven help prevent cracks. If it does crack, don’t worry—the chocolate glaze covers it beautifully!
Can I make this cheesecake gluten-free?
Absolutely! Simply use gluten-free graham crackers or gluten-free vanilla wafer cookies for the crust. All the other ingredients in the filling and glaze are naturally gluten-free. Just double-check your chocolate and vanilla extract labels to be safe.
How do I know when the cheesecake is done baking?
The edges should be set and slightly puffed, but the center should still jiggle like Jell-O when you gently shake the pan. A 2-3 inch area in the middle should wobble. It will continue to set as it cools. If the entire surface is firm, it’s overbaked.
Can I skip the chocolate glaze?
You can, but I wouldn’t! The chocolate glaze balances the coffee flavor perfectly and adds that gorgeous finishing touch. If you really want to skip it, try dusting the top with cocoa powder or serving it with a drizzle of caramel sauce instead. The cheesecake is still delicious on its own, but the glaze takes it to another level.
Pin This Recipe!
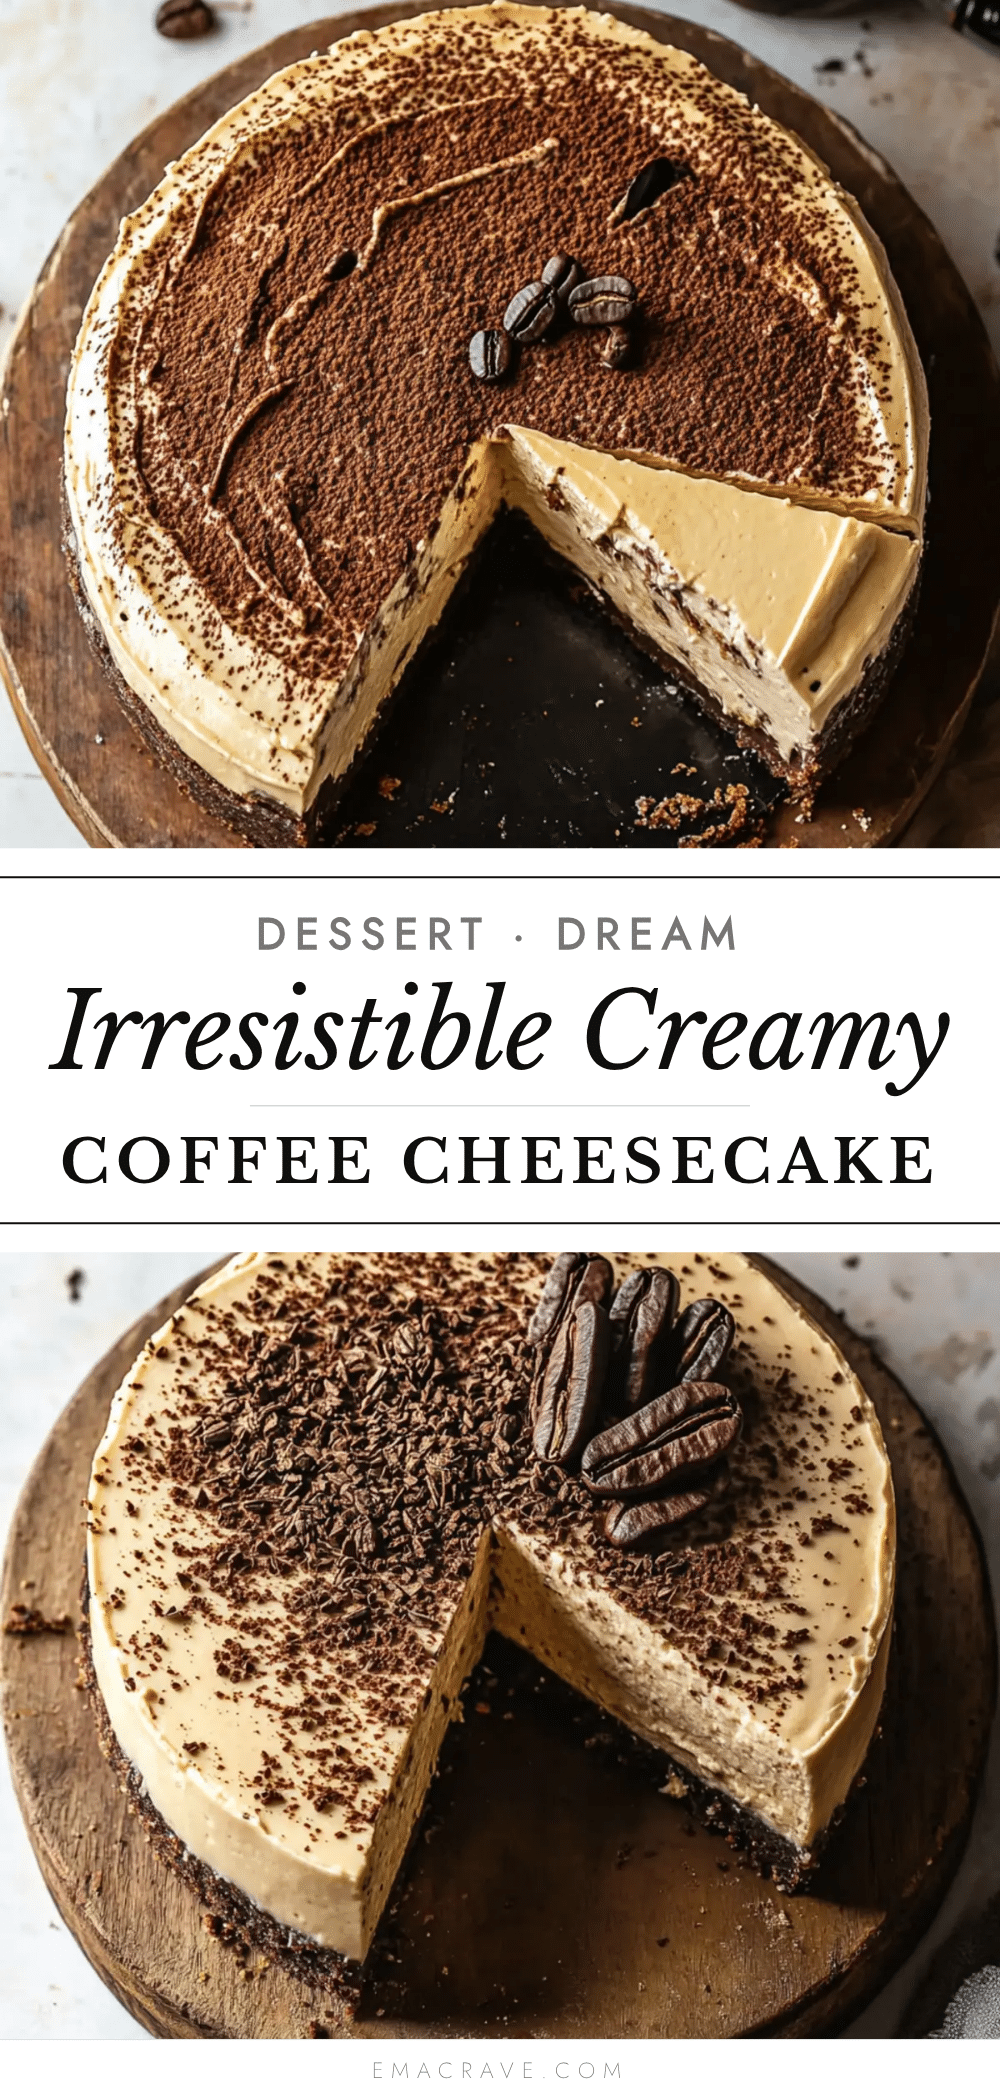
Creamy Coffee Cheesecake with Rich Chocolate Glaze
A velvety, mousse-like cheesecake infused with smooth coffee flavor and topped with a glossy chocolate glaze. This easy, no-water-bath recipe is perfect for entertaining and gets better overnight.
- Prep Time: 30 minutes
- Cook Time: 55-65 minutes
- Total Time: 6 hours 30 minutes (includes chilling)
- Yield: 12 servings 1x
- Category: Dessert
- Cuisine: American
Ingredients
- 1 ½ cups graham cracker crumbs (about 12 full sheets)
- ¼ cup granulated sugar
- 6 tablespoons unsalted butter, melted
- Pinch of salt
- 24 oz (680g) cream cheese, softened
- 1 cup (200g) granulated sugar
- 3 large eggs, room temperature
- ½ cup (120ml) sour cream, room temperature
- 2 tablespoons instant espresso powder, dissolved in 2 tablespoons hot water
- 1 teaspoon vanilla extract
- ½ cup (120ml) heavy cream
- 4 oz (115g) semi-sweet chocolate, finely chopped
- 2 tablespoons unsalted butter
- 1 tablespoon light corn syrup (optional)
Instructions
- Preheat oven to 325°F (160°C). In a medium bowl, combine graham cracker crumbs, ¼ cup sugar, and salt. Pour in melted butter and stir until mixture resembles wet sand. Press firmly into bottom of a 9-inch springform pan. Bake for 10 minutes, then set aside to cool.
- In a large bowl, beat softened cream cheese with an electric mixer on medium speed until smooth, about 2 minutes. Scrape down sides. Add 1 cup sugar and beat for another 2 minutes until light and fluffy. Add eggs one at a time, mixing on low after each addition just until combined.
- In a small bowl, dissolve instant espresso powder in 2 tablespoons hot water. Add espresso mixture, sour cream, and vanilla extract to the batter. Mix on low speed until uniform. Batter should be silky, smooth, and pale tan.
- Pour filling over cooled crust. Tap pan on counter to release air bubbles. Place springform pan in a larger roasting pan and pour hot water into roasting pan until it reaches halfway up sides of springform pan. Bake at 325°F (160°C) for 55-65 minutes. Edges should be set, center should jiggle slightly. Turn off oven, crack door open, and let cheesecake cool inside for 1 hour.
- Remove cheesecake from water bath and cool completely on a wire rack, about 2 hours. Cover loosely with plastic wrap and refrigerate for at least 6 hours, preferably overnight.
- Place chopped chocolate in a heatproof bowl. In a small saucepan, heat heavy cream over medium heat until it just begins to simmer. Pour hot cream over chocolate and let sit for 2 minutes. Add butter and corn syrup, stir gently until smooth. Let glaze cool for 10-15 minutes until thickened but still pourable.
- Remove cheesecake from springform pan and place on serving plate. Pour glaze over center and use a spatula to push to edges, letting it drip down sides. Refrigerate for 30 minutes to set glaze before slicing.
Notes
Room temperature ingredients are crucial for a smooth texture. Do not overmix once eggs are added. The jiggle test is key: a 2-3 inch area in the center should wobble when done. Chill overnight for best flavor and texture. Glaze should be like thick maple syrup before pouring.
Nutrition
- Serving Size: 1 slice
- Calories: 420
- Sugar: 22
- Sodium: 320
- Fat: 32
- Saturated Fat: 18
- Carbohydrates: 30
- Fiber: 1
- Protein: 8
Keywords: coffee cheesecake, chocolate glaze, creamy cheesecake, no water bath, easy cheesecake, coffee dessert



