Love this? Save it for later!
Share the inspiration with your friends
I was standing in my kitchen at 10 PM, staring at a half-empty jar of coconut oil and a bar of dark chocolate that had seen better days. My sweet tooth was screaming, but I didn’t want to make anything complicated. Honestly, I was too tired to even wash a mixing bowl. That’s when the idea hit me—what if I just melted everything together and hoped for the best?
That first batch was a little messy. I used the wrong pan, didn’t chill it long enough, and ended up eating it with a spoon straight from the container. But the flavor? Absolutely spot-on. Rich, creamy, with that subtle coconut undertone that makes paleo desserts feel indulgent without being heavy. I knew I was onto something.
After a few tweaks—more salt, better chocolate, and a little patience with the fridge—this Decadent Paleo Coconut Oil Fudge became my go-to. It’s the kind of recipe you make when you need something sweet fast, but you don’t want to compromise on ingredients. Three ingredients, five minutes of work, and you’ve got a treat that tastes like you spent hours on it.
I’ve made this fudge for holiday parties, movie nights, and even as a quick gift for neighbors. Every single time, someone asks for the recipe. And the best part? They never believe it’s paleo, dairy-free, and refined sugar-free. That little secret always makes me smile.
Why You’ll Love This Recipe
- Only 3 Ingredients: You don’t need a specialty grocery run. Dark chocolate, coconut oil, and a touch of maple syrup or honey—that’s it.
- Ready in 10 Minutes: Active prep time is practically nonexistent. Melt, stir, pour, chill. Done.
- Perfect for Meal Prep: Make a batch on Sunday and have a clean, satisfying dessert all week long.
- Naturally Paleo & Vegan: No dairy, no gluten, no refined sugar. This fudge fits into almost any dietary lifestyle.
- Foolproof Texture: Coconut oil gives it that melt-in-your-mouth creaminess that butter-based fudge can’t touch. It sets firm but softens beautifully at room temperature.
I’ve tested this recipe more times than I care to admit. I’ve tried different chocolate percentages, different sweeteners, and even different brands of coconut oil. What I’m sharing today is the version that works every single time. It’s the kind of recipe you can make with your eyes closed—and trust me, I’ve done it half-asleep.
For those who love a quick, no-bake dessert, this fudge pairs perfectly with a batch of healthy matcha truffles for a beautiful dessert platter. Both are simple, clean, and crowd-pleasing.
What Ingredients You Will Need
This recipe relies on three core ingredients, each playing a critical role in creating that perfect fudge texture and flavor. Let’s break them down so you know exactly what to look for.
- 1 cup (200g) Dark Chocolate Chips or Chopped Chocolate Bar: This is the backbone of your fudge. I recommend using a high-quality dark chocolate with 70% cocoa content or higher. The better the chocolate, the smoother and richer your fudge will be. My personal favorite is Enjoy Life dark chocolate chips—they’re dairy-free, soy-free, and melt beautifully. If you’re not strictly paleo, a good quality bittersweet chocolate works too.
- ½ cup (120ml) Coconut Oil: Unrefined, virgin coconut oil gives the fudge a subtle coconut flavor that complements the dark chocolate perfectly. If you prefer a neutral taste, go for refined coconut oil. Make sure it’s solid at room temperature—that’s what gives the fudge its firm, sliceable texture once chilled. I’ve tried this with both Nutiva and Thrive Market brands, and both work great.
- 3–4 tablespoons (45–60ml) Maple Syrup or Honey: This adds the sweetness and helps balance the bitterness of the dark chocolate. Pure maple syrup keeps it vegan, while raw honey adds a floral note. Start with 3 tablespoons, taste the melted mixture, and add more if you want it sweeter. I usually go with 3 ½ tablespoons for that perfect not-too-sweet, not-too-bitter balance.
- Pinch of Sea Salt (Optional but Recommended): A small pinch of flaky sea salt enhances the chocolate flavor and cuts through the richness. Don’t skip it—it makes a real difference.
- Optional Mix-Ins: If you want to get fancy, add ¼ cup of chopped nuts (walnuts or pecans work great), shredded coconut, or even a teaspoon of vanilla extract. I’ve done a version with toasted almonds and a sprinkle of sea salt, and it was incredible.
For ingredient sourcing, I always look for fair-trade chocolate and organic coconut oil when possible. It’s a small investment that pays off in flavor and peace of mind.
Equipment Needed
- Medium Microwave-Safe Bowl or Small Saucepan: For melting the chocolate and coconut oil together. A glass bowl works perfectly for the microwave method.
- Spatula or Whisk: For stirring the mixture until smooth. A silicone spatula is ideal because it scrapes the sides clean.
- 8×8 Inch Baking Pan or Loaf Pan: For setting the fudge. I prefer an 8×8 pan for thinner pieces, but a loaf pan works for thicker, chunkier fudge. Line it with parchment paper for easy removal.
- Parchment Paper: This is non-negotiable. It prevents the fudge from sticking and makes cleanup effortless.
- Sharp Knife: For cutting the fudge into clean squares. A chef’s knife works best.
- Refrigerator: You’ll need at least 2 hours of chill time, so plan ahead.
If you don’t have a microwave, a double boiler works just as well. I’ve used both methods, and honestly, the microwave is faster and less messy. Just be careful not to overheat the chocolate—it can seize up quickly.
Preparation Method
- Line Your Pan: Cut a piece of parchment paper to fit your 8×8 inch pan, leaving a little overhang on two sides. This creates “handles” that make lifting the fudge out super easy later. Set the pan aside.
- Melt the Chocolate and Coconut Oil: In a medium microwave-safe bowl, combine the dark chocolate chips (or chopped chocolate) and the coconut oil. Microwave in 30-second intervals, stirring well after each interval. This usually takes about 1 ½ to 2 minutes total. The key is to stop heating while there are still a few lumps—stirring will finish the melting process and prevent the chocolate from burning. If using a saucepan, melt over low heat, stirring constantly.
- Add the Sweetener: Once the chocolate and coconut oil are completely smooth and glossy, pour in the maple syrup or honey. Add the pinch of sea salt if you’re using it. Stir vigorously until everything is fully combined. The mixture should look shiny and smooth, like a thick chocolate sauce. Taste it here—if you want it sweeter, add another half tablespoon of maple syrup and stir again.
- Pour into the Pan: Carefully pour the chocolate mixture into your prepared pan. Use your spatula to spread it evenly into all corners. Tap the pan gently on the counter a few times to release any air bubbles and level the surface.
- Add Toppings (Optional): If you’re using any mix-ins like chopped nuts, shredded coconut, or flaky sea salt, sprinkle them on top now. Press them in lightly so they stick to the fudge as it sets.
- Chill Until Firm: Place the pan in the refrigerator for at least 2 hours. For best results, let it chill for 3 to 4 hours. The fudge should be completely solid and firm to the touch. If you’re in a hurry, you can pop it in the freezer for about 45 minutes, but keep an eye on it—freezer time varies.
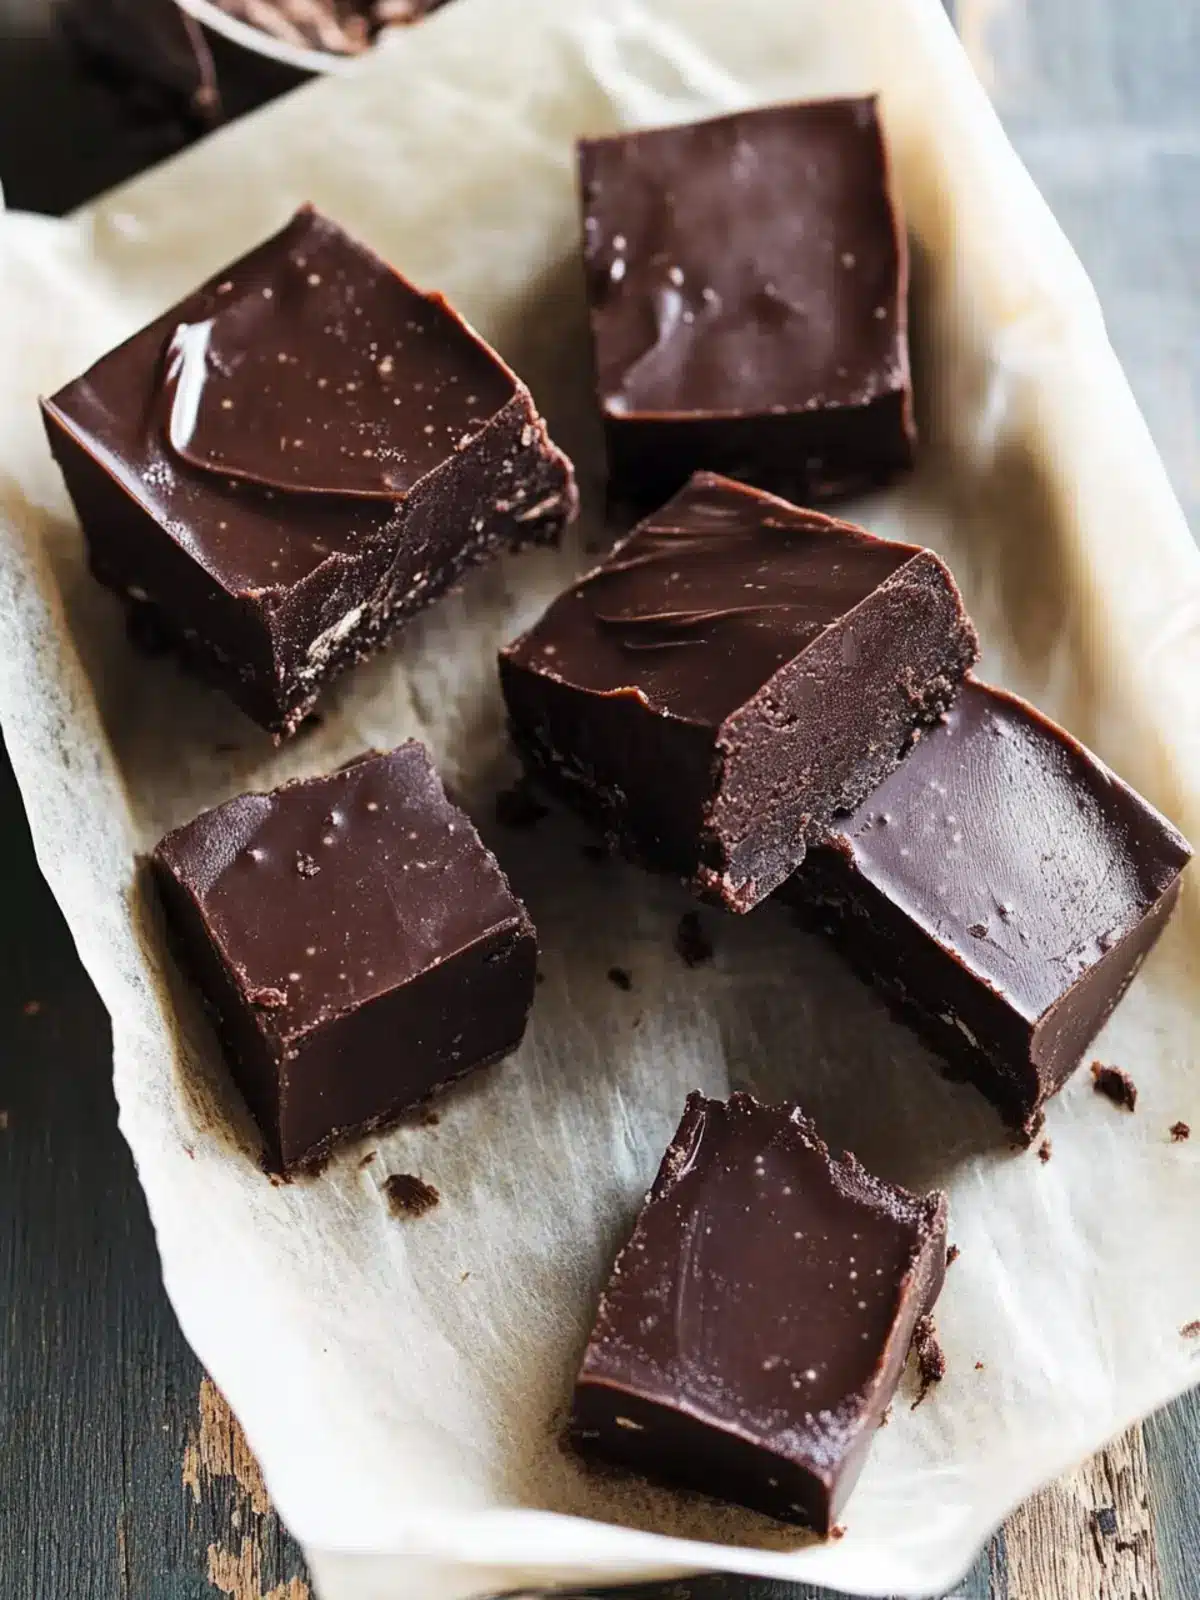
- Cut and Serve: Once the fudge is fully set, lift it out of the pan using the parchment paper overhang. Place it on a cutting board. Use a sharp knife to cut it into small squares—about 1-inch pieces work perfectly. If the knife sticks, wipe it clean between cuts for neat edges.
- Store Properly: Keep the fudge in an airtight container in the refrigerator. It will stay fresh for up to 2 weeks. You can also freeze it for up to 3 months—just layer pieces between parchment paper in a freezer-safe container.
One thing I learned the hard way: don’t rush the chill time. I once took the fudge out after an hour because I was impatient, and it was too soft to cut cleanly. It was still delicious, just messy. Patience really pays off here.
Cooking Tips & Techniques
Getting the perfect fudge texture is all about the chocolate-to-oil ratio. Too much coconut oil and your fudge will be greasy. Too little, and it will be too hard. The 2:1 ratio (chocolate to oil by volume) is my sweet spot.
If your chocolate seizes up (turns grainy and stiff), you probably overheated it or got a drop of water in the bowl. To fix it, add a teaspoon of coconut oil and stir gently over low heat. It usually brings it back to a smooth consistency.
For the cleanest cuts, run your knife under hot water, dry it off, then slice. The warmth helps the knife glide through the fudge without cracking it. Wipe the blade clean between each cut.
I’ve made this fudge in humid weather, and it still sets perfectly. Just make sure your pan is completely dry before you pour the mixture in—any moisture can cause the chocolate to seize.
If you’re making this for a party, consider doubling the recipe and using a 9×13 inch pan. It disappears fast, and having extra is never a bad thing.
For a fun twist, try layering this fudge with a batch of cozy paleo cinnamon apple cookies for a dessert board that’s both beautiful and completely paleo-friendly.
Variations & Adaptations
- Vegan & Paleo: This recipe is already vegan if you use maple syrup instead of honey. Both options are paleo-approved.
- Nut-Free: Skip the chopped nuts and use seeds like pumpkin seeds or sunflower seeds for crunch. Or keep it plain—it’s still amazing.
- Flavor Variations: Add ½ teaspoon of peppermint extract for a mint chocolate version. Or try orange extract for a chocolate-orange combo. I’ve also done a chili-infused version by adding a pinch of cayenne pepper—surprisingly addictive.
- Low-Carb/Keto: Use sugar-free dark chocolate chips and swap the maple syrup for a keto-friendly sweetener like monk fruit drops or stevia. The texture will be slightly different, but it works.
- Frozen Fudge Pops: Pour the mixture into silicone ice pop molds and freeze for a creamy, fudgy popsicle. Perfect for summer.
- Layered Fudge: Make a batch of white chocolate fudge (using cacao butter and coconut oil) and layer it with the dark chocolate fudge for a beautiful marbled effect.
I once made a batch with a swirl of almond butter on top. It was messy and didn’t look perfect, but the flavor combination was incredible. Sometimes the best discoveries come from happy accidents.
Serving & Storage Suggestions
This fudge is best served cold, straight from the refrigerator. It has a firm, creamy texture that softens slightly after a few minutes at room temperature. If you prefer a softer fudge, let it sit out for 5–10 minutes before serving.
For presentation, arrange the squares on a wooden board or a simple white plate. Sprinkle a little flaky sea salt and some edible flowers for a fancy touch. It’s perfect for holiday cookie trays, birthday parties, or just a quiet night in.
Storage is simple: keep the fudge in an airtight container in the refrigerator. It will stay fresh for up to 2 weeks. If you’re stacking layers, separate them with parchment paper to prevent sticking.
For longer storage, freeze the fudge for up to 3 months. Thaw it in the refrigerator overnight before serving. I always keep a stash in my freezer for unexpected guests or late-night cravings.
The flavor actually deepens after a day or two in the fridge. The coconut oil and chocolate meld together, creating an even richer taste. So don’t be afraid to make it ahead of time.
Nutritional Information & Benefits
Here’s an approximate nutritional breakdown per 1-inch square (based on 16 servings):
- Calories: 120-140
- Fat: 10-12g (mostly healthy fats from coconut oil and cocoa butter)
- Carbohydrates: 8-10g
- Fiber: 1-2g
- Sugar: 5-7g (naturally occurring from maple syrup and chocolate)
- Protein: 1-2g
Dark chocolate is rich in antioxidants, particularly flavonoids, which support heart health. Coconut oil contains medium-chain triglycerides (MCTs), which are easily metabolized for energy. Maple syrup provides trace minerals like zinc and manganese.
This fudge is naturally gluten-free, dairy-free, and refined sugar-free. It’s a great option for those following paleo, vegan, or low-inflammatory diets. Just be mindful of portion sizes—it’s still a treat, after all.
I love that I can enjoy a small piece of this fudge without feeling guilty. It satisfies my sweet tooth and gives me a little energy boost, thanks to the healthy fats.
Conclusion
This Decadent Paleo Coconut Oil Fudge is proof that you don’t need a long ingredient list or complicated techniques to create something truly special. Three ingredients, a little patience, and you’ve got a dessert that feels indulgent, looks beautiful, and fits into a clean eating lifestyle.
I’ve made this for friends, family, and even skeptical coworkers who “don’t like healthy desserts.” Every single person has asked for the recipe. That’s the kind of reaction that tells me this one’s a keeper.
Now I want to hear from you. Have you tried making this fudge? Did you add any fun mix-ins or toppings? Drop a comment below and share your experience. And if you loved it, don’t forget to pin this recipe for later or share it with a friend who needs a little sweetness in their life.
Happy fudge-making, friends. You’ve got this.
Frequently Asked Questions
Can I use butter instead of coconut oil?
You can, but it won’t be paleo or dairy-free. Butter will also change the texture slightly—it will be softer and less firm. If you’re not strictly paleo, it’s a fine substitute.
Why is my fudge too soft?
This usually happens if you didn’t chill it long enough or used too much coconut oil. Make sure you chill for at least 2 hours, and stick to the 2:1 chocolate-to-oil ratio.
Can I use milk chocolate instead of dark chocolate?
Yes, but it will be much sweeter and less rich. Milk chocolate also contains dairy, so it won’t be paleo or vegan. If you use milk chocolate, reduce or omit the maple syrup.
How do I make this fudge nut-free?
Simply skip any nut-based mix-ins. The base recipe is already nut-free. Just double-check your chocolate and coconut oil labels for cross-contamination if you have severe allergies.
Can I double this recipe?
Absolutely. Double all ingredients and use a 9×13 inch pan. The chill time may need to be extended by 30 minutes to an hour since the fudge will be thicker.
Pin This Recipe!
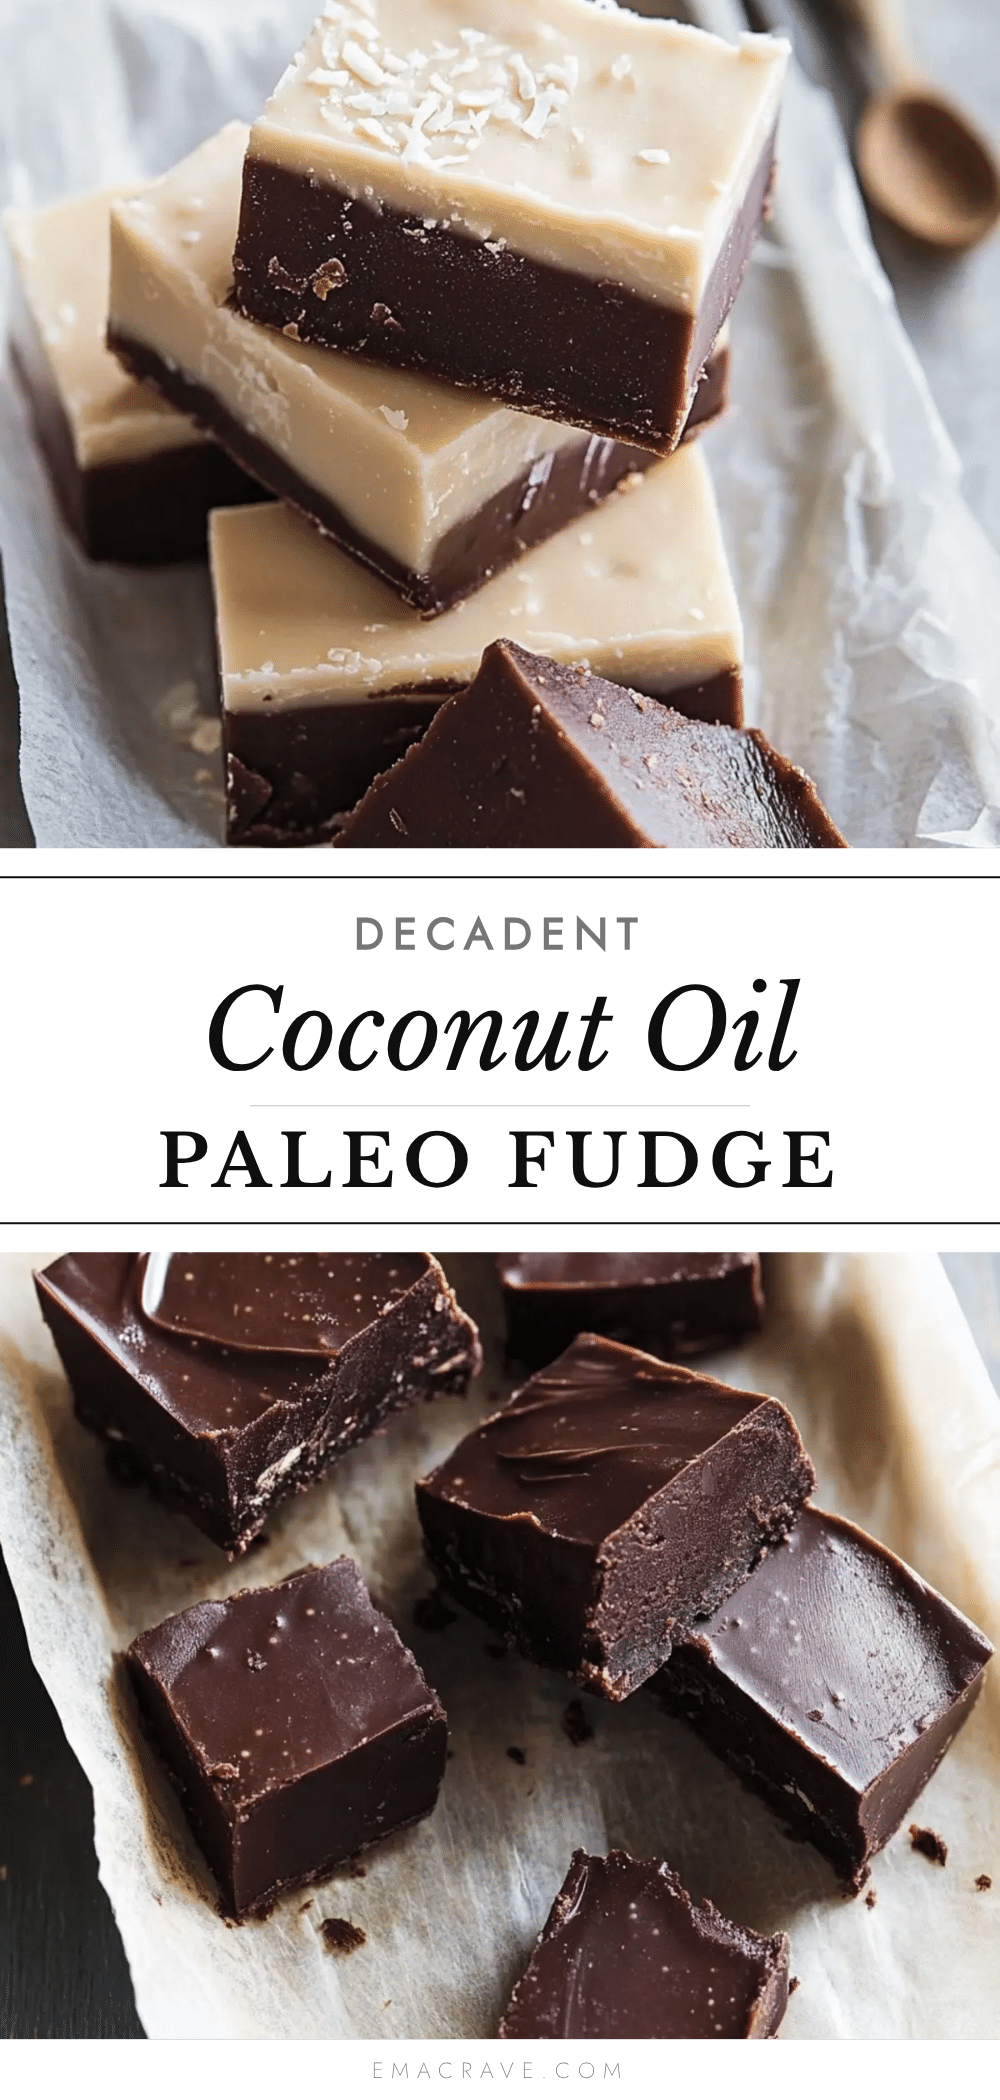
Decadent Paleo Coconut Oil Fudge: Best Easy 3-Ingredient Recipe
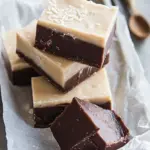
This Decadent Paleo Coconut Oil Fudge is a rich, creamy, and indulgent dessert made with just three ingredients. It’s paleo, vegan, dairy-free, and refined sugar-free, ready in 10 minutes with a foolproof texture.
- Prep Time: 5 minutes
- Cook Time: 5 minutes
- Total Time: 2 hours 10 minutes (including chilling)
- Yield: 16 servings 1x
- Category: Dessert
- Cuisine: American
Ingredients
- 1 cup (200g) dark chocolate chips or chopped dark chocolate (70% cocoa or higher)
- ½ cup (120ml) coconut oil (unrefined or refined)
- 3–4 tablespoons (45–60ml) maple syrup or honey
- Pinch of sea salt (optional but recommended)
- Optional mix-ins: ¼ cup chopped nuts (walnuts or pecans), shredded coconut, or 1 teaspoon vanilla extract
Instructions
- Line an 8×8 inch baking pan with parchment paper, leaving overhang on two sides for easy removal.
- In a medium microwave-safe bowl, combine dark chocolate chips and coconut oil. Microwave in 30-second intervals, stirring after each, until mostly melted (about 1½ to 2 minutes). Stir until smooth.
- Add maple syrup or honey and a pinch of sea salt (if using). Stir vigorously until fully combined and glossy.
- Pour the mixture into the prepared pan. Spread evenly with a spatula. Tap the pan gently on the counter to release air bubbles.
- If using mix-ins (nuts, coconut, etc.), sprinkle them on top and press lightly.
- Refrigerate for at least 2 hours, or until firm (3–4 hours for best results). For a quicker set, freeze for about 45 minutes.
- Lift the fudge out using the parchment paper. Place on a cutting board and cut into 1-inch squares with a sharp knife. Wipe the knife clean between cuts for neat edges.
- Store in an airtight container in the refrigerator for up to 2 weeks, or freeze for up to 3 months.
Notes
Use high-quality dark chocolate (70% cocoa or higher) for best results. The 2:1 ratio of chocolate to coconut oil (by volume) ensures perfect texture. For clean cuts, run the knife under hot water and dry it before slicing. The fudge can be made nut-free by omitting nuts. For a keto version, use sugar-free chocolate and a keto-friendly sweetener.
Nutrition
- Serving Size: 1 square (1-inch)
- Calories: 130
- Sugar: 6
- Sodium: 10
- Fat: 11
- Saturated Fat: 9
- Carbohydrates: 9
- Fiber: 1.5
- Protein: 1.5
Keywords: paleo fudge, coconut oil fudge, 3-ingredient fudge, dairy-free fudge, vegan fudge, no-bake dessert, healthy fudge, gluten-free fudge