Love this? Save it for later!
Share the inspiration with your friends
I pulled that first can of Dr. Pepper out of the pantry on a Wednesday afternoon, and honestly, I was skeptical. The cake I was supposed to bring to a friend’s potluck had completely fallen apart—literally sunk in the middle—and I had thirty minutes to come up with a backup plan. My eyes landed on that red-and-black can, and a memory popped into my head. My aunt used to make a Coca-Cola cake when I was a kid, and it was always the first thing to disappear at family reunions. I figured, why not try the same thing with Dr. Pepper? It’s got those deep cherry-vanilla notes, right? That had to work.
So I dumped the soda into the batter without overthinking it. I whisked it together, poured it into the pans, and crossed my fingers. The kitchen smelled incredible—like a soda fountain and a bakery had a baby. When the layers came out of the oven, they were perfectly domed, golden-brown, and soft to the touch. I let them cool, whipped up a quick cream cheese frosting, and stacked them high. I brought that cake to the potluck, and people actually stopped mid-conversation to ask what was in it. One guy took a bite, looked me dead in the eye, and said, “This is the best cake I’ve had in years.”
That’s the thing about this Irresistible Dr. Pepper Layer Cake with Cream Cheese Frosting. It sounds a little weird, but it works. The soda doesn’t make it taste like a fizzy drink. It just makes it impossibly moist and adds this subtle, caramel-like sweetness that you can’t quite place. It’s the kind of cake that makes people ask for the recipe before they’ve even finished their slice. And I’m not gonna lie—I’ve made it four times since that first Wednesday. It’s officially my go-to.
Why You’ll Love This Recipe
Let’s be real—there are a million cake recipes out there. But this one? It’s different. Here’s why I think you’ll fall for it as hard as I did.
- Incredibly Moist: The carbonation in the Dr. Pepper reacts with the baking soda to create a super tender crumb. This cake stays moist for days—if it lasts that long.
- Simple Ingredients: You probably already have most of these in your kitchen. No weird extracts or hard-to-find syrups.
- Perfect for Celebrations: Birthdays, potlucks, game days, or just a Tuesday that needs a little sparkle. This cake fits right in.
- Crowd-Pleaser: I’ve served it to kids, grandparents, and picky eaters. Everyone loves it. And they always ask what the secret ingredient is.
- Easy to Make: The batter comes together in one bowl. No complicated techniques or fancy equipment required.
What really sets this cake apart is how the Dr. Pepper enhances the flavor without overpowering it. It’s not a gimmick—it’s chemistry. The soda adds depth and a hint of cherry-vanilla that pairs beautifully with the tangy cream cheese frosting. I’ve tested this recipe multiple times to get the ratios just right. The result is a cake that’s light, fluffy, and absolutely irresistible.
Honestly, this is the kind of cake that makes you close your eyes after the first bite. It’s comfort food reimagined—familiar but surprising. Perfect for impressing guests without any stress.
What Ingredients You Will Need
This recipe uses simple, everyday ingredients to create something truly special. The Dr. Pepper does most of the heavy lifting, but each component plays a key role in the final texture and flavor.
For the Cake
- 2 cups all-purpose flour (spooned and leveled for accuracy)
- 1 ½ cups granulated sugar
- 1 teaspoon baking soda
- ½ teaspoon salt
- 1 cup unsalted butter, softened (I use Kerrygold for its rich flavor)
- 2 large eggs, at room temperature
- 1 teaspoon vanilla extract
- 1 cup Dr. Pepper, at room temperature (do not use diet—the artificial sweeteners affect the texture)
- ½ cup buttermilk, at room temperature (makes the cake extra tender)
For the Cream Cheese Frosting
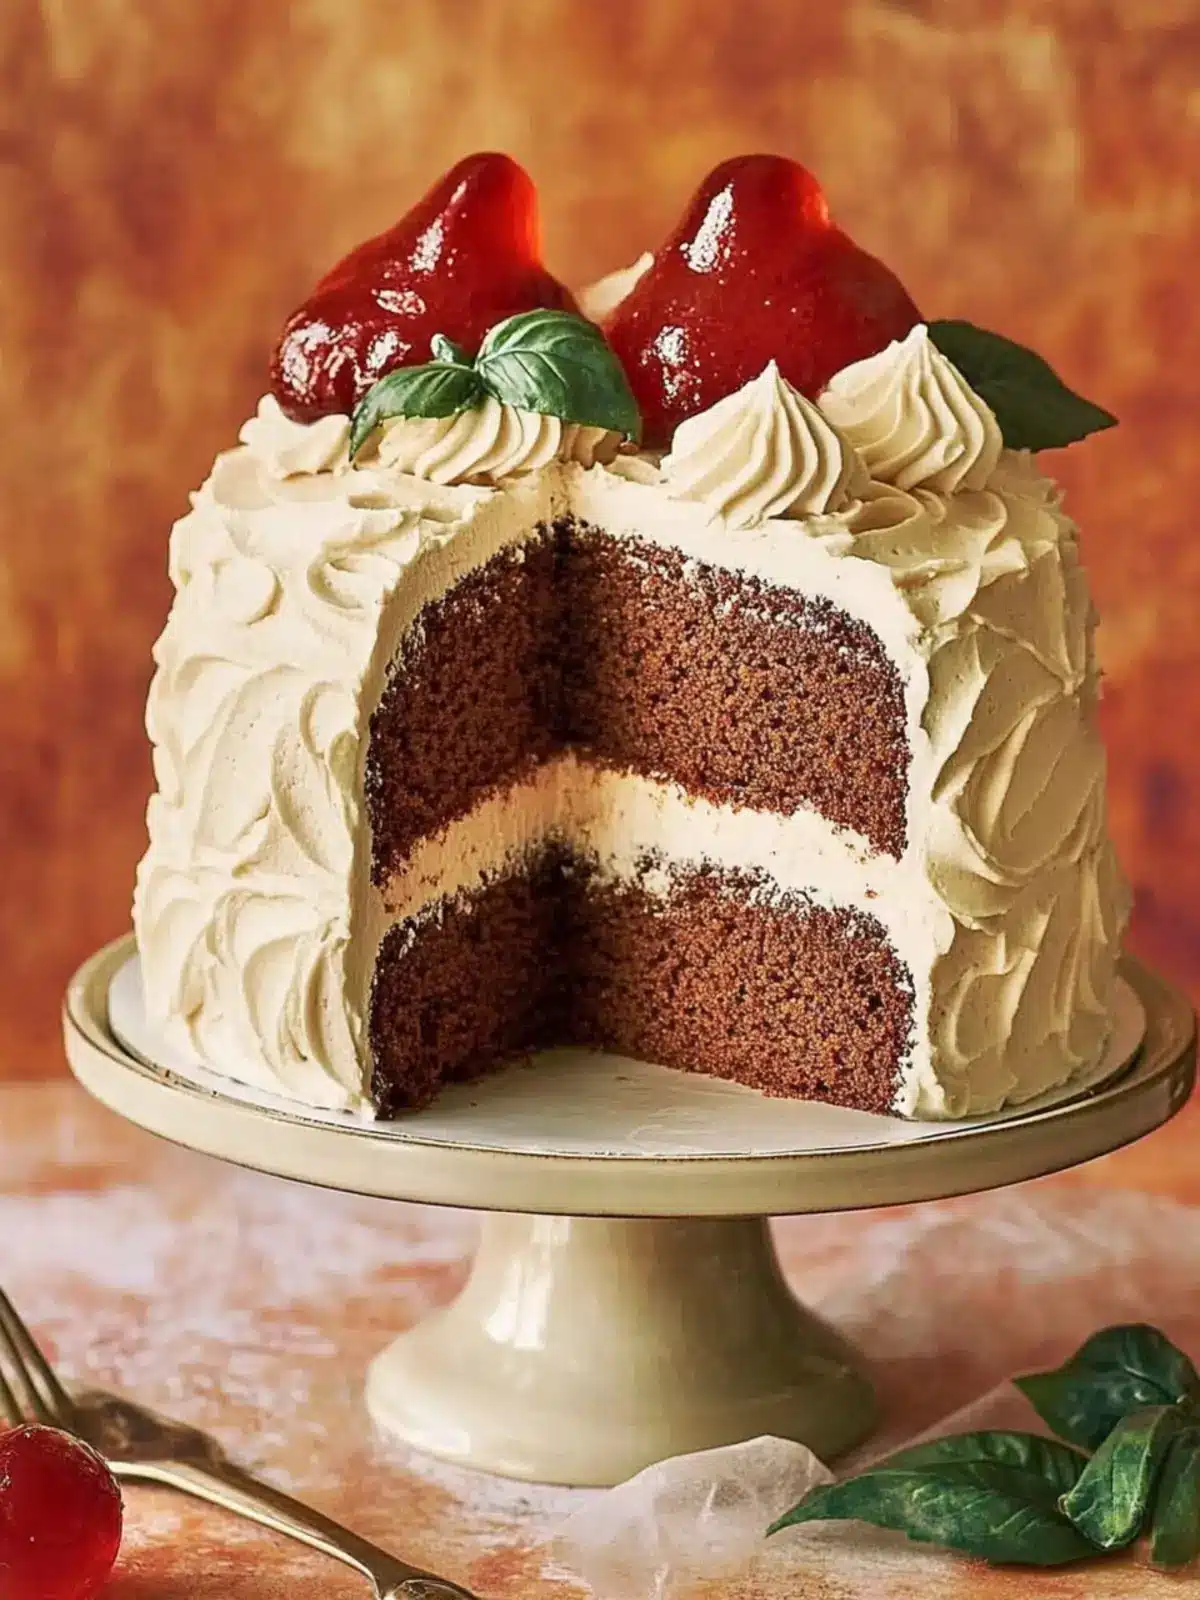
- 8 ounces cream cheese, softened (full-fat block, not the spreadable kind)
- ½ cup unsalted butter, softened
- 4 cups powdered sugar, sifted (to avoid lumps)
- 1 teaspoon vanilla extract
- Pinch of salt
Ingredient Tips & Substitutions
- Dr. Pepper: You can use any brand of cherry-vanilla soda, like Pibb Xtra or a store brand. Just avoid diet or zero-sugar versions—they don’t work the same way.
- Buttermilk: If you don’t have buttermilk, add 1 tablespoon of lemon juice or white vinegar to ½ cup of regular milk. Let it sit for 5 minutes before using.
- Cream Cheese: For a dairy-free version, use a high-quality vegan cream cheese. I’ve tried Kite Hill and it works well, though the frosting will be slightly softer.
- Flour: A gluten-free 1:1 baking blend can replace the all-purpose flour. I recommend King Arthur’s Measure for Measure.
Equipment Needed
You don’t need a fancy bakery setup for this cake. Here’s what you’ll need:
- Two 9-inch round cake pans (I prefer light-colored metal pans for even baking)
- Electric hand mixer or stand mixer (a whisk and some elbow grease work too, but it’ll take longer)
- Large mixing bowls
- Whisk and rubber spatula
- Cooling rack (absolutely necessary—don’t skip it)
- Parchment paper (for lining the cake pans)
- Offset spatula (makes frosting so much easier, but a butter knife works in a pinch)
- Cake stand or serving plate
Budget-Friendly Options: If you don’t have two 9-inch pans, you can bake the batter in a 9×13-inch sheet pan. Just reduce the baking time to 25-30 minutes. No need to layer or frost as elaborately—just spread the frosting on top.
Preparation Method
Let’s get baking. I’ll walk you through every step so you feel confident.
Step 1: Preheat and Prep
Preheat your oven to 350°F (175°C). Grease two 9-inch round cake pans with butter or non-stick spray. Cut circles of parchment paper to fit the bottoms of the pans and place them inside. This guarantees your cakes won’t stick. Trust me on this one—I learned the hard way.
Step 2: Mix the Dry Ingredients
In a large bowl, whisk together the flour, sugar, baking soda, and salt. Make sure there are no lumps. Set aside.
Step 3: Cream the Butter and Sugar
In a separate large bowl (or the bowl of your stand mixer), beat the softened butter and sugar together until light and fluffy, about 3-4 minutes. Scrape down the sides of the bowl halfway through. This step is important for a tender crumb.
Step 4: Add the Eggs and Vanilla
Add the eggs one at a time, beating well after each addition. Then mix in the vanilla extract. The batter should look smooth and glossy.
Step 5: Alternate the Wet and Dry Ingredients
With the mixer on low speed, add about one-third of the flour mixture to the butter mixture. Mix until just combined. Then add half of the Dr. Pepper and half of the buttermilk. Mix again. Repeat with another third of the flour, then the remaining Dr. Pepper and buttermilk, and finally the last of the flour. Stop mixing as soon as the flour disappears. Overmixing will make the cake tough.
Sensory Cue: The batter will be thin and slightly bubbly from the carbonation. That’s exactly what you want. It should smell sweet and a little fruity.
Step 6: Divide and Bake
Pour the batter evenly into the prepared pans. Bake for 25-30 minutes, or until a toothpick inserted into the center comes out clean or with a few moist crumbs. The tops should be golden and spring back when lightly touched.
Step 7: Cool Completely
Let the cakes cool in the pans for 10 minutes. Then run a knife around the edges, invert them onto a cooling rack, and peel off the parchment paper. Let them cool completely before frosting. This is non-negotiable—warm cake will melt your frosting into a sad puddle.
Step 8: Make the Frosting
In a large bowl, beat the softened cream cheese and butter together until smooth and creamy, about 2-3 minutes. Add the vanilla and a pinch of salt. Gradually add the powdered sugar, one cup at a time, beating on low speed to avoid a sugar cloud. Once all the sugar is incorporated, beat on medium-high for 2 minutes until light and fluffy.
Step 9: Assemble the Cake
Place one cake layer on your serving plate. Spread a generous layer of frosting on top (about ¾ cup). Place the second layer on top. Frost the top and sides of the cake with the remaining frosting. Use an offset spatula for smooth, swoopy swirls—or just go rustic. No one cares about perfection when the cake tastes this good.
Cooking Tips & Techniques
I’ve made this cake enough times to know where things can go sideways. Here are my best tips.
- Room Temperature Ingredients: This is the single most important tip. Cold butter doesn’t cream properly. Cold eggs can seize the batter. Cold Dr. Pepper won’t incorporate as smoothly. Set everything out 30-60 minutes before you start.
- Don’t Overmix: Once you add the flour, stop mixing as soon as it’s combined. Overmixing develops gluten, which makes the cake dense and rubbery. You want a light, fluffy crumb.
- Check for Doneness Early: Ovens vary wildly. Start checking your cakes at 22 minutes. If the toothpick comes out wet with batter, give it another 3-4 minutes.
- Level Your Layers: If your cakes have domed tops, use a serrated knife to slice off the dome before stacking. This gives you a flat, even cake that’s easier to frost.
- Chill Before Frosting: If you’re in a hurry, pop the cooled cake layers in the fridge for 20 minutes. A cold cake is much easier to frost without crumbs messing up your nice smooth finish.
Common Mistake I Made: The first time I made this, I used cold Dr. Pepper straight from the fridge. The batter was lumpy and the cake didn’t rise as much. Room temperature soda makes a huge difference. Don’t skip it.
Variations & Adaptations
This recipe is super flexible. Here are a few ways to switch it up.
- Cherry-Vanilla Twist: Add ½ cup of chopped maraschino cherries (drained well) to the batter. Fold them in gently after mixing. It amplifies the cherry notes from the Dr. Pepper.
- Chocolate Dr. Pepper Cake: Replace ¼ cup of the flour with ¼ cup of unsweetened cocoa powder. The chocolate and Dr. Pepper flavors are a match made in heaven. I’ve made this version for a friend’s birthday and it was a hit.
- Gluten-Free Version: Use a 1:1 gluten-free baking flour blend. I’ve tested this with King Arthur’s Measure for Measure and it works perfectly. Just make sure your blend contains xanthan gum.
- Dairy-Free Adaptation: Use vegan butter and cream cheese. For the buttermilk, add 1 tablespoon of lemon juice to ½ cup of unsweetened almond milk. The texture will be slightly denser but still delicious.
- Cupcake Version: Divide the batter into 24 cupcake liners and bake for 18-20 minutes. Top with the cream cheese frosting and a maraschino cherry. Perfect for parties.
Serving & Storage Suggestions
This cake is best served at room temperature. The frosting softens slightly and the cake feels extra tender. If you’ve refrigerated it, let it sit out for about 30 minutes before slicing.
What to Serve With It: A cold glass of milk is classic. For a grown-up twist, try it with a cup of black coffee or a bourbon-spiked hot chocolate. I once served this alongside a scoop of vanilla bean ice cream, and honestly, it was next-level.
Storage Instructions:
- Refrigerator: Store the cake in an airtight container for up to 5 days. The cream cheese frosting needs to be chilled.
- Freezer: You can freeze the unfrosted cake layers for up to 3 months. Wrap each layer tightly in plastic wrap and then foil. Thaw in the fridge overnight before frosting.
- Frosted Cake: You can also freeze the fully assembled cake. Place it in the freezer uncovered for 1 hour to firm up the frosting, then wrap it in plastic wrap and foil. Thaw in the fridge overnight.
Flavor Development: Honestly, this cake tastes even better the next day. The flavors meld together and the texture gets even more moist. So if you can resist eating it right away, you’re in for a treat.
Nutritional Information & Benefits
Let’s be real—this is a celebration cake, not a health food. But here’s a rough estimate per slice (based on 12 servings):
- Calories: ~480
- Fat: 24g
- Carbohydrates: 64g
- Protein: 5g
- Sugar: 48g
Health Highlights: The Dr. Pepper adds no fat, and the cream cheese provides a small amount of protein and calcium. If you’re looking to lighten it up, you can reduce the sugar in the frosting by ½ cup—it will still be plenty sweet. For a lower-calorie option, try the gluten-free or dairy-free variations mentioned above.
Allergen Note: This recipe contains dairy, eggs, and gluten. For a dairy-free version, see the variations section.
Conclusion
This Irresistible Dr. Pepper Layer Cake with Cream Cheese Frosting is the kind of recipe that becomes a staple. It’s easy enough for a beginner baker but impressive enough for a birthday party or holiday table. The soda adds a unique depth of flavor that you just can’t get from any other ingredient.
I love this cake because it reminds me that sometimes the best recipes come from happy accidents. That first Wednesday afternoon, I was just trying to save a failed project. Now, I make this cake on purpose—for potlucks, for celebrations, and sometimes just because I want a slice of something special.
I’d love to hear how it turns out for you. Did you try a variation? Did your family guess the secret ingredient? Drop a comment below and share your experience. And if you loved it, don’t forget to share this recipe with a friend. Happy baking!
Frequently Asked Questions
Can I use diet Dr. Pepper in this cake?
I don’t recommend it. Diet sodas contain artificial sweeteners that don’t react the same way with the baking soda. The cake may not rise properly and the texture can be off. Stick with regular Dr. Pepper for best results.
Do I need to let the Dr. Pepper go flat first?
Nope! The carbonation is actually a key part of the recipe. It helps create a light, tender crumb. Just make sure it’s at room temperature before you add it to the batter.
Can I make this cake in a 9×13 pan instead of round layers?
Absolutely. Grease a 9×13-inch pan and pour in the batter. Bake for 25-30 minutes, or until a toothpick comes out clean. Let it cool completely, then spread the frosting on top. No layering required.
How do I keep my cream cheese frosting from being runny?
Make sure your cream cheese and butter are softened but not melted. If your kitchen is warm, pop the frosting in the fridge for 10-15 minutes before using it. Also, sifting the powdered sugar helps prevent lumps that can thin out the frosting.
Can I add nuts or chocolate chips to the batter?
Sure! Fold in ½ cup of chopped pecans or walnuts for a bit of crunch. You can also add ½ cup of mini chocolate chips for a chocolatey twist. Just fold them in gently after the batter is mixed.
Pin This Recipe!
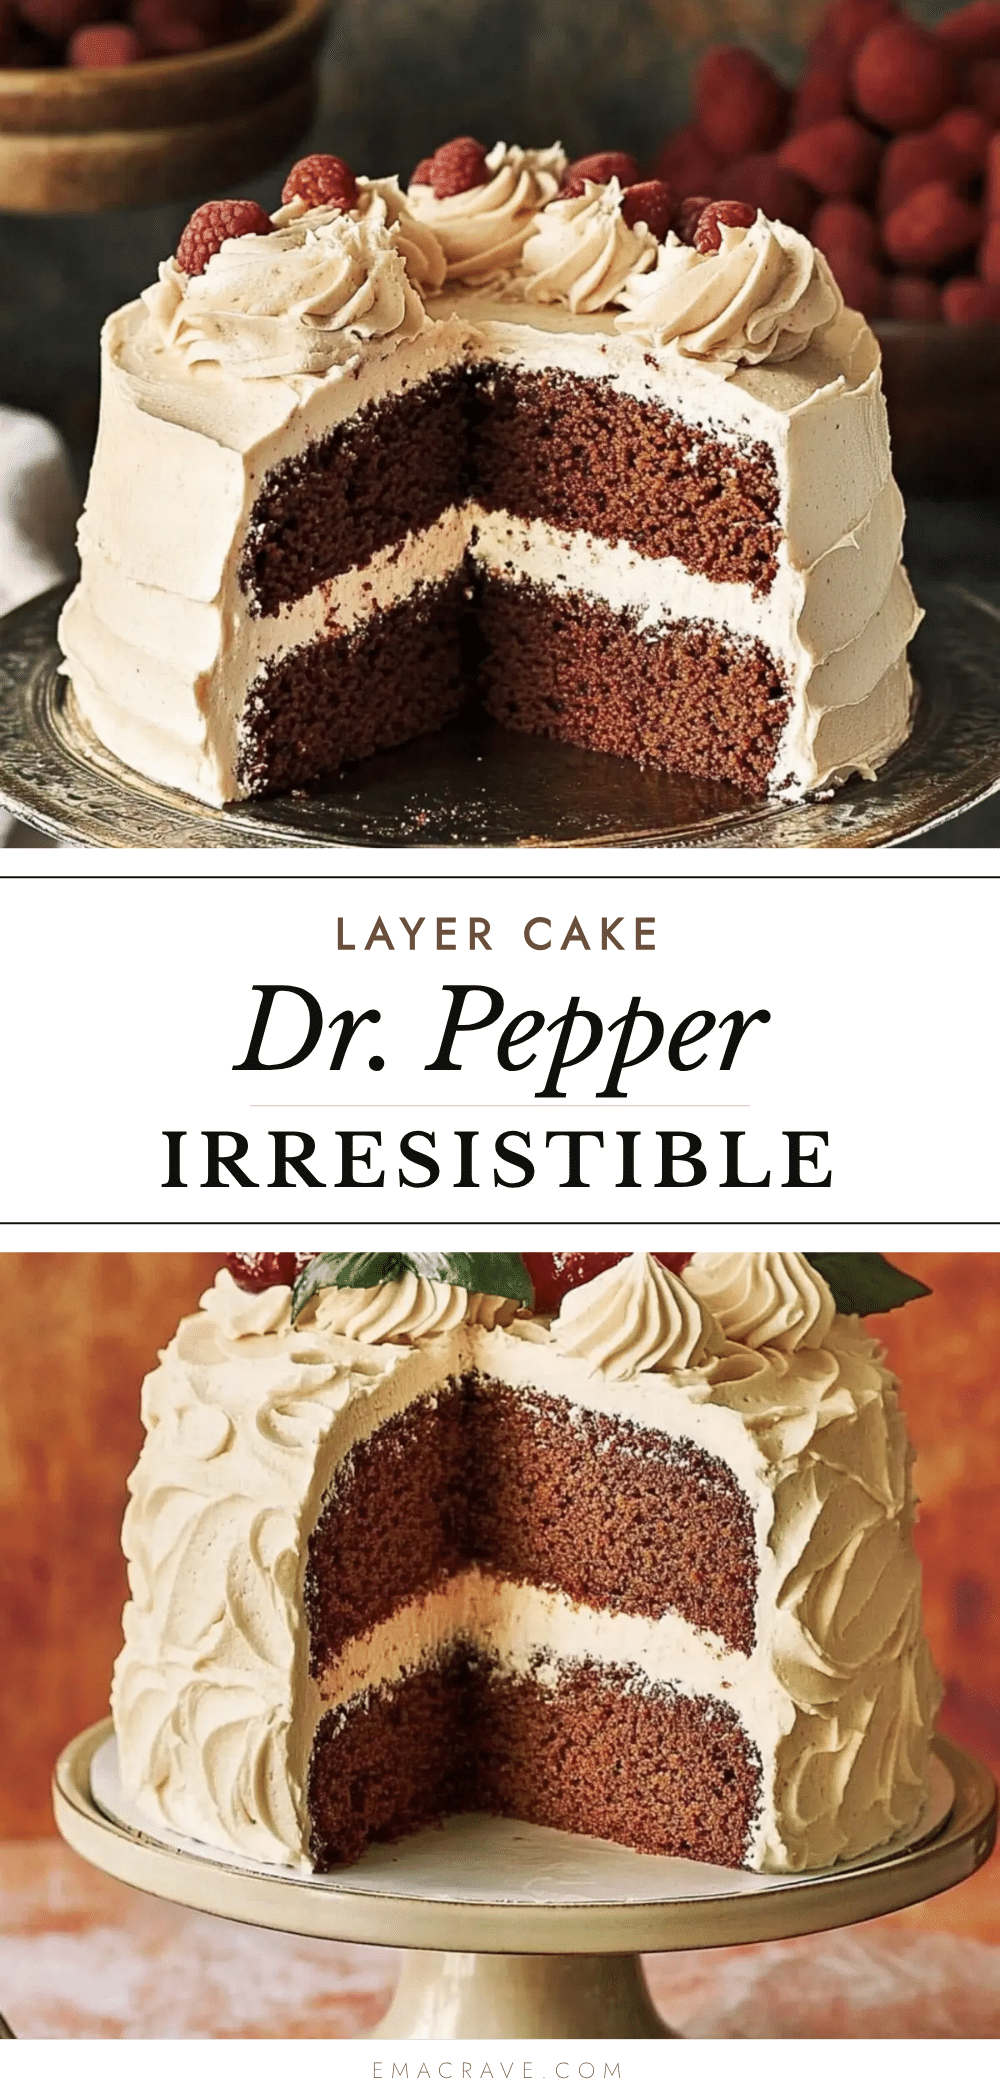
Irresistible Dr. Pepper Layer Cake with Cream Cheese Frosting
This incredibly moist Dr. Pepper layer cake features a tender crumb with subtle cherry-vanilla notes, topped with a tangy cream cheese frosting. It’s a crowd-pleasing dessert perfect for celebrations or any occasion.
- Prep Time: 20 minutes
- Cook Time: 30 minutes
- Total Time: 50 minutes
- Yield: 12 servings 1x
- Category: Dessert
- Cuisine: American
Ingredients
- 2 cups all-purpose flour (spooned and leveled)
- 1 ½ cups granulated sugar
- 1 teaspoon baking soda
- ½ teaspoon salt
- 1 cup unsalted butter, softened
- 2 large eggs, at room temperature
- 1 teaspoon vanilla extract
- 1 cup Dr. Pepper, at room temperature (not diet)
- ½ cup buttermilk, at room temperature
- 8 ounces cream cheese, softened (full-fat block)
- ½ cup unsalted butter, softened
- 4 cups powdered sugar, sifted
- 1 teaspoon vanilla extract
- Pinch of salt
Instructions
- Preheat oven to 350°F (175°C). Grease two 9-inch round cake pans and line bottoms with parchment paper.
- In a large bowl, whisk together flour, sugar, baking soda, and salt.
- In a separate large bowl, beat softened butter and sugar together until light and fluffy, about 3-4 minutes.
- Add eggs one at a time, beating well after each addition. Mix in vanilla extract.
- With mixer on low, add one-third of the flour mixture, mixing until just combined. Add half of the Dr. Pepper and half of the buttermilk, mixing again. Repeat with another third of flour, remaining Dr. Pepper and buttermilk, then final third of flour. Do not overmix.
- Divide batter evenly between prepared pans. Bake for 25-30 minutes, until a toothpick inserted in center comes out clean or with a few moist crumbs.
- Cool cakes in pans for 10 minutes, then invert onto a cooling rack. Remove parchment paper and cool completely.
- For frosting: Beat softened cream cheese and butter together until smooth and creamy, about 2-3 minutes. Add vanilla and salt. Gradually add powdered sugar, one cup at a time, beating on low. Once all sugar is incorporated, beat on medium-high for 2 minutes until fluffy.
- Place one cake layer on serving plate. Spread about ¾ cup frosting on top. Place second layer on top. Frost top and sides with remaining frosting.
Notes
Room temperature ingredients are crucial for best results. Do not use diet Dr. Pepper. The cake tastes even better the next day. For a 9×13 pan, bake 25-30 minutes. For cupcakes, bake 18-20 minutes.
Nutrition
- Serving Size: 1 slice
- Calories: 480
- Sugar: 48
- Sodium: 320
- Fat: 24
- Saturated Fat: 14
- Carbohydrates: 64
- Fiber: 1
- Protein: 5
Keywords: Dr. Pepper cake, cream cheese frosting, layer cake, soda cake, moist cake, cherry vanilla cake



