Love this? Save it for later!
Share the inspiration with your friends
The first time I made these raspberry chia seed jam oat crumble squares, I wasn’t even trying to create a recipe. I had a pint of raspberries that was one day past its prime and a sudden, fierce craving for something that felt like a hug in dessert form. Honestly, I was just trying to avoid a trip to the grocery store. I grabbed a bag of frozen raspberries I had stashed for smoothies, remembered a jar of chia seeds I bought on a health kick, and started throwing things into a bowl. The result was so good I actually stood in my kitchen, fork in hand, and ate the entire first square before it had even fully cooled.
These squares are that perfect, rare thing—a dessert that feels both wholesome and completely indulgent. The base is a buttery, toasted oat crust that doubles as the crumble topping. The middle is a thick, jammy layer made from raspberries and chia seeds that sets up into this gorgeous, jewel-toned filling without needing a ton of sugar or pectin. And the whole thing comes together in a single bowl for the oat part and a saucepan for the jam. No stand mixer, no complicated steps, just pure, unfussy baking.
I have made these squares more times than I can count now, and they’ve become my secret weapon for everything from lazy Sunday afternoons to last-minute dinner party desserts. They are the kind of treat that makes people close their eyes after the first bite, and then immediately ask for the recipe. Trust me on this one.
Why You’ll Love This Recipe
This isn’t just another fruit crumble bar. After testing this recipe over a dozen times, tweaking the oat-to-butter ratio and the jam’s sweetness level, I can confidently say this version hits every single note perfectly. Here is why these squares will become a staple in your kitchen:
- Made with Real, Simple Ingredients: No corn syrup, no artificial pectin, no preservatives. The jam is just raspberries, a little maple syrup, and chia seeds. The crust is oats, flour, butter, and a touch of brown sugar. You can pronounce everything.
- Naturally Sweetened & Gluten-Free Friendly: The jam gets its sweetness from pure maple syrup, and the crust uses just a bit of brown sugar. Swap in certified gluten-free oats and a 1:1 gluten-free flour blend, and you have a dessert everyone can enjoy.
- Perfect for Any Occasion: These squares are sturdy enough for a lunchbox treat, elegant enough for a spring brunch table, and comforting enough for a cozy night in with a cup of tea. They travel beautifully, too.
- A Crowd-Pleaser Every Time: I have brought these to potlucks, family gatherings, and even a casual book club meeting. They disappear faster than almost anything else I bring. Kids love the sweet-tart jam, and adults appreciate the sophisticated texture from the chia seeds.
- Unbelievably Satisfying Texture: The magic is in the contrast. You get a crunchy, buttery oat crust, a soft, sticky, and intensely fruity jam layer, and another layer of golden, crumbly oat topping. It is a textural masterpiece that feels way more complicated than it actually is.
What makes this recipe different is the chia seed jam itself. It thickens naturally without needing to boil it down for ages, which means the raspberry flavor stays incredibly bright and fresh. It is not a dense, overly sweet preserve; it is a vibrant, almost fresh-tasting fruit filling that perfectly balances the rich, buttery oat crust. This is comfort food that feels good to eat—and even better to share.
What Ingredients You Will Need
This recipe relies on a short list of pantry-friendly ingredients that work together to create something truly special. The quality of your raspberries and the type of oats you use make a real difference here, so I have included a few notes to help you pick the best.
For the Raspberry Chia Seed Jam
- 3 cups fresh or frozen raspberries (12 oz) – If using frozen, do not thaw them first. They will break down perfectly in the pan. Fresh raspberries are lovely in peak summer, but frozen berries often have a more consistent flavor and are more budget-friendly year-round.
- 3 tablespoons pure maple syrup – This adds a gentle, warm sweetness that complements the tartness of the raspberries. You can substitute honey, but the flavor profile will change slightly.
- 2 tablespoons chia seeds – These are the star of the show for the jam. They absorb liquid and swell, creating a natural gel-like texture. I prefer white chia seeds for a more uniform color, but black ones work just as well.
- 1 tablespoon fresh lemon juice – This brightens the flavor of the berries and helps the jam set. Do not skip it.
- Pinch of fine sea salt – Just a tiny bit to balance the sweetness and enhance the fruit flavor.
For the Oat Crumble Crust & Topping
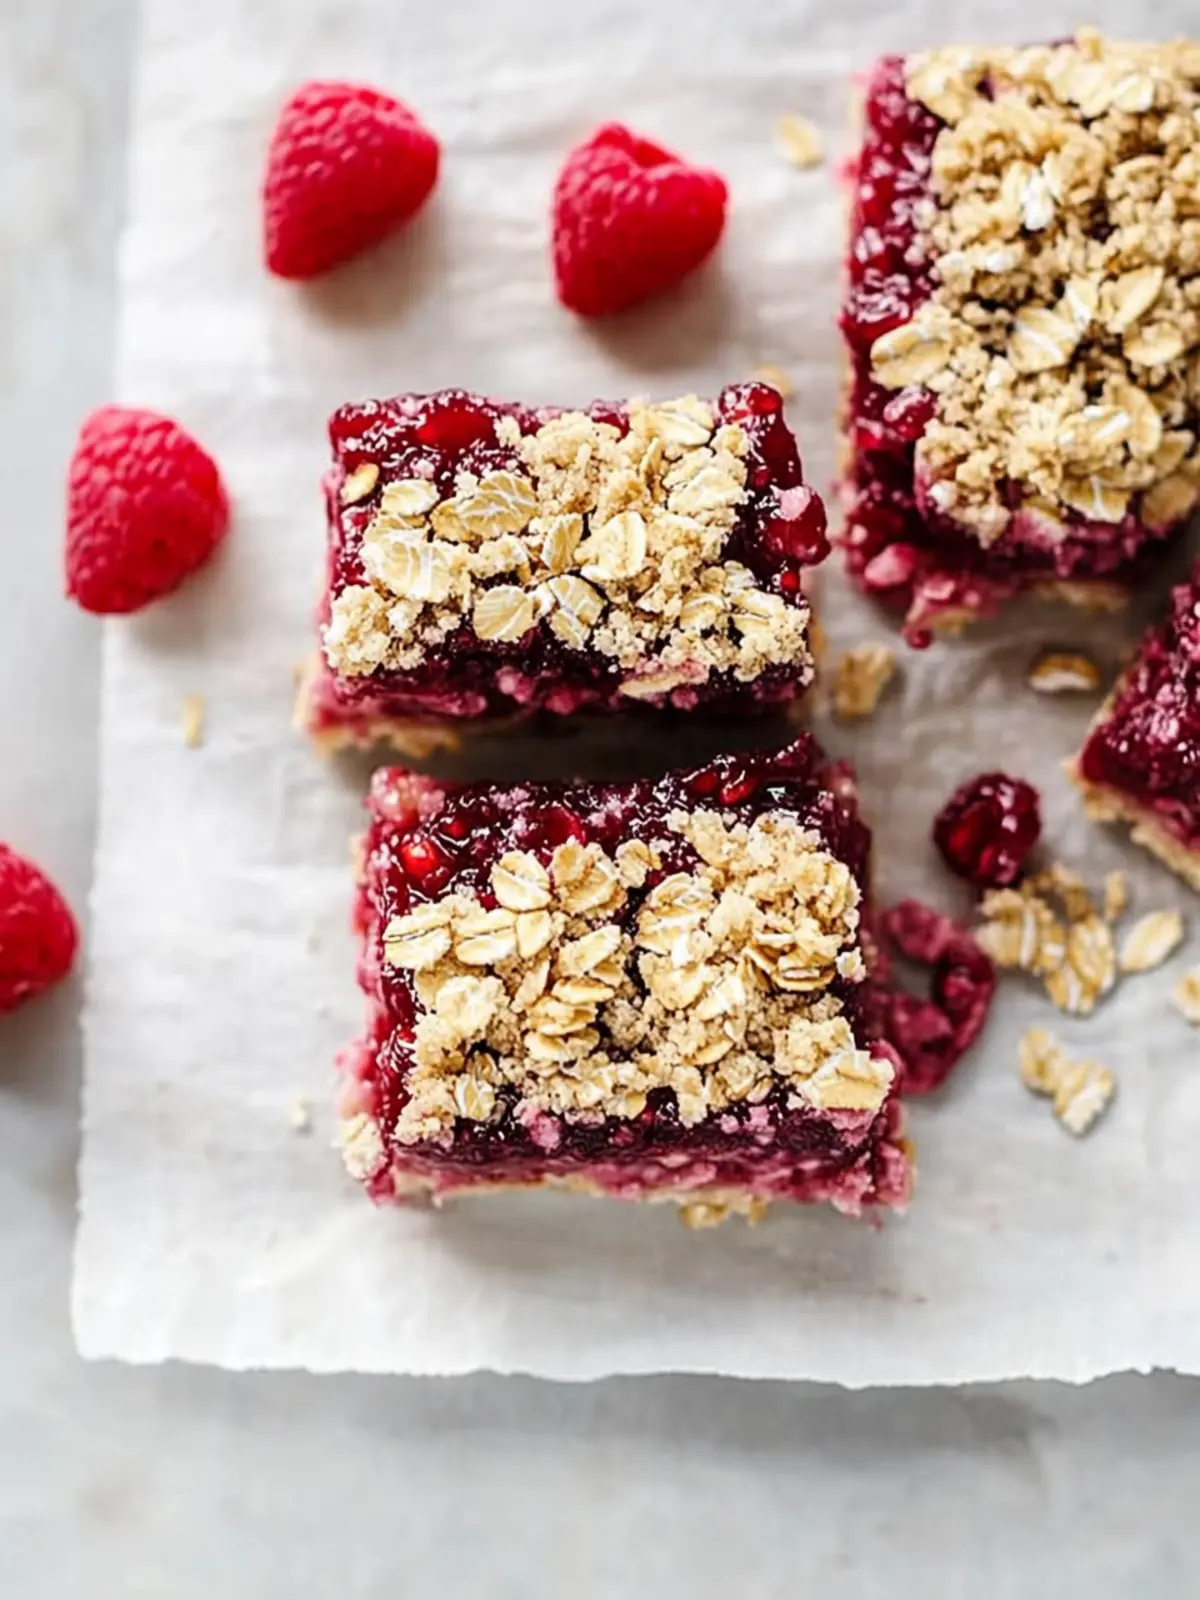
- 1 ½ cups old-fashioned rolled oats (135 g) – Do not use instant or quick-cooking oats here. They will turn to mush. Old-fashioned oats give the crust and topping that wonderful, nubby texture and toasted flavor. For a gluten-free version, use certified gluten-free oats.
- 1 ½ cups all-purpose flour (180 g) – Spoon and level your flour for the best results. You can substitute a high-quality 1:1 gluten-free baking blend.
- ¾ cup packed light brown sugar (150 g) – This gives the oat mixture a deeper, almost caramel-like flavor compared to white sugar. It also helps the crumble get beautifully golden.
- ½ teaspoon ground cinnamon – A warm spice that pairs beautifully with raspberries. It is subtle but essential.
- ¼ teaspoon baking soda – This helps the crust get slightly crisp and tender, not dense.
- ½ teaspoon fine sea salt – Crucial for balancing the sweetness of the crust.
- ¾ cup unsalted butter (170 g), melted and slightly cooled – Melted butter is the key to this recipe’s ease. It creates a cohesive dough that presses perfectly into the pan. If you use salted butter, reduce the added salt to ¼ teaspoon.
Equipment Needed
You don’t need a fancy kitchen to pull these off, which is part of their charm. Here is what you will need:
- 8×8-inch square baking pan – This is the perfect size for getting nice, thick squares. A 9×9-inch pan will work, but your squares will be thinner and may bake a few minutes faster.
- Parchment paper – Absolutely essential for easy removal. Leave an overhang on two opposite sides to create “handles.”
- Medium saucepan – For making the chia seed jam. A heavy-bottomed pan is best to prevent scorching.
- Large mixing bowl – For the oat crumble mixture.
- Wooden spoon or silicone spatula – For stirring the jam and mixing the dough.
- Measuring cups and spoons – For accuracy.
- Cooling rack – Essential for letting the squares cool completely so they set properly. Patience is a virtue here.
Preparation Method
Let’s get baking. This recipe flows really smoothly if you make the jam first and let it cool slightly while you prepare the crust. Here is the step-by-step process that always works for me.
- Preheat and Prep: Preheat your oven to 350°F (175°C). Line your 8×8-inch baking pan with a sheet of parchment paper, leaving a 1-2 inch overhang on two opposite sides. This will be your sling to lift the finished squares out later. Set the pan aside.
- Make the Raspberry Chia Seed Jam: In a medium saucepan, combine the raspberries (fresh or frozen), maple syrup, and lemon juice. Place the pan over medium heat. Cook, stirring occasionally with a wooden spoon, until the berries begin to break down and release their juices. This takes about 5-7 minutes for fresh berries, a bit longer for frozen. Gently mash the berries with the back of your spoon to your desired consistency. I like it a little chunky, but you can make it completely smooth if you prefer.
- Thicken the Jam: Once the berries have broken down, stir in the chia seeds and the pinch of salt. Reduce the heat to low and let the mixture simmer gently for 5-7 minutes, stirring frequently. You will see it start to thicken noticeably. It should look like a loose jam. Do not walk away—chia seeds can stick to the bottom. Remove the pan from the heat and let it cool for at least 10-15 minutes while you make the crust. The jam will continue to thicken as it cools.
- Make the Oat Crumble Base: In a large mixing bowl, whisk together the rolled oats, all-purpose flour, packed brown sugar, cinnamon, baking soda, and salt. Make sure there are no lumps of brown sugar. Pour the melted (and slightly cooled) butter over the dry ingredients. Use a spatula or wooden spoon to mix until everything is evenly moistened and the mixture looks like wet sand. It should clump together when you squeeze a bit in your hand.
- Press the Crust: Transfer about two-thirds of the oat mixture (roughly 2 ½ cups) into your prepared baking pan. Reserve the remaining one-third for the topping. Press the mixture firmly and evenly into the bottom of the pan. I use the flat bottom of a measuring cup to get it really compact. An even, tight crust is crucial so the jam doesn’t seep underneath.
- Assemble the Layers: Pour the slightly cooled chia seed jam over the pressed crust. Use your spatula to spread it into an even layer, reaching all the way to the edges. Sprinkle the reserved oat mixture evenly over the top of the jam. Do not press it down! You want it to stay loose and crumbly so it bakes into a golden, textured topping.
- Bake to Golden Perfection: Place the pan in the preheated oven and bake for 30-35 minutes. The top should be a deep golden brown, and you will see the jam bubbling gently around the edges. The kitchen will smell absolutely incredible at this point. If your topping is browning too quickly after 25 minutes, tent the pan loosely with a piece of aluminum foil.
- Cool Completely (This is Non-Negotiable): Remove the pan from the oven and place it on a wire cooling rack. Let the squares cool in the pan for at least 1 hour at room temperature. Then, transfer the pan to the refrigerator and chill for at least 2 hours, or up to overnight. This is the hardest step, but it is the most important. The jam needs this time to fully set, and the bars need to firm up so you can cut clean squares. If you try to cut them while they are warm, you will end up with a delicious but messy crumble.
- Cut and Serve: Once completely chilled and set, use the parchment paper sling to lift the entire block out of the pan. Place it on a cutting board. Use a sharp chef’s knife to slice it into 9 or 16 squares, wiping the blade clean between cuts for the neatest edges. Let the squares sit at room temperature for about 10 minutes before serving to take the chill off.
Cooking Tips & Techniques
After making these squares more times than I can count, I have learned a few things the hard way. Here are my best tips to ensure your batch is perfect every single time.
- Do not skip the chill time. I cannot stress this enough. The first time I made these, I was impatient and tried to cut them after only 30 minutes of cooling. It was a disaster—a delicious, soupy disaster. The jam needs the cold temperature to fully gel, and the butter in the crust needs to re-solidify. Chilling for at least 2 hours is not a suggestion; it is a rule.
- Press the crust firmly. A loose crust will crumble into the jam. Use the bottom of a flat glass or a measuring cup to really tamp it down into an even, compact layer. This creates a solid foundation that supports the wet jam.
- Watch your jam consistency. The jam is ready when it has visibly thickened and coats the back of a spoon. It should not be runny. Remember that it will thicken more as it cools, but you want it to start from a thick base. If your jam seems too thin after 7 minutes of simmering, let it go for another 2-3 minutes.
- Use a sharp knife for clean cuts. A dull knife will drag through the oat topping and smear the jam. Run your knife under hot water, dry it off, and make a clean, decisive cut. Wipe the blade clean between each cut for the most beautiful presentation.
- Toast your oats for extra flavor. For a deeper, nuttier flavor, you can toast the rolled oats in a dry skillet over medium heat for 3-4 minutes before mixing them into the crust. Let them cool completely before using. It is a small extra step that adds a ton of flavor.
Variations & Adaptations
One of the best things about this recipe is how easy it is to adapt. Once you have the basic method down, the possibilities are endless. Here are a few of my favorite variations.
- Berry Medley Squares: Swap out half the raspberries for fresh or frozen blueberries, blackberries, or chopped strawberries. A mixed berry jam is just as delicious and gives the bars a beautiful, deep purple color.
- Peach or Apricot Version: In the summer, try this with diced ripe peaches or apricots. You will need about 2 ½ cups of chopped fruit. Because stone fruits have more water than berries, you may need to simmer the jam for an extra 5 minutes to let it reduce properly. It is a fantastic way to use up summer fruit.
- Nutty Crumble Twist: Add ½ cup of chopped pecans or sliced almonds to the reserved oat topping before sprinkling it over the jam. This adds a wonderful crunch and a toasty, buttery flavor that pairs beautifully with the raspberries.
- Citrus & Herb Infusion: Add the zest of one orange to the jam while it simmers, or stir in 1 teaspoon of finely chopped fresh thyme or rosemary along with the chia seeds. The herbs sound unusual, but they are incredible with the tart raspberries and sweet oat crust.
- Vegan & Dairy-Free Adaptation: This recipe is naturally vegan if you swap the butter for a high-quality vegan butter stick (not the spreadable kind in a tub). I have had great results with brands like Miyoko’s or Earth Balance. The rest of the ingredients are already plant-based.
Serving & Storage Suggestions
These squares are incredibly versatile when it comes to serving. They are perfect on their own, but a few simple additions can make them feel extra special.
Serving: I love serving these squares slightly chilled or at room temperature. A light dusting of powdered sugar right before serving makes them look bakery-ready. For an extra indulgent treat, serve a square with a scoop of vanilla bean ice cream or a dollop of lightly sweetened whipped cream. They are also fantastic alongside a cup of hot coffee or a glass of iced tea. For a fun, healthy-ish snack, pair them with a handful of our healthy raspberry bliss balls for a double dose of fruit and oats.
Storage: Store any leftover squares in an airtight container in the refrigerator. They will stay fresh for up to 5 days, though I doubt they will last that long. The flavors actually continue to meld and deepen over the first 24 hours, so they might taste even better on day two.
Freezing: These squares freeze beautifully. Once they are fully chilled and cut, place them in a single layer on a baking sheet and freeze for 1 hour. Then, transfer the frozen squares to a freezer-safe bag or container, separating layers with parchment paper. They will keep for up to 3 months. To thaw, simply let a square sit at room temperature for about 20 minutes, or enjoy it straight from the freezer for a cold, chewy treat.
Nutritional Information & Benefits
While these are definitely a treat, they are made with ingredients that offer some real nutritional benefits compared to a standard packaged dessert bar. Here is a quick look at the estimated nutrition per square (based on 9 servings).
| Nutrient | Amount Per Square |
|---|---|
| Calories | ~320 |
| Fat | 16g |
| Carbohydrates | 42g |
| Fiber | 6g |
| Sugar | 22g |
| Protein | 4g |
Health Highlights: The raspberries are packed with antioxidants and vitamin C, while the chia seeds are a fantastic source of omega-3 fatty acids, fiber, and protein. The oats provide complex carbohydrates for sustained energy. This is a dessert that gives you a little something back. For a savory counterpoint to this sweet treat, try our cozy detox Moroccan lentil soup for a balanced meal plan.
Conclusion
These Homemade Raspberry Chia Seed Jam Oat Crumble Squares are more than just a dessert—they are a little moment of joy. They are the kind of recipe that proves you do not need fancy techniques or hard-to-find ingredients to create something truly memorable. Whether you are making them for a special occasion or just because it is Tuesday, they deliver every single time.
I honestly love how forgiving this recipe is. You can swap the fruit, adjust the sweetness, or add your favorite nuts and spices, and it still works. It is a blueprint for deliciousness that you can make your own. I would love to hear how your batch turns out! Did you try a different fruit combination? Did you add a little extra cinnamon? Drop a comment below and let me know—your variations might just inspire someone else’s next bake.
Go ahead, preheat that oven. Your new favorite dessert is waiting.
Frequently Asked Questions
Can I use quick-cooking oats instead of old-fashioned rolled oats?
I do not recommend it. Quick-cooking oats are more processed and will break down too much during baking, resulting in a denser, mushier crust and topping. Old-fashioned rolled oats provide the best texture and structure for these squares.
My jam turned out too runny. What did I do wrong?
This usually happens if the jam was not simmered long enough to allow the chia seeds to fully gel, or if the bars were not chilled long enough before cutting. Make sure you simmer the jam for the full 5-7 minutes until it is visibly thick. Also, be patient with the chilling time—a full 2 hours in the fridge is essential for the jam to set properly.
Can I make this recipe nut-free?
Yes, this recipe is naturally nut-free as written. Just be sure to use certified gluten-free oats if you are also avoiding gluten, as some oats can be processed in facilities that handle nuts. Avoid any nut-based toppings or add-ins.
How do I make the squares look clean and professional when cutting?
The secret is patience and a sharp knife. Ensure the bars are fully chilled and set. Use a long, sharp chef’s knife and wipe the blade clean with a damp paper towel between each cut. This prevents the jam and crumbs from smearing across the next square.
Can I double this recipe for a 9×13-inch pan?
Absolutely. To make a larger batch in a 9×13-inch pan, simply double all the ingredients. The baking time will increase slightly, so start checking at the 35-minute mark. You may need to bake for 40-45 minutes total. Keep an eye on the topping and tent with foil if it starts to brown too quickly.
Pin This Recipe!
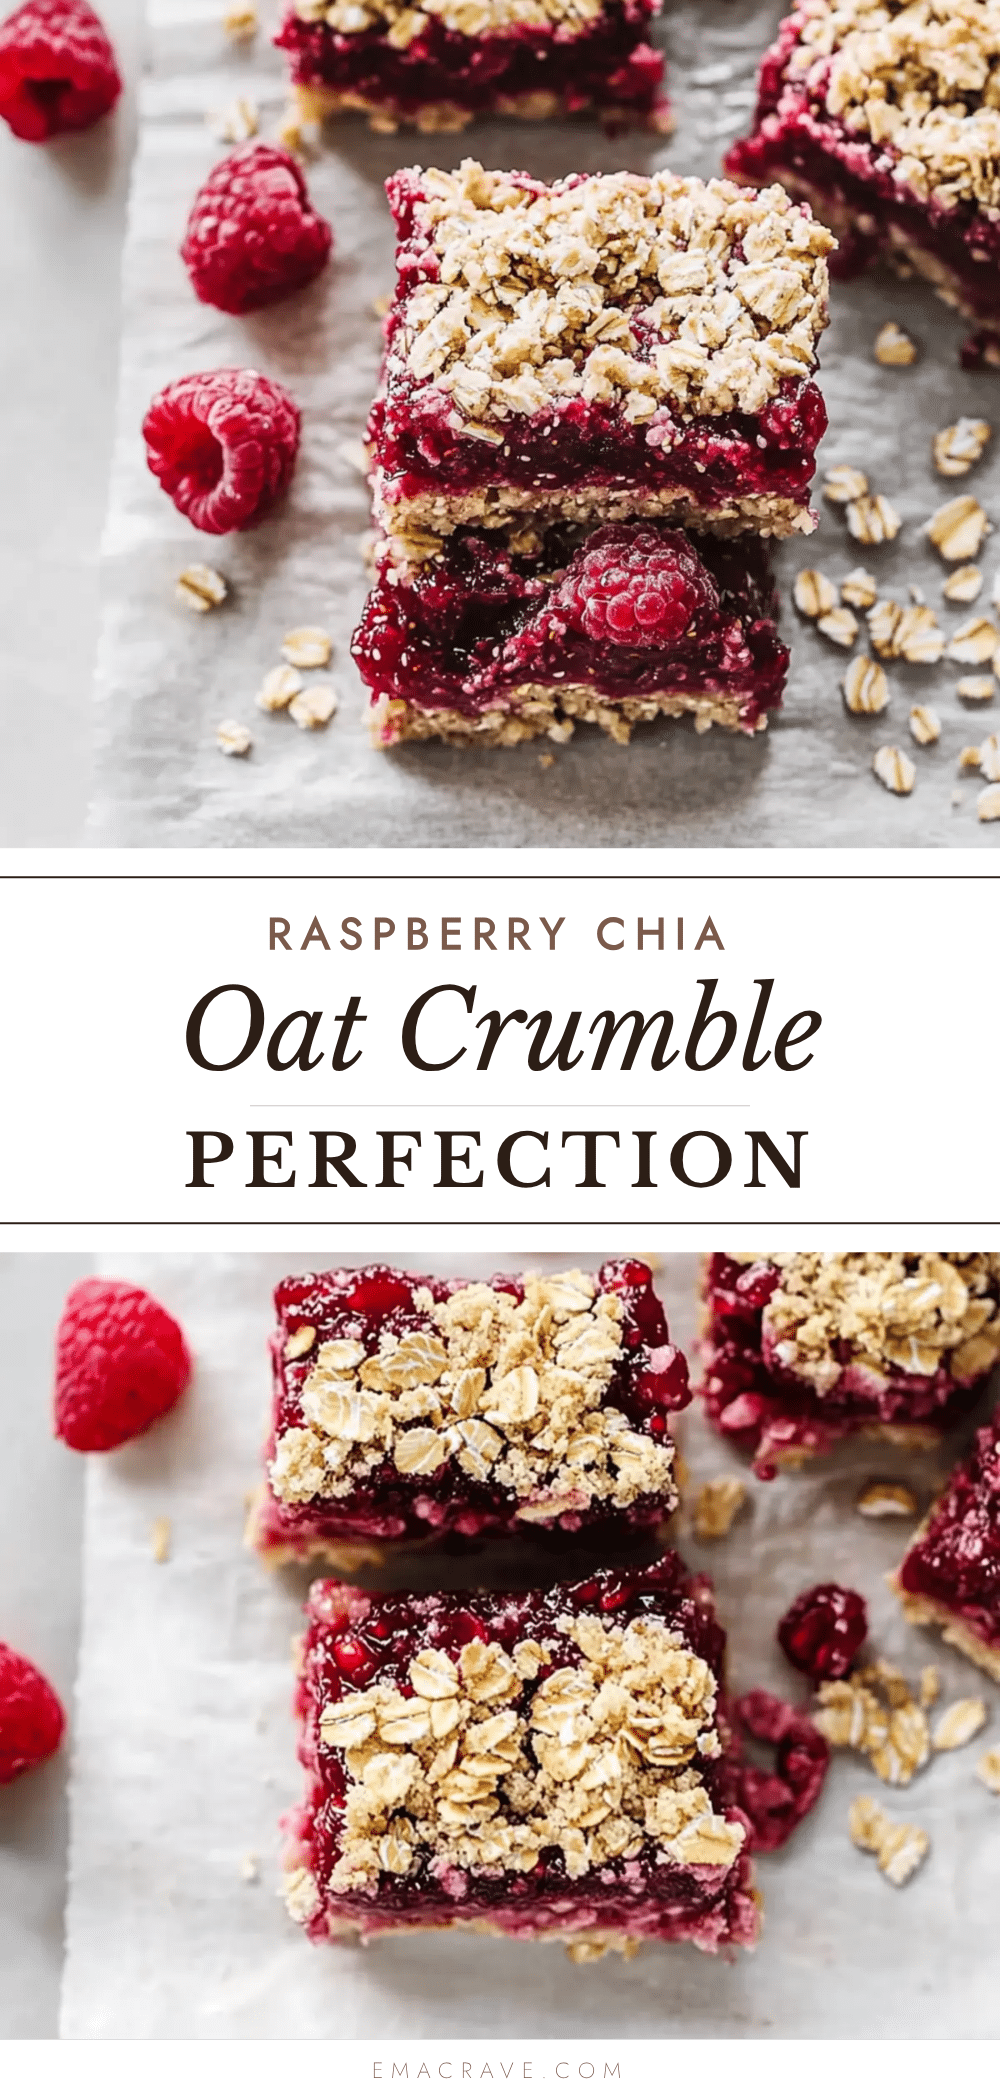
Homemade Raspberry Chia Seed Jam Oat Crumble Squares
These raspberry chia seed jam oat crumble squares are the perfect balance of wholesome and indulgent. A buttery oat crust, a bright and fresh chia seed jam, and a golden crumble topping come together for a dessert that feels like a hug.
- Prep Time: 15 minutes
- Cook Time: 35 minutes
- Total Time: 3 hours 50 minutes (includes cooling and chilling)
- Yield: 9 servings 1x
- Category: Dessert
- Cuisine: American
Ingredients
- 3 cups fresh or frozen raspberries (12 oz)
- 3 tablespoons pure maple syrup
- 2 tablespoons chia seeds
- 1 tablespoon fresh lemon juice
- Pinch of fine sea salt
- 1 ½ cups old-fashioned rolled oats (135 g)
- 1 ½ cups all-purpose flour (180 g)
- ¾ cup packed light brown sugar (150 g)
- ½ teaspoon ground cinnamon
- ¼ teaspoon baking soda
- ½ teaspoon fine sea salt
- ¾ cup unsalted butter (170 g), melted and slightly cooled
Instructions
- Preheat your oven to 350°F (175°C). Line an 8×8-inch baking pan with parchment paper, leaving a 1-2 inch overhang on two opposite sides.
- Make the jam: In a medium saucepan, combine raspberries, maple syrup, and lemon juice. Cook over medium heat, stirring occasionally, until berries break down (5-7 minutes for fresh, a bit longer for frozen). Gently mash to desired consistency.
- Stir in chia seeds and salt. Reduce heat to low and simmer for 5-7 minutes, stirring frequently, until thickened. Remove from heat and let cool for 10-15 minutes.
- Make the oat crumble: In a large bowl, whisk together oats, flour, brown sugar, cinnamon, baking soda, and salt. Pour in melted butter and mix until evenly moistened and clumpy.
- Press about two-thirds of the oat mixture firmly into the bottom of the prepared pan. Reserve the remaining one-third for topping.
- Spread the slightly cooled jam evenly over the crust. Sprinkle the reserved oat mixture over the jam without pressing down.
- Bake for 30-35 minutes, until the top is deep golden brown and jam bubbles at the edges. If browning too quickly, tent with foil after 25 minutes.
- Cool in the pan on a wire rack for at least 1 hour at room temperature, then refrigerate for at least 2 hours (or overnight) to fully set.
- Use the parchment sling to lift the block out of the pan. Cut into 9 or 16 squares with a sharp knife, wiping the blade clean between cuts. Let sit at room temperature for 10 minutes before serving.
Notes
Do not skip the chill time—it’s essential for the jam to set and for clean cuts. Press the crust firmly to prevent the jam from seeping underneath. For extra flavor, toast the oats in a dry skillet before mixing. The jam will continue to thicken as it cools.
Nutrition
- Serving Size: 1 square
- Calories: 320
- Sugar: 22
- Sodium: 180
- Fat: 16
- Saturated Fat: 9
- Carbohydrates: 42
- Fiber: 6
- Protein: 4
Keywords: raspberry chia seed jam, oat crumble squares, gluten-free dessert, healthy dessert, fruit bars, vegan option



