Love this? Save it for later!
Share the inspiration with your friends
I was standing in the grocery store aisle, staring at a package of chocolate pudding mix and a bag of gummy worms, feeling a little ridiculous. My niece’s birthday was the next day, and I had promised her a “creepy” dessert. Not scary, she had specified, just creepy. I had zero time and even less patience for complicated baking. I grabbed the pudding, the worms, and a sleeve of Oreos, figuring I could at least throw something together. Honestly, I thought it would be a half-hearted attempt, a last-minute save. I crushed the cookies in a Ziploc bag with a rolling pin (my go-to stress reliever), whipped up the pudding, and layered everything in little cups. The next day, those little cups of chocolate and dirt were the first thing to disappear at the party. The kids went absolutely wild, and the adults kept sneaking seconds. That was the moment I realized you don’t need fancy techniques to make something memorable. Sometimes, the simplest ideas are the ones that stick with you.
These easy worm dirt cups are exactly that—a ridiculously simple treat that looks like you put in way more effort than you actually did. It’s the perfect blend of creamy, crunchy, and a little bit mischievous. Every time I make them, I get that same feeling of surprise and delight from the first time. They’re just fun.
Why You’ll Love This Recipe
Let me tell you, after making these for every Halloween party, classroom celebration, and backyard barbecue for the last five years, I’ve learned a thing or two. This isn’t just a recipe; it’s a guaranteed crowd-pleaser that takes almost no effort.
- Quick & Easy: You can have these assembled in under 20 minutes. No baking, no complicated steps. Perfect for when you need a dessert now.
- Simple Ingredients: A short list of pantry staples. You probably already have the pudding mix, milk, and Oreos in your kitchen.
- Perfect for Any Occasion: Obviously great for Halloween, but I’ve brought these to Easter brunch (with different candy), summer picnics, and even as a silly surprise for a friend’s bad day. They fit in anywhere.
- Kid-Approved & Adult-Approved: Kids love the creepy factor, and adults love the nostalgic, no-fuss chocolate pudding. It’s a win-win.
- Unbelievably Customizable: You can switch up the pudding flavor, the type of cookie crumbs, or the candy worms. It’s a blank canvas for your own creepy creations.
What makes these dirt cups different from the rest? It’s the texture. You get the silky smooth pudding, the fine, sandy “dirt” from the crushed cookies, and the chewy, slightly sour gummy worms. It’s a perfect little ecosystem of textures in one cup. It’s the kind of dessert that makes you close your eyes after the first bite, not because it’s fancy, but because it’s just so satisfyingly good. It’s comfort food with a wink.
What Ingredients You Will Need
This recipe uses a handful of simple ingredients to create maximum fun. The beauty is in the simplicity, so let’s break down what you’ll need and why each one matters.
- 1 (3.9 oz) package instant chocolate pudding mix: This is the base of our “mud.” I prefer the Jell-O brand for its consistent, smooth texture. Make sure it’s the instant kind, not the cook-and-serve, or the texture will be all wrong.
- 2 cups cold milk: Whole milk makes for the richest, creamiest pudding. But 2% works great, and I’ve even used oat milk or almond milk in a pinch. Just make sure it’s very cold so the pudding sets up properly.
- 1 (14.3 oz) package Oreo cookies: These are the classic choice for “dirt.” The chocolate cookie with the cream filling crumbles into the perfect dark, soil-like texture. I’ve tried other chocolate sandwich cookies, but Oreos really are the gold standard here.
- 1 (5 oz) bag gummy worms: The stars of the show! I like the classic sour worms for that extra tangy contrast against the sweet pudding. You can use any shape or flavor you like, but the classic red, orange, and green worms look the most “creepy” and fun.
- Optional: Whipped topping (like Cool Whip): A dollop on top is a nice touch, but totally optional. It adds a little cloud-like softness to the “dirt.”
- Optional: A few drops of green food coloring: If you want to make your pudding look like swampy mud instead of just chocolate pudding, a tiny drop of green will do the trick. Use it sparingly!
Ingredient Selection Tips: For the best texture, make sure your milk is ice cold. It helps the pudding thicken faster and more evenly. When choosing your gummy worms, look for a brand that is soft and chewy, not hard. The contrast with the creamy pudding is key. If you’re making these for a party, you can even find “sour” or “spooky” shaped gummy worms around Halloween.
Equipment Needed
You don’t need any fancy kitchen gadgets for this one. Here’s what you’ll need to have on hand:
- Mixing bowls: One medium bowl for the pudding and one small bowl for the crushed cookies.
- Whisk: For mixing the pudding. A sturdy whisk is best to get out any lumps.
- Rolling pin or food processor: To crush the Oreos into fine crumbs. A rolling pin and a Ziploc bag is my favorite method—it’s oddly satisfying and gives you a great arm workout! A food processor makes it even faster.
- Ziploc bag: For the rolling pin method. A gallon-sized bag works best.
- Small cups or glasses: Clear plastic cups are perfect so you can see the layers. I use 7-ounce cups, but you can use any size. Shot glasses make for a fun, bite-sized party treat.
- Spatula: For scraping every last bit of pudding into the cups.
- Measuring cups: For the milk.
Budget-Friendly Tip: Don’t have a food processor? Don’t worry! The Ziploc bag and rolling pin method is free and works perfectly. It’s also a great way to get kids involved in the kitchen.
Preparation Method
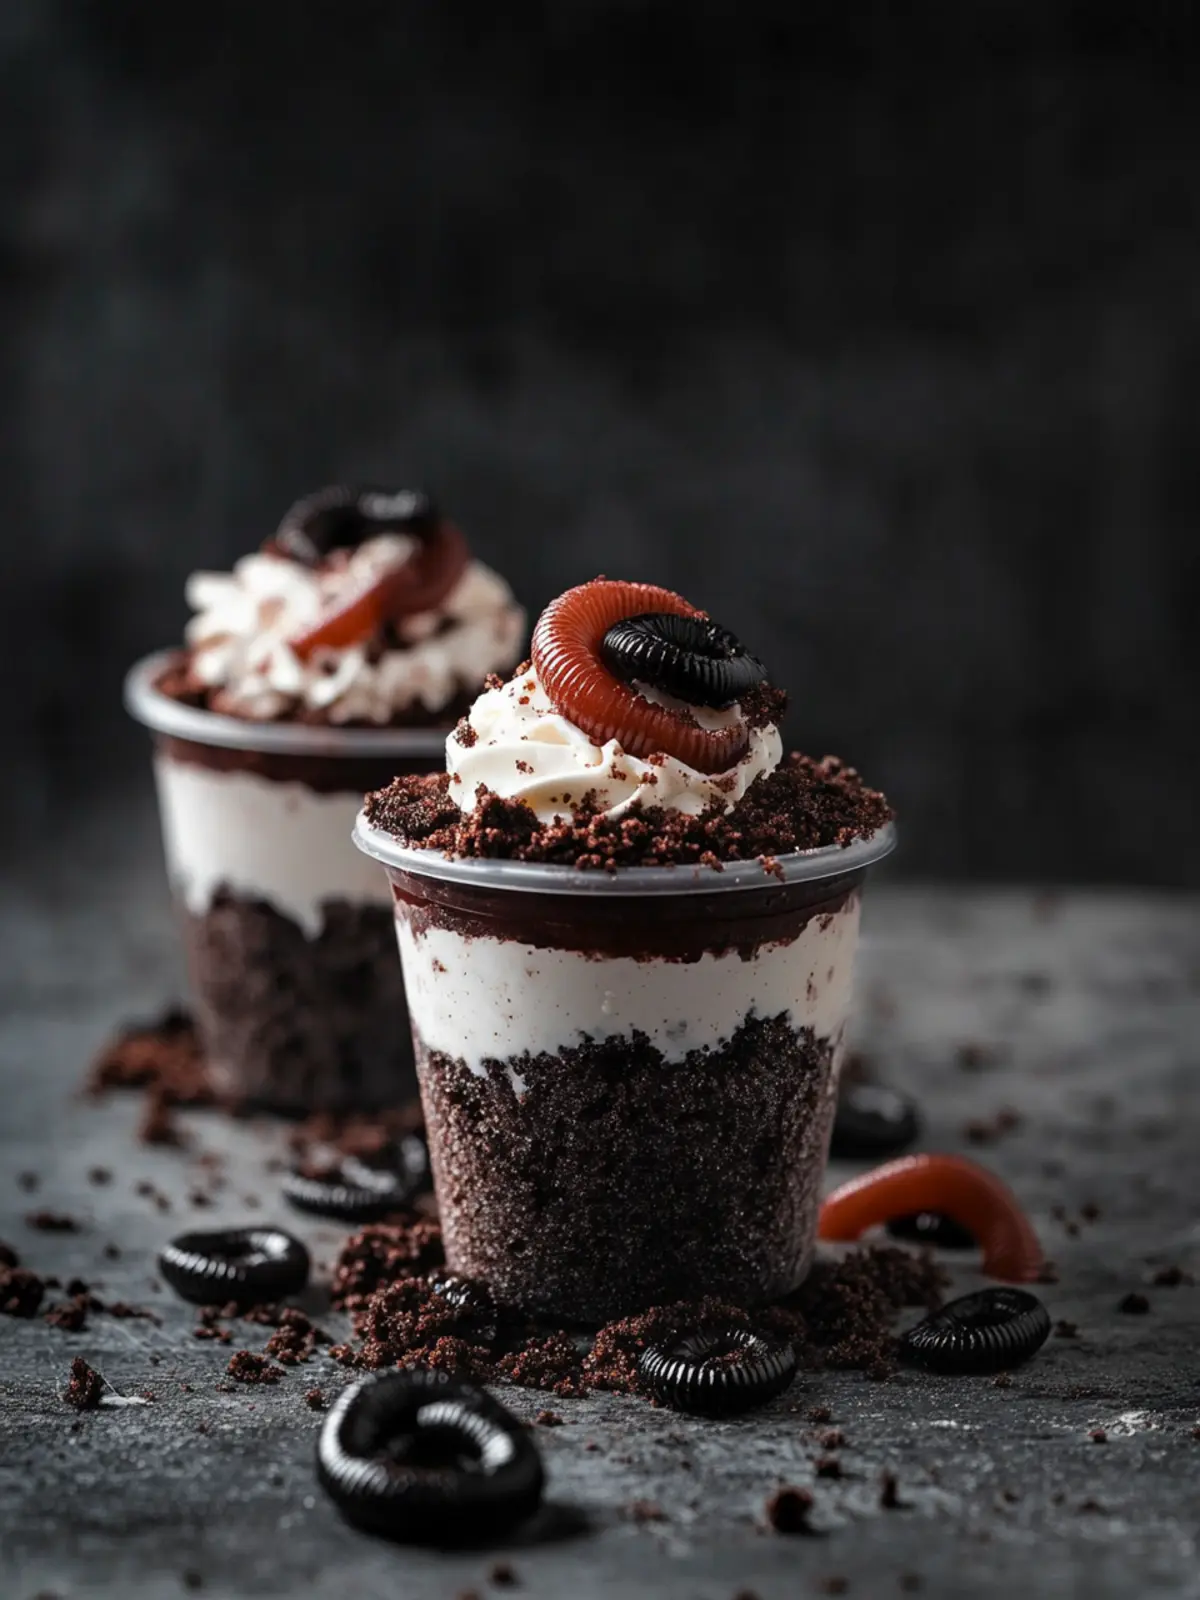
This is where the magic happens. Follow these steps, and you’ll have a batch of creepy, fun dirt cups in no time.
- Crush the Oreos: Place the entire package of Oreos (cream filling and all) into a large Ziploc bag. Seal it tight, removing as much air as possible. Use a rolling pin to crush the cookies into fine crumbs. You want them to look like dark, rich soil. Don’t over-crush them into a powder, but make sure there are no large chunks. Set the crumbs aside in a small bowl.
- Make the chocolate pudding: In a medium mixing bowl, combine the instant chocolate pudding mix and the 2 cups of cold milk. Whisk vigorously for about 2 minutes, until the mixture is smooth and begins to thicken. It will be quite thin at first, but it will set up quickly. Trust the process.
- Assemble the cups: Grab your small cups or glasses. Start with a layer of the crushed Oreo “dirt” at the bottom of each cup. I usually use about 1-2 tablespoons per cup, depending on the size. This creates a nice foundation.
- Add the pudding: Spoon or pour the chocolate pudding over the Oreo layer, filling each cup about halfway or two-thirds full. Leave some room at the top for the final layer of “dirt.”
- Add the gummy worms: This is the fun part! Gently poke a couple of gummy worms into the pudding, letting them peek out of the top. Place them so it looks like they are crawling out of the “mud.” You can even have one worm “dangling” over the edge of the cup for extra creepiness.
- Top with more “dirt”: Sprinkle a generous final layer of the crushed Oreo crumbs over the top of the pudding. Make sure it completely covers the surface, hiding the worms underneath. It should look like a little cup of soil.
- Chill (optional but recommended): For the best texture, place the assembled dirt cups in the refrigerator for at least 30 minutes. This allows the pudding to fully set and the flavors to meld. If you’re in a rush, you can serve them immediately, but the pudding will be a bit softer.
- Garnish and serve: If you’re using whipped topping, add a small dollop on top of the “dirt” before serving. You can also add a few extra gummy worms on top for a final, dramatic touch. Serve chilled and watch the smiles appear.
Sensory Cue: When you whisk the pudding, you should see it go from a thin, liquidy state to a thick, glossy, pudding-like consistency. The Oreo crumbs should smell deeply chocolatey and look like dark, fine sand.
Cooking Tips & Techniques
After making these dirt cups more times than I can count, I’ve picked up a few tricks that make a real difference.
- Chill your bowl and whisk: If you have time, pop your mixing bowl and whisk in the freezer for 10 minutes before making the pudding. The extra-cold equipment helps the pudding set up faster and thicker.
- The perfect Oreo crumb: Don’t crush the Oreos into a dust. You want a mix of fine crumbs and slightly bigger, sandy pieces. This gives the “dirt” a more authentic, textured look. A few visible specks of the white cream filling are totally fine and add to the visual.
- Don’t over-whisk the pudding: Once it’s smooth and starting to thicken, stop. Over-whisking can make the pudding grainy or separate. Just whisk until it’s combined and has a pudding-like consistency.
- Layer strategically: When you add the gummy worms, don’t just stick them straight in. Bend them slightly or curl them up so they look like they are wriggling. This small detail makes a huge difference in the “creepy” factor.
- Make ahead: These are perfect for making the day before a party. Assemble them completely, cover them with plastic wrap, and refrigerate. The flavors will meld beautifully, and the pudding will be perfectly set. Just don’t add the whipped topping until right before serving.
Variations & Adaptations
One of the best things about this recipe is how easily you can adapt it. Here are a few of my favorite twists.
- Peanut Butter Dirt Cups: Use chocolate pudding and add a tablespoon of creamy peanut butter to the pudding mixture before whisking. It adds a rich, salty depth that is incredible. You can also use peanut butter cookie crumbs instead of Oreos.
- Vanilla or Butterscotch Dirt Cups: Swap the chocolate pudding for instant vanilla or butterscotch pudding. Use golden Oreos or crushed vanilla wafers for the “dirt.” The flavor combination is surprisingly delicious and looks like sandy soil.
- Gluten-Free Dirt Cups: Use a gluten-free chocolate sandwich cookie (like Glutino) for the “dirt” and a gluten-free instant pudding mix. This makes the treat accessible for everyone without sacrificing any of the fun.
- Vegan Dirt Cups: Use a vegan instant pudding mix (check the label) and your favorite plant-based milk (like oat or coconut). Use a vegan chocolate sandwich cookie. The texture will be slightly different, but it’s still incredibly creamy and delicious.
- Spooky Swamp Cups: Add a few drops of green food coloring to the chocolate pudding before whisking. It turns the “mud” into a murky, swampy green. It’s a fun, visual twist that kids especially love.
I once made a batch with a layer of crushed s’mores crescent rolls crumbled into the bottom instead of the Oreos. It was a total experiment, and honestly, it was a little messy, but the combination of chocolate, marshmallow, and graham cracker was absolutely fantastic.
Serving & Storage Suggestions
These dirt cups are best served cold, straight from the refrigerator. The contrast between the cold, creamy pudding and the crunchy “dirt” is what makes them so satisfying.
Serving Presentation: For a party, arrange the cups on a large platter or a baking sheet. You can scatter a few extra gummy worms around the base of the cups for a dramatic, “infested” look. If you’re feeling extra creative, you can even add a small plastic spider or a few edible fake eyeballs to the top for a truly spooky presentation.
Complementary Dishes: These are fantastic on their own, but they pair beautifully with other easy treats. A batch of pumpkin spice latte bark or some cinnamon apple cookies makes for a perfect fall dessert spread.
Storage: Store any leftover dirt cups in the refrigerator, covered with plastic wrap or a lid. They will stay fresh for up to 3 days. The pudding may soften the Oreo crumbs over time, but they will still be delicious.
Reheating: Do not reheat these. They are meant to be served cold. If the pudding gets too thick after a day or two, you can stir in a tiny splash of milk to loosen it up.
Flavor Development: The flavors actually meld and deepen overnight. The gummy worms soften slightly, and the chocolate flavor becomes more pronounced. I honestly think they taste even better the next day.
Nutritional Information & Benefits
Let’s be real—this is a treat, not a health food. But it’s good to know what you’re getting into. The nutritional values will vary based on the specific brands and ingredients you use.
Estimated Nutritional Information (per serving, based on 6 servings):
- Calories: ~350-400
- Fat: ~15g
- Carbohydrates: ~55g
- Protein: ~5g
- Sugar: ~40g
Health Benefits of Key Ingredients:
- Chocolate: Dark chocolate (in the Oreos) contains antioxidants. It’s a little bit of a stretch, but every little bit helps!
- Milk: Provides calcium and vitamin D for strong bones. A small silver lining in a sweet treat.
- Gummy Worms: They are essentially pure sugar, but they do bring a lot of joy. And joy is its own kind of health benefit.
Dietary Considerations: This recipe can be easily adapted to be gluten-free and vegan (as noted in the variations). It is not suitable for low-carb or keto diets because of the high sugar content. Be mindful of potential allergens like dairy, gluten, and soy (depending on the brands used).
My personal perspective? I don’t make these every day, but when I do, I don’t feel an ounce of guilt. Life is about balance, and sometimes, a little bit of creepy, fun, chocolatey indulgence is exactly what the soul needs.
Conclusion
So there you have it—the easiest, most fun, and creepiest little treat you can make in under 20 minutes. These easy worm dirt cups are proof that you don’t need a culinary degree or a lot of time to create something that brings a huge smile to people’s faces. They are perfect for Halloween parties, classroom celebrations, or just a random Tuesday when you need a little bit of silly fun.
I love this recipe because it’s a reminder that the best moments are often the simplest. It’s about gathering around a table, laughing at the wriggling gummy worms, and sharing a sweet, chocolatey memory. Don’t be afraid to customize them—make them your own. Use different cookies, different pudding, or different candy. The possibilities are endless.
I’d love to see your creepy creations! Leave a comment below and tell me how you made these dirt cups your own. Share a photo on Pinterest and tag me—I can’t wait to see your spooky, fun, and delicious results. Happy cooking!
Frequently Asked Questions
Can I use cook-and-serve pudding instead of instant?
You can, but the texture will be different. Cook-and-serve pudding is thicker and more gelatinous, while instant pudding is creamier and more mousse-like. For the classic dirt cup texture, I highly recommend sticking with instant pudding.
How far in advance can I make these?
You can make them up to 2 days in advance. Assemble them completely, cover them with plastic wrap, and store them in the refrigerator. The Oreo crumbs will soften slightly, but they will still be delicious. Add any whipped topping right before serving.
Can I use a different type of cookie for the “dirt”?
Absolutely! Golden Oreos, vanilla wafers, chocolate graham crackers, or even crushed chocolate chip cookies work great. Just make sure they are crushed into a fine crumb to resemble dirt.
My pudding didn’t set up. What went wrong?
This usually happens if the milk wasn’t cold enough or if you didn’t whisk it long enough. Make sure your milk is very cold, and whisk for a full 2 minutes. If it still doesn’t set, you can try chilling it for an extra 10-15 minutes in the freezer.
Can I make these in a large dish instead of individual cups?
Yes! You can make a large “dirt cake” in a 9×13-inch dish. Just layer the pudding and Oreo crumbs, then poke the gummy worms into the top. It’s a great option for a party where you want a more shareable dessert.
Pin This Recipe!
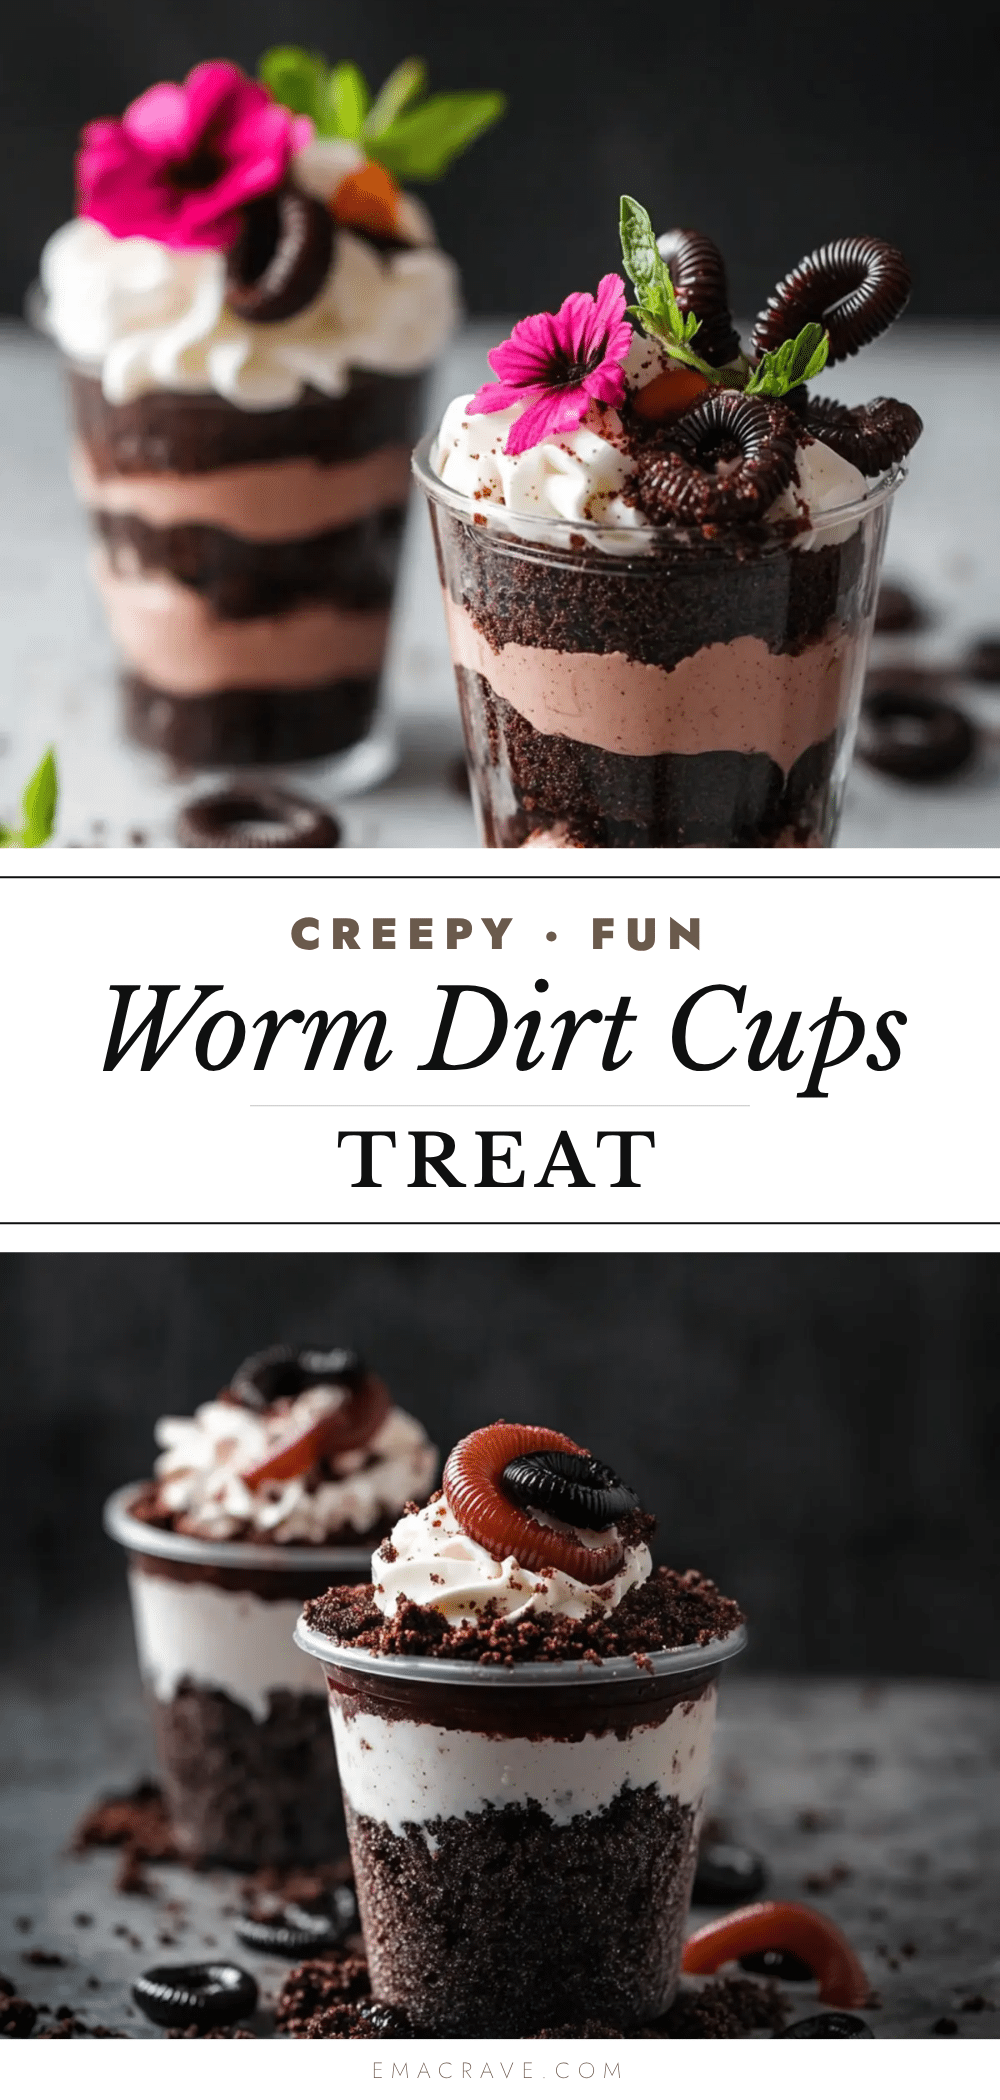
Easy Worm Dirt Cups: Best Creepy Fun Treat Recipe

These easy worm dirt cups are a ridiculously simple treat that looks like you put in way more effort than you actually did. It’s the perfect blend of creamy, crunchy, and a little bit mischievous.
- Prep Time: 20 minutes
- Cook Time: 0 minutes
- Total Time: 20 minutes (plus optional 30 minutes chilling)
- Yield: 6 servings 1x
- Category: Dessert
- Cuisine: American
Ingredients
- 1 (3.9 oz) package instant chocolate pudding mix
- 2 cups cold milk
- 1 (14.3 oz) package Oreo cookies
- 1 (5 oz) bag gummy worms
- Optional: Whipped topping (like Cool Whip)
- Optional: A few drops of green food coloring
Instructions
- Crush the Oreos: Place the entire package of Oreos (cream filling and all) into a large Ziploc bag. Seal it tight, removing as much air as possible. Use a rolling pin to crush the cookies into fine crumbs. You want them to look like dark, rich soil. Don’t over-crush them into a powder, but make sure there are no large chunks. Set the crumbs aside in a small bowl.
- Make the chocolate pudding: In a medium mixing bowl, combine the instant chocolate pudding mix and the 2 cups of cold milk. Whisk vigorously for about 2 minutes, until the mixture is smooth and begins to thicken. It will be quite thin at first, but it will set up quickly. Trust the process.
- Assemble the cups: Grab your small cups or glasses. Start with a layer of the crushed Oreo “dirt” at the bottom of each cup. I usually use about 1-2 tablespoons per cup, depending on the size. This creates a nice foundation.
- Add the pudding: Spoon or pour the chocolate pudding over the Oreo layer, filling each cup about halfway or two-thirds full. Leave some room at the top for the final layer of “dirt.”
- Add the gummy worms: This is the fun part! Gently poke a couple of gummy worms into the pudding, letting them peek out of the top. Place them so it looks like they are crawling out of the “mud.” You can even have one worm “dangling” over the edge of the cup for extra creepiness.
- Top with more “dirt”: Sprinkle a generous final layer of the crushed Oreo crumbs over the top of the pudding. Make sure it completely covers the surface, hiding the worms underneath. It should look like a little cup of soil.
- Chill (optional but recommended): For the best texture, place the assembled dirt cups in the refrigerator for at least 30 minutes. This allows the pudding to fully set and the flavors to meld. If you’re in a rush, you can serve them immediately, but the pudding will be a bit softer.
- Garnish and serve: If you’re using whipped topping, add a small dollop on top of the “dirt” before serving. You can also add a few extra gummy worms on top for a final, dramatic touch. Serve chilled and watch the smiles appear.
Notes
For best results, use ice-cold milk to help the pudding set faster. Crush Oreos into a mix of fine crumbs and slightly larger pieces for a more authentic ‘dirt’ look. These can be made up to 2 days in advance and stored in the refrigerator. Add whipped topping just before serving.
Nutrition
- Serving Size: 1 cup
- Calories: 375
- Sugar: 40
- Sodium: 350
- Fat: 15
- Saturated Fat: 5
- Carbohydrates: 55
- Fiber: 2
- Protein: 5
Keywords: worm dirt cups, Halloween dessert, easy dessert, no-bake dessert, chocolate pudding, Oreo dirt, gummy worms, creepy treat, kid-friendly dessert



