Love this? Save it for later!
Share the inspiration with your friends
I showed up to the Super Bowl party empty-handed. Not on purpose, obviously—I had a bag of tortilla chips in one hand and a jar of salsa in the other, which I thought counted as an offering. But when I walked in and saw the spread, I felt a little embarrassed. There were platters of wings, a seven-layer dip the size of a car tire, and sliders. Lots of sliders. And the ones that disappeared first? The ham and cheese ones, but not just any ham and cheese—these had this glossy, golden-brown top and a sticky-sweet tang that hit you right before the salt.
I asked my friend Jen who made them. She pointed to her husband, Mike, who shrugged and said, “It’s just the pretzel bun ones with honey mustard. My mom used to make them for every party.” I grabbed one before they were gone. The bun was soft with that slight chew you get from pretzel bread, the ham was salty, the cheese was melted in that stretchy way, and the honey mustard glaze on top had caramelized into something almost candied. I stood there eating two more, nodding at people mid-bite, not even trying to hide it.
I asked Mike for the recipe. He texted it to me later that night—three lines of text with no measurements. “Some butter, some honey mustard, a little Worcestershire, brush on top, bake until bubbly.” That’s it. That’s the whole thing. I spent the next two weeks tweaking it, testing it on my family, bringing a tray to a neighbor just to see if they’d ask for more. They did. And honestly, these sliders have become my secret weapon for every gathering since. They’re not fancy. They’re not complicated. But they disappear every single time, and that’s the kind of recipe worth holding onto.
Why You’ll Love This Recipe
Let’s be real—most appetizers are either too fussy or too boring. These honey mustard ham and cheese pretzel sliders hit that sweet spot where they feel special but take almost no effort. I’ve made them for game days, book club, holiday parties, and even a random Tuesday when I needed something comforting. They work every time.
- Ready in under 25 minutes. From start to finish, you’re looking at about 20 minutes of oven time and maybe 5 minutes of assembly. That’s it.
- Simple ingredients you probably already have. Ham, cheese, pretzel buns, butter, honey mustard, and a few pantry staples. No special trips to a fancy grocery store.
- Perfect for feeding a crowd. These sliders scale up easily. Need 24 instead of 12? Just double everything and use a bigger baking dish.
- That sweet and salty combo. The honey mustard glaze gets all bubbly and caramelized on top, while the inside stays soft and cheesy. It’s the kind of bite that makes you close your eyes for a second.
- Way better than store-bought. Sure, you could buy frozen sliders, but these taste homemade without actually requiring any real cooking skills.
I’ve tested this recipe about seven times now, adjusting the glaze ratio and the cheese amount until it felt just right. The first batch I made was too dry—not enough butter in the topping. The second batch was too sweet. The third? That was the one. The cheese gets perfectly melty, the ham stays juicy, and the pretzel buns hold everything together without getting soggy. It’s comfort food that actually works for real life.
What Ingredients You Will Need
This recipe uses simple, everyday ingredients that come together to create something way bigger than the sum of their parts. Most of these are pantry staples or easy to find at any grocery store.
For the Sliders:
- 12 Hawaiian sweet rolls or slider buns – I prefer King’s Hawaiian for that soft, slightly sweet base, but any soft slider bun works. Pretzel buns add extra chew if you want to lean into the theme.
- 1 pound thinly sliced deli ham – Honey ham or black forest ham both work great. I usually go with honey ham because it plays nicely with the honey mustard. Avoid thick-cut ham here—it makes the sliders harder to bite into.
- 12 slices Swiss cheese – Swiss is classic for a reason. It melts beautifully and has that mild nutty flavor that doesn’t overpower the ham. Gruyère works too if you’re feeling fancy.
- 2 tablespoons salted butter – Melted, for brushing. Salted butter adds a little extra flavor to the glaze.
- 3 tablespoons honey mustard – I like Ken’s or Annie’s for a balanced sweet-tangy flavor. You can use Dijon mixed with honey if you don’t have honey mustard on hand.
- 1 tablespoon Dijon mustard – Adds a little sharpness to cut through the sweetness.
- 1 teaspoon Worcestershire sauce – This is the secret ingredient. It adds depth and umami that makes the glaze taste more complex than it is.
- 1 teaspoon poppy seeds – Optional, but they add a nice little crunch and make the sliders look prettier.
- ½ teaspoon garlic powder – For savory balance.
- Pinch of salt and black pepper – Just a little to bring everything together.
Equipment Needed
You don’t need much for this recipe, which is part of why I love it. Here’s what you’ll need:
- 9×13-inch baking dish – A standard size works perfectly for 12 sliders. If you’re doubling, use a larger dish or two separate ones.
- Small mixing bowl – For whisking together the glaze.
- Whisk or fork – Either works for mixing the glaze.
- Sharp knife – For slicing the rolls in half. A serrated knife works best to avoid squishing the soft buns.
- Pastry brush – For brushing the glaze evenly over the tops. A silicone brush is easier to clean, but a regular one works fine.
- Aluminum foil – For covering the dish during the first part of baking so the tops don’t burn before the cheese melts.
If you don’t have a pastry brush, you can use a spoon to drizzle the glaze over the tops—it won’t be as even, but it still tastes great. I’ve done it that way when my brush was still in the dishwasher, and nobody noticed.
Preparation Method
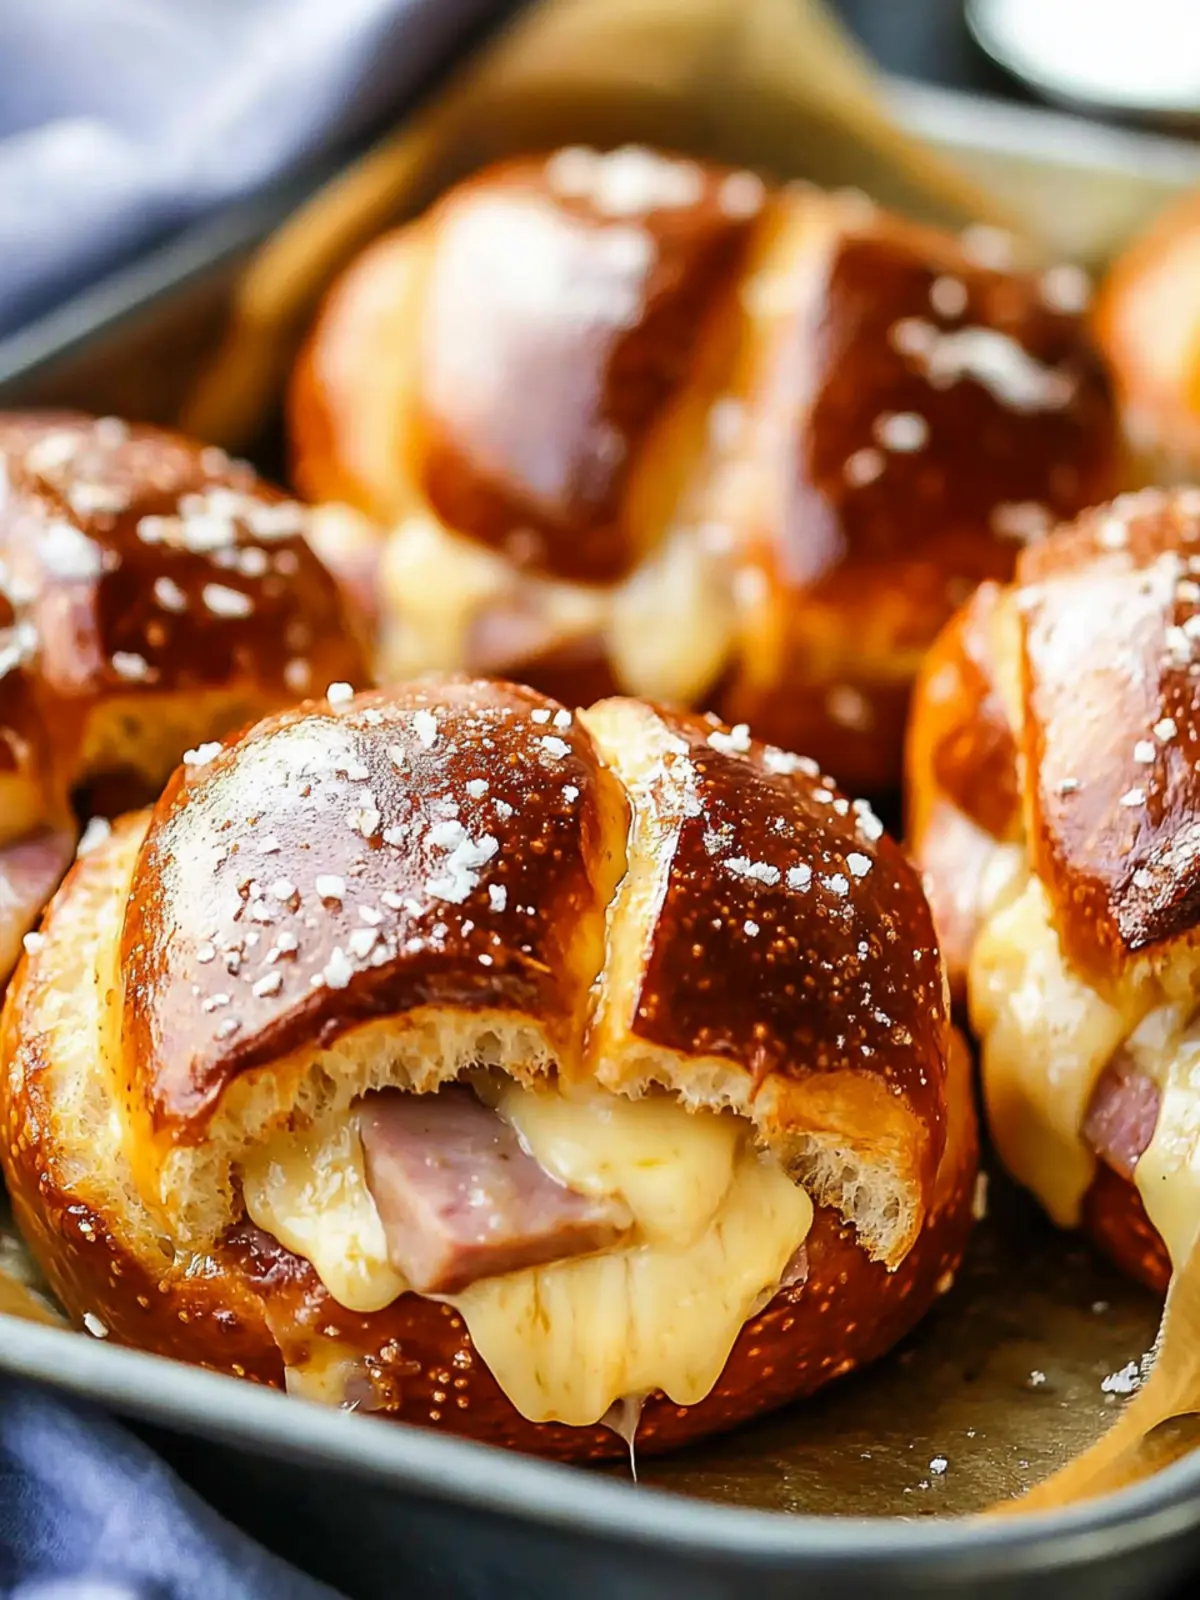
This comes together fast, so I like to have everything prepped before I start. Here’s the step-by-step:
- Preheat your oven to 350°F (175°C). While it’s heating up, lightly grease your 9×13-inch baking dish with butter or nonstick spray.
- Slice the entire pack of rolls in half horizontally. Keep them connected as a whole slab—don’t separate them into individual rolls yet. Place the bottom half of the rolls in the prepared baking dish.
- Layer the ham evenly over the bottom half of the rolls. Fold the slices slightly to fit, making sure every bite gets some ham. Don’t pile it too thick or the sliders will be hard to bite into.
- Top with Swiss cheese slices. Lay them flat, overlapping slightly if needed. The cheese should cover the ham completely. This is what holds everything together.
- Place the top half of the rolls over the cheese. Press down gently to make sure everything is even.
- Make the glaze. In a small bowl, whisk together the melted butter, honey mustard, Dijon mustard, Worcestershire sauce, garlic powder, poppy seeds (if using), and a pinch of salt and pepper. It should be smooth and slightly thick.
- Brush the glaze generously over the tops of the rolls. Use all of it—don’t hold back. The glaze will soak into the tops slightly and caramelize as it bakes. Make sure every roll gets some.
- Cover the dish with aluminum foil. This traps steam and helps the cheese melt without the tops burning.
- Bake for 15 minutes covered. The rolls should be warm and the cheese should be melted by this point.
- Remove the foil and bake for another 5-7 minutes. The tops should turn golden brown and the glaze should look bubbly and slightly caramelized. Keep an eye on them—every oven runs a little different.
- Let them rest for 5 minutes before serving. This is important—the cheese needs a minute to set so it doesn’t slide off when you pick up a slider. Use a sharp knife to cut between the rolls and serve warm.
One thing I learned the hard way: don’t skip the foil step. The first time I made these, I left the foil off the whole time, and the tops got too dark while the cheese was still solid in the middle. The foil gives the cheese time to catch up.
Cooking Tips & Techniques
I’ve made these sliders enough times to know where things can go wrong. Here are the tips I wish someone had told me:
- Don’t overfill the sliders. It’s tempting to pile on the ham, but too much makes them hard to eat and the bun-to-filling ratio gets thrown off. One layer of ham, one layer of cheese—that’s all you need.
- Use room temperature butter for the glaze. Cold butter won’t mix smoothly with the mustard and Worcestershire. Melt it gently in the microwave or on the stovetop before whisking.
- Brush the glaze evenly. I used to just drizzle it on, but brushing gives you a more even coating and better caramelization. Take the extra 30 seconds.
- Let them rest before cutting. I know it’s hard to wait, but cutting too early makes the cheese ooze out everywhere and the sliders fall apart. Five minutes. Set a timer if you have to.
- Make extra glaze if you like it saucy. Some people want extra honey mustard flavor. You can double the glaze recipe and reserve half for dipping. I’ve done that for parties and it’s always a hit.
- Watch the oven closely during the last few minutes. The line between golden brown and burnt is thin with honey-based glazes. They go from perfect to too dark fast, so check them at the 5-minute mark after removing the foil.
I once forgot to add the Worcestershire sauce and the glaze tasted flat—just sweet and mustardy without any depth. That little splash makes a bigger difference than you’d think.
Variations & Adaptations
These sliders are pretty forgiving, so feel free to play around. Here are some variations I’ve tried and loved:
- Spicy honey mustard sliders. Add ½ teaspoon of cayenne pepper or a drizzle of sriracha to the glaze. The heat cuts through the sweetness nicely.
- Turkey and cheddar sliders. Swap the ham for thinly sliced turkey and use sharp cheddar instead of Swiss. It’s a little milder but still delicious.
- Vegetarian version. Use roasted portobello mushrooms or thick slices of grilled zucchini instead of ham. The honey mustard glaze works surprisingly well with earthy vegetables.
- Gluten-free option. Use gluten-free slider buns (most brands make them now) and double-check your Worcestershire sauce—some contain gluten. The rest of the ingredients are naturally gluten-free.
- Add caramelized onions. Spread a thin layer of caramelized onions over the ham before adding the cheese. It adds sweetness and a little extra texture. I did this for a dinner party and everyone raved about it.
- Make it a meal. Serve these alongside a simple green salad or a bowl of tomato soup for an easy weeknight dinner. They’re filling enough on their own, but the soup adds a cozy touch.
My personal favorite variation? Adding a thin layer of leftover chicken cordon bleu casserole filling between the ham and cheese. It sounds weird, but the creamy sauce and extra cheese take these sliders to another level. Don’t knock it until you’ve tried it.
Serving & Storage Suggestions
These sliders are best served warm, straight out of the oven. The cheese is stretchy, the glaze is sticky, and the buns are soft. Here’s how to handle leftovers (if you have any):
- Serving temperature: Serve them hot, but not straight-from-the-oven hot—let them rest for 5 minutes so the cheese sets slightly. Room temperature sliders are still good, but the texture is best when they’re warm.
- Presentation: Arrange them on a platter with a small bowl of extra honey mustard for dipping. Sprinkle a few extra poppy seeds on top for color. They look pretty without much effort.
- Storage: Store leftovers in an airtight container in the refrigerator for up to 3 days. The buns will soften a bit, but they’re still tasty.
- Reheating: Pop them in a 350°F oven for 5-7 minutes, covered with foil. The microwave works in a pinch, but the buns get chewy and the cheese turns rubbery. Oven is better if you have the time.
- Freezing: Assemble the sliders (without the glaze) and freeze them in the baking dish, wrapped tightly in plastic wrap and foil. When you’re ready, thaw overnight in the fridge, add the glaze, and bake as directed. I’ve done this for holiday prep and it works great.
- Flavor development: The flavors actually meld together more after a day in the fridge. The honey mustard soaks into the buns a little, and the ham and cheese get more integrated. Some people prefer them the next day, honestly.
Nutritional Information & Benefits
These sliders are indulgent, but they’re not totally devoid of redeeming qualities. Here’s a rough estimate per slider (based on 12 servings):
- Calories: Approximately 280-320 per slider
- Protein: 15-18g (thanks to the ham and cheese)
- Carbohydrates: 22-26g (mostly from the buns)
- Fat: 14-18g (from cheese, butter, and ham)
- Fiber: 1-2g (minimal, but every bit counts)
- Sugar: 6-8g (from the honey mustard and buns)
Ham is a good source of protein and B vitamins, and Swiss cheese provides calcium and phosphorus for bone health. The honey mustard adds a small amount of antioxidants from the mustard seeds. Are these health food? No. But they’re a fun treat for gatherings, and you can feel a little better knowing there’s some protein and calcium in there.
If you’re watching your sodium intake, look for low-sodium ham or reduce the added salt in the glaze. The cheese and ham already bring plenty of saltiness.
Conclusion
These honey mustard ham and cheese pretzel sliders have become my go-to for every party, potluck, and lazy dinner. They’re simple enough to throw together on a weeknight but impressive enough to serve to guests. The sweet and tangy glaze, the melty cheese, the soft pretzel buns—it’s a combination that just works.
I love that this recipe doesn’t require any special skills or hard-to-find ingredients. It’s the kind of food that feels like a hug, the kind that makes people ask for the recipe before they’ve even finished eating. If you make them, don’t be surprised if you end up making them again the next week. I certainly did.
Have you tried these sliders? Did you add your own twist? Leave a comment below and let me know—I’m always looking for new variations to test out. And if you’re looking for another easy appetizer that disappears fast, check out these savory mozzarella meatball sliders—they’re just as addictive.
Frequently Asked Questions
Can I make these sliders ahead of time?
Yes! Assemble the sliders (without the glaze) up to 24 hours in advance, cover tightly with plastic wrap, and refrigerate. Add the glaze just before baking. You may need to add 2-3 minutes to the baking time since they’ll be cold from the fridge.
What’s the best cheese for ham and cheese sliders?
Swiss is the classic choice—it melts well and has a mild, nutty flavor. Gruyère is a great upgrade if you want something a little more sophisticated. Cheddar or provolone also work, but the flavor profile changes a bit.
Can I use regular dinner rolls instead of pretzel buns?
Absolutely. Hawaiian sweet rolls are the most common substitute and they work beautifully. The texture will be softer and slightly sweeter, but the glaze and filling still shine. Regular dinner rolls work too, but they’re a bit drier.
How do I keep the sliders from getting soggy?
Don’t over-glaze the bottoms of the rolls—focus the glaze on the tops. Also, make sure your ham isn’t too wet. Pat it dry with a paper towel if it looks moist. Baking covered first helps the cheese melt without steaming the buns too much.
Can I double this recipe?
Yes, and I do it all the time for parties. Use a larger baking dish or two separate 9×13-inch dishes. Double all the ingredients, including the glaze. The baking time stays roughly the same, but check the sliders at the 12-minute mark under foil since they might cook faster in a bigger dish.
Pin This Recipe!
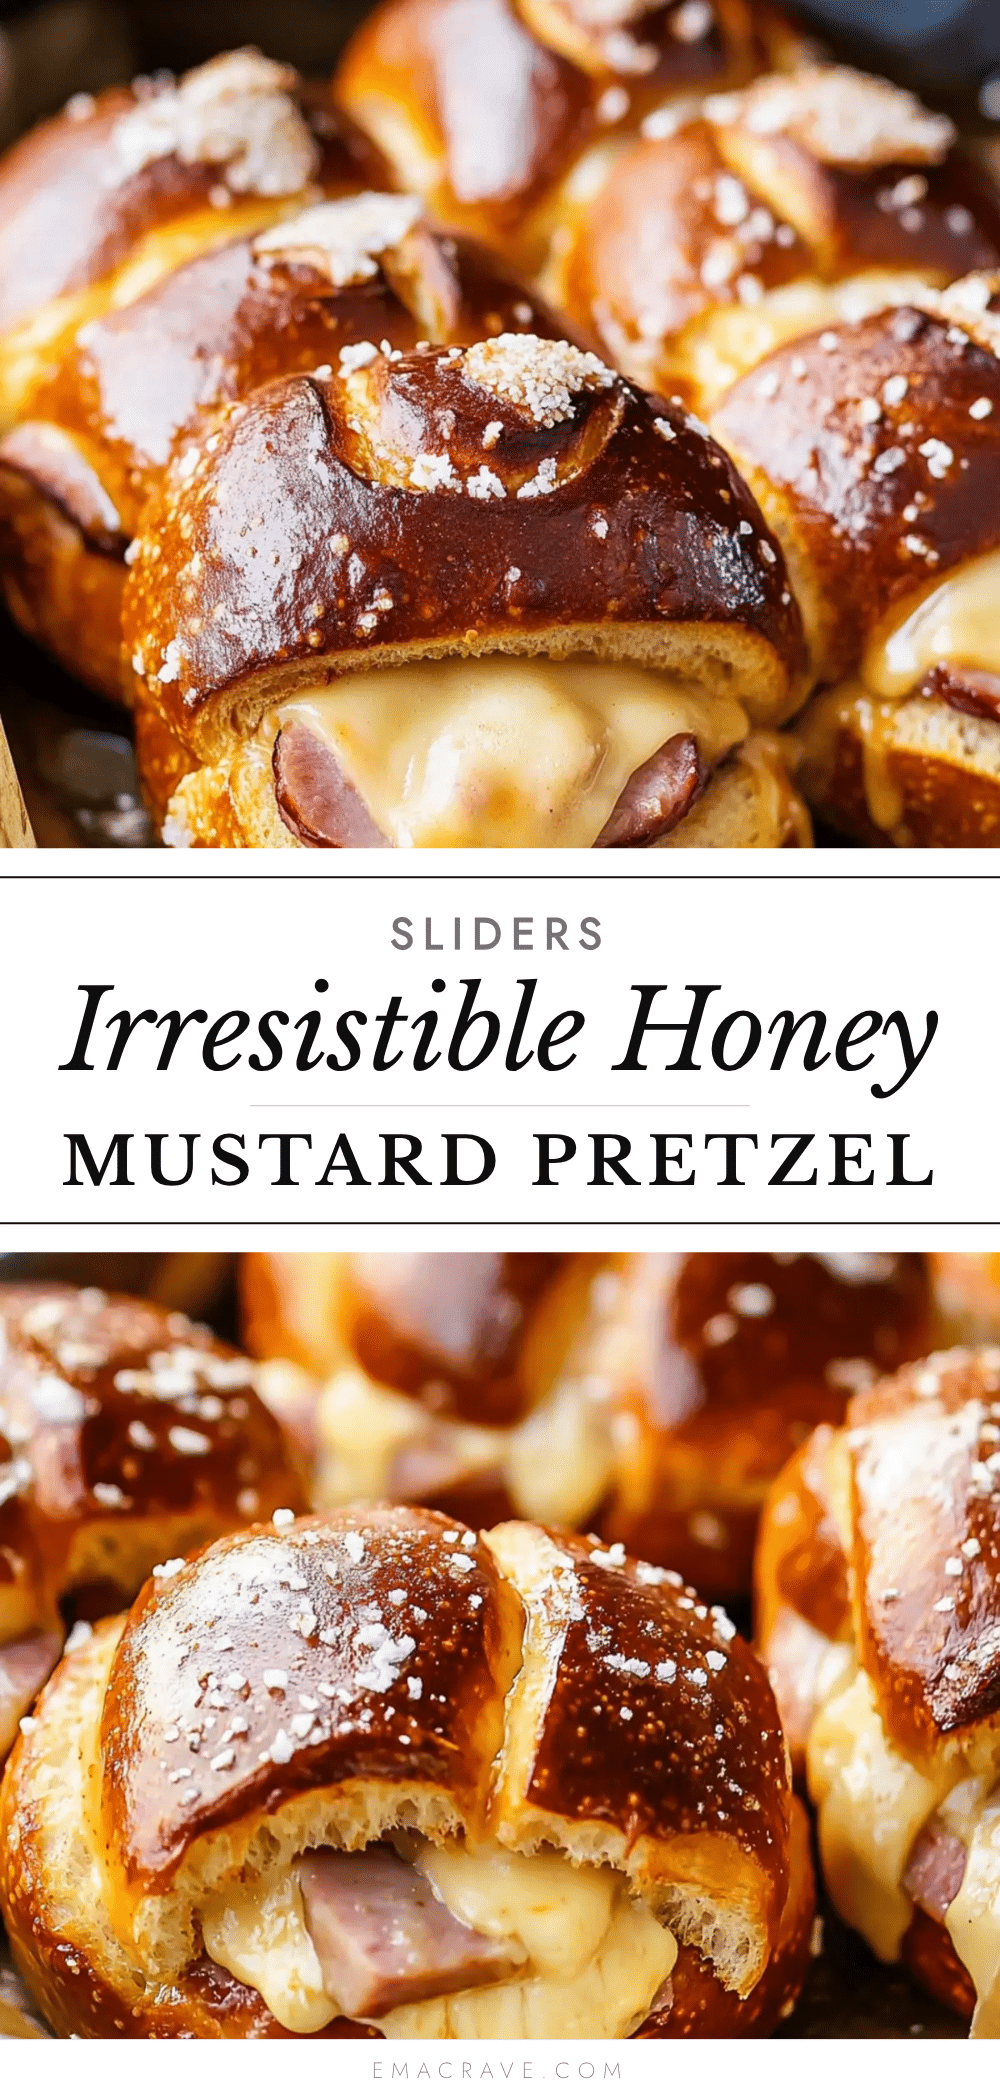
Easy Honey Mustard Ham & Cheese Pretzel Sliders

These honey mustard ham and cheese pretzel sliders are the perfect party appetizer—soft pretzel buns filled with salty ham and melty Swiss cheese, topped with a sweet and tangy honey mustard glaze that caramelizes into something almost candied. Ready in under 25 minutes, they disappear every single time.
- Prep Time: 5 minutes
- Cook Time: 20 minutes
- Total Time: 25 minutes
- Yield: 12 servings 1x
- Category: Appetizer
- Cuisine: American
Ingredients
- 12 Hawaiian sweet rolls or slider buns
- 1 pound thinly sliced deli ham (honey ham or black forest ham)
- 12 slices Swiss cheese
- 2 tablespoons salted butter, melted
- 3 tablespoons honey mustard
- 1 tablespoon Dijon mustard
- 1 teaspoon Worcestershire sauce
- 1 teaspoon poppy seeds (optional)
- ½ teaspoon garlic powder
- Pinch of salt and black pepper
Instructions
- Preheat your oven to 350°F (175°C). Lightly grease a 9×13-inch baking dish with butter or nonstick spray.
- Slice the entire pack of rolls in half horizontally, keeping them connected as a whole slab. Place the bottom half of the rolls in the prepared baking dish.
- Layer the ham evenly over the bottom half of the rolls, folding slices slightly to fit.
- Top with Swiss cheese slices, laying them flat and overlapping slightly if needed to cover the ham completely.
- Place the top half of the rolls over the cheese and press down gently.
- In a small bowl, whisk together the melted butter, honey mustard, Dijon mustard, Worcestershire sauce, garlic powder, poppy seeds (if using), and a pinch of salt and pepper until smooth.
- Brush the glaze generously over the tops of the rolls, using all of it.
- Cover the dish with aluminum foil.
- Bake for 15 minutes covered, until the rolls are warm and the cheese is melted.
- Remove the foil and bake for another 5-7 minutes, until the tops are golden brown and the glaze is bubbly and slightly caramelized.
- Let the sliders rest for 5 minutes before serving. Use a sharp knife to cut between the rolls and serve warm.
Notes
Don’t skip the foil step—it helps the cheese melt without burning the tops. Let the sliders rest for 5 minutes before cutting to allow the cheese to set. For extra flavor, double the glaze recipe and reserve half for dipping. Watch the oven closely during the last few minutes as honey-based glazes can burn quickly.
Nutrition
- Serving Size: 1 slider
- Calories: 300
- Sugar: 7
- Sodium: 800
- Fat: 16
- Saturated Fat: 8
- Carbohydrates: 24
- Fiber: 1
- Protein: 16
Keywords: ham and cheese sliders, honey mustard sliders, pretzel sliders, party appetizer, game day food, easy appetizer, slider recipe



