Love this? Save it for later!
Share the inspiration with your friends
The apple butter was bubbling away on the stove, and I had a kid hanging off my leg asking for a snack. Not just any snack—something chewy, something sweet, something that came in a wrapper. I glanced at the fruit leather in the pantry, saw the price tag, and thought, “I can do better than that.” So I grabbed three apples, a cinnamon stick, and decided to wing it. That first batch came out tacky and a little too thick, but my daughter ate the whole thing in one sitting. She didn’t even care that it looked like a wrinkled piece of construction paper.
That was the moment I realized homemade fruit roll-ups weren’t just possible—they were actually easier than I thought. No fancy dehydrator. No weird ingredients you can’t pronounce. Just real fruit, a little patience, and a baking sheet. Now, I make these homemade apple cinnamon fruit roll-ups almost every week during apple season. They disappear faster than cookies around here, which says a lot.
Honestly, the first few times I tried, I made every mistake in the book. I didn’t puree the apples smooth enough, so the roll-ups had little grainy bits. I spread the puree too thin, and they cracked when I tried to peel them off the parchment. But after a handful of batches, I figured out the sweet spot. These roll-ups come out perfectly chewy, intensely apple-flavored, and wrapped in that warm cinnamon hug we all crave when the weather turns cool. They’re the kind of snack that makes you feel like you’ve got your life together—even if your kitchen counter is a disaster zone.
Why You’ll Love This Recipe
I’ve tested this recipe about seven times to get it just right. And let me tell you, the difference between a good fruit roll-up and a great one comes down to two things: the right apple variety and a slow, low bake. Here’s why this version stands out from the store-bought stuff.
- Made with Real Fruit: No corn syrup, no artificial flavors, no preservatives. Just apples, cinnamon, and a tiny squeeze of lemon juice. You can taste the difference immediately.
- Perfectly Chewy Texture: Not sticky, not brittle. These roll-ups peel right off the parchment and roll up without cracking. The trick is spreading the puree to the exact thickness—about 1/8 inch.
- Kid-Approved and Parent-Approved: My kids call these “apple candy,” and I love that they’re eating a serving of fruit without complaining. It’s a win-win situation.
- Naturally Sweetened: The sweetness comes entirely from the apples themselves. If you use Honeycrisp or Fuji apples, you won’t need any added sugar at all.
- Meal Prep Friendly: Make a big batch on Sunday, and you’ve got snacks for the whole week. They store beautifully in an airtight container at room temperature.
What makes this recipe different from all the other fruit leather tutorials out there? It’s the two-apple method. I use a mix of sweet apples (like Gala or Fuji) and a couple of tart Granny Smiths. That combo gives you a balanced flavor that isn’t cloying or flat. Plus, I add a pinch of salt. Trust me on that one—it makes the cinnamon pop and keeps the fruit flavor bright. This isn’t just another snack recipe. It’s the kind of thing that makes you feel like a kitchen rockstar, even if you’re just trying to use up apples before they go soft.
What Ingredients You Will Need
This recipe uses simple, wholesome ingredients to deliver bold flavor and satisfying texture without the fuss. Most of these are probably sitting in your kitchen right now.
- Apples (about 4 medium): I recommend a mix of sweet and tart varieties. Honeycrisp, Fuji, or Gala for sweetness, plus one Granny Smith for that tangy kick. You’ll need about 4 cups of chopped apples total.
- Ground cinnamon (1 teaspoon): Use a good quality cinnamon like Ceylon if you have it. It’s milder and slightly sweeter than the standard cassia cinnamon. But honestly, any cinnamon works fine here.
- Fresh lemon juice (1 tablespoon): This keeps the apples from browning and adds a tiny bit of acidity that balances the sweetness. Bottled lemon juice works in a pinch, but fresh tastes brighter.
- Water (2 tablespoons): Just enough to get the apples cooking without burning. You can also use apple cider for extra flavor.
- Pinch of salt: A small pinch—maybe 1/8 teaspoon. It sounds weird, but salt makes fruit flavors taste more like themselves. Don’t skip it.
- Optional: Maple syrup or honey (1 tablespoon): Only if your apples are on the tart side. I usually don’t need it, but if you’re using all Granny Smiths, a little sweetener helps.
When picking apples, look for ones that are firm and free of bruises. Softer apples will break down faster during cooking, which is actually fine for this recipe. I’ve used slightly mealy apples before, and they worked perfectly because you’re pureeing them anyway. One thing I learned the hard way: don’t use red delicious apples. They’re too watery and lack flavor, so your roll-ups will taste bland and take forever to dry out.
Equipment Needed
You don’t need a dehydrator for this recipe. A regular oven does the job beautifully. Here’s what you’ll need:
- Baking sheet: A standard half-sheet pan works great. You’ll line it with parchment paper or a silicone baking mat.
- Parchment paper or silicone baking mat: Parchment is fine, but a silicone mat gives you a smoother finish and peels off more easily. I’ve used both, and the silicone mat is worth the investment if you make these often.
- Blender or food processor: You need something that can puree the cooked apples into a completely smooth consistency. A high-speed blender works best, but a food processor does the job too.
- Spatula: An offset spatula helps you spread the puree evenly, but a regular rubber spatula works fine.
- Chef’s knife and cutting board: For coring and chopping the apples. No need to peel them—the skins add fiber and color.
- Medium saucepan: For cooking the apples down before blending.
If you don’t have a blender, you can mash the cooked apples with a potato masher or pass them through a food mill. The texture won’t be as smooth, but it’ll still taste great. I actually prefer a slightly rustic texture sometimes—it reminds me of old-fashioned apple butter.
Preparation Method
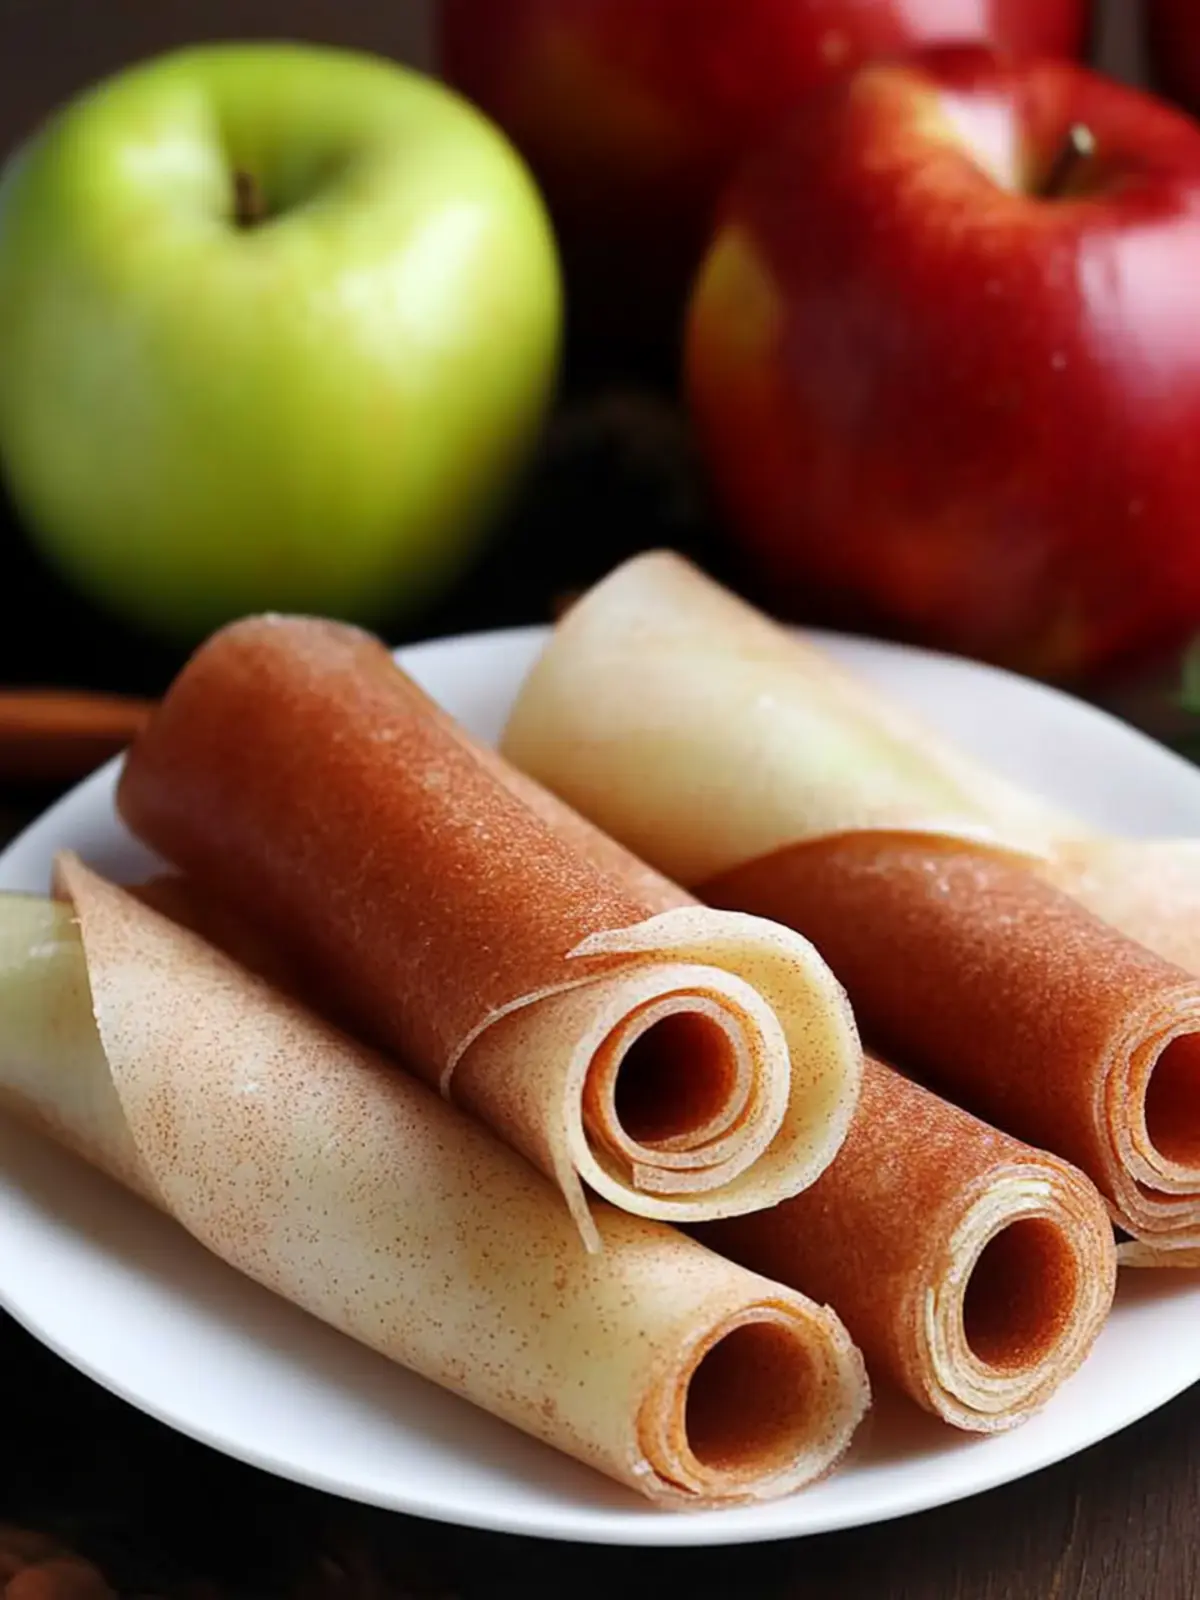
Making these fruit roll-ups is a straightforward process, but the drying time requires patience. Plan for about 4 to 6 hours total, though most of that is hands-off oven time.
- Preheat your oven to 170°F (77°C) or the lowest setting your oven allows. If your oven doesn’t go that low, set it to 200°F (93°C) and prop the door open slightly with a wooden spoon handle to let heat escape. Line a baking sheet with parchment paper or a silicone mat.
- Wash and chop the apples. Core them, but leave the skins on. Cut them into roughly 1-inch chunks. You should have about 4 cups of chopped apples. Don’t stress about being precise—they’re going to get cooked and blended anyway.
- Cook the apples. Place the chopped apples in a medium saucepan with the water, lemon juice, and a pinch of salt. Cover and cook over medium heat for about 10 to 12 minutes, stirring occasionally, until the apples are soft and starting to break down. The skins will look slightly translucent when they’re done.
- Blend until smooth. Transfer the cooked apples (including any liquid in the pan) to a blender. Add the cinnamon. Blend on high for 30 to 45 seconds until the mixture is completely smooth. Taste it at this point. If it’s too tart for your liking, add a tablespoon of maple syrup or honey and blend again.
- Spread the puree. Pour the apple puree onto your prepared baking sheet. Use a spatula to spread it into an even rectangle, about 1/8 inch thick. Try to make the thickness as uniform as possible. Thicker spots will take longer to dry, and thinner spots might burn or become brittle. Aim for a rectangle roughly 10 by 12 inches.
- Bake low and slow. Place the baking sheet in the oven and bake for 4 to 6 hours. The exact time depends on your oven and how thick you spread the puree. Check it after 3 hours. The fruit leather is done when it’s no longer sticky to the touch in the center, but still pliable. It should peel away from the parchment easily without tearing.
- Cool completely. Remove the baking sheet from the oven and let the fruit leather cool on the pan for about 15 minutes. This helps it firm up and makes it easier to handle.
- Cut and roll. Use kitchen scissors or a sharp knife to cut the fruit leather into strips, about 1.5 inches wide. Roll each strip up in a piece of parchment paper or wax paper. Store them in an airtight container at room temperature for up to 2 weeks.
One thing I want to warn you about: don’t try to rush the drying process by turning up the heat. I did that once, and the edges turned into hard, brittle shards while the center was still gooey. Low and slow is the only way to get that perfect chewy texture.
Cooking Tips & Techniques
After making these roll-ups more times than I can count, I’ve collected a few tricks that make the process foolproof.
The spoon test for doneness: When you think the fruit leather is done, touch the center with a clean finger. If it feels tacky but doesn’t stick to your finger, it’s ready. If it sticks, give it another 30 minutes and check again. If it feels dry and cracks when you bend it, you’ve gone too far. That batch makes great apple chips, by the way—just break them into pieces and call it a happy accident.
Rotate the pan halfway through: Ovens have hot spots, and the back corner always dries faster than the front. About halfway through baking, rotate the pan 180 degrees to ensure even drying. I learned this after my first batch came out with one crispy edge and one underdone edge.
Don’t skip the lemon juice: Besides preventing browning, the acid in lemon juice helps the fruit leather set properly. Without it, the roll-ups can turn out gummy instead of chewy. It’s a small addition that makes a big difference.
Use a food mill for extra smoothness: If you have a food mill, run the cooked apples through it before blending. This removes any tough bits of apple skin that the blender might miss. I don’t always do this, but when I’m making these for a party or gift-giving, it’s worth the extra step.
Test the thickness with a coin: Before baking, place a quarter next to your spread puree. The puree should be about the same thickness as the coin. This visual cue helps you get consistent results every time.
Variations & Adaptations
One of the best things about this recipe is how easy it is to change up. Here are some variations I’ve tried and loved.
- Berry Apple Blend: Swap one apple for a cup of strawberries or raspberries. Cook them with the apples, then blend as usual. The color turns a gorgeous deep pink, and the flavor is like a fancy fruit leather you’d pay $5 for at a farmer’s market.
- Spiced Chai Version: Add 1/4 teaspoon each of ground ginger, cardamom, and nutmeg along with the cinnamon. This gives the roll-ups a warm, chai-inspired flavor that’s perfect for fall. I made this version last October and couldn’t stop eating them.
- No-Sugar-Added Option: Use only very ripe, sweet apples like Fuji or Honeycrisp. Skip the maple syrup entirely. The natural sugars concentrate during drying, so the roll-ups end up plenty sweet on their own.
- Dehydrator Method: If you own a dehydrator, spread the puree on the solid sheets that come with it (or use parchment rounds). Dry at 135°F (57°C) for 6 to 8 hours. The texture comes out even more consistent than oven-dried.
- Savory-Sweet Twist: Add a pinch of cayenne pepper or chili powder along with the cinnamon. The heat sneaks up on you after the sweetness fades, and it’s surprisingly addictive. My husband thought I was crazy until he tried one.
If you’re feeling adventurous, try making a batch with pears instead of apples. The process is exactly the same, and the flavor is subtly different—less tart, more honey-like. I sometimes make a half-batch of each and let the kids decide which they like better. (Spoiler: they always pick the apple cinnamon version.)
Serving & Storage Suggestions
These fruit roll-ups are incredibly versatile. Here’s how to serve and store them for the best experience.
Serving ideas: Cut the roll-ups into fun shapes using cookie cutters for a lunchbox surprise. Stars, hearts, or apple shapes make snack time more exciting. You can also cut them into small squares and add them to a homemade trail mix with nuts and dark chocolate chips. For a quick dessert, wrap a roll-up around a piece of dark chocolate and a few almonds—it’s like a healthy candy bar.
Storage instructions: Store the rolled-up strips in an airtight container at room temperature for up to 2 weeks. If you live in a humid climate, add a food-grade silica gel packet to the container to keep them from getting sticky. For longer storage, place the roll-ups in a freezer-safe bag and freeze for up to 3 months. They thaw in about 10 minutes at room temperature.
Reheating note: These don’t need reheating, but if they’ve been in the fridge and feel stiff, let them sit at room temperature for 5 minutes. They’ll soften right up. I don’t recommend microwaving them—it can make them tough and chewy in a bad way.
Flavor development: Interestingly, these roll-ups taste even better after a day or two. The flavors meld together, and the texture evens out. So don’t worry if they seem a little soft right out of the oven—they’ll firm up as they cool and rest.
Nutritional Information & Benefits
These homemade fruit roll-ups are a much healthier alternative to store-bought versions. Here’s the estimated nutrition per strip (based on 8 strips per batch):
- Calories: 45
- Carbohydrates: 12g
- Fiber: 2g
- Sugar: 9g (all natural from apples)
- Fat: 0g
- Protein: 0g
The apples provide a good dose of dietary fiber, especially if you leave the skins on. Pectin, a type of soluble fiber found in apples, supports healthy digestion and helps you feel full longer. Cinnamon has anti-inflammatory properties and may help regulate blood sugar levels. And since there’s no added sugar (unless you choose to add the maple syrup), these are a great option for anyone watching their sugar intake.
One thing I appreciate about this recipe is that it’s naturally vegan, gluten-free, and dairy-free. It’s also nut-free, making it a safe snack for school lunchboxes. If you have a kid with dietary restrictions, these roll-ups are a lifesaver. They taste like a treat but count as a serving of fruit—what’s not to love?
Conclusion
These homemade apple cinnamon fruit roll-ups have become a staple in my kitchen, and I have a feeling they’ll become one in yours too. They’re proof that you don’t need fancy equipment or a long list of ingredients to make something truly special. Just apples, cinnamon, and a little bit of time. The first time you peel one off the parchment and roll it up, you’ll feel a ridiculous amount of pride. And when your kids ask for “apple candy” instead of packaged snacks, you’ll know you’ve won.
I’d love to hear how your batch turns out. Did you try a fun variation? Did your kids help spread the puree? Drop a comment below and let me know. And if you’re looking for more wholesome snack ideas, don’t miss my homemade chocolate chip cookie rolls or these easy homemade black bean chips with mango salsa for another healthy treat. Happy snacking!
Frequently Asked Questions
Can I make these fruit roll-ups without an oven?
Yes, you can use a food dehydrator set to 135°F (57°C) for 6 to 8 hours. You can also try sun-drying if you live in a hot, dry climate, but it takes much longer and isn’t as reliable.
Why are my fruit roll-ups sticky even after baking?
They likely need more drying time. Return them to the oven for another 30 to 60 minutes and check again. Make sure the center is no longer tacky to the touch before removing them.
Can I use frozen apples for this recipe?
Absolutely. Thaw the apples first, then cook them down as directed. Frozen apples release more water, so you may need to cook them a few minutes longer to evaporate the excess liquid.
How do I keep the roll-ups from sticking to the parchment paper?
Make sure the fruit leather is completely dry before trying to peel it off. If it still sticks, place the parchment in the freezer for 10 minutes. The cold helps release the fruit leather more easily.
Can I double this recipe?
Yes, but you’ll need to use two baking sheets. Make sure they’re on separate racks, and rotate them halfway through drying to ensure even results. Don’t try to spread the puree thicker on one pan—it won’t dry properly.
Pin This Recipe!
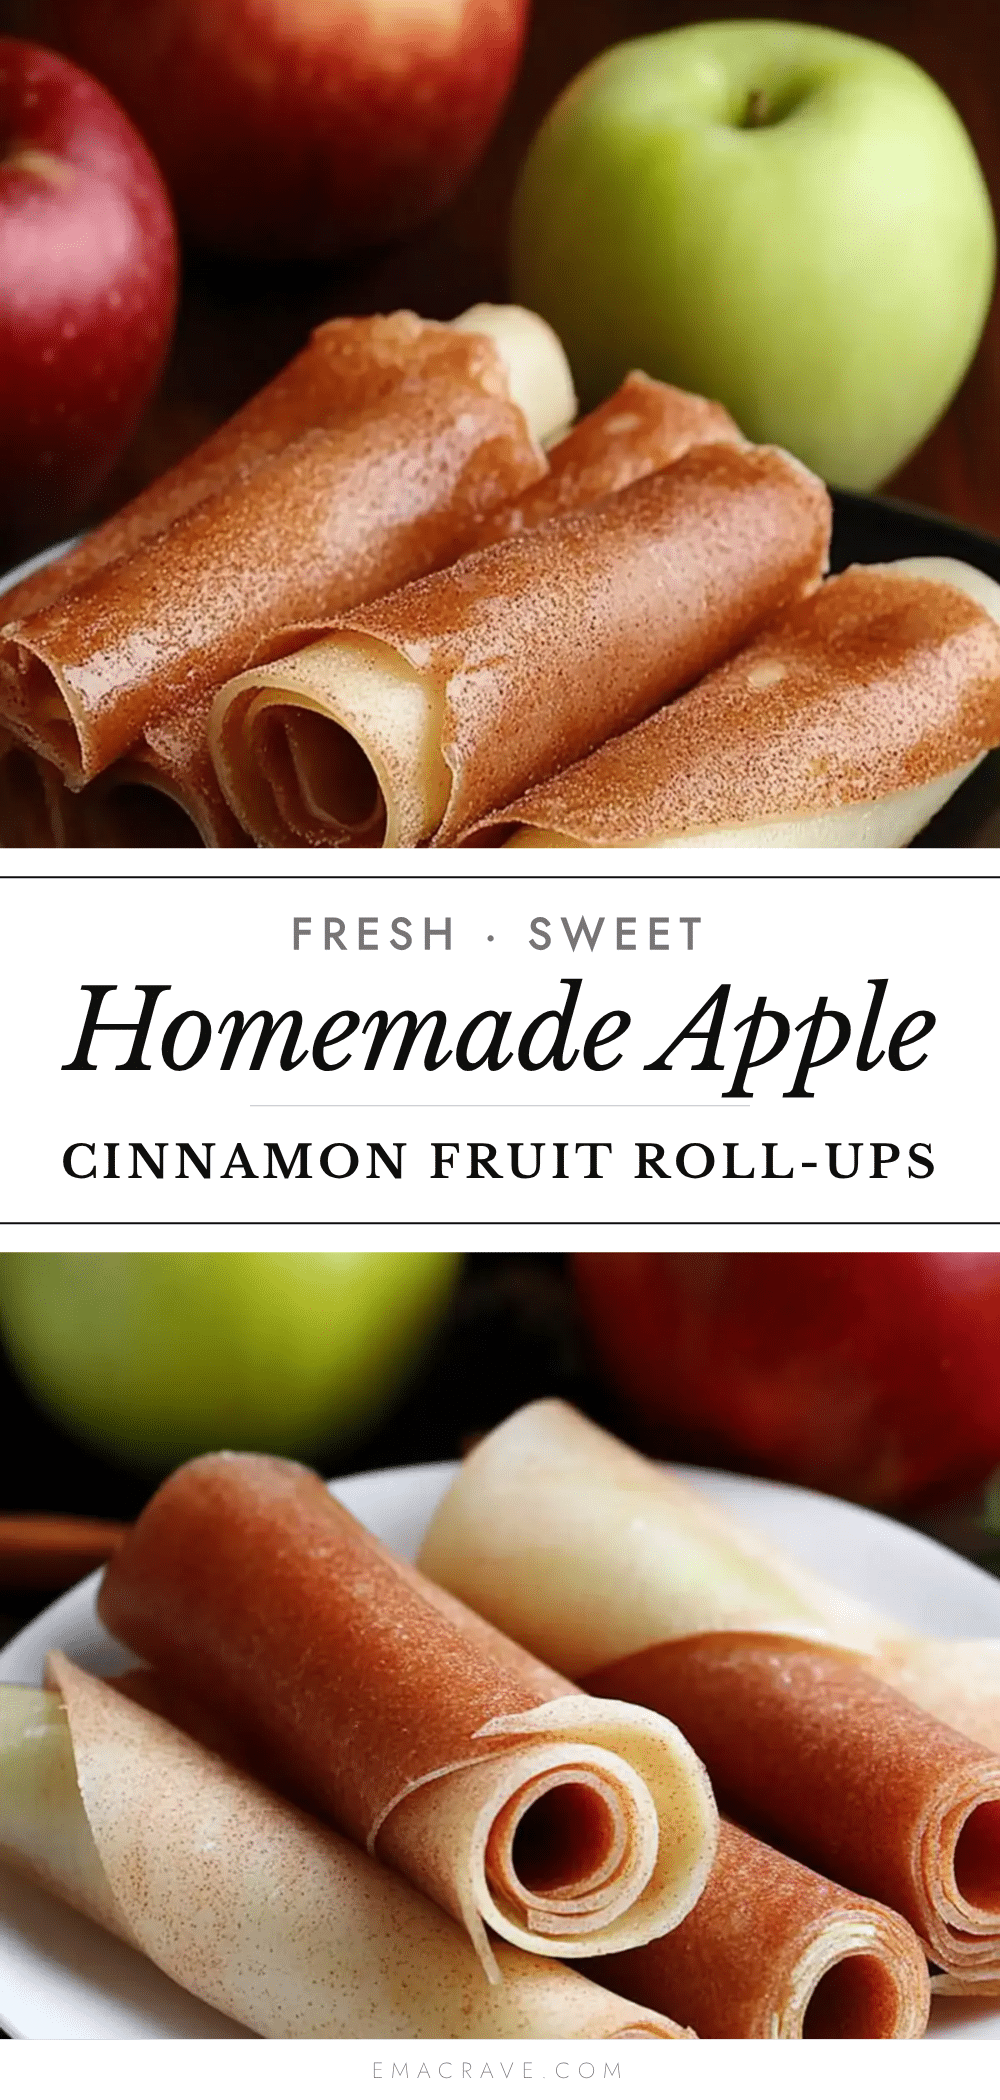
Easy Homemade Apple Cinnamon Fruit Roll-Ups Recipe
These homemade apple cinnamon fruit roll-ups are chewy, naturally sweetened, and made with real fruit. A healthy snack that kids love and parents can feel good about.
- Prep Time: 15 minutes
- Cook Time: 4 to 6 hours
- Total Time: 4 hours 15 minutes to 6 hours 15 minutes
- Yield: 8 servings 1x
- Category: Snack
- Cuisine: American
Ingredients
- 4 medium apples (mix of sweet and tart, e.g., Honeycrisp, Fuji, Gala, and 1 Granny Smith)
- 1 teaspoon ground cinnamon
- 1 tablespoon fresh lemon juice
- 2 tablespoons water
- Pinch of salt (about 1/8 teaspoon)
- 1 tablespoon maple syrup or honey (optional, only if apples are tart)
Instructions
- Preheat your oven to 170°F (77°C) or the lowest setting. If your oven doesn’t go that low, set it to 200°F (93°C) and prop the door open slightly with a wooden spoon handle. Line a baking sheet with parchment paper or a silicone mat.
- Wash and core the apples, leaving the skins on. Cut them into roughly 1-inch chunks (about 4 cups).
- Place the chopped apples in a medium saucepan with the water, lemon juice, and a pinch of salt. Cover and cook over medium heat for 10 to 12 minutes, stirring occasionally, until the apples are soft and starting to break down.
- Transfer the cooked apples (including any liquid) to a blender. Add the cinnamon. Blend on high for 30 to 45 seconds until completely smooth. Taste and add maple syrup or honey if desired, then blend again.
- Pour the apple puree onto the prepared baking sheet. Use a spatula to spread it into an even rectangle, about 1/8 inch thick, roughly 10 by 12 inches.
- Bake for 4 to 6 hours, checking after 3 hours. The fruit leather is done when it’s no longer sticky to the touch in the center but still pliable. It should peel away from the parchment easily without tearing.
- Remove from the oven and let cool on the pan for about 15 minutes.
- Use kitchen scissors or a sharp knife to cut the fruit leather into strips, about 1.5 inches wide. Roll each strip up in parchment paper or wax paper. Store in an airtight container at room temperature for up to 2 weeks.
Notes
Don’t rush the drying process by turning up the heat; low and slow is key for chewy texture. Use the spoon test: if the center feels tacky but doesn’t stick to your finger, it’s done. Rotate the pan halfway through for even drying. For extra smoothness, run cooked apples through a food mill before blending.
Nutrition
- Serving Size: 1 strip
- Calories: 45
- Sugar: 9
- Carbohydrates: 12
- Fiber: 2
Keywords: homemade fruit roll-ups, apple cinnamon fruit leather, healthy fruit snacks, no sugar added fruit roll-ups, easy fruit leather recipe



