Love this? Save it for later!
Share the inspiration with your friends
The whipped cream was threatening to slide off the chocolate wafer crumbs, and I was pretty sure I’d over-poured the cherry syrup. It was 11 PM on a Tuesday, and I was elbow-deep in a springform pan, muttering about why I didn’t just buy a store-bought pie. I had promised a friend I’d bring dessert to a small get-together, and I had this grand vision of something that looked like it came from a fancy bakery. But, you know, life happens. I had forgotten to set the cream cheese out to soften. My cocoa powder was clumpy. And the fresh cherries I bought looked suspiciously like they’d seen better days. Honestly, I was this close to throwing in the towel and grabbing a pint of ice cream.
Then, I remembered a trick my grandma used to use—she’d just crush up some chocolate cookies and call it a day. No baking, no fuss. I had a can of cherry pie filling in the pantry that was practically screaming for a purpose. So, I ditched the complicated plan and just started layering. Crushed cookies, a quick no-bake cheesecake filling, that cherry filling, and more cream. I threw it in the fridge, crossed my fingers, and went to bed. The next day, that Decadent No Bake Black Forest Cheesecake was the first thing to disappear at the party. People were asking for the recipe before they even finished their first slice. It was a happy accident that turned into my most-requested dessert.
This isn’t just another cheesecake. It’s the kind of dessert that feels like a hug. It has that perfect balance of rich chocolate, tangy cream cheese, and sweet cherries. And the best part? You don’t even have to turn on your oven. It’s a total lifesaver for hot days, busy weeks, or any time you want to look like a rockstar with minimal effort. That first accidental win taught me that sometimes the best recipes come from a little bit of chaos.
Why You’ll Love This Decadent No Bake Black Forest Cheesecake
I’ve tested this recipe about a dozen times to get the texture just right. I wanted it to be firm enough to slice cleanly but still have that luscious, creamy mouthfeel that only a no-bake cheesecake can deliver. Here’s why I think this is the absolute best version out there.
- No Oven Required: This is a game-changer for summer or when your oven is busy. It sets perfectly in the fridge, leaving your kitchen cool and your schedule open.
- Simple Pantry Ingredients: You don’t need a special trip to the store. Cream cheese, heavy cream, cocoa powder, and canned cherry pie filling are likely already in your kitchen. The crust is just chocolate wafer cookies or Oreos—no fussy pastry dough.
- Perfect for Entertaining: This cake looks incredibly impressive with its layers of chocolate, cream, and cherries. It’s a showstopper for birthdays, holidays, or a casual dinner party. It always gets rave reviews.
- Incredible Texture and Flavor: The filling is light and airy thanks to the whipped cream, but still rich and decadent. The tartness of the cherries cuts through the sweetness of the chocolate perfectly. It’s a classic flavor combination that just works.
- Make-Ahead Magic: This cheesecake actually tastes better after it sits in the fridge overnight. The flavors meld together, and the texture sets up beautifully. It’s the perfect dessert to make a day in advance and just pull out when you’re ready to serve.
This recipe isn’t just good—it’s the kind that makes you close your eyes after the first bite. It’s comfort food reimagined: easier, faster, but with the same soul-soothing satisfaction as the classic. Perfect for impressing guests without any stress.
What Ingredients You Will Need
This recipe uses simple, wholesome ingredients to deliver that classic Black Forest flavor without any complicated steps. Most of these are pantry staples or easy to find at your local grocery store.
For the Chocolate Crust
- Chocolate Wafer Cookies or Oreos (about 2 cups crushed): You can use either. If using Oreos, remove the cream filling first for a cleaner chocolate flavor. (I find the chocolate wafers give a drier, more traditional crumb crust, but Oreos work in a pinch!)
- Unsalted Butter (6 tablespoons, melted): This binds the crumbs together. Salted butter works too, just skip the pinch of salt in the crust.
- Granulated Sugar (2 tablespoons): Just a touch to sweeten the crust.
- Pinch of Salt: Balances the sweetness and enhances the chocolate flavor.
For the No-Bake Cheesecake Filling
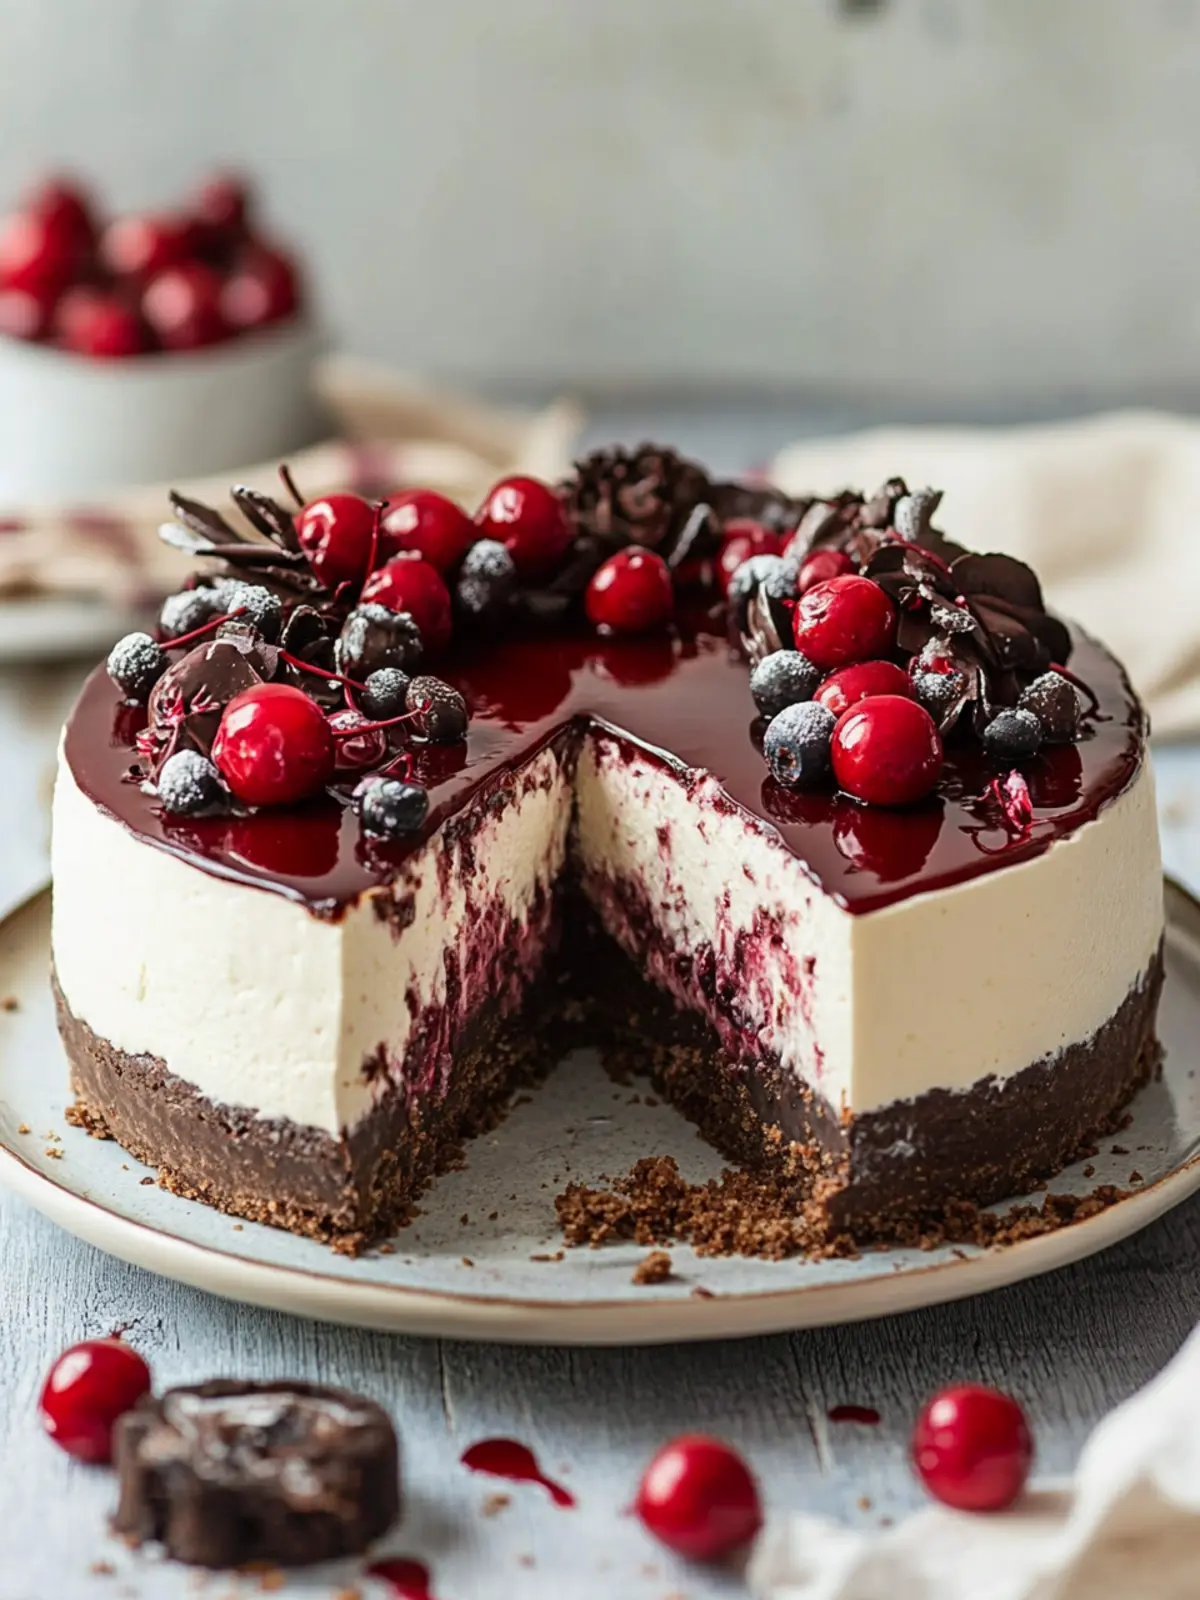
- Full-Fat Cream Cheese (16 oz, softened): This is non-negotiable. Low-fat cream cheese has a higher water content and won’t set up properly, leading to a runny filling. Let it sit on the counter for at least 30 minutes.
- Powdered Sugar (1 cup): Dissolves easily, giving the filling a silky-smooth texture without any graininess.
- Unsweetened Cocoa Powder (1/2 cup): Use a good quality brand like Ghirardelli or Hershey’s Special Dark for a deeper, richer chocolate flavor. Sift it to avoid lumps.
- Vanilla Extract (1 teaspoon): Enhances the chocolate and cream cheese flavors.
- Heavy Whipping Cream (1 1/2 cups): This is what gives the cheesecake its light, mousse-like texture. Make sure it’s very cold so it whips up stiff.
For the Cherry Topping & Assembly
- Cherry Pie Filling (1 can, 21 oz): This is the quickest and most consistent option. You can use homemade cherry compote if you prefer, but canned is a total time-saver.
- Optional for Garnish: Fresh cherries with stems, chocolate shavings, or extra whipped cream for a beautiful presentation.
Equipment Needed
You don’t need any fancy gadgets for this one, which is another reason I love it. Here’s what you’ll need to pull it off.
- 9-inch Springform Pan: This is essential for getting clean, beautiful slices. The removable sides make serving a dream. If you don’t have one, you can use a deep pie dish, but the slices will be more like wedges.
- Food Processor or Ziploc Bag + Rolling Pin: For crushing the cookies. A food processor makes it quick, but a bag and a rolling pin are a great arm workout!
- Electric Hand Mixer or Stand Mixer: You need power to whip the cream and beat the cream cheese until smooth. A whisk and some elbow grease will work, but your arm will be tired.
- Large Mixing Bowls: At least two—one for the crust and one for the filling.
- Spatula: For scraping down the bowl and smoothing the top of the cheesecake.
- Measuring Cups and Spoons: For accuracy.
Preparation Method
I’ve broken this down into simple steps so you can follow along easily. Trust me, if I can do this at 11 PM on a Tuesday, you can absolutely nail it.
- Make the Crust (10 minutes): Place your chocolate cookies in a food processor and pulse until you have fine crumbs. If using a bag, seal them up and go to town with a rolling pin. Pour the crumbs into a medium bowl. Add the melted butter, sugar, and salt. Stir with a fork until the mixture looks like wet sand and holds together when pinched.
- Press the Crust (5 minutes): Pour the crumb mixture into your 9-inch springform pan. Use the bottom of a flat measuring cup or a glass to press the crumbs firmly and evenly into the bottom and about an inch up the sides. This is important—a loose crust will fall apart later. Place the pan in the fridge to chill while you make the filling.
- Whip the Cream (3-5 minutes): In a large, clean bowl (or the bowl of your stand mixer), pour the cold heavy whipping cream. Using the whisk attachment, beat on medium-high speed until stiff peaks form. Be careful not to over-whip, or you’ll end up with butter. Set this aside in the fridge.
- Make the Cheesecake Base (5 minutes): In a separate large bowl, beat the softened cream cheese with an electric mixer until it’s completely smooth and fluffy—no lumps allowed! Add the powdered sugar, cocoa powder, and vanilla extract. Beat on low speed until combined, then increase to medium and beat for another minute until the mixture is smooth and thick. Scrape down the sides of the bowl.
- Fold it Together (2 minutes): Take your whipped cream out of the fridge. Add about one-third of it to the cream cheese mixture. Gently fold it in with a spatula until just combined. This lightens the batter. Then, add the remaining whipped cream and fold gently until no white streaks remain. Be gentle—you want to keep that airy texture.
- Assemble the Layers (5 minutes): Take the crust out of the fridge. Spread about half of the cheesecake filling over the crust in an even layer. Spoon about half of the cherry pie filling over the cheesecake layer. Carefully spread the remaining cheesecake filling over the cherries. Use your spatula to smooth the top.
- Chill (6 hours or overnight): This is the hardest part! Cover the springform pan with plastic wrap or foil. Refrigerate for at least 6 hours, but overnight is best. The cheesecake needs this time to set up completely. If you try to cut it too early, it will be a delicious but messy puddle.
- Finish and Serve (10 minutes): Once set, run a thin knife around the edge of the pan to loosen the cheesecake. Release the springform clasp. Top with the remaining cherry pie filling. Garnish with fresh cherries and chocolate shavings if you’re feeling fancy. Slice with a sharp, clean knife, wiping the blade between cuts for those picture-perfect slices.
Cooking Tips & Techniques
I’ve made this cake so many times that I’ve learned a few tricks the hard way. Here are my top tips to make sure yours turns out perfect.
- Room Temperature Cream Cheese is a Must: I cannot stress this enough. Cold cream cheese will give you a lumpy filling that no amount of beating can fix. Leave it out on the counter for at least 30 minutes. If you’re in a hurry, you can cut it into cubes and microwave it in 10-second bursts until soft, but be careful not to melt it.
- Don’t Over-Whip the Cream: You want stiff peaks that hold their shape. Over-whipping will turn your cream into butter and ruin the texture of your cheesecake. Stop as soon as the cream looks thick and holds a peak when you lift the whisk.
- Fold, Don’t Stir: When combining the whipped cream with the cream cheese mixture, use a gentle folding motion. Stirring too vigorously will deflate all that air you just whipped in, resulting in a dense, heavy cheesecake.
- Chill Time is Non-Negotiable: I once tried to rush this and cut into it after only 4 hours. It was a sloppy, delicious mess. The minimum is 6 hours, but overnight truly is best. It gives the filling time to firm up and for the flavors to really marry together. If you’re looking for another dessert that benefits from a long chill, you might love this creamy holiday eggnog pudding—it’s another fantastic make-ahead treat.
- Clean Knife for Clean Slices: For those gorgeous, Instagram-worthy slices, dip your knife in hot water and wipe it dry between each cut. This gives you clean edges and prevents the cream from smearing.
Variations & Adaptations
This recipe is super versatile, so feel free to make it your own. Here are a few ways I’ve tweaked it over the years.
- Gluten-Free Version: Use gluten-free chocolate sandwich cookies or chocolate graham crackers for the crust. The rest of the ingredients are naturally gluten-free, so you’re good to go!
- Dark Chocolate Lover’s Dream: Swap the regular cocoa powder for Dutch-processed cocoa powder. It has a smoother, more intense chocolate flavor that takes this cake to the next level. You can also add 4 oz of melted dark chocolate to the cream cheese base for an even richer experience.
- Fresh Cherry Compote: If you have fresh cherries in season, make a quick compote. Pit 2 cups of cherries and simmer them in a saucepan with 1/4 cup of sugar, 1 tablespoon of lemon juice, and a splash of water for about 10 minutes until thickened. Let it cool completely before using. It’s a bit more work, but the fresh flavor is incredible.
- Individual Mini Cheesecakes: Instead of a springform pan, use a muffin tin lined with paper liners. Press the crust into the bottom of each liner, fill with the cheesecake mixture, and top with a spoonful of cherries. Chill for 4 hours. They’re perfect for parties! For a similar single-serving idea, check out these perfect peach upside-down mini cakes.
- Mocha Twist: Dissolve 1 tablespoon of instant espresso powder in 1 tablespoon of hot water and add it to the cream cheese mixture along with the cocoa powder. The coffee flavor doesn’t make it taste like coffee; it just deepens and enriches the chocolate flavor.
Serving & Storage Suggestions
This cheesecake is a star on its own, but a few thoughtful touches can make it even better.
How to Serve: Serve this cheesecake cold, straight from the fridge. The texture is perfect at a cool temperature. For a beautiful presentation, top each slice with a dollop of fresh whipped cream, a few chocolate shavings, and a fresh cherry with the stem on. It pairs beautifully with a strong cup of coffee or a glass of cold milk. If you want to go all out, a drizzle of chocolate sauce over the top never hurts.
How to Store: This cheesecake stores incredibly well. Cover the springform pan tightly with plastic wrap or transfer leftover slices to an airtight container. It will keep in the refrigerator for up to 5 days. The flavors actually continue to meld and get even better on the second day.
Can You Freeze It? Absolutely! This is a fantastic freezer dessert. Once the cheesecake is fully set (after the 6-hour chill), place it in the freezer for 2-3 hours until it’s firm. Then, wrap it tightly in a layer of plastic wrap, followed by a layer of aluminum foil. It will keep in the freezer for up to 3 months. To thaw, transfer it to the refrigerator overnight. I wouldn’t recommend freezing it with the cherry topping already on it, as the cherries can become watery. Add the topping after thawing. If you love freezer-friendly desserts, you should also try this decadent paleo coconut oil fudge for a quick, frozen treat.
Nutritional Information & Benefits
Let’s be honest—this is a decadent dessert, not a health food. But knowing what’s in it is still helpful. Here’s a rough estimate per slice (based on 12 servings).
- Calories: ~450
- Fat: ~32g
- Carbohydrates: ~38g
- Protein: ~6g
- Sugar: ~28g
Health Highlights: While it’s a treat, there are a few silver linings. The cream cheese provides a good amount of calcium and protein. The cocoa powder is rich in antioxidants called flavonoids, which are good for heart health. And cherries are a great source of vitamin C and melatonin, which can help with sleep. So, you can feel a tiny bit better about that second slice!
Dietary Considerations: This recipe is naturally vegetarian. For a gluten-free option, use gluten-free cookies. It is not low-carb or keto-friendly due to the sugar and cookies.
Conclusion
This Decadent No Bake Black Forest Cheesecake is more than just a dessert—it’s a celebration of simple, beautiful flavors that come together with almost no effort. It’s the kind of recipe that makes you look like a hero, whether you’re hosting a holiday dinner, bringing a dish to a potluck, or just treating yourself on a quiet Tuesday night. The combination of the crunchy chocolate crust, the silky, rich cheesecake, and the bright, sweet cherries is absolutely unbeatable.
I really hope you give this one a try. Don’t be afraid to make it your own—swap the cherries for raspberries or the chocolate for white chocolate. The beauty of a no-bake recipe like this is that it’s forgiving and fun to experiment with. I can’t wait to hear how it turns out for you! Drop a comment below and let me know if you tried any fun variations, or share a photo of your creation. Happy no-baking, friends!
Frequently Asked Questions
Can I use low-fat or Neufchâtel cream cheese?
I really don’t recommend it. Low-fat cream cheese has a higher water content, which will prevent the cheesecake from setting up properly. You’ll end up with a softer, almost runny filling. For the best, firm, sliceable texture, stick with full-fat blocks of cream cheese.
Why did my cheesecake not set?
This usually happens for one of three reasons. First, the cream cheese wasn’t softened enough, leading to a lumpy base. Second, the cream wasn’t whipped to stiff peaks. Third, and most commonly, the cheesecake wasn’t chilled long enough. It needs a solid 6 hours minimum, and overnight is best. Be patient!
Can I use fresh cherries instead of canned pie filling?
Yes, absolutely! If you have fresh, ripe cherries, you can make a simple compote. Pit and halve about 2 cups of cherries. Simmer them in a saucepan with 1/4 cup of sugar, 1 tablespoon of lemon juice, and a splash of water for 10-15 minutes until they break down and the liquid thickens. Let it cool completely before using.
How do I get clean slices without the cheesecake cracking?
Since this is a no-bake cheesecake, it shouldn’t crack like a baked one. For clean slices, the key is a sharp knife and a bit of patience. Dip your knife in hot water, wipe it dry, and make one smooth cut. Wipe the blade clean between each slice. This prevents the cream from smearing and gives you those beautiful, photogenic pieces.
Can I make this in a regular pie dish instead of a springform pan?
You can, but the slices will be more like wedges and won’t have the tall, dramatic layers of a springform cake. You’ll also need to adjust the crust amount slightly. If you use a deep-dish pie plate, you can press the crust just on the bottom. It will still be absolutely delicious, just a different shape.
Pin This Recipe!
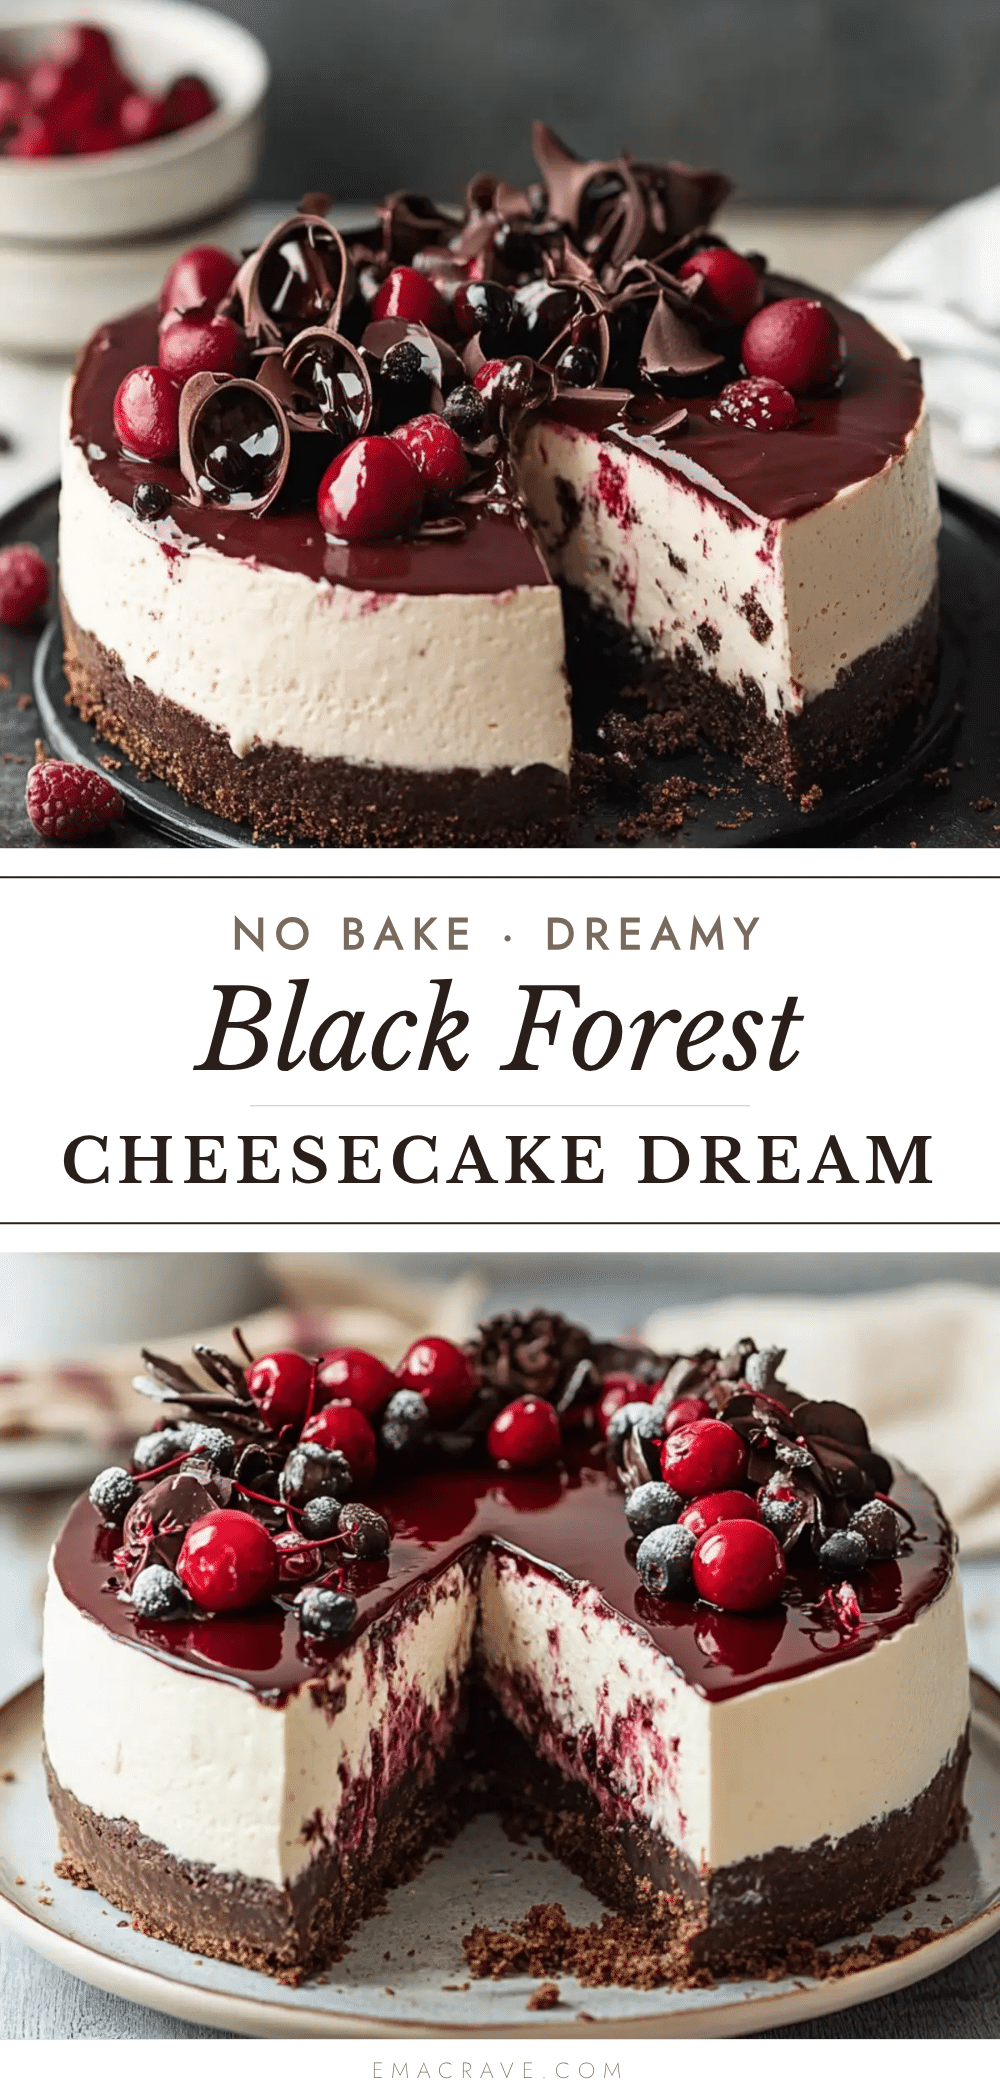
Decadent No Bake Black Forest Cheesecake
A rich, creamy no-bake cheesecake with a chocolate wafer crust, luscious chocolate cheesecake filling, and sweet cherry pie topping. Perfect for entertaining or a quick, impressive dessert.
- Prep Time: 30 minutes
- Cook Time: 0 minutes
- Total Time: 6 hours 30 minutes (includes chilling)
- Yield: 12 servings 1x
- Category: Dessert
- Cuisine: German-American
Ingredients
- 2 cups chocolate wafer cookies or Oreos (cream removed), crushed
- 6 tablespoons unsalted butter, melted
- 2 tablespoons granulated sugar
- Pinch of salt
- 16 oz full-fat cream cheese, softened
- 1 cup powdered sugar
- 1/2 cup unsweetened cocoa powder, sifted
- 1 teaspoon vanilla extract
- 1 1/2 cups heavy whipping cream, cold
- 1 can (21 oz) cherry pie filling
- Optional: fresh cherries with stems, chocolate shavings, extra whipped cream for garnish
Instructions
- Make the crust: In a food processor, pulse chocolate cookies into fine crumbs. Transfer to a bowl and mix with melted butter, sugar, and salt until it resembles wet sand.
- Press the crust: Pour crumb mixture into a 9-inch springform pan. Press firmly into the bottom and about 1 inch up the sides using a flat measuring cup or glass. Refrigerate while making filling.
- Whip the cream: In a large bowl, beat cold heavy cream with an electric mixer on medium-high speed until stiff peaks form. Refrigerate.
- Make the cheesecake base: In another large bowl, beat softened cream cheese until smooth and fluffy. Add powdered sugar, cocoa powder, and vanilla extract. Beat on low until combined, then on medium for 1 minute until smooth. Scrape down sides.
- Fold together: Add one-third of the whipped cream to the cream cheese mixture and fold gently with a spatula until combined. Add remaining whipped cream and fold until no white streaks remain.
- Assemble layers: Spread half of the cheesecake filling over the chilled crust. Spoon half of the cherry pie filling over it. Carefully spread remaining cheesecake filling on top and smooth with a spatula.
- Chill: Cover the pan with plastic wrap or foil. Refrigerate for at least 6 hours, preferably overnight.
- Finish and serve: Run a thin knife around the edge of the pan, release the springform clasp. Top with remaining cherry pie filling. Garnish with fresh cherries and chocolate shavings if desired. Slice with a sharp knife, wiping blade between cuts.
Notes
Cream cheese must be at room temperature for a smooth filling. Chill time is essential—do not rush. For clean slices, dip knife in hot water and wipe dry between cuts. Can be frozen without cherry topping for up to 3 months.
Nutrition
- Serving Size: 1 slice
- Calories: 450
- Sugar: 28
- Sodium: 320
- Fat: 32
- Saturated Fat: 18
- Carbohydrates: 38
- Fiber: 3
- Protein: 6
Keywords: no bake cheesecake, black forest cheesecake, chocolate cherry cheesecake, easy cheesecake, no bake dessert