Love this? Save it for later!
Share the inspiration with your friends
I had a block of cream cheese that was about to expire, three chicken breasts in the fridge, and absolutely zero motivation for a real grocery run. It was one of those weeks where dinner felt like a chore, not a joy. I stared into the pantry, hoping for inspiration, and my eyes landed on a jar of pickled jalapeños left over from taco night. Honestly, my first thought wasn’t “casserole.” It was more like “please just work.”
I grabbed the cream cheese, shredded some cheddar, and figured I’d throw it all in a baking dish with the chicken. The idea of jalapeno poppers—that crispy, creamy, spicy bar snack—flashed in my mind. Could that work as a dinner? I crunched up some pork rinds I had for snacking (don’t judge) and sprinkled them on top for crunch. Thirty minutes later, I pulled out a dish that was bubbly, golden, and smelled like the best kind of comfort food. My family ate it without a single complaint, and my husband asked for it again the next week.
That’s how this Cheesy Jalapeno Popper Chicken Casserole was born—not from a fancy test kitchen, but from a real, tired weeknight. It’s the kind of recipe that feels like a hug in a bowl, and it’s become my go-to when I need something satisfying without spending hours in the kitchen. Trust me, this one sticks.
Why You’ll Love This Recipe
After making this casserole at least a dozen times (and tweaking it each time), I can honestly say it’s one of the most forgiving and rewarding dishes I’ve ever made. It’s not just another chicken casserole—it’s the one that disappears first at potlucks and gets requested for birthday dinners.
- Quick & Easy: From start to table in about 45 minutes. Most of that is hands-off baking time.
- Simple Ingredients: You probably have most of these in your fridge and pantry right now. No weird specialty items.
- Perfect for Weeknights: It’s hearty enough for a family dinner but fancy enough to serve to guests without stress.
- Crowd-Pleaser: Even people who say they don’t like spicy food go back for seconds. The heat is mild and creamy.
- Unbelievably Delicious: The combination of tender chicken, creamy cheese sauce, and that crunchy, spicy topping is next-level comfort food.
What makes this recipe different from the rest? It’s the balance. The cream cheese keeps everything luscious without being heavy. The jalapeños add a kick that builds, not overwhelms. And that crunchy topping—whether you use pork rinds, breadcrumbs, or crushed chips—gives you the texture you crave from a classic popper. This isn’t just another version; it’s the one you’ll make again and again.
What Ingredients You Will Need
This recipe uses simple, wholesome ingredients to deliver bold flavor and satisfying texture without the fuss. Most are pantry staples, and the few fresh items are easy to find at any grocery store.
- Chicken breasts (1.5 lbs or about 3 medium breasts) – Boneless, skinless works best. You can also use thighs for a juicier result, just adjust cooking time slightly.
- Cream cheese (8 oz, softened) – Full-fat gives the creamiest sauce. Neufchâtel works too if you want less fat, but don’t use fat-free—it gets grainy.
- Shredded cheddar cheese (2 cups, divided) – Sharp cheddar adds the most flavor. I like Tillamook or Kerrygold for that extra richness.
- Monterey Jack cheese (1 cup, shredded) – Melts beautifully and keeps things mild. Pepper Jack is a fun swap if you want more heat.
- Pickled jalapeños (½ cup, drained and chopped) – They’re tangy and consistent in heat. Fresh jalapeños work too, but the pickled ones add that classic popper flavor.
- Fresh jalapeño (1, sliced thin for topping) – Optional, but adds a nice pop of color and fresh heat.
- Garlic powder (1 teaspoon) – Don’t skip this. It rounds out the creamy sauce.
- Onion powder (1 teaspoon) – Adds depth without making you chop onions.
- Smoked paprika (½ teaspoon) – Gives a subtle smokiness that complements the jalapeños perfectly.
- Salt and black pepper (to taste) – Simple seasoning goes a long way.
- Pork rinds (1 cup, crushed) – My secret for that crunchy topping without gluten. Panko breadcrumbs or crushed tortilla chips work great too.
- Butter (2 tablespoons, melted) – Helps the topping get golden and crispy.
- Green onions (¼ cup, sliced) – For garnish and a fresh finish.
Equipment Needed
You don’t need a fancy kitchen to pull this off. Here’s what you’ll need:
- 9×13-inch baking dish – Glass or ceramic works best for even heating. If you only have metal, reduce the oven temp by 25°F.
- Mixing bowls – One large for the cheese mixture, one small for the topping.
- Cheese grater – Pre-shredded cheese has anti-caking agents that don’t melt as smoothly. Grate your own for the best texture.
- Sharp knife and cutting board – For chopping jalapeños and green onions.
- Measuring cups and spoons – Accuracy matters, but this recipe is pretty forgiving.
- Foil or parchment paper – For easy cleanup (trust me, this dish can get messy).
I’ve made this in a cast-iron skillet too, and it works beautifully—just watch the baking time since cast iron holds heat differently. No need to buy anything special if you don’t have it.
Preparation Method
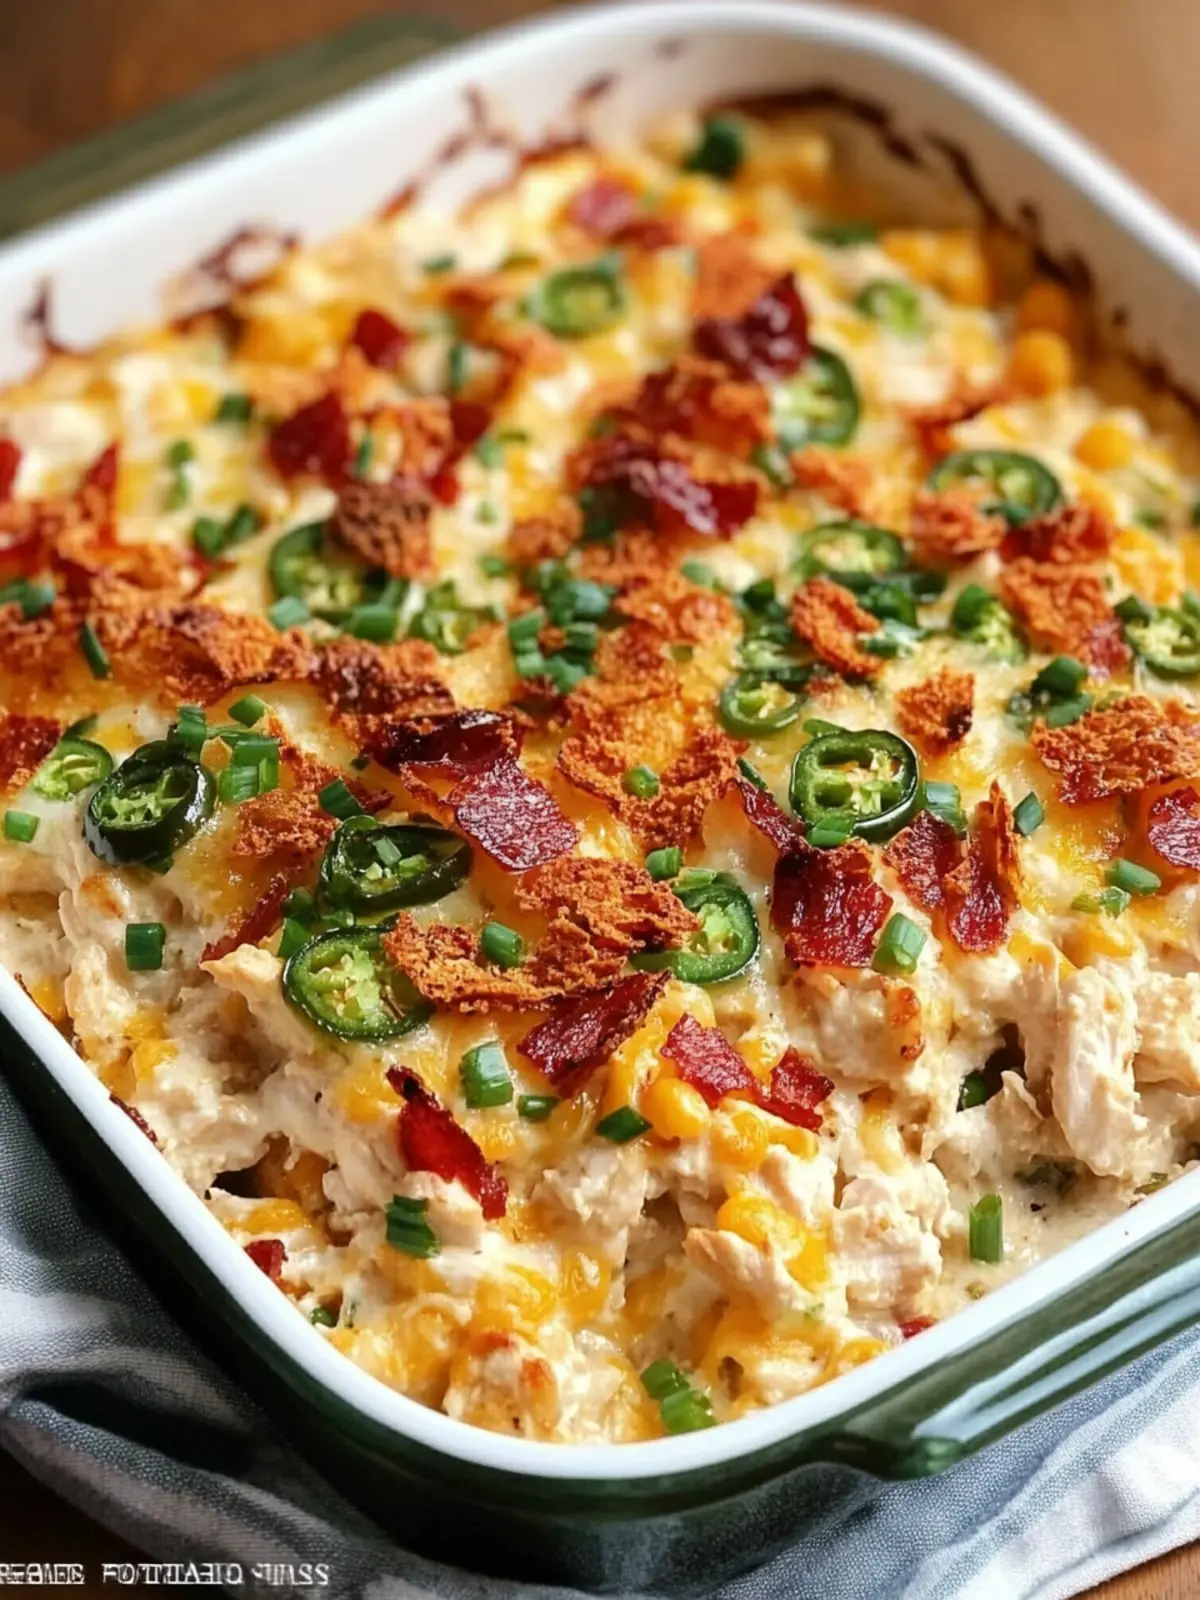
- Preheat your oven to 375°F (190°C). While it’s heating, grease your 9×13 baking dish lightly with butter or cooking spray. This prevents sticking and makes cleanup a breeze.
- Season the chicken. Pat the chicken breasts dry with paper towels. Season both sides generously with salt, pepper, garlic powder, onion powder, and smoked paprika. Don’t be shy—this is where the flavor starts.
- Sear the chicken (optional but recommended). Heat a tablespoon of oil in a skillet over medium-high heat. Sear the chicken for 2-3 minutes per side until golden brown. It won’t be cooked through, and that’s fine. This step adds so much depth to the final dish. If you’re short on time, you can skip it and just bake the raw chicken longer.
- Make the creamy cheese base. In a large bowl, combine the softened cream cheese, 1 cup of shredded cheddar, the Monterey Jack, chopped pickled jalapeños, and a pinch of salt. Mix until everything is well combined. It should look like a thick, chunky spread.
- Assemble the casserole. Place the seared (or raw) chicken breasts in the prepared dish in a single layer. Spread the cream cheese mixture evenly over the top of each piece. Don’t worry if it looks a little messy—it all melts together beautifully.
- Add the topping. In a small bowl, mix the crushed pork rinds (or breadcrumbs) with the melted butter. Sprinkle this mixture evenly over the cream cheese layer. Then top with the remaining 1 cup of shredded cheddar.
- Bake. Place the dish in the preheated oven and bake for 25-30 minutes, or until the chicken is cooked through (internal temperature of 165°F or 74°C) and the topping is golden and bubbly. If the topping is browning too quickly, tent loosely with foil for the last 10 minutes.
- Rest and garnish. Remove from the oven and let it rest for 5 minutes. This allows the juices to redistribute and the sauce to set slightly. Top with fresh jalapeño slices and green onions before serving.
Sensory cues: You’ll know it’s ready when the cheese is bubbling around the edges, the topping is a deep golden brown, and the kitchen smells like a creamy, spicy dream. The chicken should be fork-tender and the sauce should be thick and luscious.
Cooking Tips & Techniques
I’ve learned a few things the hard way so you don’t have to. Here are my best tips:
- Don’t overcook the chicken. Chicken breasts dry out fast. Use a meat thermometer if you have one. 165°F is perfect. If you don’t have one, cut into the thickest piece—the juices should run clear, and the meat should be opaque.
- Soften the cream cheese properly. Leave it on the counter for 30 minutes before starting. If you forget, microwave it in 10-second bursts until soft but not melted. Cold cream cheese creates lumps that won’t smooth out.
- Grate your own cheese. I know it’s tempting to buy pre-shredded, but it really does make a difference. The anti-caking powder in bagged cheese prevents it from melting into that silky, cohesive sauce.
- Watch the topping. Oven temperatures vary. If your topping is getting too dark before the chicken is done, cover loosely with foil. If it’s not browning at all, broil for the last 1-2 minutes—but watch it like a hawk.
- Let it rest. I know you’re hungry, but those 5 minutes of resting time are crucial. The sauce thickens, the chicken stays juicy, and everything sets up perfectly for serving.
Variations & Adaptations
This recipe is a chameleon. Here are some ways to make it your own:
- Low-Carb/Keto: Use crushed pork rinds for the topping and full-fat cream cheese. This casserole is naturally low in carbs and keto-friendly as written.
- Gluten-Free: The recipe is naturally gluten-free if you use pork rinds or crushed tortilla chips. Just double-check your seasoning blends for hidden gluten.
- Extra Spicy: Add a diced serrano pepper to the cream cheese mixture, or use Pepper Jack cheese instead of Monterey Jack. You can also drizzle hot honey over the top before serving.
- Milder Version: Use only the pickled jalapeños (they’re less spicy than fresh) and remove the seeds. You can also reduce the amount to ¼ cup.
- Add Veggies: Sautéed mushrooms, bell peppers, or spinach make great additions. Just cook them first to remove excess moisture, or your casserole will be watery.
- Different Protein: Boneless chicken thighs work beautifully and stay juicier. You can also use shredded rotisserie chicken—just reduce the baking time to 15-20 minutes since the chicken is already cooked.
I once made this with leftover turkey after Thanksgiving, and it was incredible. Don’t be afraid to experiment!
Serving & Storage Suggestions
This casserole is best served hot, straight from the oven. The cheese is melty, the topping is crunchy, and the chicken is tender. Here’s how to make the most of it:
- Serving temperature: Serve immediately after the 5-minute rest. It stays warm for about 20 minutes on the counter if you’re not quite ready.
- What to serve with it: A simple side salad with a tangy vinaigrette cuts through the richness perfectly. Roasted broccoli or green beans also work great. For a heartier meal, serve over rice or with a side of creamy one-pot sausage gnocchi for a double comfort food night.
- Storage: Store leftovers in an airtight container in the refrigerator for up to 4 days. The topping will lose its crunch, but the flavor gets even better as it sits.
- Reheating: Reheat in a 350°F oven for 10-15 minutes to restore some crispiness. The microwave works in a pinch, but the topping will be soft. If you’re meal prepping, store the topping separately and add it before reheating.
- Freezing: Assemble the casserole without the topping, cover tightly, and freeze for up to 3 months. Thaw overnight in the fridge, add the topping, and bake as directed. You can also freeze fully baked casserole—just reheat covered to prevent drying out.
The flavors actually meld and deepen overnight, so leftovers taste even better the next day. It’s one of those rare dishes that improves with time.
Nutritional Information & Benefits
Here’s an approximate breakdown per serving (based on 6 servings):
- Calories: ~450
- Protein: 38g
- Fat: 30g
- Carbohydrates: 6g
- Fiber: 1g
This casserole is high in protein thanks to the chicken and cheese, making it a satisfying meal that keeps you full. The jalapeños add a dose of vitamin C and capsaicin, which can boost metabolism. The cream cheese provides calcium and healthy fats, but if you’re watching your saturated fat intake, you can swap half the cream cheese for Greek yogurt (just know the texture will be slightly less rich).
This recipe is naturally low-carb and gluten-free as written. It’s also suitable for keto diets. If you have dairy sensitivities, you can use dairy-free cream cheese and shredded cheese alternatives, but the texture and melt will be different. I personally love that this dish feels indulgent but fits into a balanced lifestyle without guilt.
Conclusion
This Cheesy Jalapeno Popper Chicken Casserole is the kind of recipe that saves dinner when you have nothing planned. It’s creamy, spicy, crunchy, and deeply satisfying—everything you want from comfort food. Whether you’re feeding a family on a busy weeknight or bringing a dish to a potluck, this one never disappoints.
I love that it started from a moment of kitchen desperation and became a staple in my home. That’s the beauty of cooking—sometimes the best recipes come from just making do with what you have. I encourage you to make this your own. Add more spice, swap the protein, or load it with veggies. The base is solid, and the possibilities are endless.
If you make this, I’d love to hear about it. Drop a comment below or tag me in your photos. And if you’re looking for another cozy, one-dish meal, you might enjoy this easy ground beef zucchini casserole with cheesy crust—it’s another weeknight hero. Happy cooking!
Frequently Asked Questions
Can I use chicken thighs instead of breasts?
Absolutely! Boneless, skinless thighs work great and are even more forgiving since they stay juicy. Just adjust the baking time slightly—thighs may need an extra 5-10 minutes depending on thickness. Always check for an internal temperature of 165°F.
Can I make this casserole ahead of time?
Yes, you can assemble the casserole (without the topping) up to 24 hours in advance. Cover and refrigerate. When you’re ready to bake, add the topping and bake as directed, adding about 10 minutes to the cooking time since you’re starting from cold.
How do I make the topping extra crunchy?
For maximum crunch, use pork rinds or panko breadcrumbs mixed with melted butter. If you’re using breadcrumbs, toast them in a dry skillet for 2-3 minutes before adding to the casserole. You can also broil the casserole for the last 1-2 minutes, but watch it closely to prevent burning.
Is this recipe freezer-friendly?
Yes! Assemble the casserole without the topping, wrap tightly in plastic wrap and foil, and freeze for up to 3 months. Thaw overnight in the refrigerator, add the topping, and bake as directed. You can also freeze a fully baked casserole—just reheat covered in a 350°F oven until warmed through.
Can I make this less spicy for kids?
Definitely. Use only pickled jalapeños (which are milder than fresh) and remove the seeds before chopping. You can also reduce the amount to ¼ cup or omit them entirely for a creamy chicken casserole. The dish will still be delicious—just less popper-like.
Pin This Recipe!
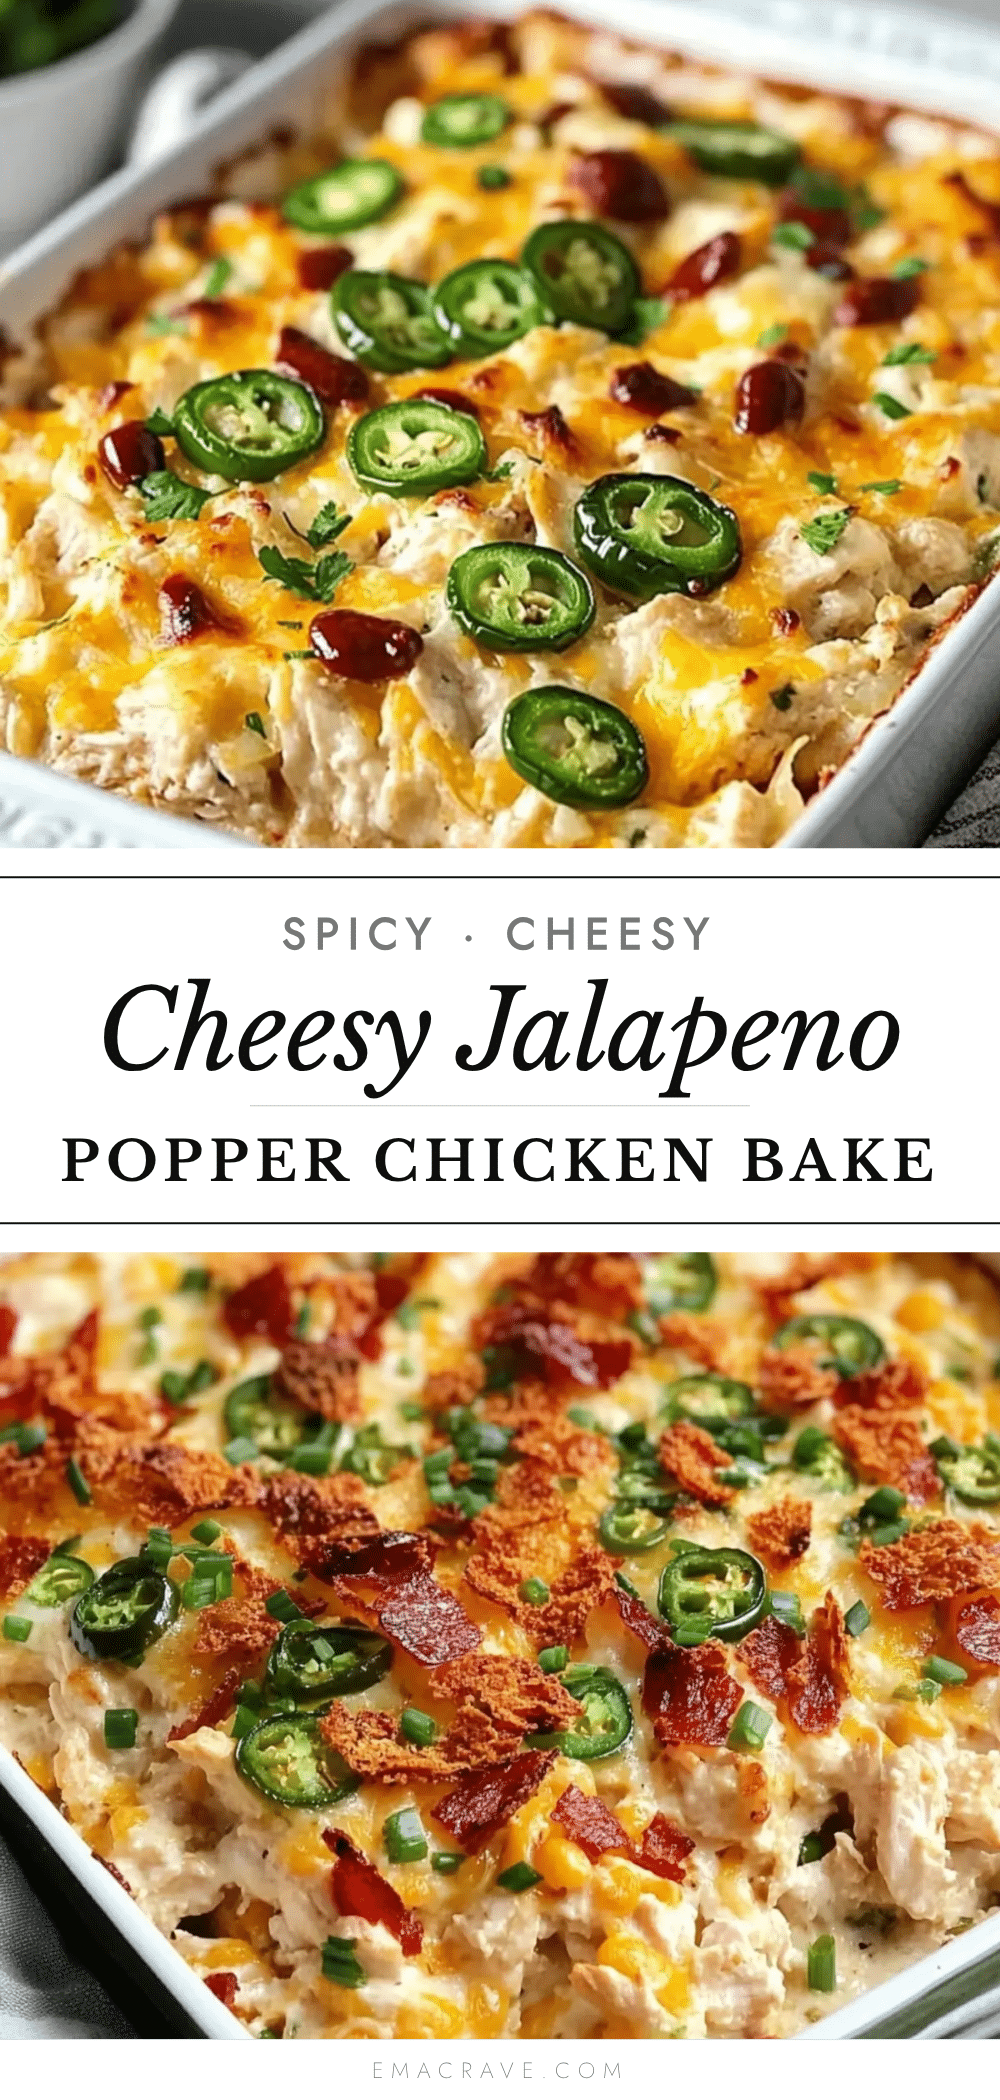
Best Cheesy Jalapeno Popper Chicken Casserole Recipe

This Cheesy Jalapeno Popper Chicken Casserole is a creamy, spicy, and crunchy comfort food that comes together in about 45 minutes. Perfect for busy weeknights, it uses simple ingredients and is a guaranteed crowd-pleaser.
- Prep Time: 15 minutes
- Cook Time: 30 minutes
- Total Time: 45 minutes
- Yield: 6 servings 1x
- Category: Main Course
- Cuisine: American
Ingredients
- 1.5 lbs (about 3 medium) boneless, skinless chicken breasts
- 8 oz cream cheese, softened
- 2 cups shredded cheddar cheese, divided
- 1 cup shredded Monterey Jack cheese
- ½ cup pickled jalapeños, drained and chopped
- 1 fresh jalapeño, sliced thin (for topping, optional)
- 1 teaspoon garlic powder
- 1 teaspoon onion powder
- ½ teaspoon smoked paprika
- Salt and black pepper to taste
- 1 cup crushed pork rinds (or panko breadcrumbs or crushed tortilla chips)
- 2 tablespoons butter, melted
- ¼ cup sliced green onions (for garnish)
Instructions
- Preheat oven to 375°F (190°C). Grease a 9×13-inch baking dish lightly with butter or cooking spray.
- Pat chicken breasts dry with paper towels. Season both sides generously with salt, pepper, garlic powder, onion powder, and smoked paprika.
- (Optional but recommended) Heat a tablespoon of oil in a skillet over medium-high heat. Sear chicken for 2-3 minutes per side until golden brown. It will not be cooked through.
- In a large bowl, combine softened cream cheese, 1 cup shredded cheddar, Monterey Jack, chopped pickled jalapeños, and a pinch of salt. Mix until well combined.
- Place seared (or raw) chicken breasts in the prepared dish in a single layer. Spread the cream cheese mixture evenly over the top of each piece.
- In a small bowl, mix crushed pork rinds (or breadcrumbs) with melted butter. Sprinkle this mixture evenly over the cream cheese layer. Top with remaining 1 cup shredded cheddar.
- Bake for 25-30 minutes, or until chicken is cooked through (internal temperature of 165°F / 74°C) and topping is golden and bubbly. If topping browns too quickly, tent loosely with foil for the last 10 minutes.
- Remove from oven and let rest for 5 minutes. Garnish with fresh jalapeño slices and green onions before serving.
Notes
For best results, grate your own cheese and soften cream cheese properly. Let the casserole rest for 5 minutes before serving to allow the sauce to set. The topping can be made with pork rinds, panko breadcrumbs, or crushed tortilla chips.
Nutrition
- Serving Size: 1 serving (1/6 of ca
- Calories: 450
- Sugar: 2
- Sodium: 800
- Fat: 30
- Saturated Fat: 15
- Carbohydrates: 6
- Fiber: 1
- Protein: 38
Keywords: cheesy jalapeno popper chicken casserole, jalapeno popper chicken, chicken casserole, creamy chicken casserole, low carb chicken casserole, keto chicken casserole



