Love this? Save it for later!
Share the inspiration with your friends
I was standing in my kitchen, staring at the clock, and mentally calculating how long I had before the doorbell started ringing. The answer was fifteen minutes. Fifteen minutes until a group of friends descended on my house for a last-minute game night I had somehow volunteered to host. I had a block of cream cheese in the fridge, a jar of something red and shimmering in the pantry I’d bought on a whim, and absolutely zero time to make anything complicated. I grabbed the cream cheese, plopped it onto a plate, and spooned the pepper jelly right over the top. I didn’t even bother to soften the cheese first. I just handed someone a stack of crackers and prayed.
That first bite was a bit of a revelation, honestly. The cold, creamy cheese against the sweet-tart, slightly spicy jelly was way more than the sum of its parts. It was gone in ten minutes. People were standing around the plate, scraping the last bits of jelly off with broken crackers. I got three texts the next day asking for the recipe. I had to laugh, because there wasn’t really a recipe to give. It was just two ingredients on a plate. But the way it made people stop and talk, the way it turned a simple snack into the centerpiece of the night, that was the real magic. This Pepper Jelly Cheese Dip has been my secret weapon ever since.
It’s the recipe I bring out when I need to look like I put in way more effort than I actually did. It’s the appetizer that disappears first, the one that gets people asking for the brand of jelly you used. It’s simple, sure, but it’s also the kind of thing that feels special. The combination of creamy, salty cheese and bright, jewel-toned jelly is just, well, irresistible.
Why You’ll Love This Recipe
Let’s be real for a second. We all want to be the host who pulls out something amazing without spending hours in the kitchen. This dip is that golden ticket. It’s the appetizer that does the heavy lifting for you, and it does it with style.
- Quick & Easy: We are talking about five minutes of active time. Maybe less. You literally unwrap the cheese and open the jar. That’s it.
- Simple Ingredients: You might already have both ingredients in your fridge and pantry right now. No fancy trips to a specialty store required.
- Perfect for Any Gathering: Game day, holiday parties, book club, a random Tuesday night snack—this dip fits in everywhere. It’s fancy enough for a cocktail party but casual enough for a family movie night.
- Crowd-Pleaser: I have yet to meet someone who doesn’t like this. It’s sweet, salty, creamy, and has just a tiny kick of heat that keeps you coming back for more.
- Unbelievably Delicious: The contrast in textures and temperatures is what makes it so good. Cold, firm cheese against a sticky, room-temperature jelly is a flavor and mouthfeel experience that feels way more complex than it is.
What makes this version stand out? It’s about the quality of the jelly and the technique of letting it sit for just a few minutes. I always recommend using a pepper jelly with visible chunks of pepper for the best texture and a balanced heat that doesn’t overwhelm the cheese. This isn’t just another dip—it’s the one that will become your go-to for every single event.
What Ingredients You Will Need
The beauty of this recipe is its simplicity. Here is exactly what you need to make the most irresistible pepper jelly cheese dip ever.
- 8 ounces block cream cheese: This is non-negotiable. You need the full-fat, block-style cream cheese for the right texture. Do not use the spreadable kind from a tub—it’s too soft and won’t hold up as well. I always use Philadelphia brand for the creamiest, most reliable results. Make sure it’s cold from the fridge when you start.
- 1 cup pepper jelly: This is where you can have some fun. I personally love a classic red pepper jelly for its vibrant color and balanced sweet-heat profile. Look for a brand that has visible pieces of red and green pepper in the jelly. Stonewall Kitchen makes a fantastic one, but I’ve had great luck with store brands too. You can use hot pepper jelly for more heat or a mild one if you’re serving a crowd that includes kids.
- 1 tablespoon fresh lemon juice (optional): A tiny squeeze of lemon juice brightens everything up and cuts through the richness of the cream cheese. It’s not essential, but it adds a little something extra that makes people wonder what you did.
- Crackers or dippers for serving: You want something sturdy enough to scoop up the thick cheese and jelly. I love buttery crackers like Ritz or a good sturdy water cracker. Crostini, pretzel chips, or even slices of crisp apple or pear are also incredible choices.
That’s it. Seriously. You don’t need garlic powder, herbs, or any other fancy additions. The magic is in the simplicity of the two main ingredients working together.
Equipment Needed
You won’t need much for this one, which is part of what makes it so great. Here’s the shortlist of tools you’ll want on hand.
- A serving plate or small platter: You want something with a slight rim to catch any runaway jelly. A small wooden board or a ceramic plate works perfectly.
- A small bowl or ramekin: This is optional, but if you want to serve the jelly on the side, a small bowl is nice. I personally prefer spooning it directly over the cheese block.
- A butter knife or small offset spatula: You’ll use this to spread the cream cheese if you decide to soften it, or just to help people serve themselves.
- Measuring spoons: Only if you’re using the optional lemon juice.
I’ve made this dip with just a plate and a spoon from the silverware drawer. No joke. It’s that forgiving. If you don’t have a fancy serving platter, a simple dinner plate works like a charm.
Preparation Method
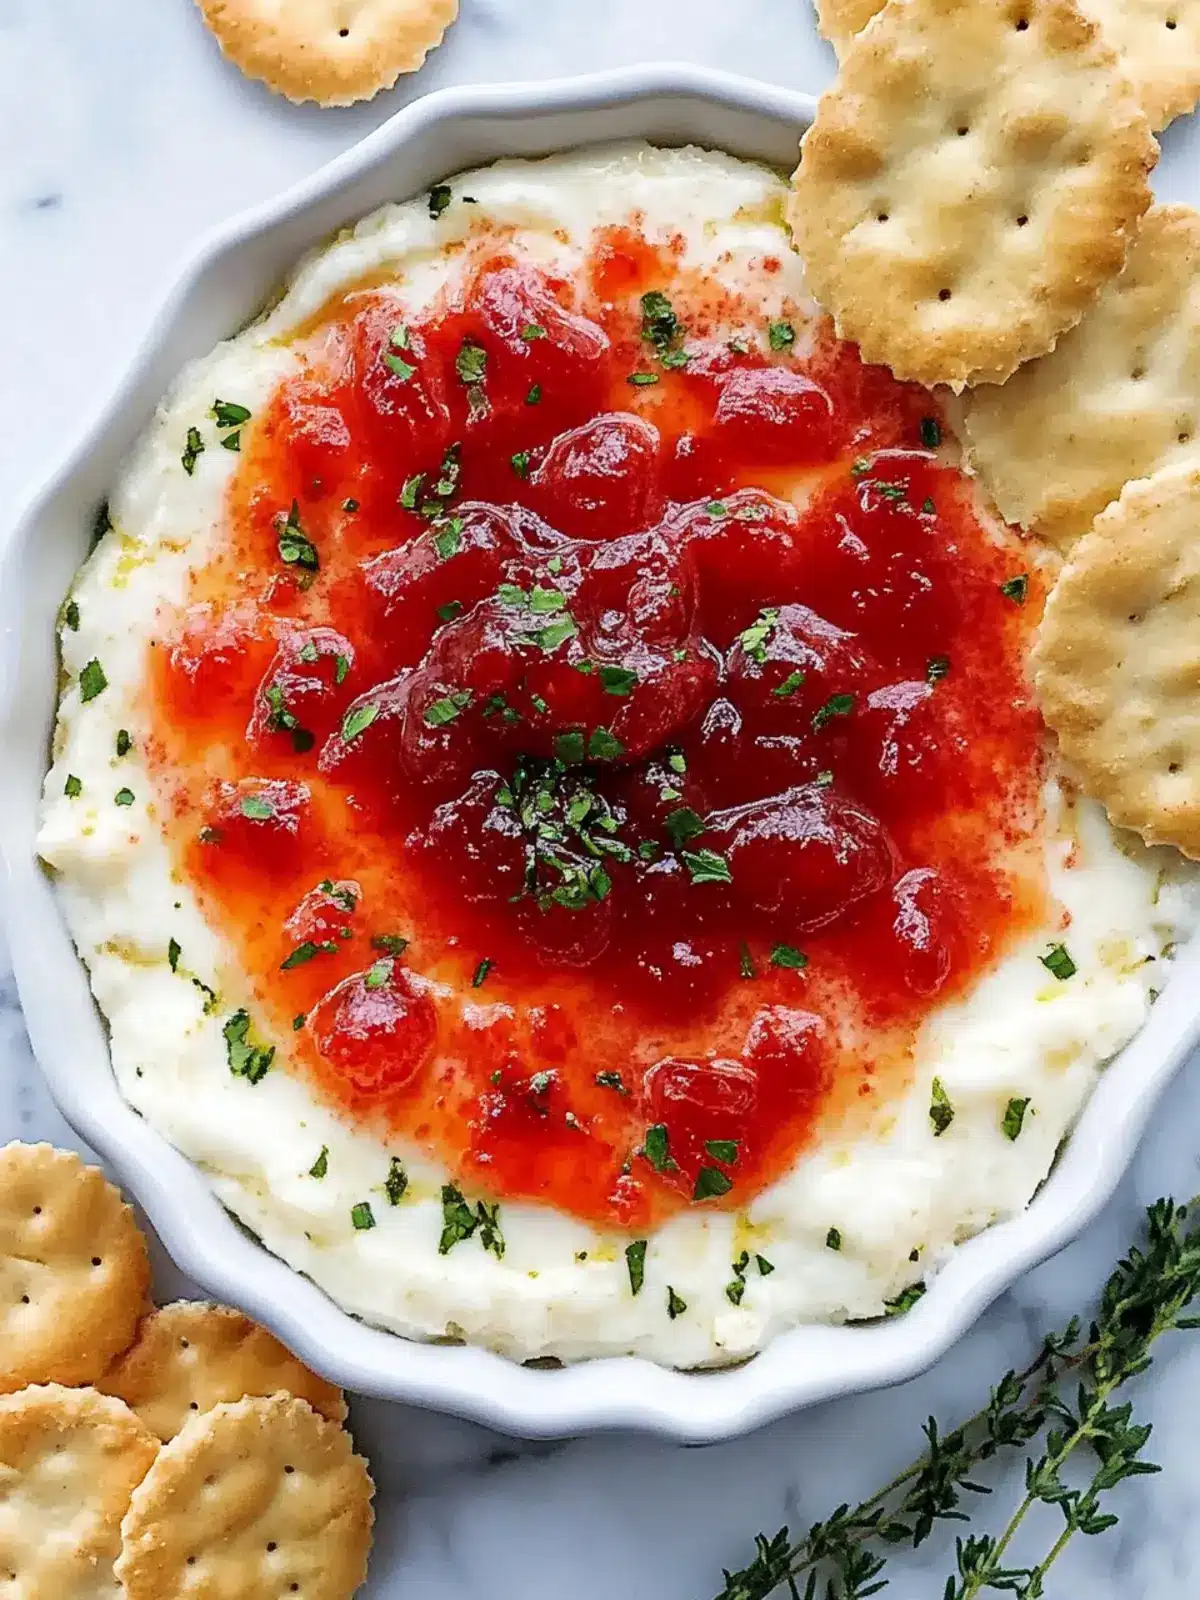
Alright, let’s get to the fun part. This is less of a recipe and more of an assembly, but I’ll walk you through every step so it comes out perfect every time.
- Prep the cream cheese. Take your block of cream cheese straight from the fridge. Unwrap it and place it whole in the center of your serving plate. Don’t try to soften it. Keeping it cold is key for the texture contrast.
- Spoon the jelly. Open your jar of pepper jelly and give it a good stir. Sometimes the jelly part settles at the bottom and the pepper pieces float to the top. You want to redistribute everything evenly. Spoon the entire cup of jelly right over the top of the cream cheese block. Don’t be shy—pile it high and let it drip down the sides a little.
- Add the lemon juice (if using). Squeeze about a tablespoon of fresh lemon juice over the jelly. This step is optional, but it really does brighten the whole flavor profile. It just takes the edge off the sweetness.
- Let it rest. Here is the secret. Let the dip sit at room temperature for about 15-20 minutes before serving. This allows the cream cheese to soften just enough to be spreadable, while the jelly warms up and becomes a little runnier. The flavors meld together during this short rest.
- Serve. Arrange your crackers or dippers around the base of the cheese and jelly. I like to place a small butter knife on the plate so people can scoop up some cheese and some jelly together. Watch it disappear.
The dip will look gorgeous right away, with the bright, glossy red jelly contrasting against the stark white cream cheese. As people start digging in, it gets a little messy in the best possible way. That’s the sign of a good party appetizer.
Cooking Tips & Techniques
Even with a recipe this simple, a few small tricks can make a big difference. Here’s what I’ve learned from making this dip more times than I can count.
Don’t skimp on the jelly. I know it feels like a lot to dump a whole cup of jelly on one block of cheese, but trust the process. You want a generous layer so every bite gets a good amount of that sweet heat. If you use less, the dip feels unbalanced.
Watch your serving temperature. This is the most important tip. If the cream cheese is too cold, it’s hard to scoop and doesn’t have that luscious, creamy texture. If it sits out too long and gets too warm, it becomes a soupy mess. The sweet spot is about 15-20 minutes at room temperature. On a hot day, it might only need 10 minutes. On a cold day, maybe 25. You want the cheese to yield slightly when you press it with a finger, but still hold its shape.
Make it ahead of time. You can assemble the entire dip up to two hours before serving. Just cover it loosely with plastic wrap and keep it in the fridge. Take it out about 20-25 minutes before you plan to serve it so it can come to that perfect temperature. I’ve done this for holiday parties, and it’s a lifesaver.
A personal failure I learned from. One time, I tried to soften the cream cheese in the microwave before assembling the dip. Big mistake. It melted in the center and turned into a puddle under the jelly. The texture was all wrong. Keep the cheese cold and let it soften naturally. Patience is your friend here.
Variations & Adaptations
This recipe is incredibly flexible. Feel free to make it your own based on what you have on hand or who you’re serving.
- Spicy Version: Use a hot pepper jelly or a habanero pepper jelly for a serious kick. You can also sprinkle a few red pepper flakes over the top before serving for extra heat and color.
- Herb-Crusted Variation: Before spooning on the jelly, roll the cold cream cheese block in a mixture of chopped fresh herbs like chives, parsley, or thyme. The green herbs against the red jelly look beautiful and add a savory note.
- Nutty Twist: Sprinkle a handful of toasted pecans or walnuts over the top of the jelly. The crunch adds a wonderful texture, and the nuttiness pairs perfectly with the sweet and salty flavors. This is my personal favorite variation for fall gatherings.
- Bacon Lover’s Version: Because everything is better with bacon. Cook 3-4 strips of bacon until crispy, crumble them, and sprinkle over the top of the assembled dip. It adds a smoky, salty crunch that is absolutely addictive.
- Dairy-Free Adaptation: You can use a block of dairy-free cream cheese alternative. Just make sure it’s a block-style, not a spread. The texture will be slightly different, but the flavor is still fantastic.
I once made a version with a jalapeño and pineapple jelly for a summer barbecue, and it was a huge hit. The tropical sweetness paired so well with the salty cheese. Don’t be afraid to experiment with different jelly flavors!
Serving & Storage Suggestions
This dip is best enjoyed fresh, but there are a few things to know about serving and storing it.
Serving Temperature: Serve the dip at room temperature for the best flavor and texture. It should feel cool and creamy, not refrigerator-cold. I recommend pulling it out of the fridge 20 minutes before guests arrive.
What to Serve With It: Buttery crackers are my go-to, but the options are endless. Try it with crostini, bagel chips, pretzel thins, or even celery sticks for a low-carb option. Slices of crisp apple or pear are also surprisingly amazing with the sweet and spicy jelly. For a more substantial spread, serve it alongside a Savory Mozzarella Meatball Sliders for an easy game-day feast.
Storage: If you have leftovers (which is rare, but it happens), you can scrape the remaining dip into an airtight container and store it in the refrigerator for up to 3 days. The texture won’t be quite the same for serving as a dip again, but it’s fantastic repurposed. Spread it on a bagel for breakfast, or use it as a filling for a grilled cheese sandwich.
Reheating: I don’t recommend reheating this dip. The cream cheese will separate and become grainy. It’s really meant to be served cold or at room temperature.
How Flavors Develop: The flavors actually meld together beautifully after sitting for an hour or so. The jelly starts to seep into the outer layer of the cream cheese, creating a marbled effect that is both pretty and delicious.
Nutritional Information & Benefits
Let’s be honest, this is a treat. But here’s a look at what’s in it, and a few surprising benefits.
- Estimated per serving (based on 8 servings): Calories: 180, Fat: 14g, Carbohydrates: 12g, Protein: 3g, Sugar: 10g.
- Protein and Calcium: The cream cheese provides a small amount of protein and a decent dose of calcium for bone health.
- Vitamin C from Peppers: Depending on the brand, the pepper jelly may contain a small amount of vitamin C from the actual peppers used. It’s not a significant source, but every little bit helps.
- Dietary Considerations: This recipe is naturally gluten-free and vegetarian. Always double-check your cracker and jelly labels to be sure.
- Potential Allergens: Contains dairy (cream cheese). It is not suitable for a vegan diet unless you use a dairy-free cream cheese alternative.
I’m a firm believer in balance. This dip is not health food, and it’s not meant to be. It’s a celebration food, a treat to share with people you love. And honestly, a little bit goes a long way because the flavor is so rich and satisfying.
Conclusion
This Pepper Jelly Cheese Dip is more than just an appetizer. It’s a stress-reliever for hosts, a conversation starter at parties, and a guaranteed crowd-pleaser that makes you look like a culinary genius with almost zero effort. It’s the recipe I turn to again and again, whether I’m hosting a big holiday bash or just having a quiet night in with a good movie.
I love how it brings people together around the snack table. There’s something about that first scoop, when someone discovers the perfect ratio of creamy cheese to sweet-spicy jelly, that makes me smile every time. It’s simple, honest, and undeniably delicious.
Now it’s your turn. Make this dip for your next gathering, and watch it disappear. Try it with a different jelly flavor, add your favorite toppings, and make it your own. I’d love to hear how it turns out! Drop a comment below and tell me what dippers you used, or share a photo of your creation. And if you’re looking for another easy, impressive appetizer, you have to try this Irresistible Olive Cheese Bread—it’s another one that disappears in minutes. Happy snacking!
Frequently Asked Questions
Can I use a flavored cream cheese?
I really recommend sticking with plain cream cheese for this recipe. Flavored cream cheeses, like chive and onion or strawberry, will clash with the pepper jelly. The plain base lets the sweet and spicy jelly shine.
What if I can’t find pepper jelly?
No problem at all! You can use any sweet and slightly spicy jam or preserve. A jalapeño jam, a sweet chili sauce, or even a fig jam with a pinch of red pepper flakes would work beautifully. The key is to have that sweet-heat balance.
How do I keep the dip from getting too runny?
The key is temperature control. Don’t let the cream cheese sit out for more than 30 minutes before serving. If you’re serving it on a warm day, consider putting the serving plate on a small bed of ice to keep it cool. Also, make sure your jelly isn’t too warm when you spoon it on.
Can I make this dip in a skillet or bake it?
You can, but it becomes a completely different dish. If you want a warm, baked version, spread the cream cheese in a small oven-safe skillet, top with the jelly, and bake at 350°F for about 10-15 minutes until warm and bubbly. It’s delicious, but it loses that signature cold-creamy versus room-temperature-jelly texture contrast.
Is this dip spicy?
It depends on the jelly you use. Most standard red pepper jellies have a very mild, gentle heat that is more of a warm tingle than an actual burn. If you are sensitive to spice, look for a “mild” pepper jelly. If you love heat, go for a “hot” or “habanero” version. You control the heat level!
Pin This Recipe!
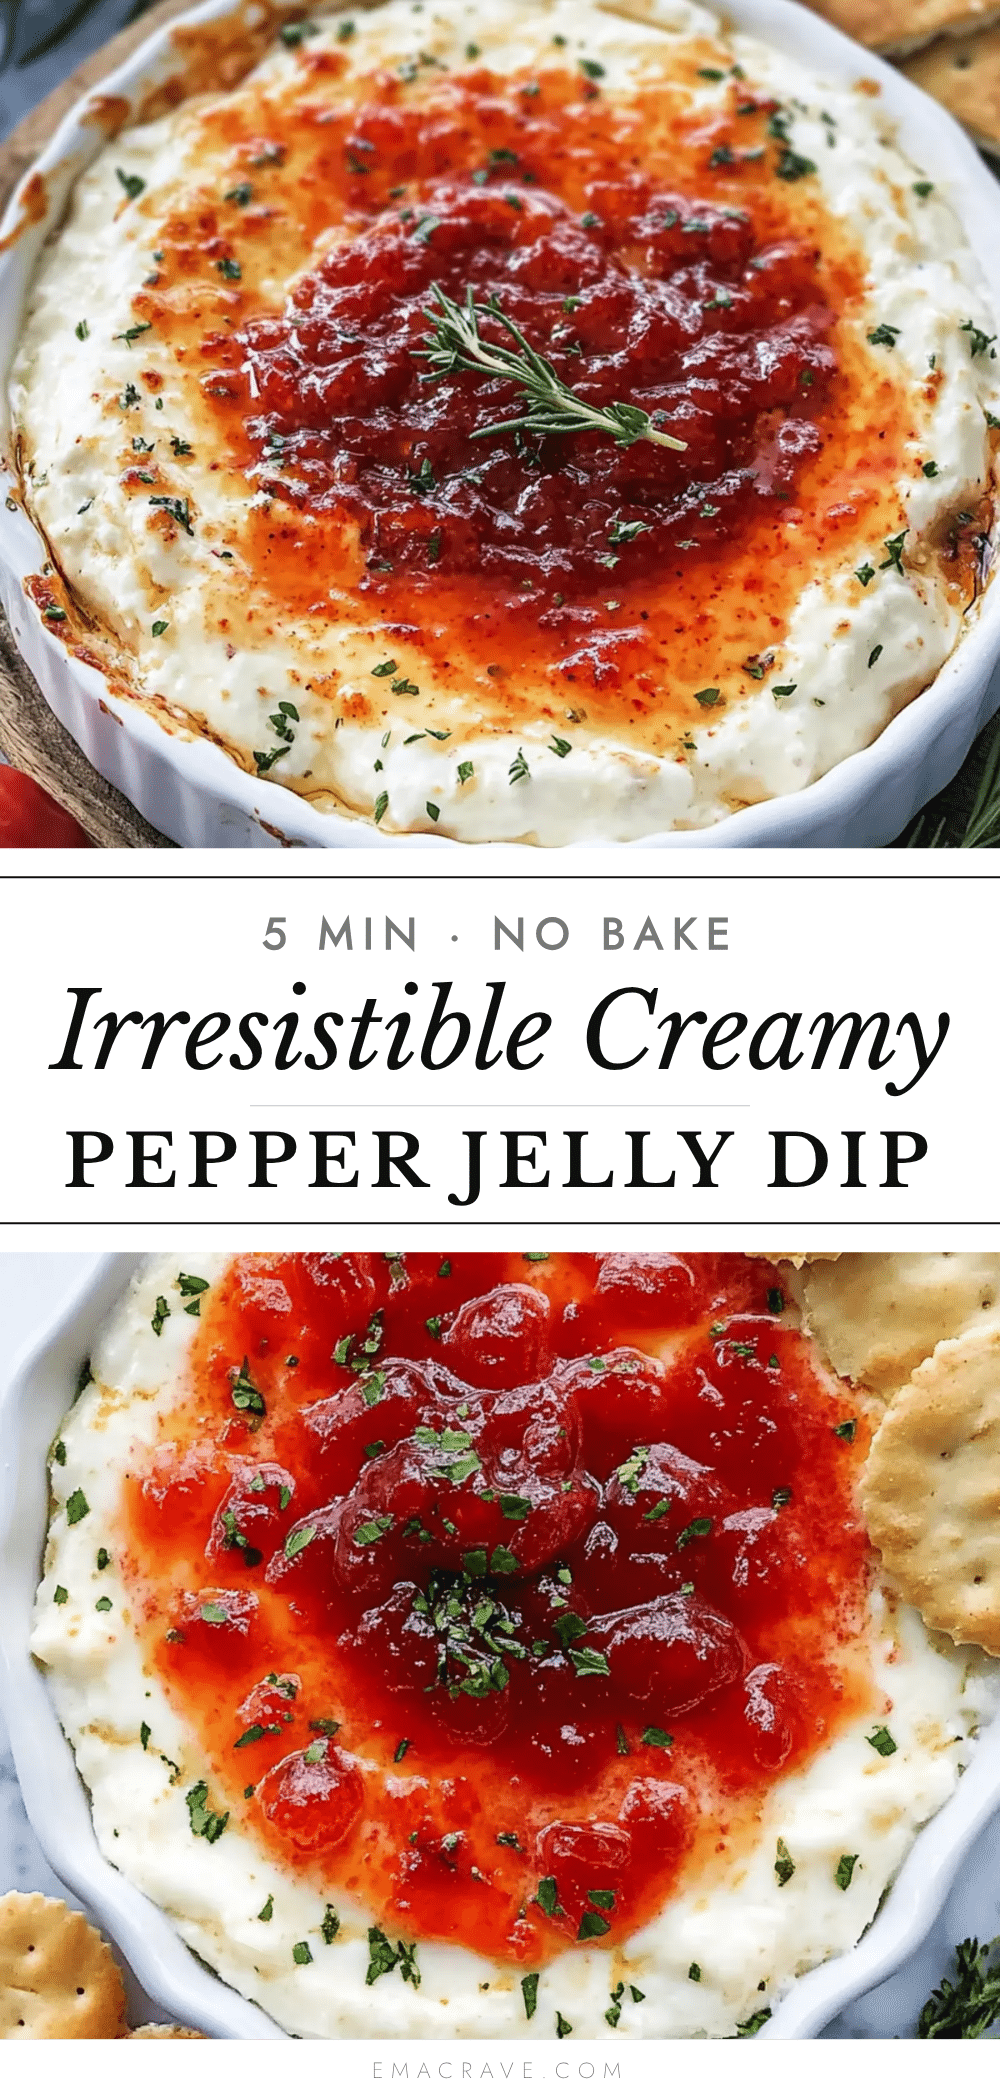
Irresistible Pepper Jelly Cheese Dip – Easy 5-Minute Appetizer

A quick and easy 5-minute appetizer featuring creamy cold cream cheese topped with sweet and spicy pepper jelly. Perfect for any gathering, this simple dip is a guaranteed crowd-pleaser that looks impressive with minimal effort.
- Prep Time: 5 minutes
- Cook Time: 0 minutes
- Total Time: 20 minutes (including resting time)
- Yield: 8 servings 1x
- Category: Appetizer
- Cuisine: American
Ingredients
- 8 ounces block cream cheese (full-fat, block-style, cold from fridge)
- 1 cup pepper jelly (with visible pepper chunks)
- 1 tablespoon fresh lemon juice (optional)
- Crackers or dippers for serving (e.g., buttery crackers, crostini, pretzel chips, apple slices)
Instructions
- Take the block of cream cheese straight from the fridge. Unwrap it and place it whole in the center of your serving plate. Do not soften it.
- Open the jar of pepper jelly and stir it well to redistribute the pepper pieces. Spoon the entire cup of jelly over the top of the cream cheese block, piling it high and letting it drip down the sides.
- If using, squeeze about 1 tablespoon of fresh lemon juice over the jelly.
- Let the dip sit at room temperature for 15-20 minutes before serving. This allows the cream cheese to soften slightly and the flavors to meld.
- Arrange crackers or dippers around the base of the cheese and jelly. Place a small butter knife on the plate for serving.
Notes
For best results, use full-fat block cream cheese, not the spreadable kind. Let the dip rest at room temperature for 15-20 minutes before serving for optimal texture. The dip can be assembled up to 2 hours ahead and refrigerated; remove 20-25 minutes before serving. Do not microwave the cream cheese to soften it, as it will become runny. Leftovers can be stored in an airtight container in the refrigerator for up to 3 days and are great on bagels or in grilled cheese.
Nutrition
- Serving Size: 1 serving (based on
- Calories: 180
- Sugar: 10
- Sodium: 120
- Fat: 14
- Saturated Fat: 8
- Carbohydrates: 12
- Protein: 3
Keywords: pepper jelly cheese dip, easy appetizer, 5-minute appetizer, cream cheese dip, party dip, game day snack, holiday appetizer



