Love this? Save it for later!
Share the inspiration with your friends
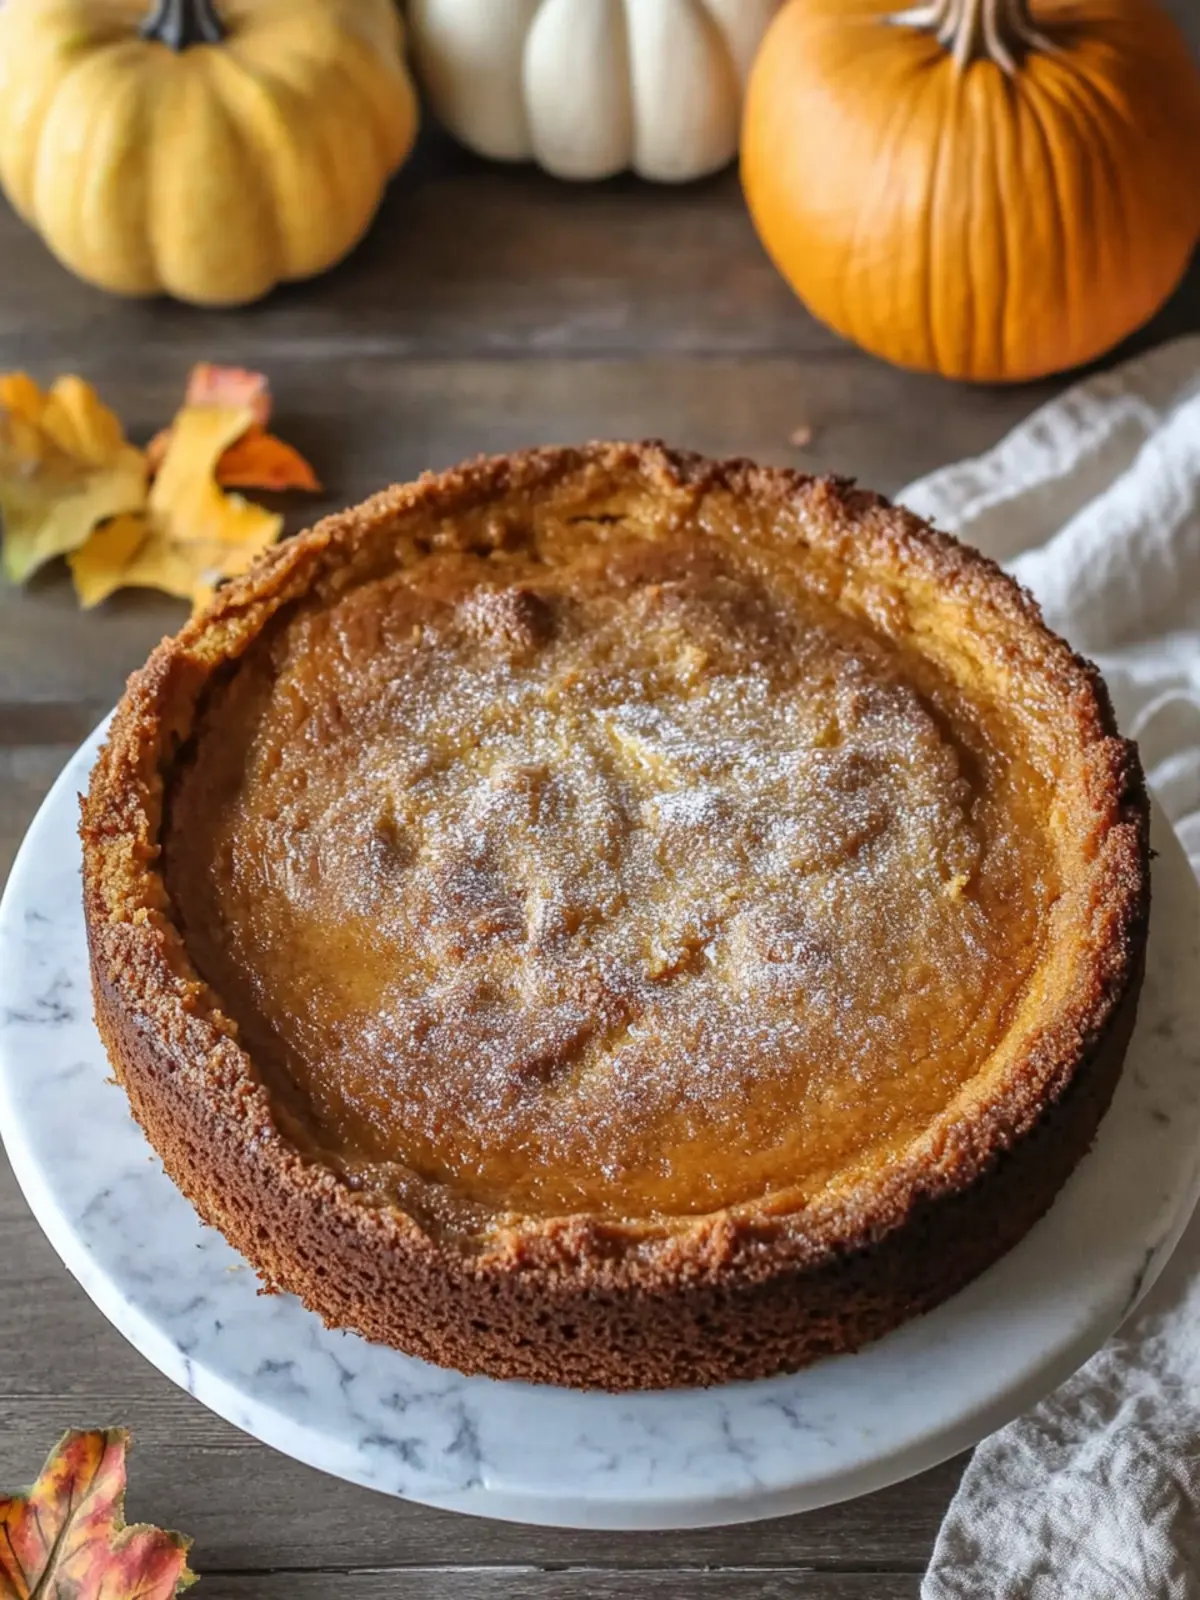
I pulled the pan out of the oven, and the whole kitchen just went silent. My husband, who had been half-watching a football game from the couch, suddenly stood up. “What is that?” he asked, already walking over. The top was a soft, pale gold with faint cracks spidering across the surface, and the edges had puffed up just slightly before settling back down. I set the pan on the stovetop, and that’s when the smell really hit—warm pumpkin spice, sweet butter, and something almost caramel-like. I had been skeptical about this one, honestly. A “gooey” butter cake? It sounded like a gimmick. But I had a can of pumpkin puree staring at me from the pantry, and the internet kept whispering about this Perfect Pumpkin Gooey Butter Cake.
The first bite was a mess—in the best way. The fork sank through a tender, almost cake-like top layer and hit a dense, creamy, almost fudge-like bottom. It wasn’t dry. It wasn’t crumbly. It was rich and soft and tasted exactly like autumn feels. I may have eaten a second piece right then, standing at the counter, no plate. That was three weeks ago, and I have made it four times since. Once for a friend who stopped by unannounced, once for a small dinner party, and twice just because the weather turned chilly and I needed an excuse.
This isn’t one of those fussy desserts that requires a stand mixer and a pastry degree. It’s a dump-and-stir situation that somehow produces something that looks and tastes like you spent hours fussing over it. The texture is the real star here—a soft, pillowy crust against a luscious, almost pudding-like filling. It’s the kind of dessert that makes people close their eyes after the first forkful, and honestly, that never gets old. If you are looking for a fall dessert that delivers on flavor without the stress, this one is it.
Why You’ll Love This Recipe
I have tested a lot of pumpkin desserts over the years, and most of them fall into one of two camps: dry and disappointing, or so wet they never set right. This Perfect Pumpkin Gooey Butter Cake lands exactly in the sweet spot. It is rich without being heavy, and sweet without being cloying. The texture is what keeps people coming back for a second slice. Here is why this recipe works so well:
- Incredibly Easy: You don’t need a mixer. Just a bowl, a spoon, and a 9×13 pan. The whole thing comes together in about 15 minutes of active work.
- Simple Ingredients: No obscure flours or specialty extracts. You probably have most of these in your pantry right now, especially if you keep basic baking supplies on hand.
- Perfect for Fall Gatherings: This is the dessert you bring to Friendsgiving, Thanksgiving, or a cozy weekend dinner. It travels well and stays delicious at room temperature.
- Crowd-Pleaser: I have served this to kids, adults, and picky eaters. Everyone loves it. The pumpkin flavor is present but not overwhelming, and the buttery richness is universally appealing.
- Unbelievably Delicious: The contrast between the soft cake layer and the gooey, almost custard-like bottom is something you have to taste to believe. It is comfort food in dessert form.
What makes this version different from other pumpkin gooey butter cakes is the balance. Many recipes end up too sweet or too dense. I adjusted the sugar and butter ratios over several batches to get a filling that is luscious but not greasy, and a crust that holds its shape without getting hard. It is the kind of dessert that feels special enough for a holiday but easy enough for a random Tuesday night.
What Ingredients You Will Need
This recipe uses simple, wholesome ingredients to create a dessert that feels indulgent without being complicated. Most of these are pantry staples, and the pumpkin does all the heavy lifting for flavor and moisture.
For the Crust
- 1 box (15.25 oz) yellow cake mix – I prefer Betty Crocker or Duncan Hines for consistent texture. The cake mix provides structure and sweetness without needing to measure out a dozen dry ingredients.
- 1/2 cup (1 stick) unsalted butter, melted – Use real butter here, not margarine. It makes a difference in flavor and texture.
- 1 large egg – This binds the crust together. Bring it to room temperature if you can, but cold works in a pinch.
For the Filling
- 1 can (15 oz) pumpkin puree – Make sure it is pure pumpkin, not pumpkin pie filling. Libby’s is my go-to brand for consistent results.
- 1 package (8 oz) cream cheese, softened – Full-fat cream cheese gives the best creamy texture. Let it sit out for about 30 minutes before starting.
- 1/2 cup (1 stick) unsalted butter, melted – This adds richness and helps create that signature gooey texture.
- 2 cups powdered sugar – Sift it if you have the patience, but I have skipped this step plenty of times with no issues.
- 2 large eggs – Room temperature eggs blend more smoothly into the filling.
- 1 teaspoon vanilla extract – Pure vanilla adds warmth, but imitation works fine here.
- 1 teaspoon pumpkin pie spice – You can use store-bought or make your own with cinnamon, nutmeg, ginger, and cloves.
- 1/2 teaspoon ground cinnamon – For an extra layer of cozy flavor.
- 1/4 teaspoon salt – Just a pinch to balance the sweetness.
Equipment Needed
You don’t need fancy equipment for this one, which is part of why I love it. Here is what you will need:
- 9×13-inch baking pan – Glass or metal both work. I use a glass Pyrex dish because I like being able to see the bottom crust through the sides.
- Large mixing bowls – One for the crust, one for the filling. Nothing fancy needed.
- Whisk or electric hand mixer – A whisk works fine for the crust, but a hand mixer makes the filling much smoother and easier to combine.
- Rubber spatula – For scraping every last bit of filling into the pan. Trust me, you want it all.
- Measuring cups and spoons – Standard set for accuracy.
- Cooling rack – Optional but helpful for even cooling.
If you don’t have a hand mixer, you can absolutely beat the filling by hand with a whisk. It just takes a little more elbow grease to get the cream cheese completely smooth. I have done it both ways, and the result is the same delicious cake.
Preparation Method
This recipe comes together in layers. Take your time with each step, and you will be rewarded with a perfectly textured dessert.
- Preheat your oven to 350°F (175°C). Lightly grease your 9×13 baking pan with butter or nonstick spray. I like to use butter for flavor, but spray works fine.
- Make the crust. In a medium bowl, combine the yellow cake mix, melted butter, and 1 egg. Stir with a fork or spatula until a thick, cohesive dough forms. It will be quite stiff and a little sticky. Press this mixture evenly into the bottom of your prepared pan. Don’t worry about bringing it up the sides—just an even layer on the bottom. Set the pan aside.
- Start the filling. In a large mixing bowl, beat the softened cream cheese with an electric hand mixer until it is smooth and fluffy, about 1 minute. Scrape down the sides of the bowl with a spatula.
- Add the wet ingredients. Pour in the melted butter and the pumpkin puree. Beat on medium speed until everything is well combined and smooth. The mixture will look a little loose, and that is perfectly fine.
- Add the eggs and vanilla. Crack in the 2 eggs and add the vanilla extract. Beat again until the mixture is uniform. It should be glossy and thick.
- Add the dry ingredients. Sift or whisk together the powdered sugar, pumpkin pie spice, cinnamon, and salt in a separate small bowl. Gradually add this dry mixture to the wet filling, beating on low speed to avoid a powdered sugar cloud. Once all the sugar is incorporated, increase the speed to medium and beat for about 1 minute until the filling is smooth, thick, and creamy.
- Assemble the cake. Pour the filling over the prepared crust. Use your spatula to spread it evenly to the edges. Don’t worry if it looks like there is too much liquid—it will set perfectly as it bakes.
- Bake. Place the pan in the preheated oven and bake for 40 to 45 minutes. The edges should look set and slightly puffed, while the center will still jiggle slightly when you gently shake the pan. That jiggle is what gives you the gooey texture. If the center looks completely firm, you have overbaked it.
- Cool completely. This is the hardest part. Let the cake cool in the pan on a wire rack for at least 1 hour at room temperature, then refrigerate for at least 2 hours before slicing. The cake needs time to set up properly. Cutting into it warm will result in a delicious but messy puddle.
- Slice and serve. Use a sharp knife to cut clean squares. Wipe the knife between cuts for the neatest slices. Serve chilled or at room temperature.
Cooking Tips & Techniques
I have made this cake enough times to know where things can go wrong. Here are the tips I wish someone had told me the first time around.
Don’t overbake it. This is the number one mistake. The center should still wobble when you pull it out of the oven. It will continue to set as it cools. If you bake it until the center is firm, you will end up with a dense, dry cake instead of a gooey one. Trust the jiggle.
Use room temperature ingredients. Cold cream cheese and cold eggs will give you a lumpy filling. Let them sit on the counter for about 30 minutes before you start. If you are in a hurry, you can microwave the cream cheese in 10-second bursts until it is soft, but be careful not to melt it.
Press the crust firmly. The crust is the foundation. If it is too thin or patchy, the filling can seep through and make the bottom soggy. Press it into an even, compact layer using your fingers or the bottom of a flat measuring cup.
Chill before slicing. I know it is tempting to dig in while it is still warm, but this cake really benefits from a long chill in the fridge. The texture becomes firmer and cleaner, and the flavors meld together beautifully. I have made the mistake of cutting it after only an hour, and it was a gooey mess (still delicious, but not pretty).
Use pure pumpkin, not pumpkin pie filling. This is a critical distinction. Pumpkin pie filling is already sweetened and spiced, which will throw off the balance of this recipe. Stick with 100% pure pumpkin puree for the best results.
Variations & Adaptations
This recipe is flexible, and I have played around with a few variations over the past few weeks. Here are some ideas to make it your own.
Gluten-Free Version: Use a gluten-free yellow cake mix for the crust. Most brands work well, though the texture may be slightly more crumbly. The filling is naturally gluten-free as long as you check your powdered sugar label.
Dairy-Free Adaptation: Substitute the butter with a plant-based butter stick (I like Miyoko’s) and use dairy-free cream cheese. The texture will be slightly less rich, but it still tastes fantastic. I tried this version for a friend with dairy sensitivities, and she went back for thirds.
Spice It Up: If you love warm spices, add an extra 1/2 teaspoon of ginger or a pinch of cloves to the filling. You can also swap the pumpkin pie spice for chai spice blend for a unique twist.
Add a Topping: Sprinkle a handful of chopped pecans or walnuts over the filling before baking for a little crunch. I did this with one batch, and the nutty flavor paired beautifully with the pumpkin.
Make It Chocolate: Use a chocolate cake mix instead of yellow for the crust. The combination of chocolate and pumpkin is surprisingly good. I was skeptical, but it worked.
If you are in the mood for another cozy dessert, you might also enjoy these espresso chocolate shortbread cookies or this creamy gingerbread nice cream for a different kind of treat.
Serving & Storage Suggestions
This cake is versatile when it comes to serving. I have enjoyed it cold straight from the fridge, at room temperature with a cup of coffee, and even slightly warmed with a scoop of vanilla ice cream on top. Each way offers a slightly different experience, and all of them are good.
For presentation, dust the top with a little powdered sugar just before serving. It adds a pretty finish and a hint of extra sweetness. A dollop of whipped cream is also a lovely addition, especially if you are serving it as a Thanksgiving dessert.
Storage: Keep this cake covered in the refrigerator. It will stay fresh for up to 5 days, though I doubt it will last that long. The texture actually improves after a day or two in the fridge as the flavors continue to meld.
Freezing: This cake freezes beautifully. Wrap individual slices tightly in plastic wrap, then place them in a freezer-safe bag. They will keep for up to 3 months. Thaw in the refrigerator overnight before serving. I have a few slices stashed away for a rainy day.
Reheating: If you prefer it warm, pop a slice in the microwave for about 15 seconds. Be careful not to overheat it, or the gooey center can become too runny. For a more even warm-up, place the slice in a 300°F oven for about 5 minutes.
Nutritional Information & Benefits
Let’s be real—this is a dessert, not a health food. But it does have some redeeming qualities. Pumpkin is packed with vitamin A, fiber, and antioxidants. It adds moisture and flavor without requiring a ton of extra fat, which is a win in my book.
Here are the estimated nutritional values per serving (based on 12 servings):
- Calories: 410
- Fat: 22g
- Carbohydrates: 52g
- Protein: 4g
- Fiber: 2g
- Sugar: 38g
This recipe contains dairy, eggs, and gluten. For allergen-friendly versions, check the variations section above. I think of this as a treat to enjoy in moderation, especially during the cozy fall months when a little indulgence feels right.
Conclusion
This Perfect Pumpkin Gooey Butter Cake has earned a permanent spot in my fall baking rotation. It is simple enough to throw together on a weekday but impressive enough to bring to any holiday gathering. The texture is what makes it special—that soft, cakey top hiding a rich, creamy, almost fudge-like center. It is the kind of dessert that makes people pause mid-bite and ask for the recipe.
I hope you give this one a try. Play with the spices, add a topping, or keep it exactly as written. It is hard to go wrong. And if you make it, I would love to hear how it turned out. Drop a comment below or tag me in your photos. There is something about sharing a good dessert that makes it taste even better.
Happy baking, and here is to a season filled with warm kitchens and sweet treats.
Frequently Asked Questions
Can I use a homemade cake mix instead of a boxed one?
You can, but the texture may be slightly different. Boxed cake mix has specific stabilizers and leavening agents that help create the right crust consistency. If you want to make your own, use a recipe for yellow cake that yields about 15 ounces of dry mix.
Why is my gooey butter cake too runny?
This usually happens if the cake is underbaked or not chilled long enough. Make sure you bake it until the edges are set and the center is just slightly jiggly. Then, refrigerate it for at least 2 hours before slicing. Patience is key here.
Can I make this ahead of time?
Absolutely. This cake actually tastes better the next day. You can bake it a day or two in advance, keep it covered in the fridge, and slice it just before serving. It is a great make-ahead dessert for holidays or dinner parties.
Can I use fresh pumpkin instead of canned?
Yes, but you will need to roast and puree the pumpkin first, then drain off any excess liquid. Canned pumpkin is more consistent in moisture content, so if you use fresh, be prepared for a slightly different texture. I stick with canned for reliability.
How do I get clean slices?
Use a sharp knife and wipe it clean between each cut. Chilling the cake thoroughly before slicing also helps. If the cake is too soft, it will squish rather than cut neatly. A little patience with cooling goes a long way.
Pin This Recipe!
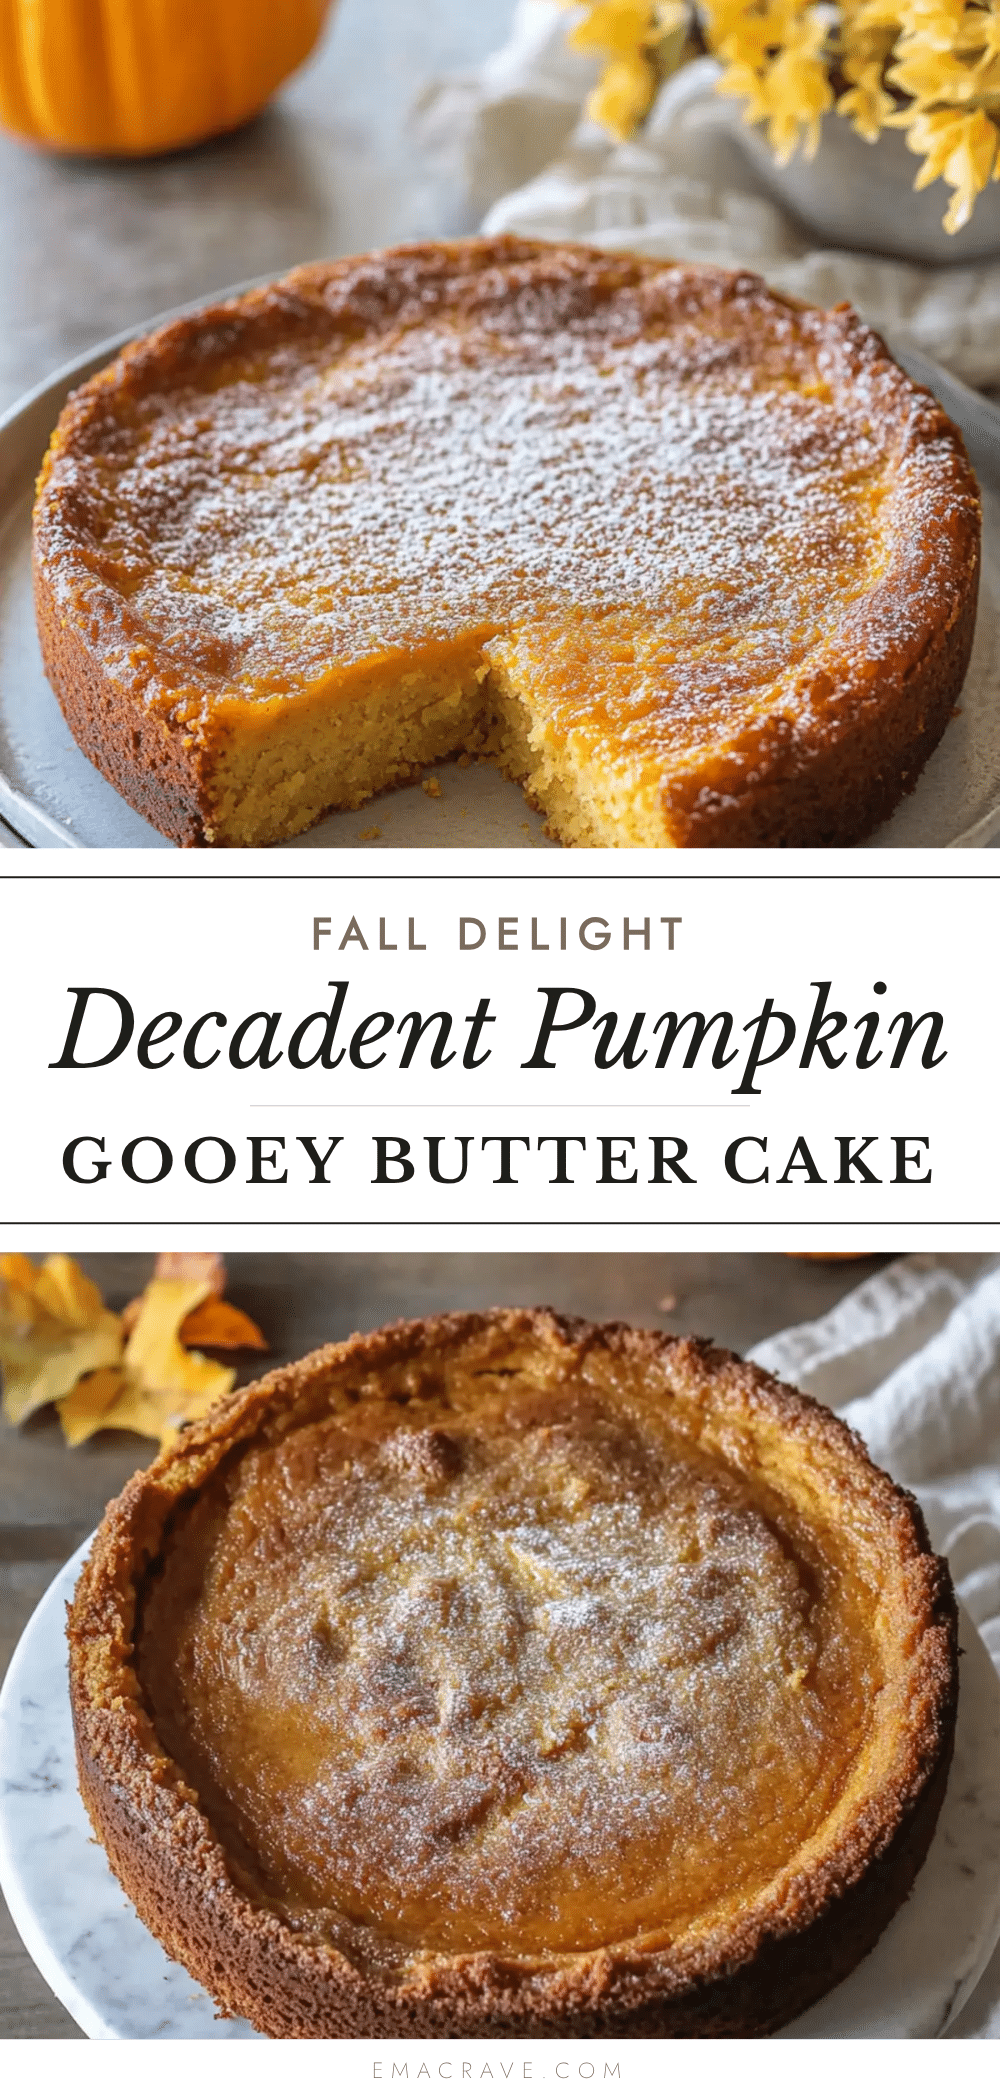
Perfect Pumpkin Gooey Butter Cake: Easy Fall Dessert
This Perfect Pumpkin Gooey Butter Cake is an incredibly easy, dump-and-stir dessert that delivers a soft, cake-like top and a dense, creamy, almost fudge-like bottom. It’s rich, flavorful, and perfect for fall gatherings.
- Prep Time: 15 minutes
- Cook Time: 40-45 minutes
- Total Time: 1 hour 15 minutes (plus 2 hours chilling)
- Yield: 12 servings 1x
- Category: Dessert
- Cuisine: American
Ingredients
- 1 box (15.25 oz) yellow cake mix
- 1/2 cup (1 stick) unsalted butter, melted
- 1 large egg
- 1 can (15 oz) pumpkin puree
- 1 package (8 oz) cream cheese, softened
- 1/2 cup (1 stick) unsalted butter, melted
- 2 cups powdered sugar
- 2 large eggs
- 1 teaspoon vanilla extract
- 1 teaspoon pumpkin pie spice
- 1/2 teaspoon ground cinnamon
- 1/4 teaspoon salt
Instructions
- Preheat your oven to 350°F (175°C). Lightly grease your 9×13 baking pan with butter or nonstick spray.
- Make the crust: In a medium bowl, combine the yellow cake mix, melted butter, and 1 egg. Stir with a fork or spatula until a thick, cohesive dough forms. Press this mixture evenly into the bottom of your prepared pan.
- Start the filling: In a large mixing bowl, beat the softened cream cheese with an electric hand mixer until smooth and fluffy, about 1 minute. Scrape down the sides.
- Add the wet ingredients: Pour in the melted butter and the pumpkin puree. Beat on medium speed until well combined and smooth.
- Add the eggs and vanilla: Crack in the 2 eggs and add the vanilla extract. Beat again until the mixture is uniform and glossy.
- Add the dry ingredients: In a separate small bowl, whisk together the powdered sugar, pumpkin pie spice, cinnamon, and salt. Gradually add this dry mixture to the wet filling, beating on low speed to avoid a cloud. Once incorporated, increase speed to medium and beat for about 1 minute until smooth, thick, and creamy.
- Assemble the cake: Pour the filling over the prepared crust. Use a spatula to spread it evenly to the edges.
- Bake: Place the pan in the preheated oven and bake for 40 to 45 minutes. The edges should look set and slightly puffed, while the center will still jiggle slightly when you gently shake the pan.
- Cool completely: Let the cake cool in the pan on a wire rack for at least 1 hour at room temperature, then refrigerate for at least 2 hours before slicing.
- Slice and serve: Use a sharp knife to cut clean squares. Wipe the knife between cuts for the neatest slices. Serve chilled or at room temperature.
Notes
Don’t overbake; the center should still wobble when you pull it out. Use room temperature ingredients for a smooth filling. Press the crust firmly to prevent sogginess. Chill before slicing for clean cuts. Use pure pumpkin, not pumpkin pie filling.
Nutrition
- Serving Size: 1 slice
- Calories: 410
- Sugar: 38
- Fat: 22
- Carbohydrates: 52
- Fiber: 2
- Protein: 4
Keywords: pumpkin gooey butter cake, fall dessert, pumpkin dessert, easy pumpkin cake, gooey butter cake



