Love this? Save it for later!
Share the inspiration with your friends
I had three bananas on the counter that were more brown than yellow, and I was staring at them like they owed me something. You know that moment when you are too tired for banana bread but too stubborn to toss them? That was me last Tuesday night, standing in my kitchen in sweatpants, absolutely refusing to make a full loaf of anything.
Then I remembered I had some cold butter in the fridge. And cream. And suddenly, scones were happening. Not fancy ones. Just simple, cozy banana bread scones that came together in about thirty minutes flat. Honestly, I was skeptical at first. Scones can be dry. Banana bread can be heavy. Would combining them even work?
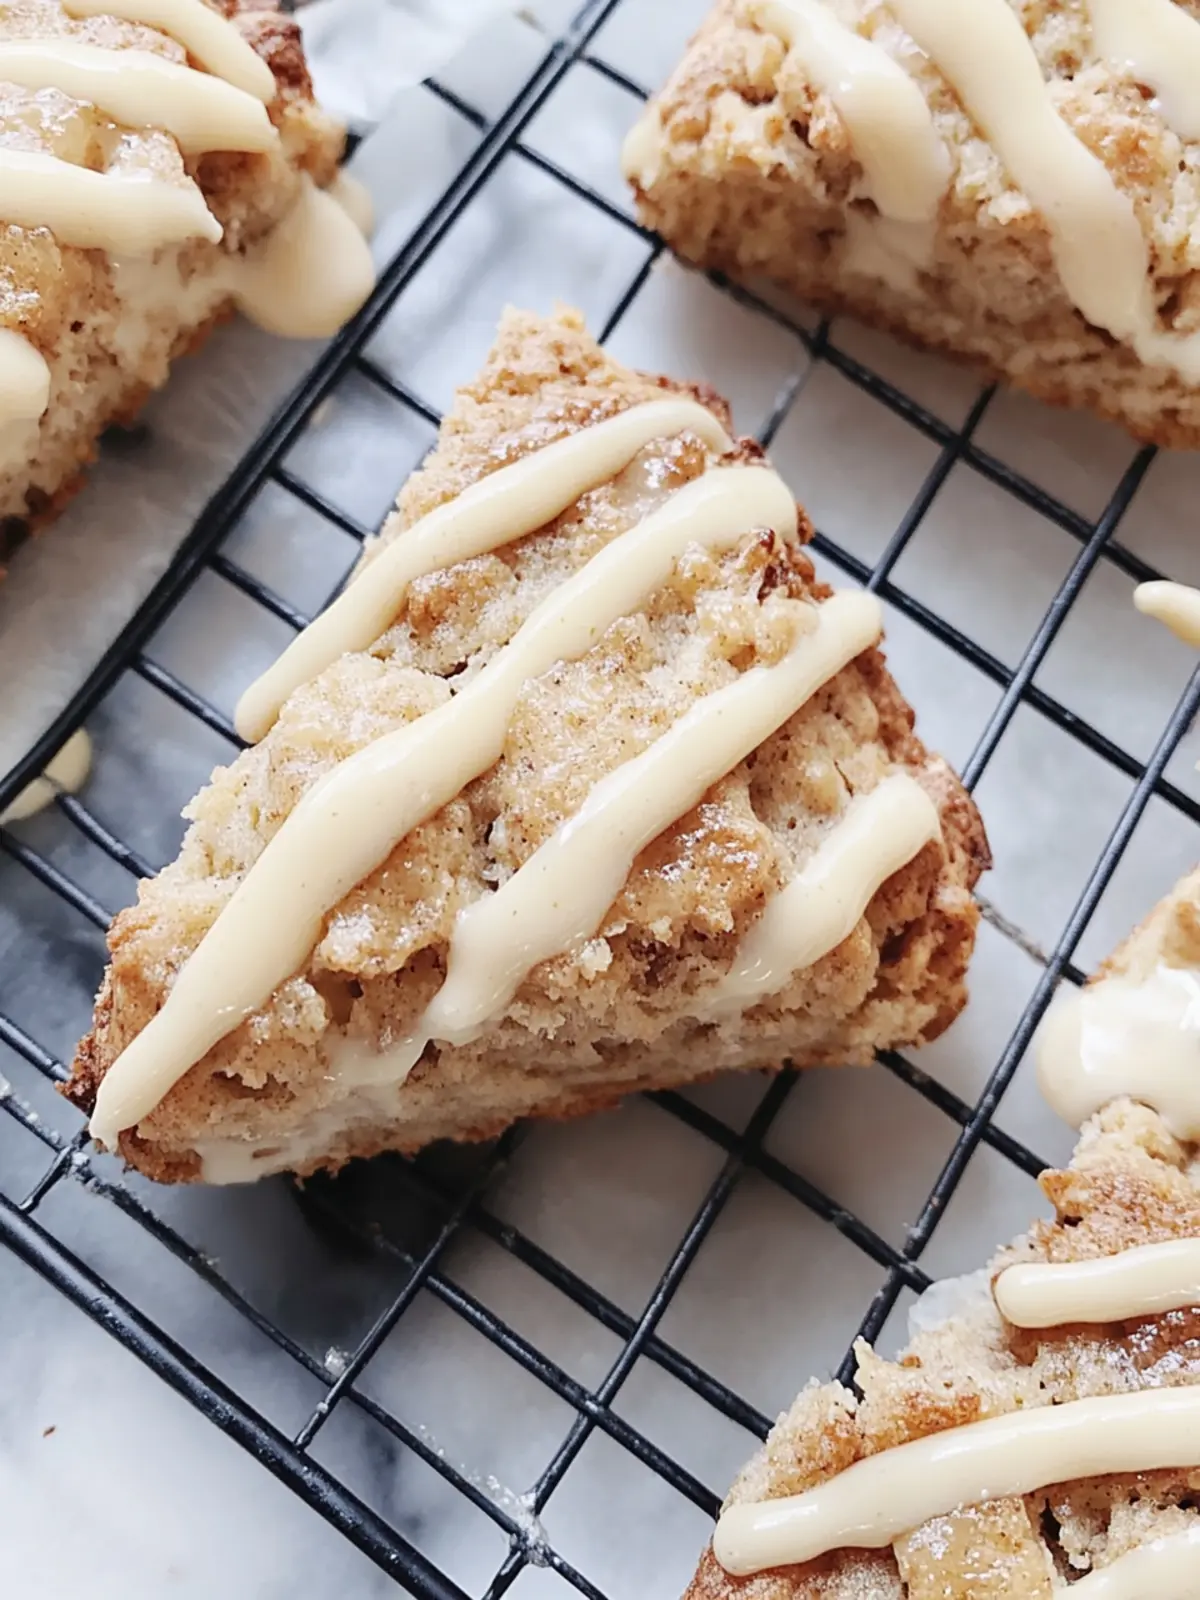
Spoiler alert: it worked. Like, really worked. The first bite had that soft, tender crumb you get from a good banana loaf, but with those flaky, buttery edges that only a scone can deliver. And the vanilla glaze on top? It soaked into the warm scone just enough to make every bite taste like a hug. I ended up making them two more times that week, just to be sure it wasn’t a fluke. It wasn’t.
These cozy banana bread scones have become my go-to for lazy mornings, unexpected guests, and those days when you just need something warm and sweet without a ton of effort. They taste like comfort, but they come together faster than you think.
Why You’ll Love This Recipe
I have tested this recipe six times to get the texture just right. Not because it was complicated, but because I wanted it to be forgiving enough for anyone to pull off on a random Tuesday. Here is why these scones deserve a spot in your kitchen:
- Quick & Easy: From start to finish, these scones are ready in under 30 minutes. No yeast, no waiting, no fuss.
- Simple Ingredients: You probably have everything already. Butter, flour, sugar, bananas, cream. That is it.
- Perfect for Breakfast or Snack: They work for a quiet morning with coffee, an afternoon pick-me-up, or even a last-minute brunch contribution.
- Crowd-Pleaser: I brought a batch to my neighbor and she texted me later asking for the recipe. That never happens.
- Unbelievably Delicious: The combination of tender banana bread texture with flaky scone edges and sweet vanilla glaze is honestly next-level comfort food.
What makes these different from other banana scone recipes is the technique. I use very cold butter and cream, and I handle the dough minimally. That is the secret to getting those flaky layers without drying out the banana flavor. It is comfort food reimagined—faster, simpler, but with the same soul-soothing satisfaction.
What Ingredients You Will Need
This recipe uses simple, wholesome ingredients to deliver that cozy banana bread flavor with the light, flaky texture of a good scone. Nothing fancy here, just pantry staples that work together beautifully.
For the Scones
- 2 cups all-purpose flour (spooned and leveled; too much flour makes dense scones)
- 1/3 cup granulated sugar (adds just enough sweetness without overpowering the banana)
- 1 tablespoon baking powder (fresh baking powder is key for good rise)
- 1/2 teaspoon salt (balances the sweetness and enhances flavor)
- 1/2 teaspoon ground cinnamon (optional but highly recommended; it makes them smell incredible)
- 1/2 cup cold unsalted butter, cut into small cubes (I use Kerrygold for its rich flavor, but any quality butter works)
- 1/2 cup mashed ripe banana (about 1 large or 2 small very spotty bananas; the riper, the better for sweetness and moisture)
- 1/3 cup heavy cream, plus more for brushing (cold cream helps create flaky layers)
- 1 large egg (binds everything together and adds richness)
- 1 teaspoon vanilla extract
For the Vanilla Glaze
- 1 cup powdered sugar, sifted (sifting prevents lumps in the glaze)
- 2 tablespoons heavy cream or milk (cream makes it richer; milk works if that is what you have)
- 1/2 teaspoon vanilla extract
- Pinch of salt (trust me on this—it makes the sweetness taste balanced)
Ingredient Tips: For the best texture, make sure your butter and cream are very cold. If your bananas are not super ripe, you can microwave them for 20 seconds to soften and sweeten them slightly. I have tested this with both all-purpose and whole wheat pastry flour, and both work well, though the whole wheat version is a bit denser.
Equipment Needed
You do not need any fancy equipment for these scones. Here is what I use every time:
- Large mixing bowl (any bowl works, but a wide one makes cutting in the butter easier)
- Pastry cutter or two forks (for cutting butter into flour; a food processor works too, but I prefer the control of doing it by hand)
- Baking sheet lined with parchment paper (parchment prevents sticking and makes cleanup effortless)
- Bench scraper or sharp knife (for cutting the scones cleanly; a bench scraper is my favorite because it does not compress the edges)
- Pastry brush (for brushing cream on top; a silicone brush is easiest to clean)
- Whisk (for the glaze)
- Cooling rack (optional but helps the glaze set without making the bottoms soggy)
If you do not have a pastry cutter, just use two forks in a crisscross motion. It takes an extra minute but works perfectly. And if you are in a pinch, you can even use your hands—just work quickly so the butter does not warm up.
Preparation Method
Preheat your oven to 400°F (200°C) and line a baking sheet with parchment paper. This is important because the scones spread slightly, and parchment keeps them from sticking.
- Whisk the dry ingredients. In a large bowl, whisk together the flour, sugar, baking powder, salt, and cinnamon. Make sure the baking powder is evenly distributed. Nobody wants a pocket of baking powder in their scone.
- Cut in the cold butter. Add the cold butter cubes to the flour mixture. Using a pastry cutter or two forks, cut the butter into the flour until the mixture looks like coarse meal with some pea-sized butter pieces remaining. Do not overdo it—those little butter chunks are what create flaky layers. If the butter starts to soften, pop the bowl in the fridge for 5 minutes.
- Mix the wet ingredients. In a separate small bowl, whisk together the mashed banana, heavy cream, egg, and vanilla extract until smooth. The banana should be well incorporated, but a few small lumps are fine.
- Combine wet and dry. Pour the wet mixture into the dry ingredients and stir with a fork or spatula just until the dough comes together. It will look shaggy and a little messy. That is exactly what you want. Overmixing will make tough scones, so stop as soon as there are no dry patches of flour.
- Shape the dough. Turn the dough out onto a lightly floured surface. Gently bring it together with your hands, patting it into a circle about 3/4-inch thick. Do not knead it. Just press it gently. If it sticks to your hands, dust them with a little flour.
- Cut the scones. Use a bench scraper or sharp knife to cut the circle into 8 wedges, like a pizza. For cleaner edges, cut straight down without twisting. Twisting seals the edges and prevents them from rising properly.
- Place on baking sheet. Transfer the scones to the prepared baking sheet, spacing them about 2 inches apart. They will spread a little but not too much.
- Brush with cream. Brush the tops of the scones with a little extra heavy cream. This helps them turn golden brown and gives them a slightly crisp top. Sprinkle a tiny bit of coarse sugar on top if you want extra crunch.
- Bake. Bake for 14 to 17 minutes, or until the scones are golden brown on the edges and a toothpick inserted into the center comes out clean. The tops should look set, not wet. Let them cool on the baking sheet for 5 minutes, then transfer to a cooling rack.
- Make the glaze. While the scones cool, whisk together the powdered sugar, heavy cream, vanilla extract, and pinch of salt until smooth. The glaze should be thick but pourable. If it is too thick, add a tiny splash more cream. Too thin, add a little more powdered sugar.
- Glaze the scones. Drizzle the glaze over the warm scones. I like to use a spoon and let it drip naturally. The warmth helps the glaze soak into the top just a little, creating that perfect sweet crust.
Sensory Cue: When the scones are done, your kitchen will smell like banana bread and vanilla. The edges should be golden, and the tops will look slightly cracked in a beautiful, rustic way. That is how you know they are perfect.
Cooking Tips & Techniques
I have made these scones enough times to learn a few things the hard way. Here are the tips that actually make a difference:
Keep everything cold. This is the number one rule of good scones. Cold butter creates steam pockets as it melts in the oven, which gives you those flaky layers. If your kitchen is warm, chill your bowl and flour for 10 minutes before starting. I have forgotten to do this before, and the scones came out flat and dense. Learn from my mistakes.
Do not overwork the dough. Scone dough is not like bread dough. You are not developing gluten here. Mix until it just comes together, then stop. The more you handle it, the tougher the scones will be. I speak from experience—I once kneaded it like pizza dough and ended up with hockey pucks.
Use very ripe bananas. The browner, the better. Green or yellow bananas do not have enough natural sweetness or moisture. If your bananas are not quite there yet, you can roast them in the oven at 350°F for 10 minutes to concentrate their sweetness. It works in a pinch.
Brush with cream, not milk. Heavy cream gives a richer color and a slightly crispier top. Milk works, but you will not get that same golden finish. If you only have milk, add a tiny pinch of sugar to the milk before brushing for better browning.
Let them cool slightly before glazing. If the scones are too hot, the glaze will melt right off and pool on the pan. If they are too cold, the glaze will sit on top and not soak in at all. About 5 to 7 minutes after they come out of the oven is the sweet spot.
Variations & Adaptations
These scones are flexible, and I have tried several variations myself. Here are some of my favorites:
Chocolate Chip Banana Scones: Add 1/2 cup of mini chocolate chips to the dry ingredients before adding the wet. The mini chips distribute better and do not sink to the bottom. I tried regular chips once, and they all ended up on the baking sheet. Lesson learned.
Nutty Banana Scones: Fold in 1/3 cup of toasted walnuts or pecans along with the wet ingredients. Toast them first for about 5 minutes in a dry pan—it makes a huge difference in flavor. I love this version with a drizzle of maple syrup instead of vanilla glaze.
Gluten-Free Option: Substitute the all-purpose flour with a good 1:1 gluten-free baking flour blend. I have tested this with Bob’s Red Mill 1:1, and it works beautifully. Just add an extra tablespoon of cream since gluten-free flours tend to absorb more moisture.
Vegan Version: Use cold vegan butter (I like Miyoko’s) and replace the egg with a flax egg (1 tablespoon ground flaxseed mixed with 3 tablespoons water, let sit for 5 minutes). Use coconut cream instead of heavy cream. The texture will be a bit more tender and less flaky, but still delicious.
Spiced Banana Scones: Add 1/4 teaspoon nutmeg and 1/8 teaspoon cloves along with the cinnamon. It gives them a chai-like warmth that is perfect for fall. I made these last October and they disappeared in an hour.
Serving & Storage Suggestions
These scones are best served warm, about 10 minutes after glazing. The glaze is still soft, the inside is tender, and the edges have that slight crispness that makes scones so satisfying. I love them with a hot cup of coffee or a chai latte. If you are feeling extra cozy, serve them alongside a bowl of creamy tiramisu overnight oats for a breakfast spread that feels indulgent without being over the top.
For a brunch gathering, arrange the scones on a wooden board with fresh fruit, honey, and extra butter on the side. They also pair beautifully with a simple fruit salad or zesty spicy Asian cucumber salad if you want something refreshing to balance the sweetness.
Storage: Store leftover scones in an airtight container at room temperature for up to 2 days. After that, the texture starts to soften. If you want to keep them longer, freeze them before glazing. Wrap each scone individually in plastic wrap, then place them in a zip-top bag. They will keep for up to 3 months.
Reheating: To bring back that fresh-from-the-oven texture, reheat scones in a 350°F oven for 5 to 7 minutes. The microwave works in a pinch, but it makes them soft rather than crisp. If you froze them, let them thaw at room temperature, then reheat as directed. Add the glaze after reheating for best results.
These scones actually taste even better the next day if you store them properly. The flavors meld together, and the banana flavor becomes more pronounced. I have been known to hide one in the back of the fridge just for myself.
Nutritional Information & Benefits
Here is the approximate nutritional breakdown per scone (based on 8 scones with glaze):
- Calories: 320
- Total Fat: 16g
- Saturated Fat: 10g
- Carbohydrates: 42g
- Sugar: 22g
- Fiber: 1g
- Protein: 4g
These are a treat, no doubt about it, but they do have some redeeming qualities. Bananas are a good source of potassium and vitamin B6, and they add natural sweetness, which means you can use slightly less sugar than in traditional scone recipes. The butter and cream provide fat that helps you feel satisfied with just one scone (well, maybe two).
If you are watching your sugar intake, you can reduce the glaze or skip it entirely. The scones are still sweet enough from the bananas to enjoy on their own. For a lower-fat version, you can replace half the butter with Greek yogurt, though the texture will be more cake-like than flaky.
Conclusion
These cozy banana bread scones have become my emergency comfort food. When I need something warm, sweet, and fast, they deliver every single time. They are forgiving enough for a beginner baker but satisfying enough for someone who has made a thousand scones.
What I love most about this recipe is how adaptable it is. You can dress them up with chocolate chips or nuts, keep them simple with just the glaze, or even skip the glaze for a less sweet version. They work for breakfast, brunch, snack, or dessert. Honestly, I have eaten them for all four in one day. No regrets.
I would love to hear how yours turn out. Did you add chocolate chips? Try a different glaze? Leave a comment below and let me know. And if you share them on social media, tag me—I love seeing your kitchen creations. These scones deserve to be shared, preferably with someone you love and a hot cup of coffee in hand.
Frequently Asked Questions
Can I use frozen bananas for these scones?
Yes, absolutely. Thaw them completely and drain off any excess liquid before mashing. Frozen bananas tend to be extra watery, so you might need to reduce the cream by about a tablespoon to compensate.
Why did my scones turn out dry?
This usually happens from overmixing the dough or using too much flour. Make sure you spoon and level your flour rather than scooping it directly from the bag. Also, check that your bananas are very ripe—underripe bananas have less moisture and natural sugar.
Can I make the dough ahead of time?
Yes! You can shape the scones, place them on a parchment-lined baking sheet, and refrigerate them for up to 24 hours. Bake them straight from the fridge, adding an extra minute or two to the baking time. You can also freeze the unbaked scones for up to 3 months.
What if I don’t have heavy cream?
You can substitute whole milk or half-and-half in both the scone dough and the glaze. The texture will be slightly less rich and the scones won’t be as flaky, but they will still taste great. Avoid skim milk—it is too thin and will make the dough dry.
How do I know when the scones are done baking?
The edges should be golden brown and the tops should look set, not wet or shiny. A toothpick inserted into the center should come out clean or with just a few moist crumbs. If the bottoms are browning too quickly, move the baking sheet to a higher rack in the oven.
Pin This Recipe!
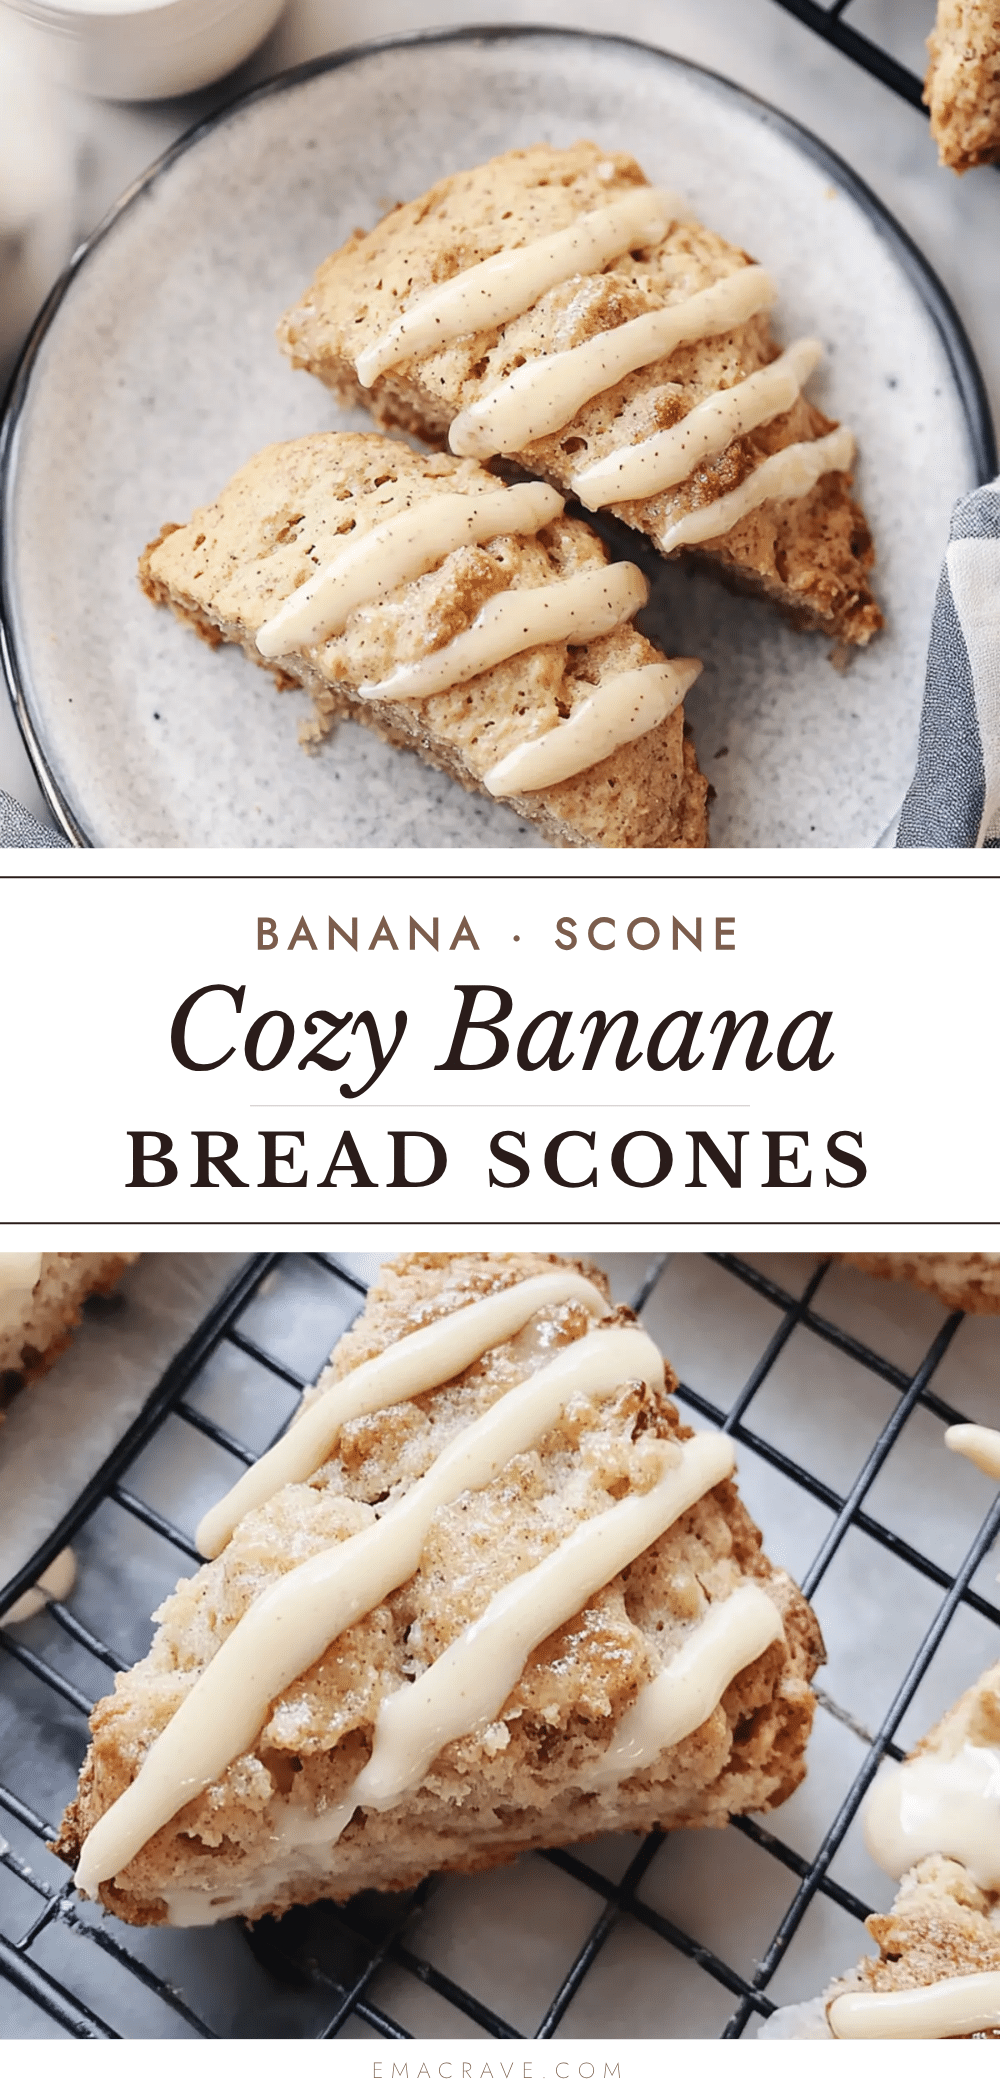
Cozy Banana Bread Scones with Easy Vanilla Glaze
These cozy banana bread scones combine the tender crumb of banana bread with flaky, buttery scone edges, topped with a sweet vanilla glaze. Ready in under 30 minutes, they’re perfect for lazy mornings, unexpected guests, or a quick comfort food fix.
- Prep Time: 15 minutes
- Cook Time: 17 minutes
- Total Time: 32 minutes
- Yield: 8 servings 1x
- Category: Breakfast
- Cuisine: American
Ingredients
- 2 cups all-purpose flour (spooned and leveled)
- 1/3 cup granulated sugar
- 1 tablespoon baking powder
- 1/2 teaspoon salt
- 1/2 teaspoon ground cinnamon (optional)
- 1/2 cup cold unsalted butter, cut into small cubes
- 1/2 cup mashed ripe banana (about 1 large or 2 small very spotty bananas)
- 1/3 cup heavy cream, plus more for brushing
- 1 large egg
- 1 teaspoon vanilla extract
- 1 cup powdered sugar, sifted
- 2 tablespoons heavy cream or milk
- 1/2 teaspoon vanilla extract
- Pinch of salt
Instructions
- Preheat your oven to 400°F (200°C) and line a baking sheet with parchment paper.
- In a large bowl, whisk together the flour, sugar, baking powder, salt, and cinnamon.
- Add the cold butter cubes to the flour mixture. Using a pastry cutter or two forks, cut the butter into the flour until the mixture looks like coarse meal with some pea-sized butter pieces remaining.
- In a separate small bowl, whisk together the mashed banana, heavy cream, egg, and vanilla extract until smooth.
- Pour the wet mixture into the dry ingredients and stir with a fork or spatula just until the dough comes together. It will look shaggy.
- Turn the dough out onto a lightly floured surface. Gently bring it together with your hands, patting it into a circle about 3/4-inch thick. Do not knead.
- Use a bench scraper or sharp knife to cut the circle into 8 wedges, like a pizza. Cut straight down without twisting.
- Transfer the scones to the prepared baking sheet, spacing them about 2 inches apart.
- Brush the tops of the scones with a little extra heavy cream. Sprinkle a tiny bit of coarse sugar on top if desired.
- Bake for 14 to 17 minutes, or until the scones are golden brown on the edges and a toothpick inserted into the center comes out clean. Let them cool on the baking sheet for 5 minutes, then transfer to a cooling rack.
- While the scones cool, whisk together the powdered sugar, heavy cream, vanilla extract, and pinch of salt until smooth. The glaze should be thick but pourable.
- Drizzle the glaze over the warm scones using a spoon.
Notes
Keep butter and cream very cold for flaky layers. Do not overwork the dough. Use very ripe bananas for best sweetness and moisture. Let scones cool 5-7 minutes before glazing for best results. Store in an airtight container at room temperature for up to 2 days. Freeze unglazed scones for up to 3 months.
Nutrition
- Serving Size: 1 scone
- Calories: 320
- Sugar: 22
- Sodium: 280
- Fat: 16
- Saturated Fat: 10
- Carbohydrates: 42
- Fiber: 1
- Protein: 4
Keywords: banana bread scones, banana scones, easy scone recipe, breakfast scones, vanilla glaze scones, quick scones, banana bread recipe



