Love this? Save it for later!
Share the inspiration with your friends
I pulled the pan out of the oven and just stood there, staring. They had domed perfectly, those little cakes, with tops that were barely golden. I poked one gently, and it wobbled back at me like a tiny, edible pillow. My kitchen smelled like butter, vanilla, and something vaguely nostalgic—maybe the steam from a fancy bakery counter. I had tried making these fluffy Japanese cotton cheesecake cupcakes three times before, and each attempt ended with a sunken, sad, or frankly scrambled interior. But this time, the texture was exactly what I wanted. They were jiggly, soft, and practically cloud-like. I let them cool on the counter and snuck one before dinner, just to be sure. It was the kind of bite that makes you close your eyes without thinking.
I remember texting my sister a photo with the caption, “I think I finally cracked it.” She replied with a string of question marks. But honestly, that first perfect batch felt like a small victory. It wasn’t about being fancy. It was about nailing that specific, delicate crumb that makes these little cakes so special. They are not your standard cheesecake. They are lighter, airier, and almost ethereal. And once you get the technique down, they are surprisingly simple to pull together. These fluffy Japanese cotton cheesecake cupcakes have become my go-to for when I want something that feels impressive but doesn’t require a pastry chef degree. They are just… good.
Why You’ll Love This Recipe
Let me tell you why these little cakes have earned a permanent spot in my baking rotation. I have tested this recipe more times than I care to admit, and I can confidently say it works. It is forgiving once you understand the rhythm of the steps, and the result is consistently light and creamy.
- Unbelievably Light Texture: The combination of whipped egg whites and cream cheese creates a batter that bakes up into the softest, jiggliest crumb you have ever had. It is like eating a sweet, creamy cloud.
- Simple, Pantry-Friendly Ingredients: You do not need any wild specialty items. Cream cheese, eggs, butter, sugar, and flour are all you need. No heavy cream, no sour cream, no complicated extras.
- Perfect for Any Occasion: These cupcakes are elegant enough for a bridal shower or birthday party, but casual enough for a Tuesday night treat. They travel well, too, if you need to bring a dessert somewhere.
- Crowd-Pleaser Guaranteed: I have served these to kids, adults, and even my picky aunt who “doesn’t do cheesecake.” Every single person has asked for the recipe.
- Bakes in Less Than 30 Minutes: Unlike a full-size cheesecake that takes an hour plus cooling and chilling, these little guys bake up fast. You get that same creamy, rich flavor in a fraction of the time.
What makes this recipe different from others is the water bath method for the cupcakes. It sounds fancy, but it is just a simple trick that keeps the oven moist and prevents the tops from cracking. Plus, I have fine-tuned the sugar ratio so the cakes are sweet but not cloying, and the cream cheese flavor shines through without being overwhelming. This is the version I make when I want something that feels like a hug in cupcake form.
What Ingredients You Will Need
This recipe uses simple, wholesome ingredients that come together to create something truly special. The key is to have everything at room temperature before you start. It makes a noticeable difference in the final texture.
- For the Batter
- 4 oz (113 g) cream cheese, softened (I recommend Philadelphia for the smoothest texture)
- 2 tbsp (28 g) unsalted butter, softened
- 1/4 cup (60 ml) whole milk, room temperature (adds richness; avoid skim milk here)
- 1/2 cup (100 g) granulated sugar, divided
- 3 large eggs, separated (yolks go into the cream cheese mixture, whites get whipped separately)
- 1 tsp vanilla extract (use pure vanilla if you have it; it makes a subtle difference)
- 1/4 cup (30 g) all-purpose flour, sifted
- 1 tbsp (8 g) cornstarch
- 1/4 tsp salt
- For the Pan Prep
- Butter or non-stick spray for greasing the muffin tin
- Parchment paper strips or cupcake liners (I prefer parchment strips for the classic tall look)
A quick note on the cream cheese: make sure it is full-fat for the best texture. Low-fat or whipped versions have too much air and water, which can make the batter runny. I also recommend using large eggs that are truly at room temperature—cold eggs can cause the batter to seize up. If you are in a hurry, you can place the eggs in a bowl of warm water for five minutes.
Equipment Needed
You do not need a professional bakery setup for these. Here is what you will need to get the job done:
- Standard 12-Cup Muffin Tin: This is your main vessel. A non-stick pan works best, but any standard tin will do.
- Electric Hand Mixer or Stand Mixer: Whipping the egg whites to stiff peaks by hand is possible but exhausting. A mixer saves your arm and gives you more control.
- Large Mixing Bowls: You will need at least two—one for the cream cheese mixture and one for the egg whites.
- Rubber Spatula: For folding the batter gently. A metal spoon can deflate the whites too quickly.
- Parchment Paper: Cut into strips that are about 3 inches wide and 6 inches long. You will line each muffin cup with these to create a tall collar that helps the cupcakes rise high.
- Roasting Pan or Large Baking Dish: For the water bath. It needs to be big enough to hold your muffin tin.
- Fine-Mesh Sieve: For sifting the flour and cornstarch together. It prevents lumps and ensures a smooth batter.
If you do not have a roasting pan, a deep baking dish works just fine. Just make sure it is oven-safe and large enough to fit the muffin tin with a couple of inches of space around the edges. You can also use a disposable aluminum pan if you have one.
Preparation Method
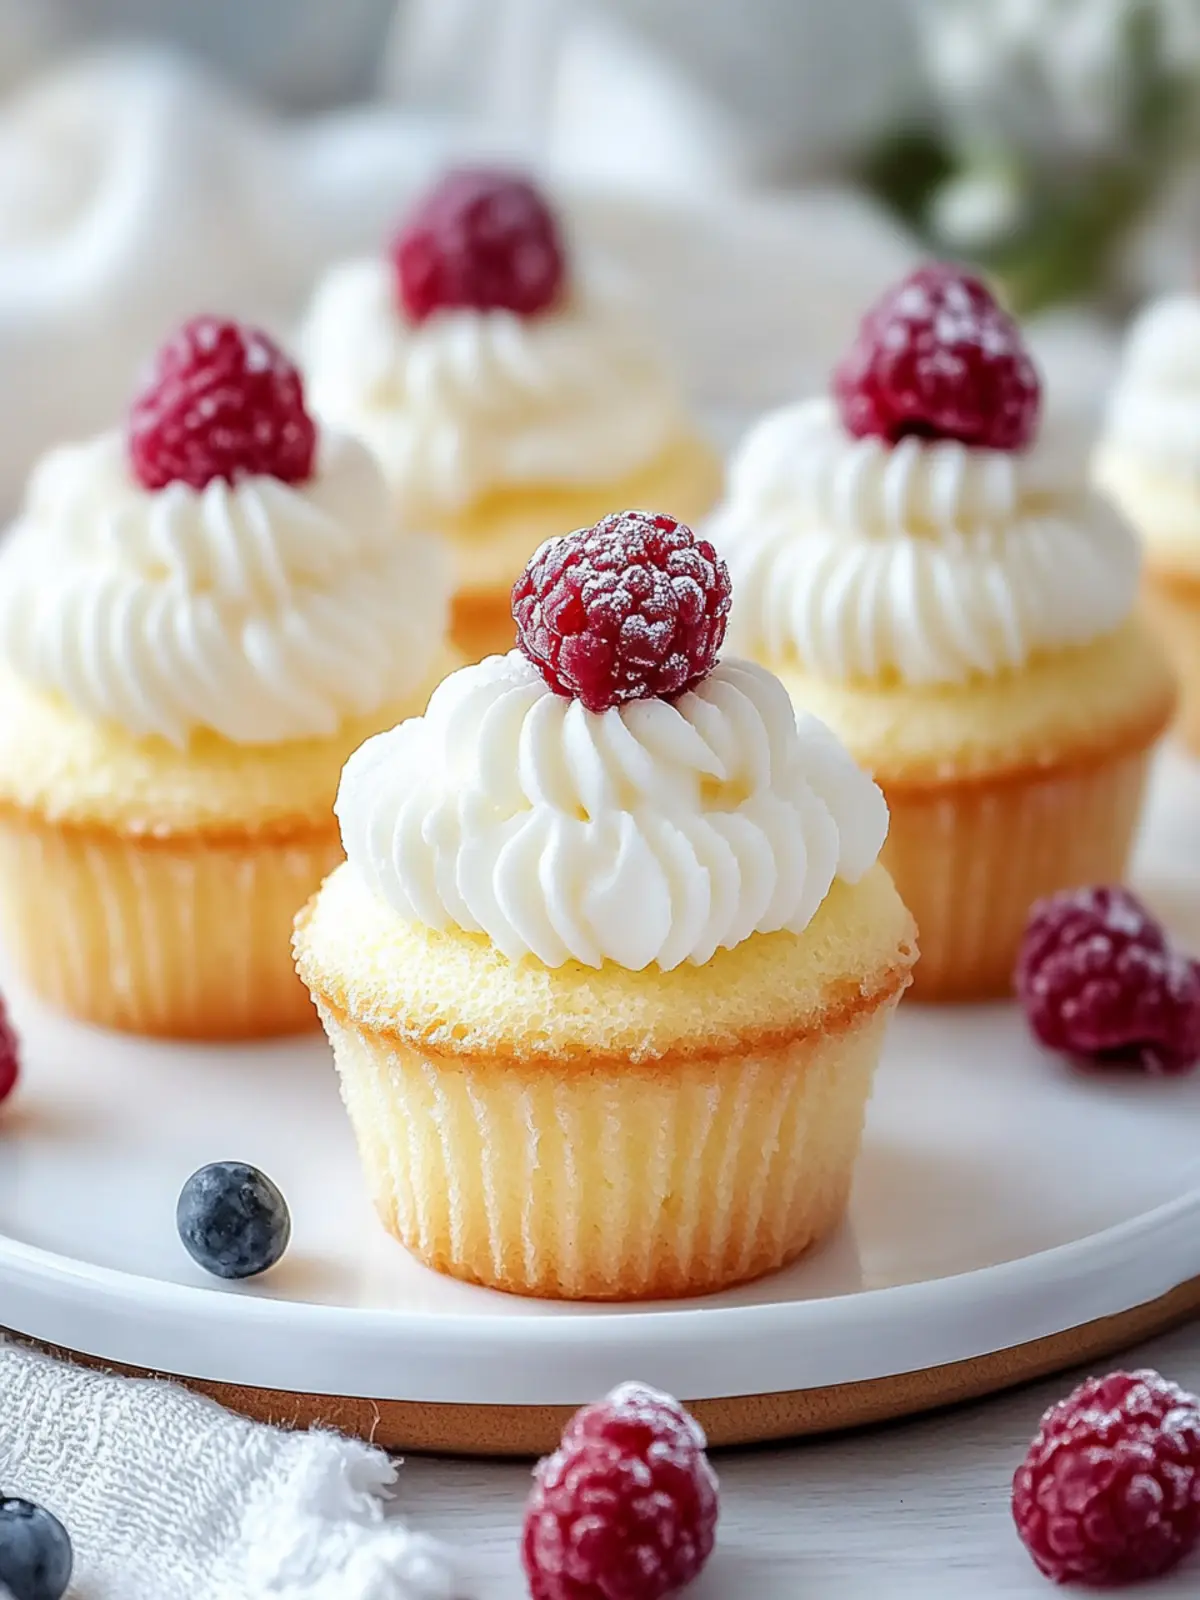
Follow these steps carefully, and you will get that perfect jiggly texture every time. Take your time with the folding step—it is the most important part.
- Preheat and Prep: Preheat your oven to 325°F (160°C). Grease your muffin tin lightly with butter or non-stick spray. Line each cup with a parchment paper strip, making sure the paper extends about an inch above the rim. This collar helps the cupcakes rise tall and stay fluffy.
- Melt the Cream Cheese Mixture: In a medium heatproof bowl, combine the softened cream cheese, butter, and milk. Place the bowl over a pot of simmering water (a double boiler setup) and stir until the mixture is smooth and completely melted. Alternatively, you can microwave it in 15-second bursts, stirring between each, until smooth. Let it cool slightly for about 2 minutes.
- Add the Yolks and Vanilla: Whisk the egg yolks and vanilla extract into the cream cheese mixture until fully combined. The mixture should be smooth and glossy.
- Sift the Dry Ingredients: In a small bowl, sift together the flour, cornstarch, and salt. Sifting is crucial here—it removes lumps and aerates the flour, which helps keep the cupcakes light.
- Combine the Batter Base: Gently fold the sifted dry ingredients into the cream cheese mixture using a rubber spatula. Mix just until no streaks of flour remain. Do not overmix, or the batter can become tough. Set this aside.
- Whip the Egg Whites: In a clean, dry bowl (make sure there is no grease or yolk residue), beat the egg whites with an electric mixer on medium speed until foamy. Gradually add the remaining 1/4 cup of sugar, a tablespoon at a time, while continuing to beat. Increase the speed to high and beat until stiff peaks form. The whites should look glossy and hold a firm peak when you lift the beaters. This usually takes about 3-4 minutes.
- Fold the Whites Into the Batter: Take about one-third of the whipped egg whites and fold them into the cream cheese mixture using a gentle, sweeping motion. This lightens the batter and makes it easier to incorporate the rest. Once combined, add the remaining egg whites and fold carefully. You want to keep as much air in the batter as possible. Stop folding as soon as you cannot see any white streaks. The batter will be thick, airy, and pale yellow.
- Fill the Cups: Divide the batter evenly among the 12 muffin cups. Each cup should be filled about three-quarters full. Do not overfill, or the cupcakes may overflow as they rise.
- Prepare the Water Bath: Place the filled muffin tin inside a larger roasting pan or baking dish. Carefully pour hot water (from a kettle or tap) into the larger pan until it reaches about halfway up the sides of the muffin tin. Be careful not to splash water into the cupcakes.
- Bake: Bake at 325°F (160°C) for 20-25 minutes, or until the tops are lightly golden and the centers are just set. They should still jiggle slightly when you gently shake the pan. A toothpick inserted into the center should come out with a few moist crumbs, not wet batter. Do not overbake, or they will lose their signature fluffiness.
- Cool in the Oven: Turn off the oven and crack the door open slightly. Let the cupcakes sit in the warm oven for 10 minutes. This gradual cooling helps prevent the tops from sinking.
- Final Cool: Remove the muffin tin from the water bath and let the cupcakes cool in the pan for another 10 minutes. Then, carefully lift them out using the parchment paper strips and transfer them to a wire rack to cool completely. They will deflate slightly as they cool, which is normal.
Cooking Tips & Techniques
I have made my fair share of mistakes with these cupcakes, so let me save you some trouble. Here are the things I wish I knew from the start.
Room Temperature Is Non-Negotiable: I tried making these with cold cream cheese once because I was impatient. The batter was lumpy, and the cakes baked unevenly. Take the extra 20 minutes to let everything come to room temperature. It makes a world of difference.
Do Not Overwhip the Egg Whites: Stiff peaks are the goal, but if you whip them too long, they become dry and grainy. The whites should be glossy and hold a firm peak, but still look smooth. If they start to look clumpy, you have gone too far.
Water Bath Is Your Best Friend: I know it is a little fussy, but the water bath is what gives these cupcakes their delicate, moist texture. The steam keeps the oven environment humid, which prevents the tops from drying out and cracking. If you skip it, you will end up with dense, dry cakes.
Fold, Do Not Stir: When incorporating the egg whites, use a gentle folding motion—cut through the center of the batter, scrape along the bottom, and fold over the top. Stirring aggressively will deflate all that air you worked so hard to whip in. Be patient. It takes about 20-30 folds to get it right.
Let Them Cool Slowly: The gradual cooling in the oven is a trick I picked up from a Japanese pastry blog. It stops the cakes from sinking dramatically. If you pull them out and let them cool at room temperature immediately, they can collapse. Trust the process.
Variations & Adaptations
These cupcakes are wonderful as written, but they are also a great canvas for experimentation. Here are a few ways I have adapted them over time.
- Matcha Version: Add 1 tablespoon of matcha powder to the sifted flour mixture. The earthy flavor pairs beautifully with the creamy cheesecake base. I made these for a friend’s tea party, and they were gone in minutes.
- Lemon Zest: Add the zest of one lemon to the cream cheese mixture before adding the yolks. The bright citrus cuts through the richness and adds a lovely freshness. Perfect for spring or summer.
- Gluten-Free Adaptation: Substitute the all-purpose flour with a 1:1 gluten-free baking flour blend. I have tried this with Bob’s Red Mill, and it works well. Just make sure the blend contains xanthan gum for structure.
- Lower Sugar Option: You can reduce the sugar to 1/3 cup total (about 67 grams) if you prefer a less sweet dessert. The texture will still be good, though the cakes will be slightly less tender.
- Chocolate Swirl: Melt 2 ounces of dark chocolate and drizzle it over the batter in the cups before baking. Use a toothpick to swirl it gently. It creates a marbled effect that looks stunning.
I personally love the matcha version. It feels like a little treat that is both familiar and unexpected. If you are a fan of unique dessert flavors, you might also enjoy this delicious coconut rum tiramisu for another twist on a classic.
Serving & Storage Suggestions
These cupcakes are best enjoyed the day they are made, but they store surprisingly well if you know how to handle them.
Serving Temperature: Serve them at room temperature or slightly warm. If you refrigerate them, let them sit out for about 20 minutes before serving. Cold temperatures can make the texture seem denser. A light dusting of powdered sugar on top is a simple, elegant finishing touch.
What to Serve With Them: A cup of green tea or a light black tea like Earl Grey is a classic pairing. The slight bitterness of the tea balances the sweetness of the cake. For a more indulgent treat, serve them with a dollop of whipped cream and fresh berries. If you are planning a brunch spread, these cupcakes pair beautifully with a fluffy cherry pancakes recipe for a sweet morning table.
Storage Instructions: Store any leftover cupcakes in an airtight container in the refrigerator for up to 3 days. The moisture from the cream cheese means they can spoil at room temperature if left out for more than a few hours. To freeze, wrap each cupcake individually in plastic wrap, then place them in a freezer-safe bag. They will keep for up to 2 months. Thaw them in the refrigerator overnight before serving.
Reheating Tips: If you want to bring back that just-baked warmth, pop them in a 300°F (150°C) oven for 5 minutes. Avoid the microwave—it makes them rubbery. The texture is best when reheated gently.
Nutritional Information & Benefits
Here is a rough estimate of the nutritional values per cupcake, based on the recipe as written. Keep in mind that these numbers can vary depending on the exact brands and ingredients you use.
| Nutrient | Amount Per Cupcake |
|---|---|
| Calories | ~145 kcal |
| Carbohydrates | ~16 g |
| Protein | ~4 g |
| Fat | ~7 g |
| Saturated Fat | ~4 g |
| Cholesterol | ~65 mg |
| Sodium | ~95 mg |
| Sugar | ~12 g |
These cupcakes are not exactly health food, but they are a lighter option compared to traditional cheesecake. The cream cheese provides a small amount of calcium and protein, while the eggs contribute vitamin D and B vitamins. If you are watching your sugar intake, you can reduce the sugar as mentioned in the variations section. They are also naturally nut-free, which makes them a safe option for many people with allergies. For a more wholesome dessert option, you might also like these creamy strawberry cheesecake protein cups for a healthier twist.
Conclusion
These fluffy Japanese cotton cheesecake cupcakes are the kind of recipe that makes you feel like a baking pro, even if you are just starting out. They are light, creamy, and absolutely delicious—everything you want in a dessert that feels special but is surprisingly easy to make. I love how the water bath and the whipped egg whites create that signature jiggly texture that is so satisfying to bite into. Every time I make them, I am reminded why I love baking. It is about patience, a little bit of technique, and the joy of sharing something wonderful with the people you care about.
I would love to hear how yours turn out. Did you try any of the variations? Did you add a personal twist? Drop a comment below and let me know. And if you found this recipe helpful, please share it with a friend who loves baking (or just loves eating). Your support means the world to me. Now go preheat that oven and make some magic!
Frequently Asked Questions
Can I use a different type of cheese for this recipe?
I would not recommend it. Cream cheese is key to the texture and flavor. Mascarpone is too rich and soft, while ricotta is too grainy. Stick with full-fat cream cheese for the best results.
Why did my cupcakes sink after baking?
This usually happens if the egg whites were under-whipped or if you opened the oven door too early. Make sure your whites are at stiff peaks, and resist the urge to peek until the last 5 minutes of baking. The gradual cooling in the oven also helps prevent sinking.
Can I make these without a water bath?
You can, but the texture will not be the same. The water bath provides the steam that keeps the cupcakes moist and prevents cracking. If you absolutely must skip it, place a small pan of hot water on the oven rack below the cupcakes to create some humidity.
How do I know when the cupcakes are done?
The tops should be lightly golden, and the centers should jiggle slightly when you gently shake the pan. A toothpick inserted into the center should come out with a few moist crumbs, not wet batter. Overbaking will make them dry, so err on the side of caution.
Can I double this recipe?
Absolutely. Just make sure you have a large enough mixing bowl for the egg whites. You may need to bake in batches if your muffin tin only holds 12 cups. The baking time should remain the same.
Pin This Recipe!
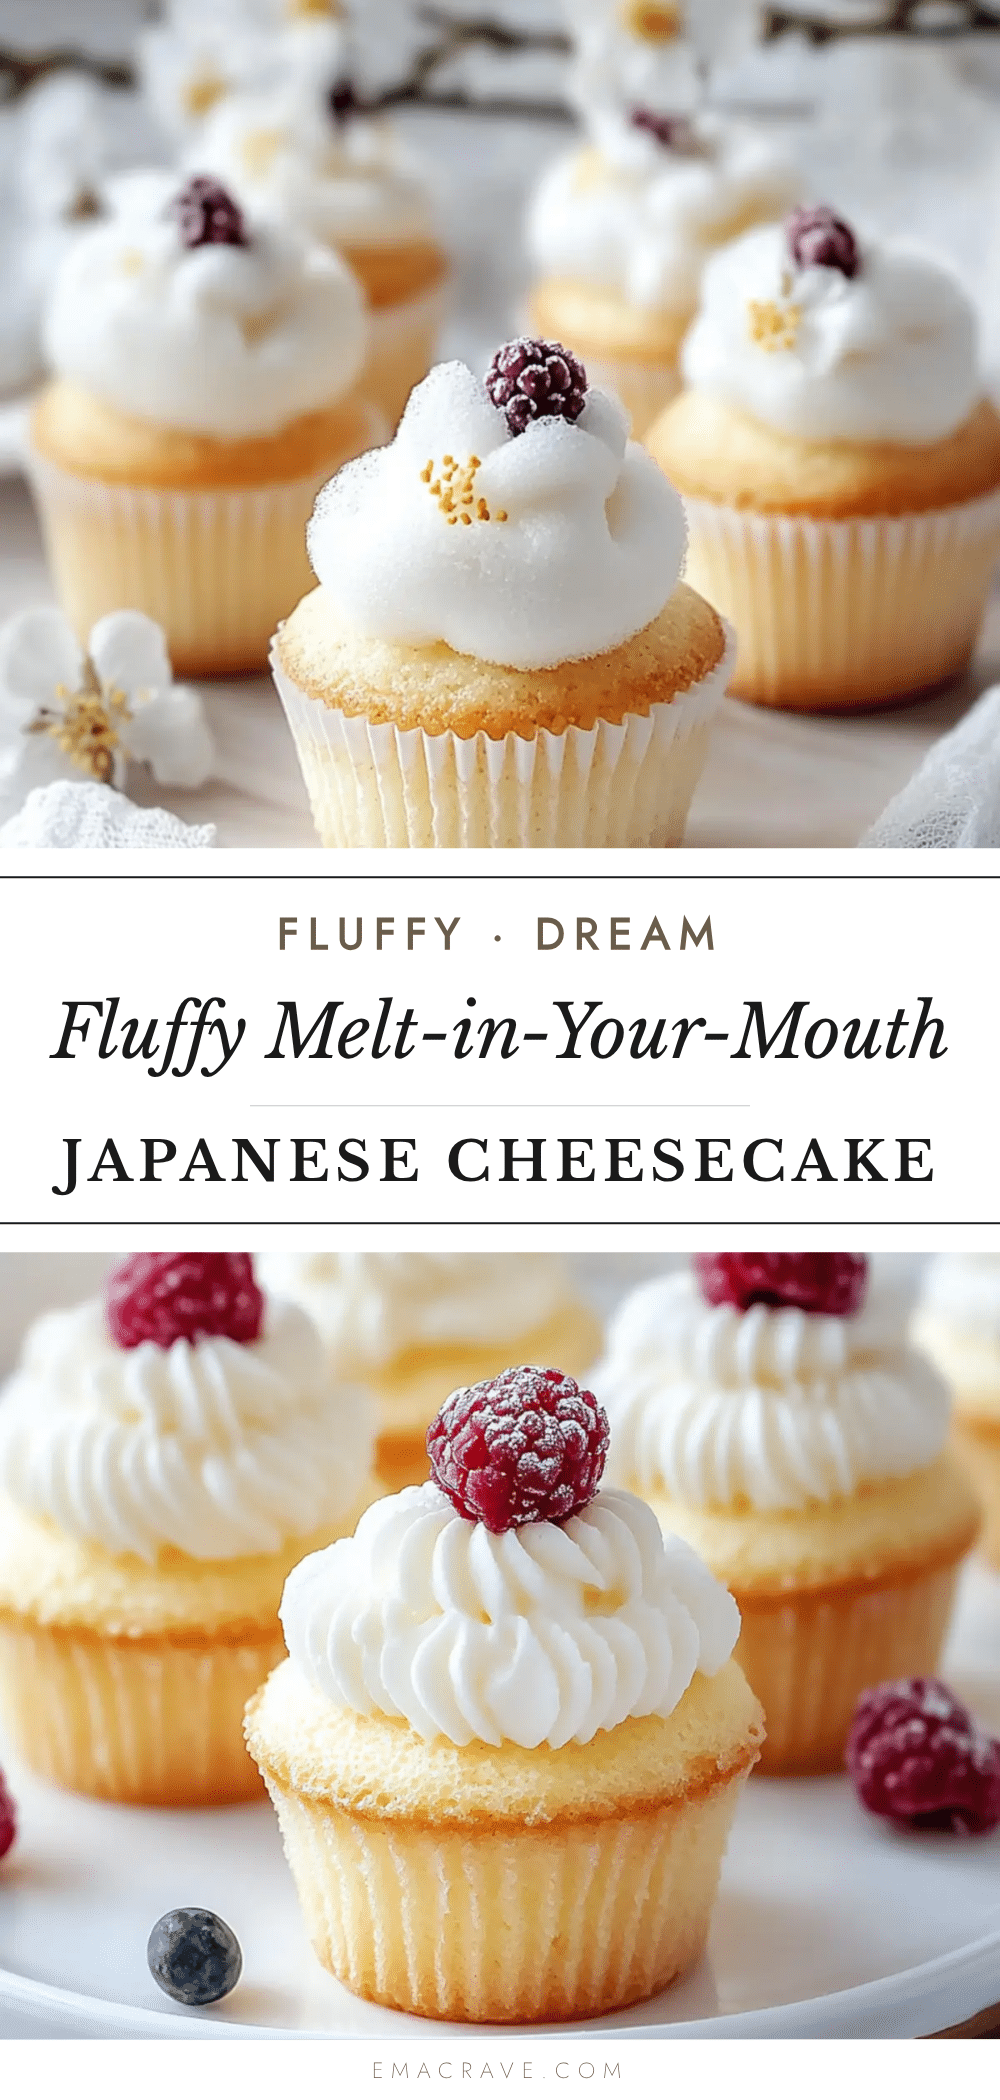
Fluffy Japanese Cotton Cheesecake Cupcakes – Easy Best Recipe
These fluffy Japanese cotton cheesecake cupcakes are light, creamy, and absolutely delicious. They are jiggly, soft, and practically cloud-like, with a delicate crumb that makes them special.
- Prep Time: 20 minutes
- Cook Time: 25 minutes
- Total Time: 45 minutes
- Yield: 12 cupcakes 1x
- Category: Dessert
- Cuisine: Japanese
Ingredients
- 4 oz (113 g) cream cheese, softened
- 2 tbsp (28 g) unsalted butter, softened
- 1/4 cup (60 ml) whole milk, room temperature
- 1/2 cup (100 g) granulated sugar, divided
- 3 large eggs, separated
- 1 tsp vanilla extract
- 1/4 cup (30 g) all-purpose flour, sifted
- 1 tbsp (8 g) cornstarch
- 1/4 tsp salt
- Butter or non-stick spray for greasing the muffin tin
- Parchment paper strips or cupcake liners
Instructions
- Preheat your oven to 325°F (160°C). Grease your muffin tin lightly with butter or non-stick spray. Line each cup with a parchment paper strip, making sure the paper extends about an inch above the rim.
- In a medium heatproof bowl, combine the softened cream cheese, butter, and milk. Place the bowl over a pot of simmering water (a double boiler setup) and stir until the mixture is smooth and completely melted. Alternatively, microwave it in 15-second bursts, stirring between each, until smooth. Let it cool slightly for about 2 minutes.
- Whisk the egg yolks and vanilla extract into the cream cheese mixture until fully combined. The mixture should be smooth and glossy.
- In a small bowl, sift together the flour, cornstarch, and salt.
- Gently fold the sifted dry ingredients into the cream cheese mixture using a rubber spatula. Mix just until no streaks of flour remain. Do not overmix. Set this aside.
- In a clean, dry bowl, beat the egg whites with an electric mixer on medium speed until foamy. Gradually add the remaining 1/4 cup of sugar, a tablespoon at a time, while continuing to beat. Increase the speed to high and beat until stiff peaks form. The whites should look glossy and hold a firm peak when you lift the beaters. This usually takes about 3-4 minutes.
- Take about one-third of the whipped egg whites and fold them into the cream cheese mixture using a gentle, sweeping motion. Once combined, add the remaining egg whites and fold carefully. Stop folding as soon as you cannot see any white streaks.
- Divide the batter evenly among the 12 muffin cups. Each cup should be filled about three-quarters full.
- Place the filled muffin tin inside a larger roasting pan or baking dish. Carefully pour hot water into the larger pan until it reaches about halfway up the sides of the muffin tin.
- Bake at 325°F (160°C) for 20-25 minutes, or until the tops are lightly golden and the centers are just set. They should still jiggle slightly when you gently shake the pan. A toothpick inserted into the center should come out with a few moist crumbs, not wet batter.
- Turn off the oven and crack the door open slightly. Let the cupcakes sit in the warm oven for 10 minutes.
- Remove the muffin tin from the water bath and let the cupcakes cool in the pan for another 10 minutes. Then, carefully lift them out using the parchment paper strips and transfer them to a wire rack to cool completely.
Notes
Room temperature ingredients are non-negotiable for best texture. Do not overwhip the egg whites; they should be glossy and hold a firm peak. The water bath is essential for moist, crack-free tops. Fold the egg whites gently to retain air. Let the cupcakes cool slowly in the oven to prevent sinking.
Nutrition
- Serving Size: 1 cupcake
- Calories: 145
- Sugar: 12
- Sodium: 95
- Fat: 7
- Saturated Fat: 4
- Carbohydrates: 16
- Protein: 4
Keywords: Japanese cotton cheesecake, fluffy cheesecake cupcakes, jiggly cheesecake, light cheesecake, cream cheese cupcakes, easy cheesecake recipe, water bath cheesecake



