Love this? Save it for later!
Share the inspiration with your friends
“You really think you can make pita bread at home?” my friend teased, watching me fumble with flour and yeast one chaotic Saturday afternoon. Honestly, I wasn’t sure either. My kitchen smelled like a mix of uncertainty and flour dust, and I was pretty skeptical about whether this would turn out anything like the soft, pillowy pita pockets I’d devoured at my neighborhood Mediterranean spot. But something about the idea of fresh, homemade pita bread—warm, fluffy, and perfect for stuffing with all kinds of wholesome fillings—kept me going.
After a few trial-and-error batches (and yes, a couple of flat, tough rounds that barely puffed), I finally nailed a recipe that worked every time. The magic was in the simplicity: just a handful of pantry staples, a little patience, and a bit of elbow grease. Now, I find myself making this pita bread multiple times a week, whether for quick lunches or cozy dinners. It’s become a quiet ritual, a bit of comfort that reminds me homemade isn’t always complicated.
There’s something special about pulling these warm pockets right out of the oven, the soft dough still warm enough to steam when split open. It’s not just bread—it’s a vessel for so many wholesome meals, from vibrant salads to rich, savory stews. I often pair it with dishes like the comforting chana saag curry or even dunk it into a bowl of spicy chili broth from the savory tofu and chive wontons recipe I love.
It’s funny how something so simple can become such a staple—like an unspoken promise of wholesome meals ahead. This fluffy easy homemade pita bread stuck with me because it’s reliable, comforting, and honestly, just downright satisfying. No fancy ingredients, no complicated techniques—just good, honest bread that invites you to slow down and enjoy.
Why You’ll Love This Recipe
This fluffy easy homemade pita bread recipe has been tested and tweaked over many weekends, and what I love most is how approachable it is. You don’t have to be a seasoned baker to pull off soft, airy pita pockets that puff up beautifully. Here’s why it’s quickly become a go-to in my kitchen:
- Quick & Easy: Ready in about 2 hours from start to finish, including rise time—perfect for busy weeknights or last-minute meal plans.
- Simple Ingredients: Uses pantry staples like all-purpose flour, yeast, water, and salt—no need for fancy or hard-to-find items.
- Perfect for Wholesome Meals: Ideal for stuffing with veggies, hummus, grilled meats, or dipping into stews like the hearty chana saag curry.
- Crowd-Pleaser: Kids and adults alike love it—soft, fluffy, and mild enough to pair with a variety of flavors.
- Unbelievably Delicious: The texture is airy but sturdy enough to hold fillings without tearing, making every bite a delight.
What sets this recipe apart is the gentle kneading method and a short resting phase that encourages the dough to develop just enough gluten for that perfect puff. I also trust using active dry yeast from Fleischmann’s for consistent rise and flavor. Honestly, I tried a few shortcuts before—like skipping the resting time—and the bread just wouldn’t puff up right. This recipe respects those small details that make a big difference.
It’s the kind of bread that brings a quiet satisfaction—like knowing you made something wholesome, fresh, and nourishing from scratch. Whether you’re assembling a quick sandwich or creating a spread for guests, this pita bread is your reliable, fluffy partner in wholesome meals.
What Ingredients You Will Need
This recipe uses simple, wholesome ingredients to deliver bold flavor and satisfying texture without fuss. Most are pantry staples you probably already have on hand, making it super convenient to whip up fresh pita whenever the craving hits.
- All-purpose flour (3 cups / 375g) – The base of the dough; provides structure and chewiness. I like King Arthur Flour for consistent results.
- Active dry yeast (2 1/4 tsp / 1 packet) – Helps the dough rise and puff. Make sure it’s fresh for best rise.
- Warm water (1 1/4 cups / 300ml) – Lukewarm, about 110°F (43°C), to activate the yeast without killing it.
- Olive oil (2 tbsp) – Adds moisture and a subtle richness.
- Sugar (1 tsp) – Feeds the yeast and helps with browning.
- Salt (1 tsp) – Balances flavor and strengthens the dough.
If you want to swap the all-purpose flour for whole wheat or a gluten-free blend, you can, but expect a denser texture and less puff. For a dairy-free and vegan recipe, this one fits perfectly as-is. Also, if you’re feeling adventurous, sprinkling some za’atar or sesame seeds on top before baking adds a lovely twist.
Equipment Needed
- Mixing bowl: A large bowl to combine and proof the dough comfortably.
- Kitchen towel or plastic wrap: To cover the dough while it rises, keeping it warm and moist.
- Rolling pin: For rolling out the dough into even circles. A small lightweight one works best.
- Baking sheet or pizza stone: Either works great. A preheated pizza stone gives a nice bottom heat that helps the pita puff.
- Oven: Preheated to a high temperature (475°F / 246°C) to get that perfect puff and golden crust.
If you don’t have a rolling pin, you can use a clean glass bottle as a substitute. I’ve done that many times when things got a little improvised. Also, a pizza stone is nice but not necessary; a heavy baking sheet flipped upside down works as a budget-friendly option and heats evenly.
Preparation Method
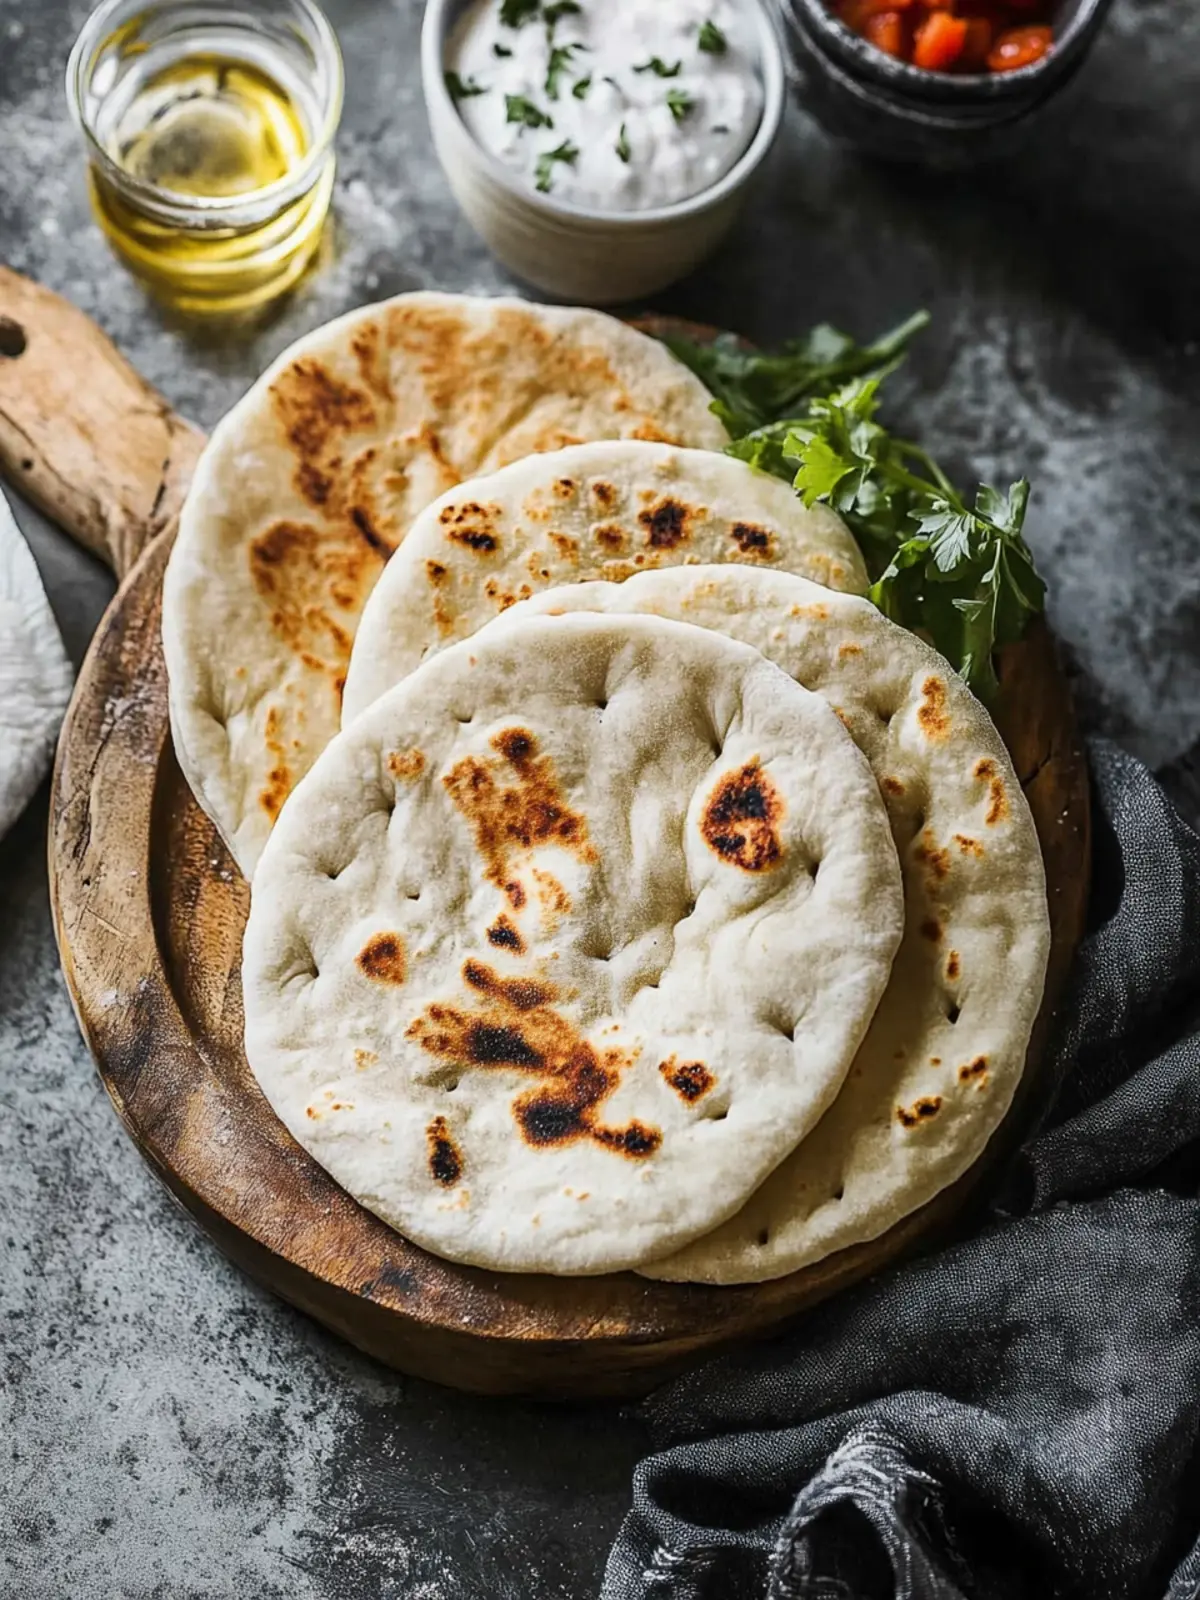
- Activate the yeast: In your mixing bowl, combine warm water (1 1/4 cups / 300ml), sugar (1 tsp), and active dry yeast (2 1/4 tsp). Stir gently and let sit for 5-10 minutes until foamy and bubbly. If it doesn’t foam, your yeast might be dead—start over with fresh yeast.
- Mix the dough: Add the all-purpose flour (3 cups / 375g), salt (1 tsp), and olive oil (2 tbsp) to the yeast mixture. Stir with a wooden spoon or your hand until a shaggy dough forms.
- Knead the dough: Turn the dough onto a lightly floured surface and knead for about 8-10 minutes until smooth and elastic. It should feel soft but not sticky. If it’s too sticky, sprinkle a bit more flour, but be careful not to add too much.
- First rise: Lightly oil your mixing bowl and place the dough inside, turning it to coat with oil. Cover with a kitchen towel or plastic wrap and let it rise in a warm spot for about 1 to 1 1/2 hours, or until doubled in size.
- Divide and shape: Punch down the dough gently and divide it into 8 equal pieces. Roll each piece into a ball and cover them loosely with a towel to prevent drying.
- Roll out pitas: On a lightly floured surface, roll each ball into a circle about 1/4 inch (6 mm) thick. The thinner, the better for puffing, but don’t go so thin it tears.
- Preheat oven and baking surface: Place a pizza stone or inverted baking sheet in the oven and preheat to 475°F (246°C) at least 30 minutes before baking.
- Bake the pitas: Carefully place 2-3 rolled dough circles onto the hot baking surface. Bake for 2-3 minutes until puffed and lightly golden, then flip and bake another 1-2 minutes. They should puff up like little balloons.
- Cool and store: Remove the pita breads and place them in a clean kitchen towel to keep soft. Repeat with remaining dough balls.
Pro tip: If a pita doesn’t puff, it’s usually because the dough was rolled too thick or the oven wasn’t hot enough. Don’t fret—those still taste great for dipping or tearing into salads.
Cooking Tips & Techniques
Getting that perfect fluffy pita bread isn’t just about following steps—it’s about reading the dough and your oven. Here are some tips I’ve picked up along the way:
- Temperature matters: Yeast loves warmth, but too hot water kills it. Aim for about 110°F (43°C) to activate it gently.
- Kneading builds structure: Don’t rush the kneading. It develops gluten, which traps air and helps the pita puff up. If your dough feels too sticky, add flour little by little, but avoid over-flouring.
- Resting time: Letting the dough double in size is key. I’ve tried shortcuts and ended up with flat pita every time.
- Rolling thickness: Roll the dough evenly and thinly but not too thin to avoid tears. Around 1/4 inch is just right.
- Oven heat and preheating: Make sure your oven and baking surface are fully preheated. That initial burst of heat makes the pita puff up like magic.
- Baking in batches: Bake only a few pitas at a time to maintain oven heat. Overcrowding cools the surface and affects the puff.
- Storage tips: Keep pita warm and soft by wrapping in a towel right after baking, and store leftover pitas in an airtight container or plastic bag to retain moisture.
Honestly, the first time I nailed the puff, I sat there staring at my oven window in disbelief. It’s a small victory but one that turns a simple meal into something special.
Variations & Adaptations
Once you’ve mastered the basic fluffy easy homemade pita bread, you can make some fun adjustments to keep things interesting or suit your dietary needs.
- Whole wheat pita: Substitute half or all the all-purpose flour with whole wheat for a nuttier flavor and added fiber. The texture will be a bit denser but still tasty.
- Herbed pita: Add 1-2 tsp of dried herbs like oregano, thyme, or za’atar to the dough for an aromatic twist that pairs beautifully with Mediterranean dishes.
- Gluten-free version: Use a gluten-free flour blend designed for bread baking. You’ll need a binder like xanthan gum if it’s not included. Expect a softer, less puffy bread but still delicious.
- Stuffed pita: Try rolling the dough with a thin layer of garlic butter or a sprinkle of cheese before baking for a savory treat.
- Baking alternatives: While the oven method is classic, you can also cook pita on a hot cast-iron skillet or griddle. Cook each side 2-3 minutes until puffed and browned.
Personally, I’ve experimented with adding a bit of smoked paprika to the dough once—it gave a subtle smoky flavor that my family surprisingly loved. Feel free to get creative and make this recipe your own.
Serving & Storage Suggestions
Freshly baked pita bread is best enjoyed warm, right out of the oven when it’s soft and steamy inside. Serve it immediately alongside your favorite wholesome meals, like the creamy chana saag curry or a vibrant fresh tomato and feta salad.
Pita also makes an excellent base for sandwiches, wraps, or dipping into hummus, tzatziki, or even that tangy sweet and sour sauce you can whip up at home.
For storage, let the pita cool completely and then place in an airtight container or plastic bag. They keep well at room temperature for 2 days or can be refrigerated for up to a week. For longer storage, freeze them separated by parchment paper—thaw at room temperature or warm in a toaster oven.
Reheating pita is easy: wrap in foil and heat in a 350°F (175°C) oven for 5-7 minutes or microwave wrapped in a damp paper towel for 15-20 seconds. The flavors mellow and deepen over time, making leftovers perfect for quick meals.
Nutritional Information & Benefits
Each serving (one pita) contains approximately:
| Calories | Carbohydrates | Protein | Fat | Fiber |
|---|---|---|---|---|
| 150 kcal | 30g | 5g | 2g | 1g |
This recipe is naturally low in fat and free from added sugars, making it a wholesome choice. The use of olive oil adds healthy monounsaturated fats, and the yeast fermentation helps improve digestibility. If you swap in whole wheat flour, you’ll boost fiber content substantially.
Gluten-sensitive eaters should note this contains wheat flour, but you can adapt with gluten-free blends. The simple ingredients make it suitable for most dietary preferences, including vegetarian and vegan.
From my own experience, having a homemade pita bread option encourages healthier eating habits—less reliance on packaged bread with preservatives, and more control over what goes into your food.
Conclusion
This fluffy easy homemade pita bread recipe isn’t just about making bread; it’s about creating a foundation for wholesome, satisfying meals that bring people together. The recipe’s simplicity and reliability make it a staple I always come back to, whether for a quick lunch or a cozy dinner.
Feel free to tweak the ingredients, roll thickness, or baking method to suit your kitchen and taste buds. The joy is in the process and the warm, soft results that bring a little extra comfort to your table.
Personally, this pita bread reminds me that sometimes the best meals start with the simplest things—flour, water, a little yeast, and a lot of care. I’m excited to hear how you make it your own, and I hope it becomes a favorite in your kitchen too.
Frequently Asked Questions
Can I make pita bread without yeast?
While traditional pita needs yeast for puffing and texture, you can try a quick flatbread recipe with baking powder, but it won’t puff or taste quite the same.
Why didn’t my pita puff up in the oven?
Common reasons include dough rolled too thick, oven or baking surface not hot enough, or dough not rested enough. Make sure to preheat well and roll thinly.
Can I freeze homemade pita bread?
Yes! Let the pita cool completely, then freeze in airtight bags separated by parchment paper. Thaw at room temperature or warm before serving.
What can I stuff pita bread with?
Anything from grilled veggies, falafel, hummus, and salad to stews like the chana saag curry. It’s super versatile.
Is this recipe suitable for gluten-free diets?
The base recipe uses wheat flour but can be adapted with gluten-free flour blends. Expect a different texture and less puff but still tasty.
Pin This Recipe!
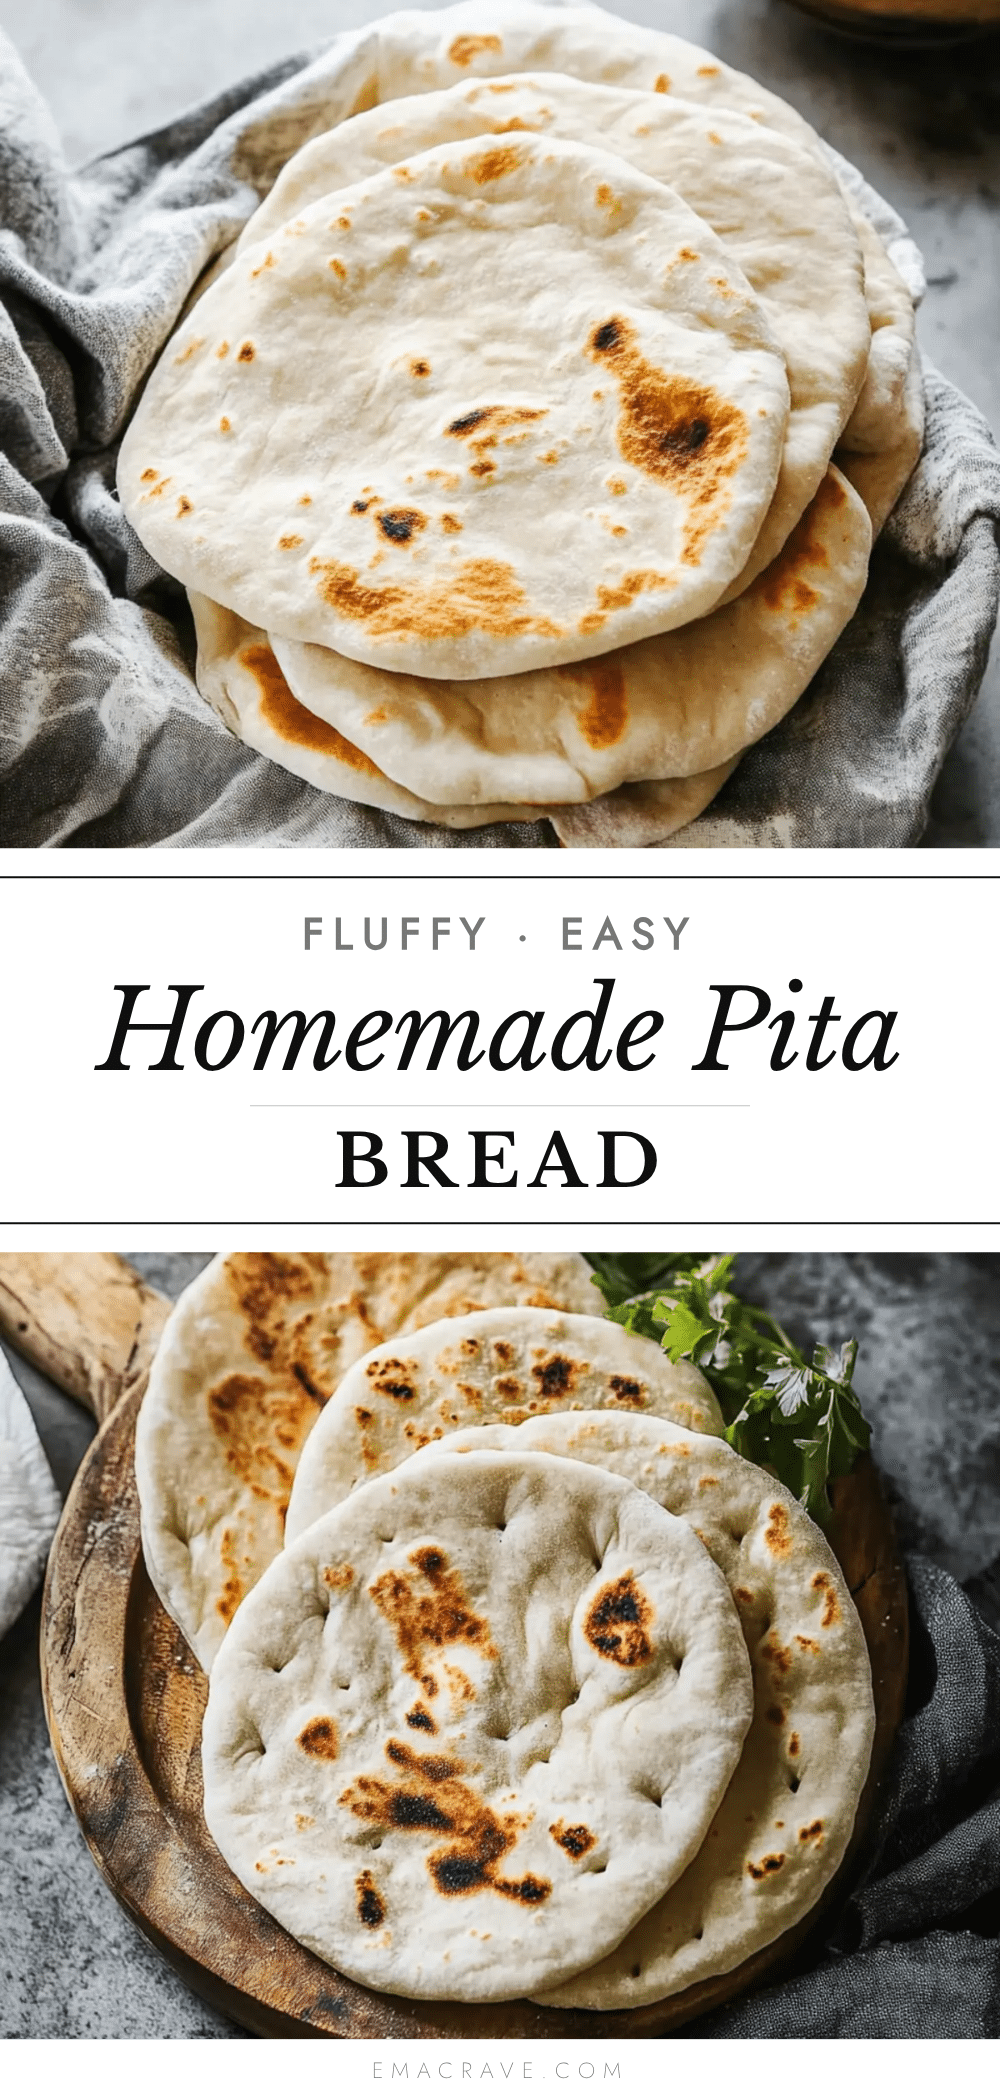
Fluffy Easy Homemade Pita Bread Recipe for Perfect Wholesome Meals
This recipe delivers soft, fluffy pita pockets made with simple pantry staples. Perfect for stuffing with wholesome fillings or dipping into stews, it’s an approachable and reliable homemade bread.
- Prep Time: 20 minutes
- Cook Time: 15 minutes
- Total Time: 1 hour 45 minutes
- Yield: 8 servings 1x
- Category: Bread
- Cuisine: Mediterranean
Ingredients
- 3 cups (375g) all-purpose flour
- 2 1/4 tsp (1 packet) active dry yeast
- 1 1/4 cups (300ml) warm water (about 110°F / 43°C)
- 2 tbsp olive oil
- 1 tsp sugar
- 1 tsp salt
Instructions
- Activate the yeast: In a mixing bowl, combine warm water, sugar, and active dry yeast. Stir gently and let sit for 5-10 minutes until foamy.
- Mix the dough: Add flour, salt, and olive oil to the yeast mixture. Stir until a shaggy dough forms.
- Knead the dough: Turn dough onto a floured surface and knead for 8-10 minutes until smooth and elastic.
- First rise: Lightly oil a bowl, place dough inside, cover, and let rise in a warm spot for 1 to 1 1/2 hours until doubled.
- Divide and shape: Punch down dough, divide into 8 pieces, roll each into a ball, and cover with a towel.
- Roll out pitas: Roll each ball into a 1/4 inch (6 mm) thick circle on a floured surface.
- Preheat oven and baking surface: Place pizza stone or inverted baking sheet in oven and preheat to 475°F (246°C) for at least 30 minutes.
- Bake the pitas: Place 2-3 dough circles on hot surface, bake 2-3 minutes until puffed and golden, flip and bake 1-2 more minutes.
- Cool and store: Remove pitas, wrap in a clean towel to keep soft, and repeat with remaining dough.
Notes
Ensure water is about 110°F to activate yeast without killing it. Knead dough well to develop gluten for puffing. Preheat oven and baking surface thoroughly. Roll dough evenly and thinly but not too thin to avoid tears. Bake in small batches to maintain oven heat. Store wrapped in a towel to keep soft. Leftover pitas can be frozen separated by parchment paper.
Nutrition
- Serving Size: 1 pita bread
- Calories: 150
- Sugar: 1
- Sodium: 300
- Fat: 2
- Saturated Fat: 0.3
- Carbohydrates: 30
- Fiber: 1
- Protein: 5
Keywords: pita bread, homemade pita, easy pita recipe, fluffy pita, Mediterranean bread, yeast bread, quick bread, healthy bread



