Love this? Save it for later!
Share the inspiration with your friends
“You gotta try these cheese straws,” my neighbor said, sliding a paper towel with golden, crispy sticks across the fence. I’d never been much into fancy snacks, honestly, but that afternoon, the smell of sharp cheddar and fresh herbs hit me like a warm welcome after a chaotic morning. She joked that it was her “secret weapon” for calming down her kids (and herself) after school madness. I was skeptical at first—cheese straws? At home? But that first bite, crunchy and bursting with flavor, shut me up fast.
Making crispy cheddar & herb cheese straws became an unexpected little obsession. I found myself whipping up batch after batch, sometimes just to have something quick and satisfying on hand. They’re perfect for those moments when you want a snack that feels a bit fancy but takes no time at all. Plus, the blend of cheddar’s sharpness with fragrant herbs gives these straws a comfort-food vibe without being heavy or complicated.
What really stuck with me was how simple the ingredients were—nothing fancy or hard to find, just pantry staples that somehow combined to make something unexpectedly addictive. They’re not just a snack; they’re the kind of bite that makes you pause, smile, and maybe even close your eyes for a second (just me?). The way they snap perfectly crispy? That’s the real magic. No fluff. Just good, honest flavor and texture.
Honestly, these cheese straws became my go-to for everything from casual solo snacking to impressing friends during low-key gatherings. They’re like the snack version of comfort clothes—reliable, cozy, and always welcome. I guess that’s why they’ve stayed in my rotation; they don’t just fill you up, they make you feel a little more at home.
Why You’ll Love This Recipe
This recipe for crispy cheddar & herb cheese straws isn’t just another snack—it’s a little celebration in every crunchy bite. After testing countless versions and tweaking the balance of cheese and herbs, I can confidently say this one hits all the right notes. Here’s why you’ll find it hard to stop reaching for these straws:
- Quick & Easy: Ready in under 30 minutes, these cheese straws fit perfectly into busy days or last-minute craving sessions.
- Simple Ingredients: No fancy trips to specialty stores needed. I love using sharp aged cheddar from my local market and fresh herbs from my windowsill garden.
- Perfect for Any Occasion: Whether you’re hosting a casual get-together or just want a cozy afternoon snack, these straws bring that little extra something.
- Crowd-Pleaser: Kids, adults, picky eaters—everyone tends to ask for more. Seriously, they disappear fast!
- Unbelievably Delicious: The perfect crispy texture balanced with bold cheddar and aromatic herbs makes these straws feel indulgent but not overly rich.
This recipe stands out because of a special technique I use—rolling the dough thin and chilling it just right to achieve that ideal snap. Plus, the combo of thyme and rosemary adds a fresh twist that’s not too herbaceous but just enough to keep you guessing. It’s not your average cheese straw; it’s the best version I’ve made, and I’m pretty sure you’ll agree once you try them.
These straws have become my secret weapon, the snack I trust to impress without stress. There’s something about biting into that crispy, cheesy crunch that feels like a little joyful pause in the day. And honestly, isn’t that what we all want from our snacks?
What Ingredients You Will Need
This recipe uses simple, wholesome ingredients to deliver bold flavor and satisfying texture without the fuss. Most are pantry staples, and the herbs can be swapped depending on what’s fresh or available.
- Sharp Cheddar Cheese, freshly grated (about 8 oz / 225 g) – I recommend a good-quality aged cheddar like Cabot or Tillamook for the best flavor.
- All-Purpose Flour (1 1/4 cups / 160 g) – you can substitute with almond flour for a gluten-free option, but expect a slightly different texture.
- Unsalted Butter, cold and cubed (6 tablespoons / 85 g) – using real butter gives the best flakiness, but dairy-free margarine works in a pinch.
- Fresh Herbs (2 tablespoons total), finely chopped – I use a mix of rosemary and thyme for that savory, aromatic note.
- Garlic Powder (1/2 teaspoon) – adds a subtle depth without overpowering.
- Salt (1/2 teaspoon) – balances the cheese’s richness.
- Black Pepper, freshly ground (1/4 teaspoon) – optional but recommended for a little kick.
- Cold Water (2-3 tablespoons) – to bring the dough together, add slowly.
If fresh herbs aren’t handy, dried herbs work too—just reduce the amount by half. For a fun twist, you can swap thyme with fresh basil or oregano for a slightly different flavor profile. And if you want to mix it up, try adding a pinch of smoked paprika for subtle smokiness.
Equipment Needed
- Mixing Bowl: Large enough to combine your ingredients comfortably.
- Box Grater: For shredding sharp cheddar cheese fresh—pre-shredded cheese tends to be drier and less flavorful.
- Pastry Cutter or Food Processor: To cut butter into flour easily. A food processor speeds things up, but a pastry cutter works just fine.
- Rolling Pin: For rolling the dough thin and even.
- Baking Sheet: Lined with parchment paper or a silicone mat for easy cleanup.
- Sharp Knife or Pizza Cutter: To slice the dough into straws.
- Wire Rack: For cooling the cheese straws evenly and keeping them crisp.
I find that using a silicone baking mat helps prevent sticking and promotes even browning. If you don’t have a pastry cutter, two knives work well to cut the butter into the flour, but it might take a bit longer. A quick tip: keep your butter cold until mixing; this helps with the crisp texture you want in the final cheese straws.
Preparation Method
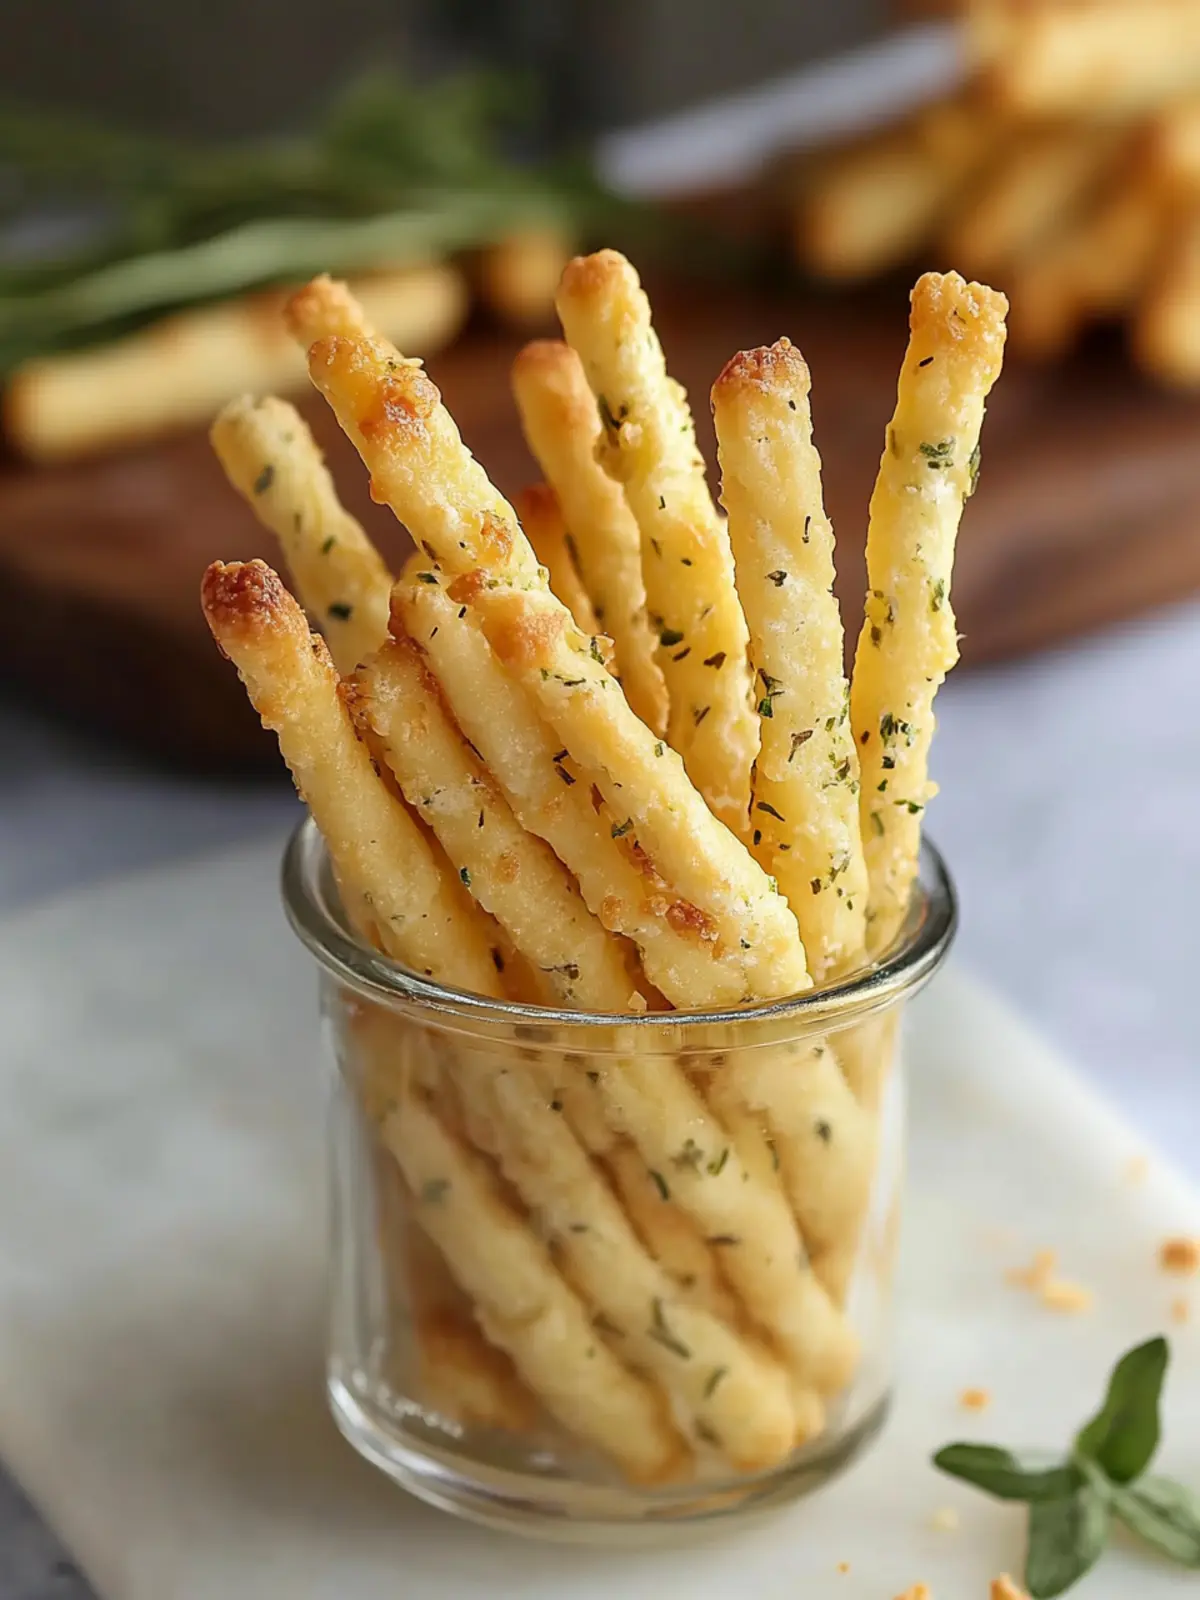
- Grate the Cheese: Using a box grater, shred 8 oz (225 g) of sharp cheddar cheese. Freshly grated cheese melts better and blends into the dough more smoothly.
- Combine Dry Ingredients: In a large mixing bowl, whisk together 1 1/4 cups (160 g) all-purpose flour, 1/2 teaspoon salt, 1/2 teaspoon garlic powder, and 1/4 teaspoon freshly ground black pepper. Stir in the finely chopped 2 tablespoons of fresh herbs (rosemary and thyme work beautifully).
- Cut in the Butter: Add 6 tablespoons (85 g) cold, cubed unsalted butter to the dry mix. Using a pastry cutter or food processor, cut the butter in until the mixture resembles coarse crumbs with pea-sized bits. This step is crucial for that crispy, flaky texture.
- Add the Cheese: Fold the shredded cheddar cheese into the butter-flour mixture evenly.
- Bring the Dough Together: Slowly add 2 to 3 tablespoons of cold water, stirring gently until the dough just starts to come together. Avoid overworking the dough to keep it tender. It should be slightly crumbly but hold when pressed.
- Chill the Dough: Form the dough into a flat disk, wrap it in plastic wrap, and refrigerate for at least 30 minutes. This resting time chills the butter and relaxes the gluten, helping the straws keep their shape and crispness.
- Roll Out the Dough: On a lightly floured surface, roll the chilled dough to about 1/8 inch (3 mm) thickness. The thinner the dough, the crisper the straws will be, but don’t roll so thin that it tears.
- Cut the Straws: Using a sharp knife or pizza cutter, slice the dough into 1/2-inch (1.3 cm) wide strips, roughly 4 inches (10 cm) long. For a decorative touch, you can twist each strip gently before placing on the baking sheet.
- Bake: Arrange the straws on a parchment-lined baking sheet, leaving a little space between each. Bake at 375°F (190°C) for 12-15 minutes, or until golden brown and crispy. Keep an eye on them from 10 minutes onward to prevent burning.
- Cool and Store: Transfer the cheese straws to a wire rack to cool completely. This step is essential to keep them crisp. Store in an airtight container at room temperature for up to 3 days (if they last that long!).
Pro tip: If your dough feels too dry while rolling, lightly sprinkle with water—just a little! Also, twisting the strips before baking adds a nice visual appeal and a bit more crunch. If they soften after cooling, a quick 2-minute toast in the oven freshens them right up.
Cooking Tips & Techniques
Getting perfectly crispy cheese straws takes a little know-how, but once you get the hang of it, it’s pretty straightforward. Here are some tips I learned after a few (okay, many) batches:
- Keep Butter Cold: Cold butter is key for that flaky, crisp texture. If your kitchen is warm, try chilling your bowl and tools beforehand.
- Don’t Overwork the Dough: Handling it too much warms the butter and develops gluten, making the straws tough. Mix until just combined.
- Roll Evenly: Aim for an even thickness so all straws bake uniformly. Thin edges can burn before the middle crisps up.
- Bake on Parchment or Silicone: This prevents sticking and helps with even browning. I’ve tried baking directly on metal pans, and the bottoms get too dark too fast.
- Watch Baking Time Closely: They go from perfect golden to burnt quickly. Start checking around 12 minutes.
- Cooling Is Crucial: Letting them cool on a wire rack keeps air circulating, preserving the crunch. I once skipped this step and ended up with sad, soggy straws.
One trick I picked up is twisting the dough strips slightly before baking. It’s not just for looks—the little bends create more surface area to crisp up, and it’s oddly satisfying to do. Plus, it helps these snack sticks stand out next to something like a cheesy dynamite chicken buns if you’re serving a spread.
Variations & Adaptations
The beauty of this recipe is how easily it can be customized to suit your taste or dietary needs. Here are some variations I’ve tried or thought about:
- Spicy Kick: Add 1/4 teaspoon cayenne pepper or smoked paprika for a gentle heat punch that pairs well with cheddar’s sharpness.
- Herb Swap: Use basil and oregano instead of rosemary and thyme for a Mediterranean twist. It’s great with a glass of white wine or alongside dishes like vegetarian mushroom Philly cheesesteak.
- Gluten-Free: Substitute all-purpose flour with a gluten-free blend or almond flour. The texture will be slightly different—more crumbly but still tasty.
- Cheese Variations: Try swapping cheddar with Parmesan or a mix of cheddar and Gruyère for a nuttier profile.
- Vegan Option: Use dairy-free cheese and vegan butter. I haven’t perfected this version yet, but it’s on my list!
For cooking adaptations, these straws can also be baked in an air fryer at 350°F (175°C) for 8-10 minutes, but keep a close eye—they crisp up fast in the compact heat.
Serving & Storage Suggestions
Serve your crispy cheddar & herb cheese straws at room temperature for the best crunch. They make a fantastic snack on their own or paired with dips like creamy ranch or a spicy tomato chutney. I often serve them alongside a charcuterie board or with a refreshing cocktail like the mango rum swizzle for a casual gathering.
For storage, keep the cheese straws in an airtight container at room temperature. They should stay crisp for up to 3 days, but beyond that, they may soften. You can revive them by popping them in a preheated oven at 350°F (175°C) for 2-3 minutes.
These straws also freeze well—just place them in a freezer-safe bag and thaw at room temperature before reheating. The flavors tend to deepen a bit overnight, making them even yummier the next day.
Nutritional Information & Benefits
Each serving (about 4-5 cheese straws) contains approximately 150 calories, 10 grams of fat, 8 grams of carbohydrates, and 5 grams of protein. The sharp cheddar provides a good dose of calcium and vitamin A.
Using fresh herbs adds antioxidants and a subtle boost of nutrients without calories. While these cheese straws are a treat, the simple, real ingredients mean you’re snacking on something satisfying and wholesome—not just empty calories.
If you’re watching gluten, swapping to a gluten-free flour keeps these friendly to gluten-sensitive diets. For low-carb options, almond flour substitution reduces carbs but changes texture slightly.
Conclusion
Crispy cheddar & herb cheese straws are one of those snacks that feel both indulgent and approachable. They’re easy enough to whip up on a whim but special enough to impress family or friends. I love how they bring together simple ingredients with a crispy, cheesy punch that’s hard to beat.
Feel free to tweak the herbs or cheese to your liking—this recipe is flexible and forgiving, which makes it all the more fun to make your own. Whether you’re snacking solo or sharing at a party, these straws have a way of making the moment feel just a little cozier.
Give them a try and let me know how you like to customize yours. And if you’re looking for other crispy homemade snacks, you might enjoy my take on crispy parmesan bread bites or the addictive crispy jalapeno corn nuggets. Happy snacking!
FAQs About Crispy Cheddar & Herb Cheese Straws
Can I use pre-shredded cheese for this recipe?
Pre-shredded cheese has additives that can affect melting and texture, so freshly grating sharp cheddar is best for optimal flavor and crispness.
How long do the cheese straws stay fresh?
Stored in an airtight container at room temperature, they stay crisp for about 3 days. Reheat briefly in the oven to refresh if they soften.
Can I make the dough ahead of time?
Yes! You can prepare and chill the dough up to 24 hours in advance. Just wrap it tightly in plastic wrap and keep it refrigerated.
What herbs work best if I don’t have rosemary or thyme?
Basil, oregano, or even parsley make great alternatives. Just adjust quantities to taste since dried herbs are more concentrated.
Is there a vegan version of this recipe?
You can try using plant-based cheese and vegan butter, but the texture and flavor might differ. It’s worth experimenting if you follow a vegan diet.
Pin This Recipe!
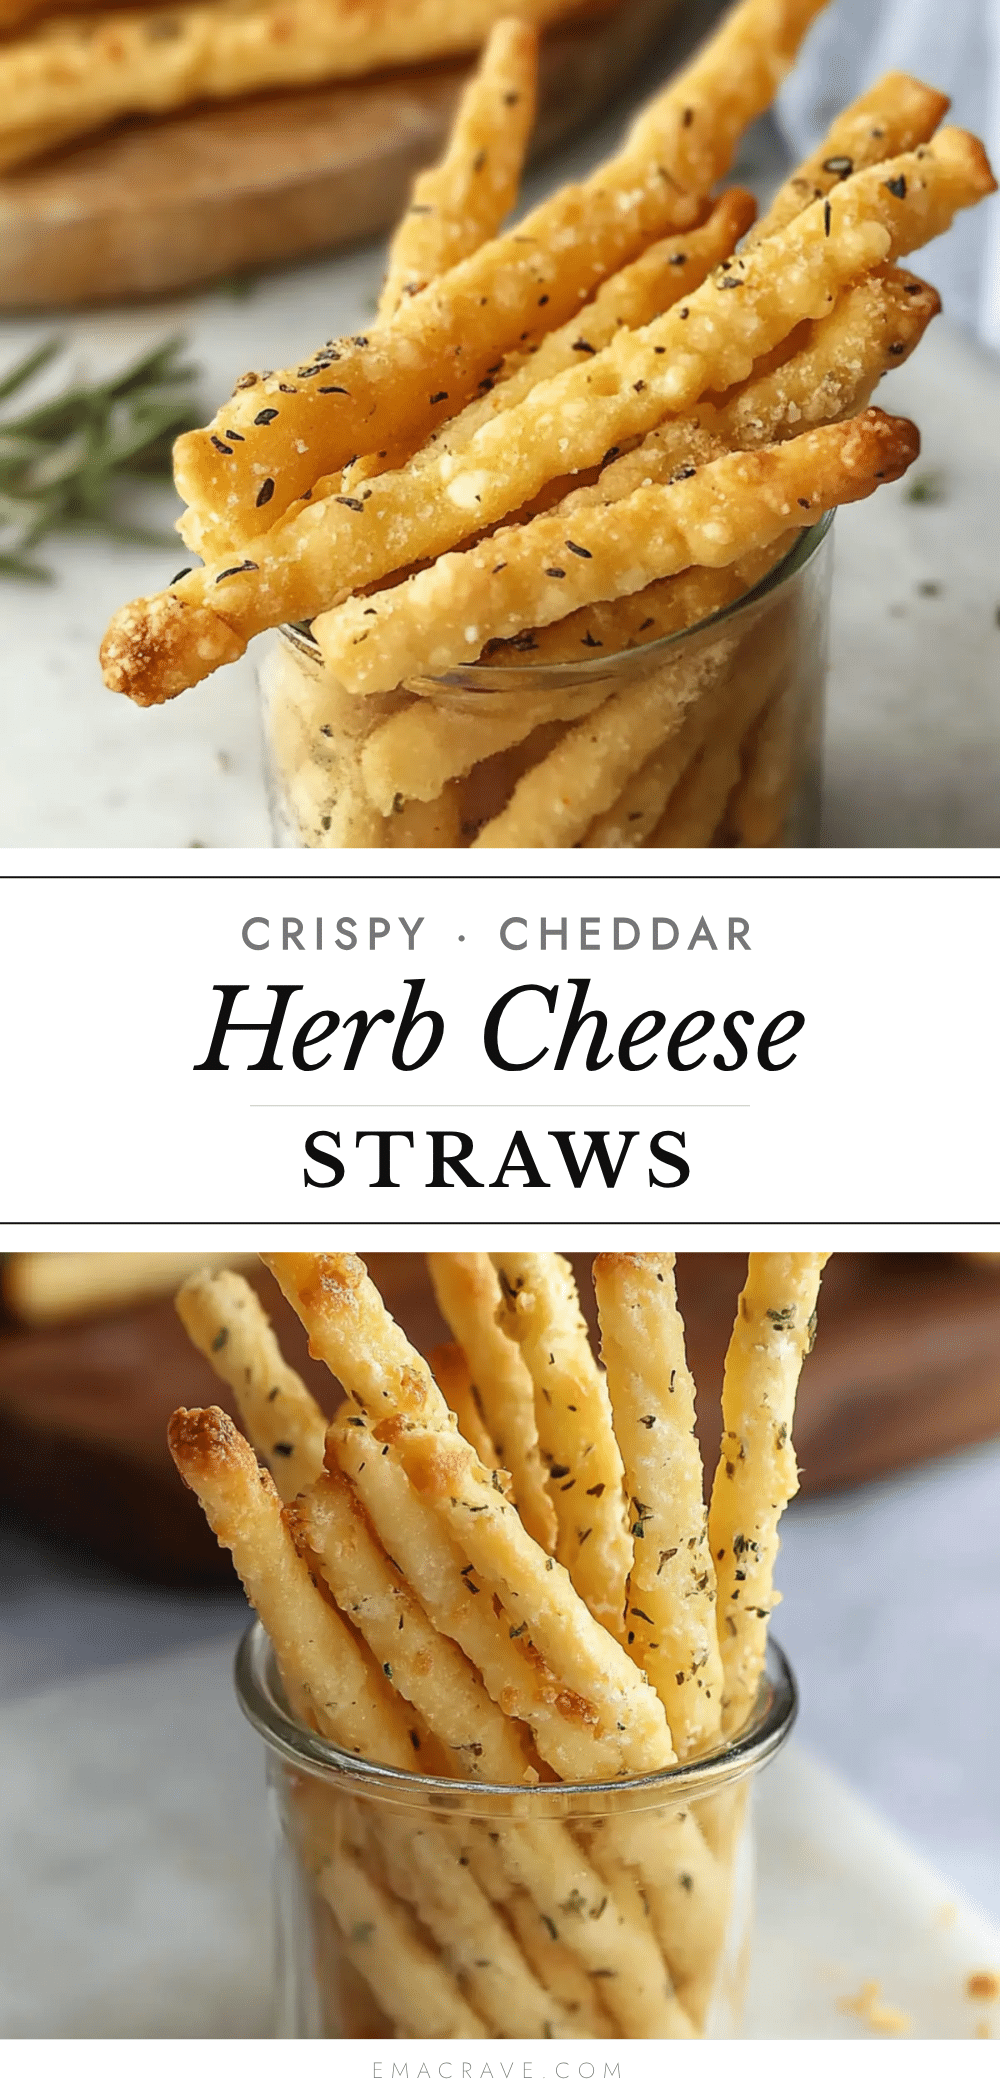
Crispy Cheddar Herb Cheese Straws

These crispy cheddar and herb cheese straws are a quick and easy homemade snack with a perfect balance of sharp cheddar and aromatic herbs, delivering a crunchy, flavorful bite.
- Prep Time: 15 minutes
- Cook Time: 15 minutes
- Total Time: 30 minutes
- Yield: About 20-25 cheese straws (4-5 straws per serving, approx. 5 servings) 1x
- Category: Snack
- Cuisine: American
Ingredients
- 8 oz (225 g) sharp cheddar cheese, freshly grated
- 1 1/4 cups (160 g) all-purpose flour
- 6 tablespoons (85 g) unsalted butter, cold and cubed
- 2 tablespoons fresh herbs (rosemary and thyme), finely chopped
- 1/2 teaspoon garlic powder
- 1/2 teaspoon salt
- 1/4 teaspoon freshly ground black pepper (optional)
- 2–3 tablespoons cold water
Instructions
- Grate 8 oz (225 g) of sharp cheddar cheese using a box grater.
- In a large mixing bowl, whisk together 1 1/4 cups (160 g) all-purpose flour, 1/2 teaspoon salt, 1/2 teaspoon garlic powder, and 1/4 teaspoon freshly ground black pepper. Stir in 2 tablespoons of finely chopped fresh herbs (rosemary and thyme).
- Add 6 tablespoons (85 g) cold, cubed unsalted butter to the dry ingredients. Cut the butter in using a pastry cutter or food processor until the mixture resembles coarse crumbs with pea-sized bits.
- Fold the shredded cheddar cheese into the butter-flour mixture evenly.
- Slowly add 2 to 3 tablespoons of cold water, stirring gently until the dough just starts to come together. Avoid overworking the dough; it should be slightly crumbly but hold when pressed.
- Form the dough into a flat disk, wrap it in plastic wrap, and refrigerate for at least 30 minutes.
- On a lightly floured surface, roll the chilled dough to about 1/8 inch (3 mm) thickness.
- Using a sharp knife or pizza cutter, slice the dough into 1/2-inch (1.3 cm) wide strips, roughly 4 inches (10 cm) long. Optionally, twist each strip gently before placing on the baking sheet.
- Arrange the straws on a parchment-lined baking sheet, leaving space between each. Bake at 375°F (190°C) for 12-15 minutes or until golden brown and crispy. Start checking at 12 minutes to prevent burning.
- Transfer the cheese straws to a wire rack to cool completely to maintain crispness. Store in an airtight container at room temperature for up to 3 days.
Notes
Keep butter cold to ensure flaky, crispy texture. Do not overwork the dough to avoid toughness. Rolling dough thin (about 1/8 inch) is key for crispness. Twist strips before baking for extra crunch and visual appeal. Cool on wire rack to maintain crispness. Reheat briefly in oven if softened. Dough can be prepared and chilled up to 24 hours in advance.
Nutrition
- Serving Size: 4-5 cheese straws
- Calories: 150
- Fat: 10
- Carbohydrates: 8
- Protein: 5
Keywords: cheddar cheese straws, crispy cheese straws, herb cheese straws, homemade snack, easy snack recipe, cheddar herb snack



