Love this? Save it for later!
Share the inspiration with your friends
The first time I made these, I wasn’t even trying to be clever. I had a half-empty box of Rice Krispies sitting on the counter, a block of cheddar that needed using up, and a serious craving for something salty and crunchy. Not chips—I wanted that specific, almost buttery snap you get from a good homemade cracker. I poured the cereal into a bowl, stared at it, and thought, “What if I just… baked you into a cheese cracker?”
Honestly, I expected a disaster. I figured the cereal would either turn to dust or get chewy and sad. But I mixed it with some melted butter, a ton of sharp cheddar, and a few pantry spices, pressed it flat, and threw it in the oven. Ten minutes later, I pulled out a baking sheet of the most ridiculously crispy, cheesy, savory crackers I had ever tasted. My husband walked into the kitchen, grabbed one, and didn’t say a word for a full thirty seconds. Then he just pointed at the pan and nodded. That was all the feedback I needed.
These Crispy Savory Rice Krispie Cheddar Crackers are now my go-to for everything. Game day snacks, afternoon pick-me-ups, even crumbled over a bowl of soup for extra crunch. They are absurdly easy—like, embarrassingly easy—and they deliver a texture that store-bought crackers just can’t touch. The Rice Krispies stay airy and crisp, the cheddar gets deeply toasty, and the whole thing comes together in about 20 minutes. You will never look at your cereal box the same way again.
Why You Will Love This Recipe
I have made these crackers at least a dozen times now, tweaking the butter ratio, testing different cheeses, and even trying a gluten-free version for a friend. Every single batch has disappeared within hours. Here is why this recipe works so well and why you will keep coming back to it:
- Quick & Easy: From start to finish, these crackers are ready in under 25 minutes. No yeast, no chilling, no rolling dough. Just mix, press, and bake.
- Simple Ingredients: You only need five main ingredients. Rice Krispies, cheddar cheese, butter, flour, and a pinch of cayenne. You probably have everything right now.
- Perfect for Snacking: These are amazing for game day, movie night, or packing in lunchboxes. They also make a fantastic crunchy topping for soups or salads.
- Crowd-Pleaser: I brought a batch to a potluck last month, and three different people asked for the recipe before the appetizers were even gone. Kids love them, adults love them, everyone loves them.
- Unbelievably Crispy: The Rice Krispies create a texture that is light, airy, and shatteringly crisp. It is not like a dense, heavy cracker. It is delicate and satisfying at the same time.
What makes these different from every other cheese cracker recipe out there? It is the cereal. Most homemade crackers rely on a traditional dough that can turn tough or dry. By using Rice Krispies, you get a built-in crunch that stays crisp even after a day or two in an airtight container. The butter and cheese bind everything together without making it heavy. It is a genius shortcut that tastes like you spent hours in the kitchen.
Honestly, this is the kind of recipe that makes you feel like a kitchen wizard. It is comfort food reimagined—faster, easier, and so much more fun than a store-bought box. You will impress yourself with how good these turn out.
What Ingredients You Will Need
This recipe uses simple, everyday ingredients to create something surprisingly special. The magic is in the combination of textures and the salty, cheesy flavor. Here is everything you need:
- 3 cups Rice Krispies cereal: The star of the show. Make sure you use the original, unsweetened variety. Do not use a generic puffed rice cereal that might be too dense or stale. Fresh, crispy cereal is key.
- 2 cups sharp cheddar cheese, shredded: I strongly recommend shredding your own cheese from a block. Pre-shredded cheese has anti-caking agents that prevent it from melting smoothly, which can make your crackers greasy. Sharp cheddar gives the best flavor, but a medium cheddar works too.
- 4 tablespoons unsalted butter, melted: Butter adds richness and helps bind the crackers together. If you only have salted butter, just reduce the added salt in the recipe by a pinch.
- 1/4 cup all-purpose flour: This helps give the crackers a little structure and a satisfying snap. For a gluten-free version, you can swap in a 1:1 gluten-free baking flour blend.
- 1/2 teaspoon salt: Enhances the cheesy flavor. I use fine sea salt.
- 1/4 teaspoon cayenne pepper: This is optional, but I highly recommend it. It does not make the crackers spicy; it just adds a tiny warmth that wakes up the cheddar. You can also use a pinch of smoked paprika for a different kind of depth.
- 1/4 teaspoon garlic powder: Adds a savory, aromatic note that pairs beautifully with the cheese. Onion powder also works well here.
Ingredient Tips: For the best texture, make sure your butter is fully melted but not hot. Let it cool for a minute before mixing it with the cereal—you do not want to melt the cheese prematurely. I have tried this recipe with a sharp white cheddar and a smoked gouda, and both were fantastic. If you want a milder cracker, use a young cheddar or even a Monterey Jack.
Equipment Needed
You do not need anything fancy for this recipe. Here is what you will need to get the job done:
- Large mixing bowl: Big enough to toss the cereal with the butter and cheese without spilling.
- Baking sheet: A standard half-sheet pan works perfectly. Line it with parchment paper for easy cleanup.
- Parchment paper: Absolutely essential. The crackers will stick to a bare baking sheet.
- Measuring cups and spoons: For accurate ingredient amounts.
- Cheese grater: A box grater is fine, but I prefer a microplane for the finest shreds, which melt more evenly.
- Spatula or wooden spoon: For mixing everything together.
- Rolling pin or flat-bottomed glass: To press the mixture flat on the baking sheet. You want an even layer for consistent baking.
- Pizza cutter or sharp knife: For scoring the crackers before baking. A pizza cutter makes quick work of it.
If you do not have a rolling pin, a clean wine bottle or even your hands (pressing down firmly) will work. Just make sure the mixture is compacted evenly.
Preparation Method
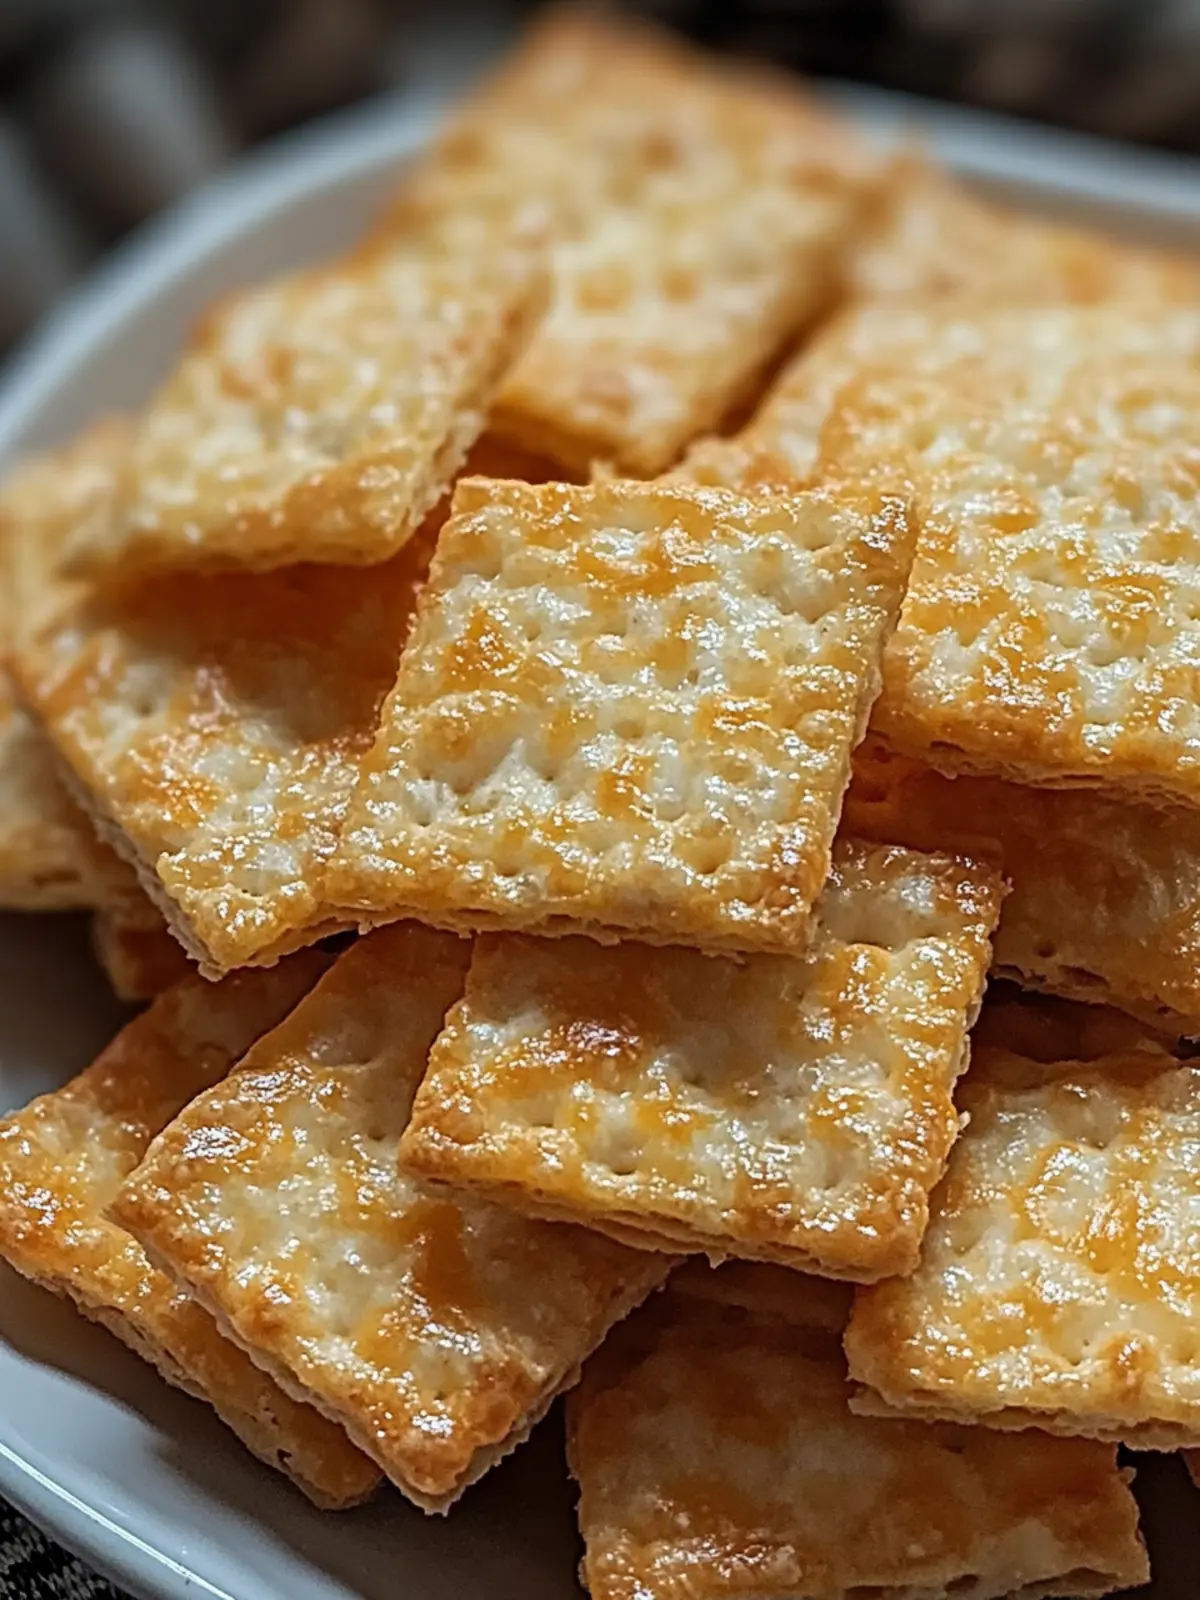
Making these crackers is almost too easy. Follow these steps, and you will have a batch of crispy, cheesy goodness in no time.
- Preheat your oven to 350°F (175°C). Line a large baking sheet with parchment paper. Set it aside.
- In a large mixing bowl, combine the dry ingredients. Add the 3 cups of Rice Krispies, 1/4 cup of all-purpose flour, 1/2 teaspoon of salt, 1/4 teaspoon of cayenne pepper, and 1/4 teaspoon of garlic powder. Toss everything together with a spatula until the cereal is evenly coated in the flour and spices. This step ensures the seasoning is distributed throughout every bite.
- Add the shredded cheddar cheese. Pour in the 2 cups of freshly shredded sharp cheddar. Toss again to combine. The cheese should be well mixed with the cereal. Do not worry if some of the cereal breaks—it is fine.
- Pour the melted butter over the mixture. Drizzle the 4 tablespoons of melted unsalted butter evenly over the top. Use your spatula to fold everything together until the cereal is coated in butter and the cheese starts to clump slightly. The mixture should look slightly wet and sticky.
- Transfer the mixture to the prepared baking sheet. Dump it all onto the parchment-lined sheet. Use your spatula to spread it out into an even, rectangular layer.
- Press the mixture flat. This is the most important step. Place a second piece of parchment paper on top of the mixture. Use a rolling pin or a flat-bottomed glass to press the mixture down firmly and evenly. You want it to be about 1/4-inch thick. The more compact it is, the better the crackers will hold together. Remove the top layer of parchment paper.
- Score the crackers. Using a pizza cutter or a sharp knife, cut the pressed mixture into small squares—about 1-inch by 1-inch. Do not separate them; just score the surface. This will make it easy to break them apart after baking.
- Bake for 12-15 minutes. Place the baking sheet in the preheated oven. Bake until the edges are deep golden brown and the crackers are firm to the touch. The center might still look a little soft, but it will firm up as it cools. Keep a close eye on them after the 12-minute mark, as they can go from golden to burnt very quickly.
- Cool completely on the baking sheet. Remove the pan from the oven and let the crackers cool for at least 10 minutes. They will continue to crisp up as they cool. Do not try to move them while they are hot—they are fragile. Once completely cool, break them apart along the scored lines.
Sensory Cue: Your kitchen will smell like a toasty cheese shop. The crackers should look a little puffed and deeply golden around the edges. When you break one in half, it should snap cleanly, not bend.
Cooking Tips & Techniques
I have learned a few things the hard way so you do not have to. Here are my best tips for perfect crackers every single time:
Do not skip the parchment paper. I made that mistake once. I thought I could just grease the pan. The cheese melted and stuck to the baking sheet like glue. It took me twenty minutes to scrape it off. Parchment paper is your best friend here.
Press down firmly. The first time I made these, I was too gentle with the pressing step. The crackers came out crumbly and fell apart. You really need to compact the mixture so it holds together during baking. Put your weight into it. A flat-bottomed glass or measuring cup works great if you do not have a rolling pin.
Watch the oven like a hawk. Ovens vary wildly. My oven runs a little hot, so I start checking at the 10-minute mark. The crackers are done when the edges are a deep, rich brown. The center will look slightly paler, but that is okay. If you let them go too long, the cheese can burn and turn bitter.
Let them cool completely. I know it is tempting to grab one right out of the oven, but they are very fragile when hot. They need that cooling time to set and become truly crispy. If you try to move them too soon, you will end up with a pile of cheesy crumbs. Trust the process.
Store them properly. These crackers stay crispy for about 3-4 days in an airtight container at room temperature. If you live in a humid climate, add a silica gel packet or a piece of bread to the container to absorb excess moisture. Do not refrigerate them, as the cold can make them stale faster.
Variations & Adaptations
One of the best things about this recipe is how easy it is to change up. Here are some of my favorite variations:
- Spicy Jalapeño: Add 1-2 tablespoons of finely chopped pickled jalapeños to the mixture before pressing. The briny, spicy kick pairs beautifully with the sharp cheddar. I tried this for a Super Bowl party, and the pan was empty in fifteen minutes.
- Everything Bagel Seasoning: After pressing the mixture flat but before baking, sprinkle a generous layer of everything bagel seasoning on top. Press it in gently with your hands. The sesame seeds, poppy seeds, and garlic flakes add an incredible crunch and flavor.
- Herb & Garlic: Swap the cayenne for 1 teaspoon of dried rosemary or thyme. Add an extra 1/2 teaspoon of garlic powder. This version is fantastic crumbled over a bowl of tomato soup or a creamy French onion stuffed chicken for a textural contrast.
- Gluten-Free: Use a high-quality 1:1 gluten-free all-purpose flour blend. Make sure your Rice Krispies are labeled gluten-free, as some brands are processed in facilities that handle wheat. The texture will be slightly more delicate, but still deliciously crispy.
- Pepper Jack: Replace the sharp cheddar with shredded pepper jack cheese. This adds a melty, slightly spicy kick that is perfect for those who love heat. It pairs wonderfully with a creamy Cajun linguine with shrimp and sausage for a full-flavored meal.
Serving & Storage Suggestions
These crackers are incredibly versatile. Here is how I like to serve and store them:
Serving: Serve them at room temperature. They are perfect on their own as a snack, but they also shine as part of a cheese board. Pair them with a soft brie, some sharp cheddar, and a dollop of fig jam. The salty, crispy crackers are a great counterpoint to creamy cheeses. They also make an excellent crunchy topping for soups and salads. Crumble a few over a bowl of cozy vegan lentil hotpot for a satisfying texture contrast.
Storage: Store completely cooled crackers in an airtight container at room temperature. They will stay crispy for up to 4 days. Do not stack them too high, or the ones on the bottom might break. If you need to store them longer, you can freeze them. Place the cooled crackers in a single layer on a baking sheet and freeze for an hour. Then transfer them to a freezer-safe bag or container. They will keep for up to 3 months. Thaw at room temperature for about 10 minutes before serving.
Reheating: If your crackers lose a bit of their crunch after a day or two, you can revive them. Spread them on a baking sheet and pop them in a 300°F (150°C) oven for 3-5 minutes. Let them cool completely before serving. Do not microwave them—they will turn soft and chewy.
Flavor Development: Honestly, these crackers taste even better the next day. The flavors meld together, and the sharpness of the cheddar becomes more pronounced. If you can resist eating them all on day one, you are in for a treat on day two.
Nutritional Information & Benefits
While these are definitely a treat, they do offer some nutritional perks. Here is a rough estimate per serving (about 6-8 crackers, depending on size):
| Nutrient | Amount Per Serving |
|---|---|
| Calories | 180-220 |
| Total Fat | 12g |
| Saturated Fat | 7g |
| Carbohydrates | 15g |
| Fiber | 0g |
| Sugar | 1g |
| Protein | 7g |
| Calcium | 150mg |
Pin This Recipe!
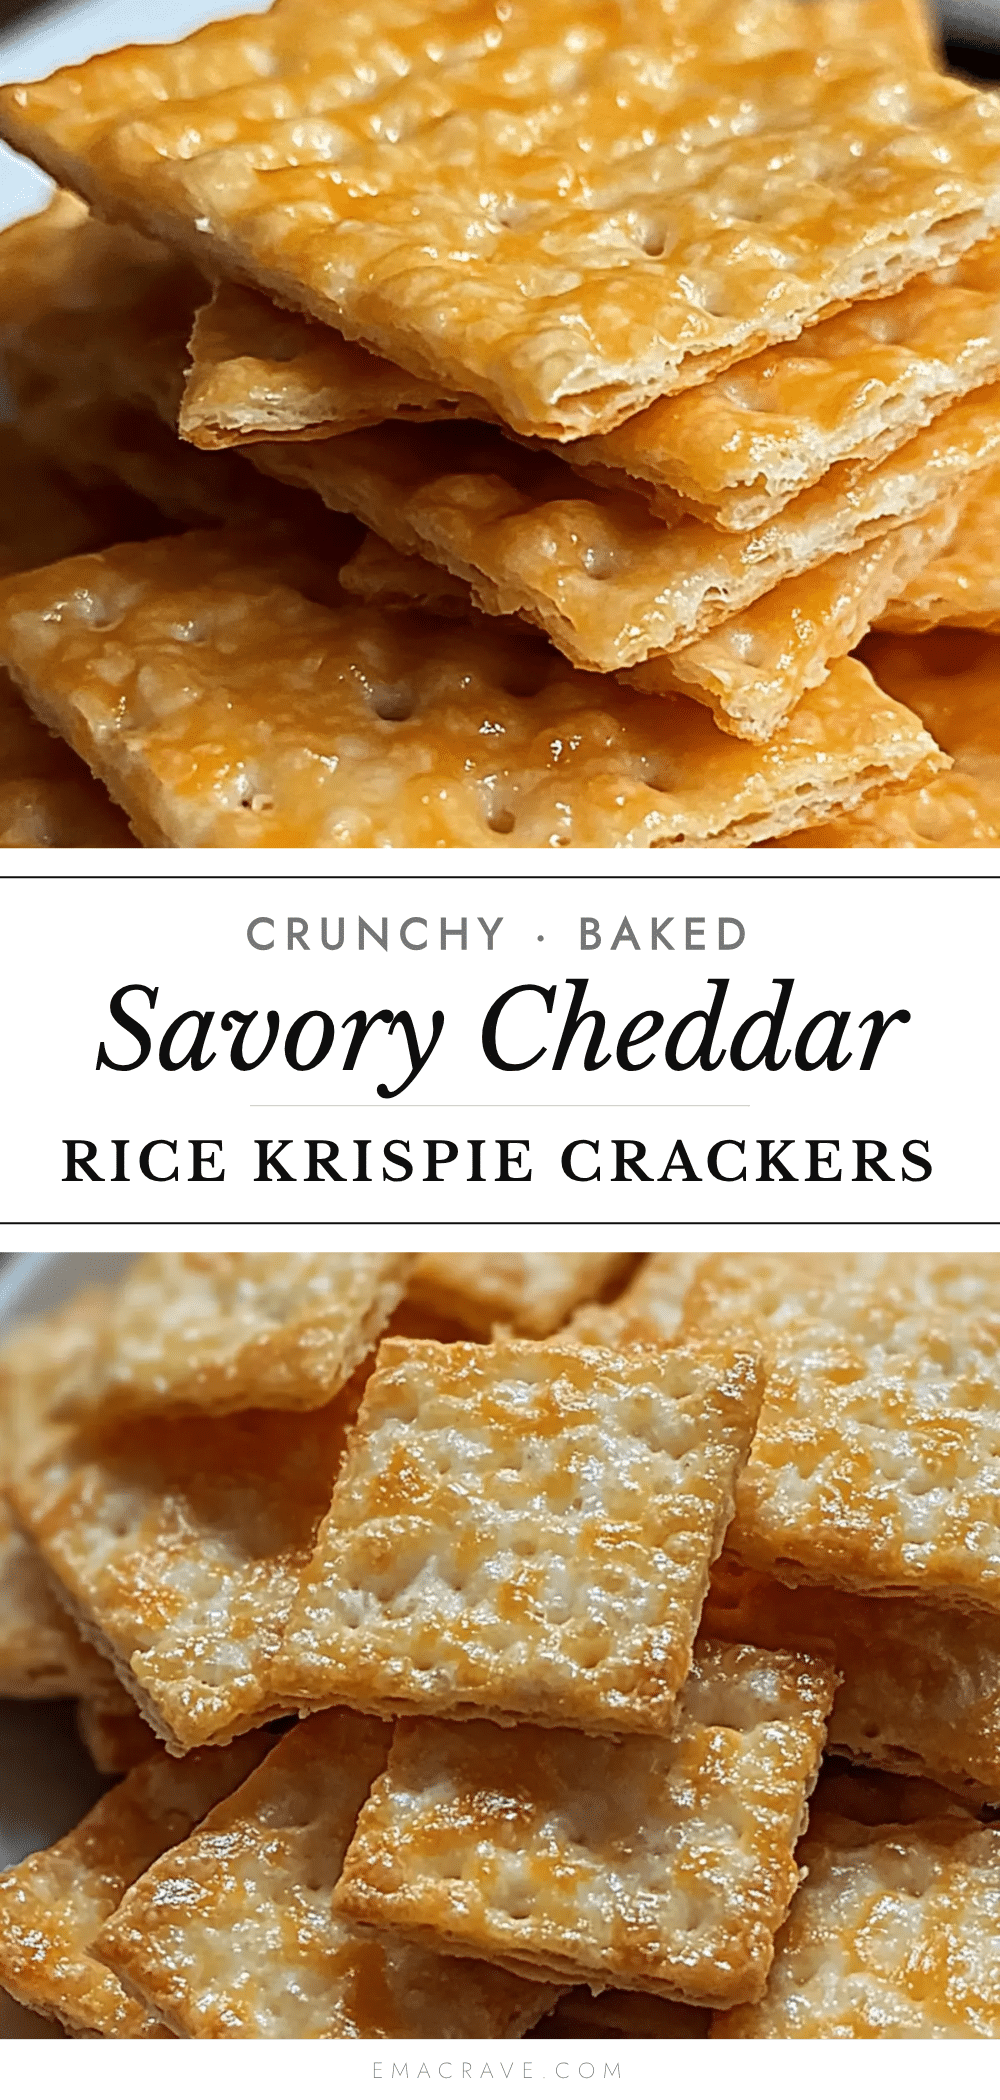
Crispy Savory Rice Krispie Cheddar Crackers

These Crispy Savory Rice Krispie Cheddar Crackers are shockingly simple, incredibly satisfying, and endlessly customizable. Made with just five main ingredients, they deliver a light, airy, and shatteringly crisp texture that store-bought crackers can’t touch.
- Prep Time: 10 minutes
- Cook Time: 12-15 minutes
- Total Time: 22-25 minutes
- Yield: 4 servings 1x
- Category: Snack
- Cuisine: American
Ingredients
- 3 cups Rice Krispies cereal
- 2 cups sharp cheddar cheese, shredded
- 4 tablespoons unsalted butter, melted
- 1/4 cup all-purpose flour
- 1/2 teaspoon salt
- 1/4 teaspoon cayenne pepper (optional)
- 1/4 teaspoon garlic powder
Instructions
- Preheat your oven to 350°F (175°C). Line a large baking sheet with parchment paper.
- In a large mixing bowl, combine the Rice Krispies, flour, salt, cayenne pepper, and garlic powder. Toss until the cereal is evenly coated.
- Add the shredded cheddar cheese and toss to combine.
- Drizzle the melted butter over the mixture and fold until the cereal is coated and the cheese starts to clump.
- Transfer the mixture to the prepared baking sheet and spread it into an even, rectangular layer.
- Place a second piece of parchment paper on top and use a rolling pin or flat-bottomed glass to press the mixture flat to about 1/4-inch thickness. Remove the top parchment.
- Using a pizza cutter or sharp knife, score the pressed mixture into 1-inch squares without separating them.
- Bake for 12-15 minutes until the edges are deep golden brown and the crackers are firm to the touch.
- Cool completely on the baking sheet for at least 10 minutes. The crackers will continue to crisp as they cool. Break apart along the scored lines once cool.
Notes
Do not skip the parchment paper to prevent sticking. Press the mixture firmly to ensure crackers hold together. Watch the oven closely after 12 minutes to prevent burning. Let crackers cool completely before moving them. Store in an airtight container at room temperature for up to 4 days. For gluten-free, use a 1:1 gluten-free flour blend and ensure Rice Krispies are labeled gluten-free.
Nutrition
- Serving Size: 6-8 crackers
- Calories: 180220
- Sugar: 1
- Fat: 12
- Saturated Fat: 7
- Carbohydrates: 15
- Protein: 7
Keywords: cheese crackers, Rice Krispie crackers, homemade crackers, easy snack, cheddar crackers, crispy crackers



