Love this? Save it for later!
Share the inspiration with your friends
The first time I made this creamy cherry vanilla bean fudge, I wasn’t even trying to create a recipe. I had a bag of white chocolate chips left over from a baking project and a jar of cherry preserves that was taking up space in the fridge door. It was one of those late Tuesday nights where you just want something sweet but don’t have the energy for a full baking production. I figured I’d melt everything together and see what happened. Honestly, I was ready for it to be a sticky mess I’d have to eat with a spoon in secret.
But then I scraped the mixture into a pan, let it sit on the counter while I cleaned up, and forgot about it until the next morning. When I cut into that slab of fudge, it was perfectly firm, impossibly creamy, and studded with little pockets of tart cherry that cut through the sweetness. The vanilla bean specks made it look fancy, like something from a little bakery downtown. I stood there in my pajamas eating piece after piece, and I knew I had accidentally stumbled onto something worth keeping.
This is that recipe. It’s the kind of fudge that feels special enough for gift-giving but simple enough that you’ll make it just because it’s Tuesday. It’s creamy without being heavy, sweet without being cloying, and it comes together with just three ingredients and zero fuss.
Why You’ll Love This Recipe
Let me tell you why this creamy cherry vanilla bean fudge has earned a permanent spot in my dessert rotation. I’ve tested this recipe at least a dozen times now, tweaking the ratios and trying different brands, and I can say with confidence that this version is the one.
- Only 3 Ingredients: White chocolate chips, cherry preserves, and vanilla bean paste. That’s it. No condensed milk, no butter, no complicated steps.
- No Candy Thermometer Needed: Traditional fudge recipes make you babysit a pot of sugar syrup until it reaches the exact right temperature. This one? You just melt, stir, and chill.
- Ready in Under 2 Hours: Most of that time is just waiting for it to set in the fridge. The actual hands-on work takes maybe 10 minutes.
- Perfect for Gifting: This fudge slices cleanly, holds its shape, and looks gorgeous wrapped up in a little box with a ribbon. I’ve brought it to holiday parties and watched it disappear before the cookies.
- Crowd-Pleaser: Kids love the cherry bits, adults appreciate the vanilla bean flavor, and everyone goes back for seconds. I’ve never had leftovers.
What makes this recipe different from other cherry fudge recipes is the texture. Most cherry fudge I’ve tried ends up either too soft or grainy. By using good-quality white chocolate and cherry preserves instead of fresh cherries, you get a silky-smooth base with just the right amount of chew from the fruit pieces. The vanilla bean paste adds those beautiful little specks that make each bite feel intentional, not accidental.
This is the kind of dessert that makes you close your eyes after the first bite. It’s comfort food in its purest form, sweet and creamy and just a little bit tart. And honestly, after a long day, that’s exactly what you need.
What Ingredients You Will Need
This recipe uses simple, pantry-friendly ingredients to deliver rich, creamy flavor and that perfect fudge texture without any fuss. Here’s what you’ll need:
- 12 ounces good-quality white chocolate chips or bars, chopped: This is the backbone of your fudge, so don’t skimp here. I prefer Ghirardelli or Guittard white chocolate chips for the smoothest melt. Avoid white melting wafers or candy coating, they don’t have enough cocoa butter and the texture won’t be as creamy. If using a bar, chop it into small, even pieces so it melts uniformly.
- 1/2 cup cherry preserves or cherry jam: Look for preserves with visible fruit pieces for the best texture. Bonne Maman makes a lovely cherry preserves with big chunks of fruit. You can also use cherry jam, just make sure it’s not too runny. If your preserves have whole cherries, give them a quick chop before stirring them in. (adds tart fruit bursts throughout the fudge)
- 1 tablespoon vanilla bean paste: This is what gives the fudge those beautiful black specks and that deep, authentic vanilla flavor. Nielsen-Massey is my go-to brand. If you don’t have vanilla bean paste, you can substitute one vanilla bean, scraped, or 2 teaspoons of pure vanilla extract. Just know that extract won’t give you the same visual effect. (adds rich vanilla flavor and those signature specks)
- Pinch of sea salt (optional but recommended): A tiny sprinkle of flaky sea salt on top right after pouring balances the sweetness and makes the cherry flavor pop. I use Maldon sea salt flakes for this.
That’s genuinely everything you need. No heavy cream, no butter, no sweetened condensed milk. The white chocolate provides all the structure and richness, while the cherry preserves add sweetness, moisture, and those lovely fruit pockets. The vanilla bean paste ties it all together with warmth and depth.
One thing I learned the hard way, make sure your white chocolate is fresh. Old white chocolate can seize or turn grainy when melted. If you’re not sure about your chocolate’s freshness, buy a new bag for this recipe. It’s worth it.
Equipment Needed
You don’t need much for this creamy cherry vanilla bean fudge, which is part of the appeal. Here’s what you’ll want to have on hand:
- 8×8-inch baking pan: This is the perfect size for fudge that’s about 3/4 inch thick. If you only have a 9×9-inch pan, your fudge will be slightly thinner, which is fine too, just reduce the chill time slightly.
- Parchment paper: Line your pan with parchment paper, leaving some overhang on two sides. This creates “handles” that let you lift the whole slab of fudge out cleanly. Trust me, you don’t want to be scraping fudge out of a pan.
- Medium microwave-safe bowl: For melting the white chocolate. Glass or ceramic works best.
- Rubber spatula: For stirring and scraping every last bit of fudge into the pan. A silicone spatula is ideal because it won’t scratch your bowl and it gets into corners.
- Sharp knife: For cutting the set fudge into clean pieces. A chef’s knife or a long serrated knife works well. Run it under hot water and wipe it dry between cuts for the cleanest edges.
If you don’t have a microwave, you can melt the white chocolate using a double boiler on the stovetop. Just put the chocolate in a heatproof bowl set over a pot of simmering water, making sure the bottom of the bowl doesn’t touch the water. Stir until smooth, then proceed with the recipe.
I’ve made this fudge in a disposable aluminum pan before when I was bringing it to a potluck, and it worked perfectly. Don’t overthink the equipment.
Preparation Method
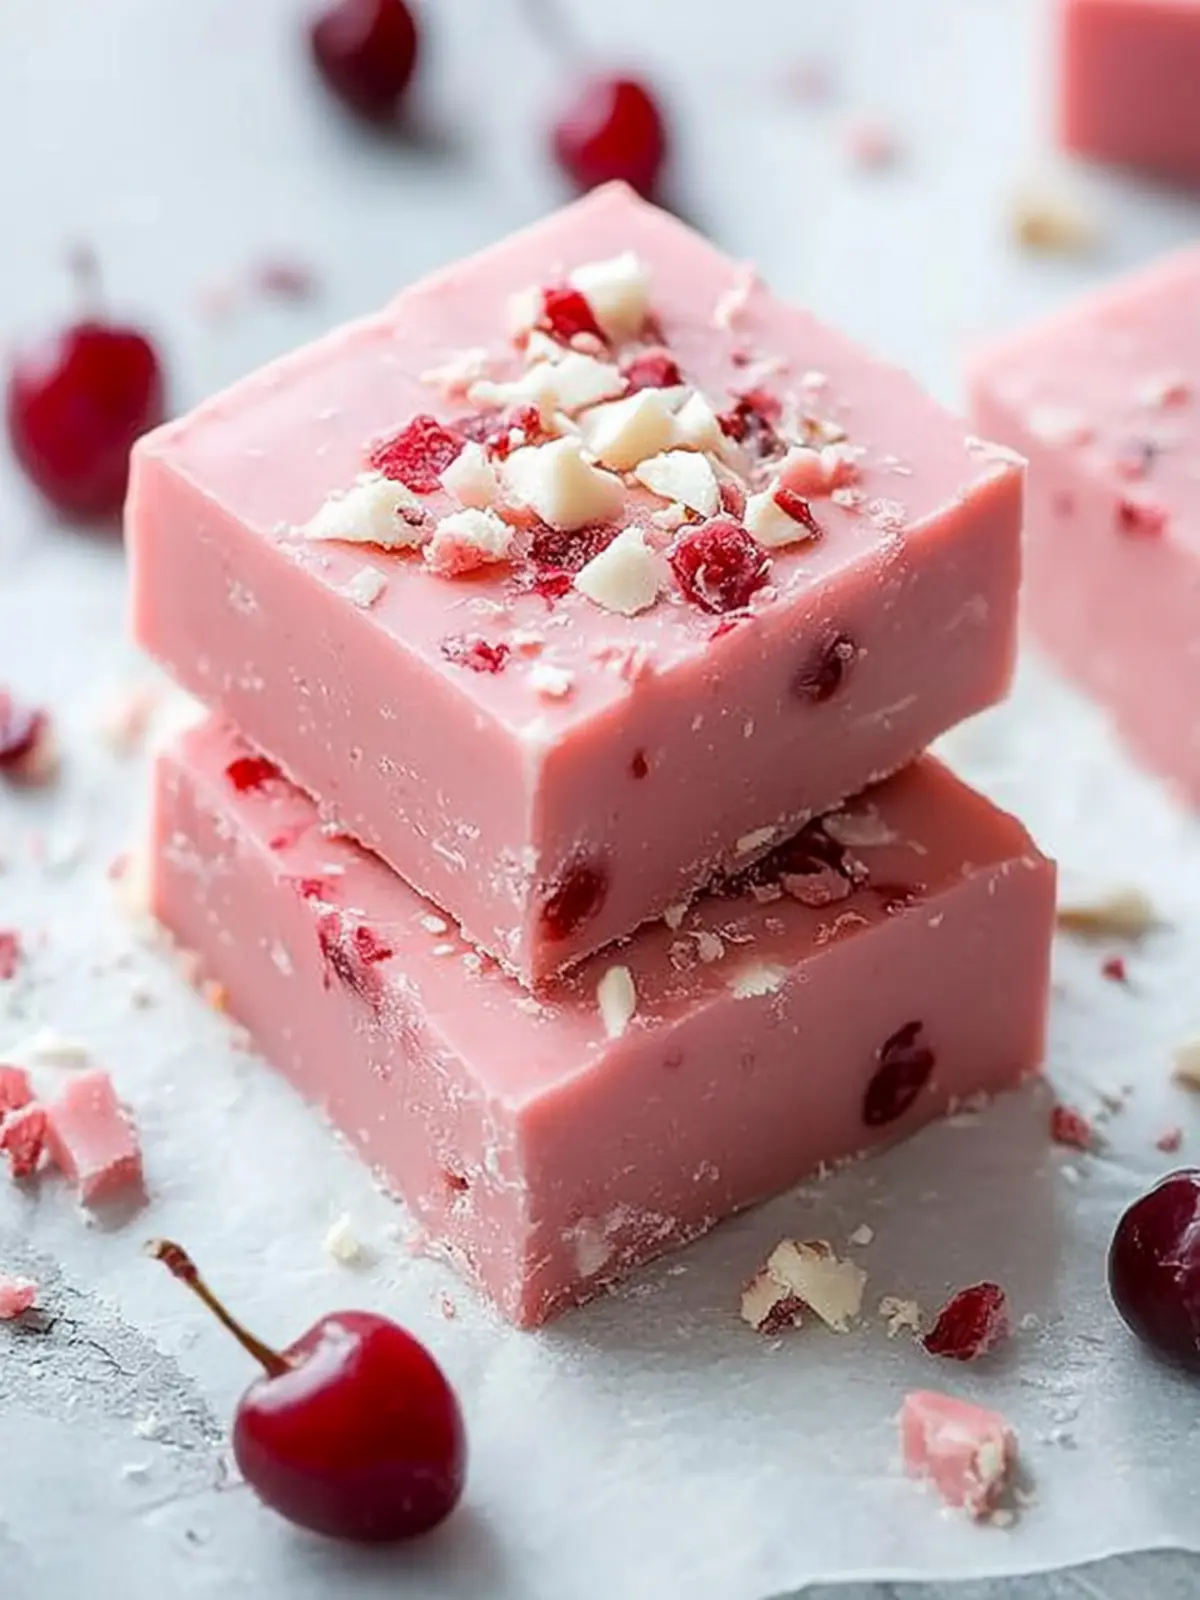
Making this creamy cherry vanilla bean fudge is almost embarrassingly easy. Here’s the step-by-step:
- Line your pan: Cut a piece of parchment paper large enough to cover the bottom and sides of your 8×8-inch pan, with about 2 inches of overhang on two opposite sides. Press it into the pan, smoothing out any wrinkles. Set the pan aside.
- Melt the white chocolate: Place the 12 ounces of white chocolate chips or chopped white chocolate in a medium microwave-safe bowl. Microwave in 30-second intervals, stirring thoroughly after each interval. White chocolate is delicate and can burn easily, so don’t rush this step. After about 2 to 3 intervals, most of the chocolate should be melted. Keep stirring even if there are a few lumps, the residual heat will melt them. The mixture should be smooth and glossy, not thick or grainy.
- Add the vanilla bean paste: Once your white chocolate is completely smooth, stir in the 1 tablespoon of vanilla bean paste. Mix until the paste is fully incorporated and you can see those beautiful black specks distributed throughout the melted chocolate. The smell at this point is incredible, like vanilla ice cream in liquid form.
- Fold in the cherry preserves: Add the 1/2 cup of cherry preserves to the melted white chocolate mixture. Gently fold it in with your rubber spatula. You want to swirl it through, not stir it completely smooth. Leaving some streaks and pockets of preserves means you’ll get little bursts of cherry in every bite. If you stir too much, the preserves will fully incorporate and you’ll lose that lovely marbled effect.
- Pour into the pan: Scrape the entire mixture into your prepared pan. Use your spatula to spread it evenly into all corners. The surface doesn’t need to be perfectly smooth, a little rustic texture is nice. If you’re using the optional sea salt, sprinkle a small pinch over the top now.
- Chill until set: Place the pan in the refrigerator, uncovered, for at least 1 hour and 30 minutes, or until the fudge is firm to the touch. If you’re in a hurry, you can pop it in the freezer for about 45 minutes, but watch it carefully so it doesn’t get too hard. The fudge should feel solid but still have a slight give when you press it.
- Cut and serve: Once the fudge is fully set, use the parchment paper handles to lift the entire slab out of the pan. Place it on a cutting board. Use a sharp knife to cut it into squares. I usually go for 1-inch pieces, which gives you about 64 small squares. For cleaner cuts, wipe your knife clean between slices. If the fudge starts to crack, let it sit at room temperature for 5 minutes before continuing.
One thing I want you to know, the fudge will look a little soft and shiny when you first pour it into the pan. That’s normal. Don’t be tempted to add more chocolate or put it in the freezer to speed things up too much. Patience here pays off with that perfect creamy texture.
Cooking Tips & Techniques
After making this creamy cherry vanilla bean fudge more times than I can count, I’ve picked up a few tricks that make a real difference. Let me share them with you so you can skip the trial and error.
White chocolate is picky about heat. It has a lower melting point than dark or milk chocolate, and it’s more prone to seizing if it gets too hot or if any water gets into the bowl. Make sure your bowl and spatula are completely dry before you start. If your white chocolate does seize up and turn grainy, you can try stirring in a teaspoon of coconut oil or vegetable oil to smooth it out. It’s not a perfect fix, but it usually works well enough to save the batch.
Room temperature ingredients matter here. Cold cherry preserves straight from the fridge can cause the melted white chocolate to seize or become grainy. Let your preserves sit out for about 15 minutes before you start. Same goes for your vanilla bean paste, though that’s usually stored at room temperature anyway.
Don’t over-swirl the preserves. I know it’s tempting to keep mixing until everything looks uniform, but resist that urge. The best pieces of fudge are the ones where you get a concentrated hit of cherry in one bite and a more subtle vanilla flavor in the next. A few gentle folds are all you need.
Watch your chill time. If you leave the fudge in the fridge for more than 4 hours, it can become too hard and brittle, making it difficult to cut cleanly. If this happens, let it sit at room temperature for 10 to 15 minutes before slicing. On the flip side, if you cut it too early, it will be sticky and won’t hold its shape. The sweet spot is around 2 hours.
I once left a batch in the fridge overnight and came back to find it had developed a slight white bloom on the surface. That’s fat bloom, caused by the cocoa butter crystallizing on the surface. It’s completely safe to eat and doesn’t affect the flavor, but it doesn’t look as pretty. To avoid this, make sure your fudge is completely covered once it’s set, or serve it within a day or two.
Variations & Adaptations
This creamy cherry vanilla bean fudge is a fantastic base recipe that’s easy to adapt. Here are some variations I’ve tried and loved:
Dark Chocolate Cherry Fudge: Swap the white chocolate for good-quality dark chocolate chips (60-70% cocoa). The bitterness of the dark chocolate balances the sweet cherry preserves beautifully. You might need to add 1 tablespoon of coconut oil to help the dark chocolate melt more smoothly. This version feels more sophisticated and less sweet, perfect for after-dinner treats.
Bourbon Cherry Vanilla Fudge: Add 1 tablespoon of bourbon along with the vanilla bean paste. The warmth of the bourbon complements the cherry and vanilla flavors in a way that feels cozy and grown-up. Just be aware that the alcohol can slightly soften the fudge, so you may need to chill it for an extra 30 minutes. I made this for a holiday party once and it was the first thing to disappear.
Nutty Cherry Fudge: Fold in 1/3 cup of toasted, chopped almonds or pecans along with the cherry preserves. The crunch adds a lovely textural contrast to the creamy fudge. Toast the nuts in a dry skillet over medium heat for about 3 minutes, until they’re fragrant, then let them cool completely before adding them. This version reminds me of those cherry and almond cookies from Italian bakeries.
Vegan Version: Use dairy-free white chocolate chips (I like the ones from Enjoy Life or Pascha) and a fruit-sweetened cherry preserves. The texture will be slightly different, a bit softer and less firm, but the flavor is still wonderful. Chill for an extra 30 minutes to help it set properly.
Citrus Twist: Add 1 teaspoon of orange zest along with the vanilla bean paste. The bright citrus note cuts through the richness and makes the cherry flavor taste even fruitier. I tried this on a whim one afternoon and it was surprisingly good, like a chocolate orange but with cherries.
Feel free to mix and match these ideas. The bourbon version with pecans is a personal favorite of mine, especially around the holidays.
Serving & Storage Suggestions
This creamy cherry vanilla bean fudge is best served chilled or at cool room temperature. If you’re serving it at a party, take it out of the fridge about 10 minutes before you put it on the platter. This takes the chill off without making it too soft.
For presentation, I like to arrange the fudge squares on a simple white platter or a wooden board. A few fresh cherries scattered around the edges make it look extra inviting. If you’re giving it as a gift, stack the squares in a small box lined with parchment paper or wax paper. Tie it with a ribbon and add a little tag with the ingredients, it’s always appreciated.
This fudge pairs beautifully with a cup of hot coffee or a glass of cold milk. For a more adult pairing, try it with a late-harvest Riesling or a tawny port. The sweetness of the wine complements the creamy vanilla and tart cherry flavors perfectly.
Storage: Keep the fudge in an airtight container in the refrigerator for up to 2 weeks. Layer the pieces between sheets of parchment paper so they don’t stick together. If you live in a humid environment, the fudge can become sticky on the surface, so refrigeration is definitely your friend here.
Freezing: This fudge freezes beautifully. Place the cut pieces in a single layer on a baking sheet and freeze for 1 hour, then transfer them to a freezer-safe bag or container. They’ll keep for up to 3 months. Thaw in the refrigerator overnight before serving. I’ve done this multiple times when I wanted to have fudge on hand for unexpected guests.
One thing I’ve noticed, the flavor actually gets better after a day or two in the fridge. The cherry and vanilla flavors meld together and deepen, making each bite more complex. So don’t be disappointed if it tastes even better on day two.
Nutritional Information & Benefits
Here’s an approximate nutritional breakdown for one piece of fudge (based on cutting the 8×8-inch pan into 64 pieces):
| Nutrient | Amount Per Piece |
|---|---|
| Calories | 85 |
| Total Fat | 5g |
| Saturated Fat | 3g |
| Carbohydrates | 10g |
| Sugar | 9g |
| Protein | 1g |
While this is definitely a treat rather than a health food, there are a few bright spots. Cherries are rich in antioxidants and anti-inflammatory compounds, particularly anthocyanins, which give them their deep red color. White chocolate contains calcium and a small amount of protein from the milk solids. And vanilla bean has been shown to have calming properties in some studies.
This recipe is naturally gluten-free and can be made dairy-free and vegan with the substitutions mentioned above. It does contain dairy in its standard form, so keep that in mind if you’re serving someone with lactose intolerance.
I believe in enjoying treats like this in moderation. A single piece of fudge is enough to satisfy a sweet craving without going overboard. And honestly, knowing exactly what’s in it, just three simple ingredients, makes me feel a lot better about indulging than I do with a store-bought candy bar full of preservatives and artificial flavors.
Conclusion
This creamy cherry vanilla bean fudge is proof that you don’t need a long ingredient list or complicated techniques to make something truly special. With just three ingredients and about 10 minutes of hands-on time, you can create a dessert that looks like it came from a fancy confectionery shop. The creamy white chocolate base, the bursts of tart cherry, and those gorgeous vanilla bean specks come together in a way that feels both indulgent and effortless.
I love this recipe because it’s forgiving, adaptable, and always impresses. Whether you’re making it for a holiday gathering, a last-minute gift, or just because you want something sweet after dinner, it never disappoints. And the best part? You probably already have most of the ingredients in your kitchen.
If you try this fudge, I’d love to hear how it turns out. Leave a comment below and let me know if you made any variations or if it became a new favorite in your house. And if you’re looking for more easy dessert ideas, you might also enjoy this perfect pistachio bundt cake with cherry glaze or these crispy air fryer cherry pie taquitos for another cherry-packed treat. Happy cooking, and enjoy every creamy, cherry-filled bite.
Frequently Asked Questions
Can I use fresh cherries instead of cherry preserves?
I wouldn’t recommend it for this particular recipe. Fresh cherries contain a lot of moisture, which can make the fudge soft and prevent it from setting properly. Cherry preserves have been cooked down, so the moisture content is much lower and the flavor is more concentrated. If you really want to use fresh cherries, you’d need to cook them down with some sugar first to make a quick compote, then drain off the excess liquid before adding them to the fudge.
Why did my white chocolate seize up when I melted it?
White chocolate is sensitive to heat and moisture. If even a tiny drop of water gets into the bowl, or if you overheat it, the chocolate can seize and turn into a thick, grainy paste. Always make sure your bowl and spatula are completely dry. Melt in short intervals and stir often. If it does seize, try stirring in a teaspoon of coconut oil or vegetable oil to smooth it out.
How do I get clean, even cuts on my fudge?
The key is patience. Let the fudge chill for the full 1 hour and 30 minutes, or until it’s completely firm. Use a sharp knife and run it under hot water, then dry it off, before each cut. The warmth helps the knife glide through the fudge without sticking or dragging. Wipe the blade clean between cuts for the neatest edges.
Can I double this recipe?
Absolutely. To double the recipe, simply use twice the amount of each ingredient and a 9×13-inch pan instead of an 8×8-inch pan. The chill time will be about the same, maybe 15 minutes longer since there’s more volume. Just make sure your bowl is big enough to hold everything comfortably when melting the chocolate.
How long does this fudge stay fresh?
Stored in an airtight container in the refrigerator, this fudge will stay fresh for up to 2 weeks. You can also freeze it for up to 3 months. The texture is best within the first week, but it’s still delicious after that. If the surface gets a little sticky, just let it come to room temperature for a few minutes before serving.
Pin This Recipe!
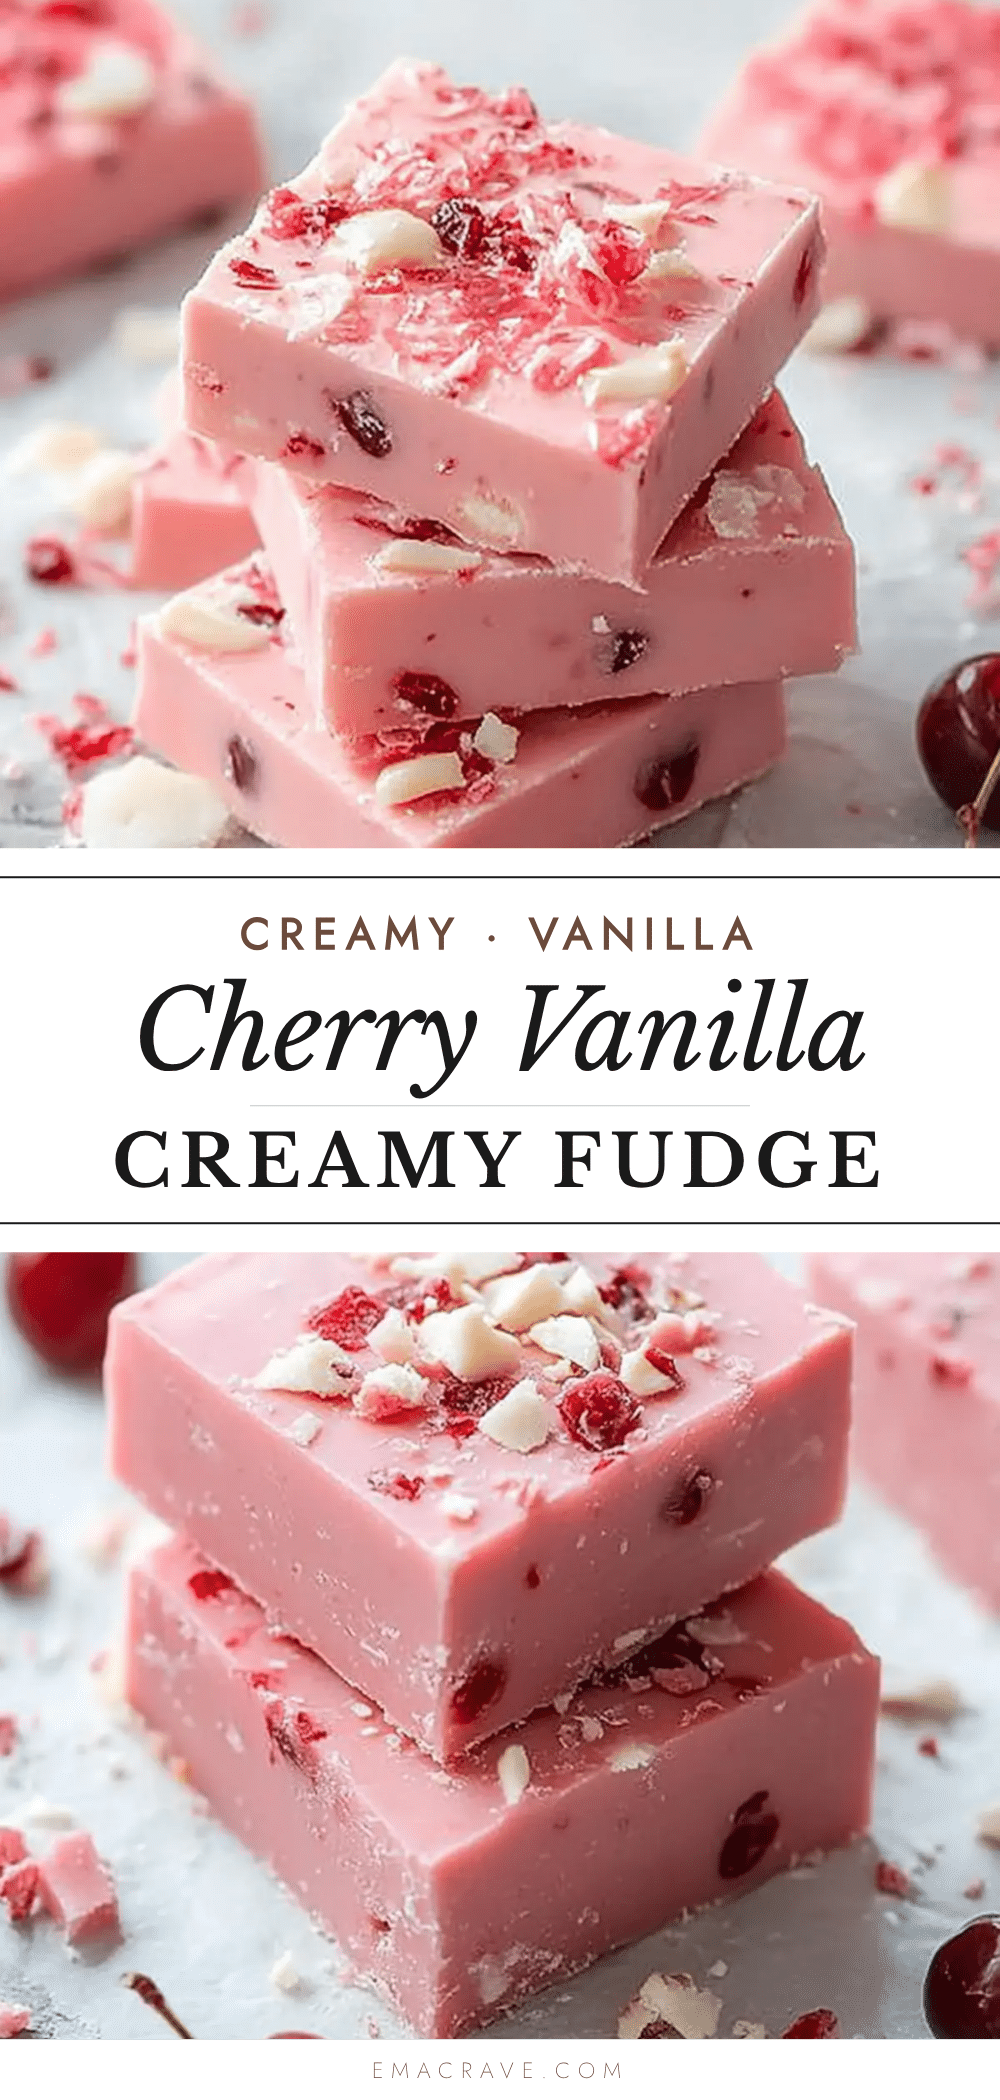
Creamy Cherry Vanilla Bean Fudge: Easy 3-Ingredient Recipe
This creamy cherry vanilla bean fudge is made with just three ingredients and no candy thermometer needed. It’s silky smooth, studded with tart cherry pockets, and perfect for gifting or a quick dessert.
- Prep Time: 10 minutes
- Cook Time: 0 minutes
- Total Time: 1 hour 40 minutes
- Yield: 64 pieces 1x
- Category: Dessert
- Cuisine: American
Ingredients
- 12 ounces good-quality white chocolate chips or chopped white chocolate
- 1/2 cup cherry preserves or cherry jam
- 1 tablespoon vanilla bean paste
- Pinch of sea salt (optional)
Instructions
- Line an 8×8-inch baking pan with parchment paper, leaving overhang on two sides.
- Place white chocolate in a medium microwave-safe bowl. Microwave in 30-second intervals, stirring after each, until smooth and glossy.
- Stir in vanilla bean paste until fully incorporated.
- Gently fold in cherry preserves, leaving streaks and pockets for a marbled effect.
- Pour mixture into prepared pan and spread evenly. Sprinkle with sea salt if desired.
- Refrigerate uncovered for at least 1 hour 30 minutes, or until firm.
- Lift fudge out using parchment handles, cut into 1-inch squares, and serve.
Notes
White chocolate is sensitive to heat and moisture; ensure all equipment is dry. Let cherry preserves sit at room temperature for 15 minutes before using. Do not over-swirl the preserves. For clean cuts, run knife under hot water and wipe dry between slices. Fudge can be frozen for up to 3 months.
Nutrition
- Serving Size: 1 piece
- Calories: 85
- Sugar: 9
- Sodium: 15
- Fat: 5
- Saturated Fat: 3
- Carbohydrates: 10
- Protein: 1
Keywords: cherry fudge, vanilla bean fudge, 3-ingredient fudge, easy fudge, white chocolate fudge, cherry vanilla fudge