Love this? Save it for later!
Share the inspiration with your friends
I was elbow-deep in flour, chasing a toddler who had grabbed the chocolate chips, when the idea hit me. My kitchen looked like a flour bomb had gone off, and I was supposed to be bringing dessert to a friend’s house in an hour. Rolling dough seemed like the last thing I had time for. But then I remembered my grandmother’s old trick—rolling cookie dough into logs for even baking and easy slicing. It was a total lightbulb moment, born from pure chaos.
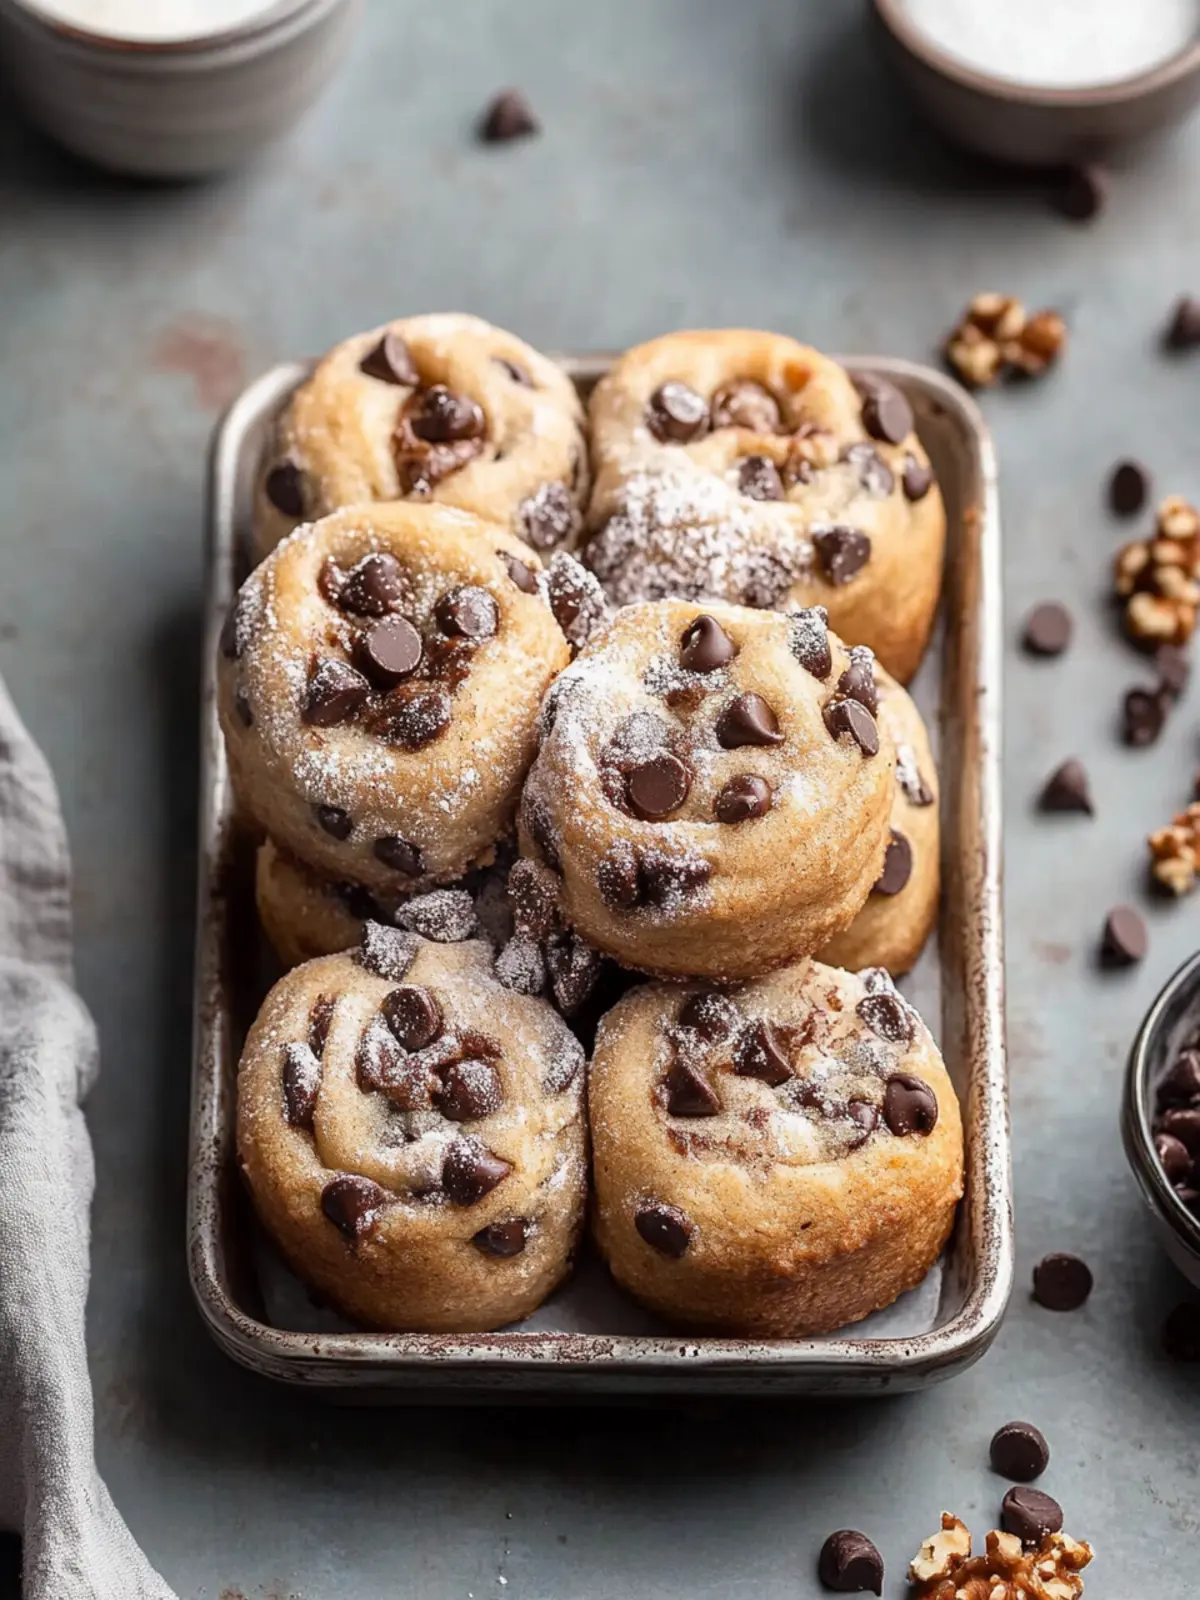
That night, I didn’t bring a plate of regular cookies. I brought a platter of golden, spiral-studded Homemade Chocolate Chip Cookie Rolls. They looked fancy, like I had spent all day fussing, but honestly? They were the easiest thing I had thrown together in weeks. Everyone asked for the recipe, and I just smiled, thinking about the flour on my jeans and the toddler who had “helped.”
These aren’t just cookies. They are a slice of real life—messy, sweet, and totally worth it. The texture is different from a regular drop cookie; the rolls bake up with a slightly denser, incredibly tender crumb that stays soft for days. It is the kind of recipe that makes you look like a baking genius without the stress. And honestly, isn’t that what we all need?
Why You’ll Love This Recipe
I have tested this recipe about six times now, tweaking the flour ratio and the chill time until it was just right. What I love most is how forgiving it is. You don’t need a stand mixer or any fancy gadgets. A bowl and a spatula work perfectly.
- Perfect for Slicing and Baking: Make the dough now, bake fresh cookies later. The logs keep in the fridge for up to a week, so you can have warm cookies in 12 minutes flat.
- No Chilling Required (Almost): Unlike some slice-and-bake recipes that need hours in the fridge, these rolls only need about 30 minutes to firm up. Perfect for impatient bakers like me.
- Crowd-Pleasing Presentation: Those beautiful spirals of chocolate chips look incredible on a cookie tray. They feel special without any extra effort.
- Simple Pantry Ingredients: Butter, sugar, eggs, flour, vanilla, and chocolate chips. That is it. No weird extracts or specialty flours needed.
- Unbelievably Soft Texture: The rolled shape creates a cookie that is chewy on the outside and pillowy soft in the center. It is next-level comfort food.
This recipe isn’t just good—it is the kind that makes you close your eyes after the first bite. It is a classic cookie reimagined, with the same soul-soothing satisfaction but a fun, new shape.
What Ingredients You Will Need
This recipe uses simple, wholesome ingredients to deliver that classic chocolate chip flavor with a soft, bakery-style texture. Most of these are probably in your kitchen right now.
For the Cookie Dough
- 1 cup (226g) unsalted butter, softened to room temperature. I use Land O’Lakes for consistent results. Don’t use margarine; the texture won’t be the same.
- ¾ cup (150g) granulated sugar. Adds sweetness and helps with spreading.
- ¾ cup (160g) packed light brown sugar. This is the secret to chewy cookies. The molasses in brown sugar keeps them soft.
- 2 large eggs, room temperature. Cold eggs can seize the butter, so let them sit out for 30 minutes.
- 2 teaspoons vanilla extract. Pure vanilla makes a difference, but imitation works in a pinch.
- 2 ¼ cups (280g) all-purpose flour. Spoon and level your flour—don’t scoop directly from the bag or you will end up with dry dough.
- 1 teaspoon baking soda. Helps the cookies rise just enough.
- ½ teaspoon salt. Balances the sweetness. I prefer fine sea salt.
- 2 cups (340g) semi-sweet chocolate chips. I love Ghirardelli for the deep chocolate flavor. You can also use milk chocolate or dark chocolate chips.
Ingredient Tips and Swaps
- Flour Swap: For a gluten-free version, use a 1:1 gluten-free baking flour blend (like Bob’s Red Mill). The texture will be slightly more crumbly but still delicious.
- Butter Note: If you only have salted butter, reduce the added salt to ¼ teaspoon.
- Mix-Ins: Feel free to swap ½ cup of chocolate chips for chopped walnuts, pecans, or even white chocolate chips. I once added dried cherries, and it was amazing.
Equipment Needed
You don’t need a professional bakery setup for this. Here is what you will need:
- Large mixing bowl and a medium mixing bowl. Glass or stainless steel works best.
- Electric hand mixer or a stand mixer with paddle attachment. A whisk and a strong arm work too, but the mixer makes creaming the butter and sugar much easier.
- Rubber spatula. Essential for scraping down the bowl and folding in the chocolate chips.
- Plastic wrap or parchment paper. For shaping and wrapping the dough logs.
- Sharp knife. A serrated bread knife works best for slicing the chilled dough cleanly without squishing it.
- Baking sheets lined with parchment paper or a silicone baking mat. This prevents sticking and ensures even browning.
- Cooling rack. Lets the cookies cool evenly so the bottoms don’t get soggy.
If you don’t have a stand mixer, don’t worry. I made this recipe for years with just a hand mixer and a bowl. It really is that forgiving.
Preparation Method
Let’s get rolling—literally. This method is straightforward, but the key is in how you shape the dough. Follow these steps, and you will have perfect cookie rolls every time.
Step 1: Cream the Butter and Sugars
In a large mixing bowl, beat the softened butter, granulated sugar, and brown sugar together on medium speed for about 2-3 minutes. You want the mixture to look light, fluffy, and pale in color. Scrape down the sides of the bowl with your rubber spatula halfway through. This step is crucial for a tender cookie; don’t rush it.
Step 2: Add the Eggs and Vanilla
Add the eggs one at a time, beating well after each addition until fully incorporated. Then, mix in the vanilla extract. The batter should look smooth and glossy. If it looks curdled, your butter might have been too soft or your eggs too cold. Don’t panic—it will usually come together once you add the flour.
Step 3: Combine the Dry Ingredients
In a separate medium bowl, whisk together the all-purpose flour, baking soda, and salt. This ensures the leavening agent is evenly distributed. Gradually add the dry ingredients to the wet mixture, mixing on low speed. Stop as soon as the flour disappears. Over-mixing at this stage will make your cookies tough. You want a soft, cohesive dough.
Step 4: Fold in the Chocolate Chips
Switch to your rubber spatula. Gently fold in the chocolate chips until they are evenly distributed throughout the dough. The dough will be thick and a bit sticky—that is perfect. If it feels too sticky to handle, you can chill it for 10 minutes before shaping.
Step 5: Shape the Dough into Logs
This is the fun part. Lightly flour your work surface. Divide the dough in half. Take one half and shape it into a rough log about 2 inches in diameter. Use your hands to roll it gently, applying even pressure. Don’t squeeze the dough too tight; you want it to hold its shape without being compacted. Wrap the log tightly in plastic wrap or parchment paper. Twist the ends to seal it. Repeat with the second half of the dough.
Step 6: Chill the Dough Logs
Place the wrapped logs on a flat surface in the refrigerator. Chill for at least 30 minutes, or up to 3 days. Chilling firms up the butter, which prevents the cookies from spreading too much in the oven. If you skip this step, your cookies will turn into flat puddles. Trust me, I learned that the hard way!
Step 7: Slice and Bake
Preheat your oven to 350°F (175°C). Line your baking sheets with parchment paper. Remove one dough log from the fridge. Using a sharp knife, slice the log into ½-inch thick rounds. If the dough cracks, just press it back together with your fingers. Place the rounds on the prepared baking sheet, leaving about 2 inches of space between each cookie. Bake for 10-12 minutes, or until the edges are lightly golden and the centers look just set. They will look slightly underdone—that is how you get soft cookies.
Step 8: Cool and Enjoy
Let the cookies cool on the baking sheet for 5 minutes. This allows them to finish setting up. Then, transfer them to a wire rack to cool completely. Or, you know, eat one warm and gooey right off the sheet. I won’t judge.
Cooking Tips & Techniques
Over the years, I have messed up this recipe more times than I care to admit. Here are the lessons I learned so you don’t have to repeat them.
- Don’t Over-Bake: The number one mistake is leaving cookies in the oven until they look fully done. They will continue to bake on the hot sheet after you pull them out. Take them out when the edges are golden and the centers are still pale and puffy.
- Use a Sharp Knife for Slicing: A dull knife will squish the dough log and ruin the round shape. A serrated knife works beautifully. If the dough is too hard straight from the fridge, let it sit at room temperature for 5 minutes to soften slightly.
- Chill the Dough Logs Thoroughly: I once tried to rush this step and ended up with cookie blobs instead of rounds. Thirty minutes is the minimum; an hour is better. The cold butter is your friend here.
- Even Slices for Even Baking: Try to cut the slices the same thickness. If some are thicker, they will take longer to bake, and the thinner ones will burn. Use a ruler if you are feeling extra precise.
- Room Temperature Ingredients Matter: Cold eggs can shock the butter and create a lumpy dough. Let your eggs and butter sit out for about 30 minutes before starting. It makes a real difference in the texture.
Variations & Adaptations
This recipe is a fantastic base for experimentation. Here are a few twists I have tried and loved.
Double Chocolate Chip Rolls
Replace ¼ cup of the all-purpose flour with ¼ cup of unsweetened cocoa powder. Add it with the other dry ingredients. The dough will be darker and richer, and the chocolate chips will pop against the dark background. It is a chocoholic’s dream.
Oatmeal Chocolate Chip Rolls
Reduce the all-purpose flour to 1 ¾ cups and add 1 cup of old-fashioned rolled oats. The oats add a wonderful chewy texture and a nutty flavor. This version is my go-to for breakfast cookies (no judgment here).
Nutty Crunch Rolls
Reduce the chocolate chips to 1 ½ cups and add ½ cup of toasted, chopped pecans or walnuts. Toast the nuts in a dry pan over medium heat for 3-4 minutes until fragrant. Let them cool completely before folding them into the dough. The crunch is incredible.
Gluten-Free Adaptation
Use a 1:1 gluten-free baking flour blend. I have had the best luck with blends that contain xanthan gum. The dough might be a bit more crumbly, so handle it gently when shaping the logs. The flavor is still spot on.
Serving & Storage Suggestions
These cookie rolls are incredibly versatile. Here is how to serve and store them for the best experience.
Serving Suggestions
Serve these cookies slightly warm for the ultimate gooey experience. They are perfect on their own, but a glass of cold milk is the classic pairing. For a dessert spread, arrange them on a platter with fresh berries and a scoop of vanilla ice cream. They also make fantastic lunchbox treats or after-school snacks. I have even crumbled them over a bowl of Decadent Chocolate Tres Leches Cake for an extra layer of texture—trust me, it works.
Storage Instructions
At Room Temperature: Store baked cookies in an airtight container at room temperature for up to 5 days. Place a slice of bread in the container to keep them extra soft. The bread will absorb excess air and the cookies will stay chewy.
In the Refrigerator: The unbaked dough logs can be stored in the refrigerator for up to 3 days. Just wrap them tightly in plastic wrap. When you are ready to bake, slice and bake as directed—no need to let the dough come to room temperature.
In the Freezer: This is my favorite trick. Wrap the dough logs tightly in plastic wrap, then place them in a freezer-safe bag. They will keep for up to 3 months. When you want fresh cookies, slice the frozen log with a sharp knife (it might be a bit hard, so use caution) and bake for 1-2 minutes longer than the recipe calls for. You can also freeze the baked cookies in a single layer in a freezer bag for up to 3 months.
Nutritional Information & Benefits
Let’s be real—these are cookies, not health food. But knowing what is in them helps you enjoy them mindfully. Here is an approximate nutritional breakdown per cookie (based on 24 cookies per batch).
| Nutrient | Amount Per Cookie |
|---|---|
| Calories | 195 |
| Fat | 10g |
| Saturated Fat | 6g |
| Carbohydrates | 26g |
| Sugar | 17g |
| Protein | 3g |
| Fiber | 1g |
While these are a treat, the butter provides a small amount of vitamin A, and the dark chocolate chips offer antioxidants. If you are looking for a lighter option, you can try baking them as smaller, thinner rounds, or pair them with a fruit salad to balance the indulgence. Everything in moderation, right?
Conclusion
These Homemade Chocolate Chip Cookie Rolls have become a staple in my kitchen for a reason. They are simple, forgiving, and absolutely delicious. The rolled shape makes them feel special without any complicated techniques, and the soft, chewy texture is exactly what a good cookie should be. Honestly, I love that I can make the dough on a busy Sunday, keep it in the fridge, and have fresh cookies ready in minutes when a craving hits or when friends drop by unexpectedly.
I really hope you give these a try. Don’t be afraid to customize them—swap in your favorite chocolate, add some nuts, or go double chocolate. Baking should be fun, not stressful. And if your first log isn’t perfectly round? That is okay. They will still taste amazing.
Have you tried these cookie rolls? Let me know in the comments below! I would love to hear about your variations or if you served them with something special. And if you enjoyed this recipe, please share it with a friend who needs a little baking joy in their life.
Frequently Asked Questions
Can I use margarine instead of butter?
I don’t recommend it. Margarine has a higher water content than butter, which can make the cookies spread too much and turn out flat. Butter gives the best flavor and texture for these rolls.
Why did my cookie dough log crack when I sliced it?
This usually happens if the dough is too cold. Let the log sit at room temperature for about 5-10 minutes before slicing. Also, using a sharp serrated knife helps cut through cleanly without cracking.
Can I make these cookies without an electric mixer?
Absolutely! You can cream the butter and sugar by hand using a wooden spoon and a lot of elbow grease. It will take a few extra minutes, but the result is the same. Just make sure your butter is very soft.
How do I keep the cookies soft for days?
Store them in an airtight container with a slice of bread. The bread releases moisture, which keeps the cookies from drying out. Replace the bread slice every couple of days if you are storing them for longer.
Can I add other mix-ins besides chocolate chips?
Yes! You can add up to 2 cups of total mix-ins. Try white chocolate chips and dried cranberries, chopped toffee bits, or even mini M&Ms. Just fold them in gently during the last step.
Pin This Recipe!
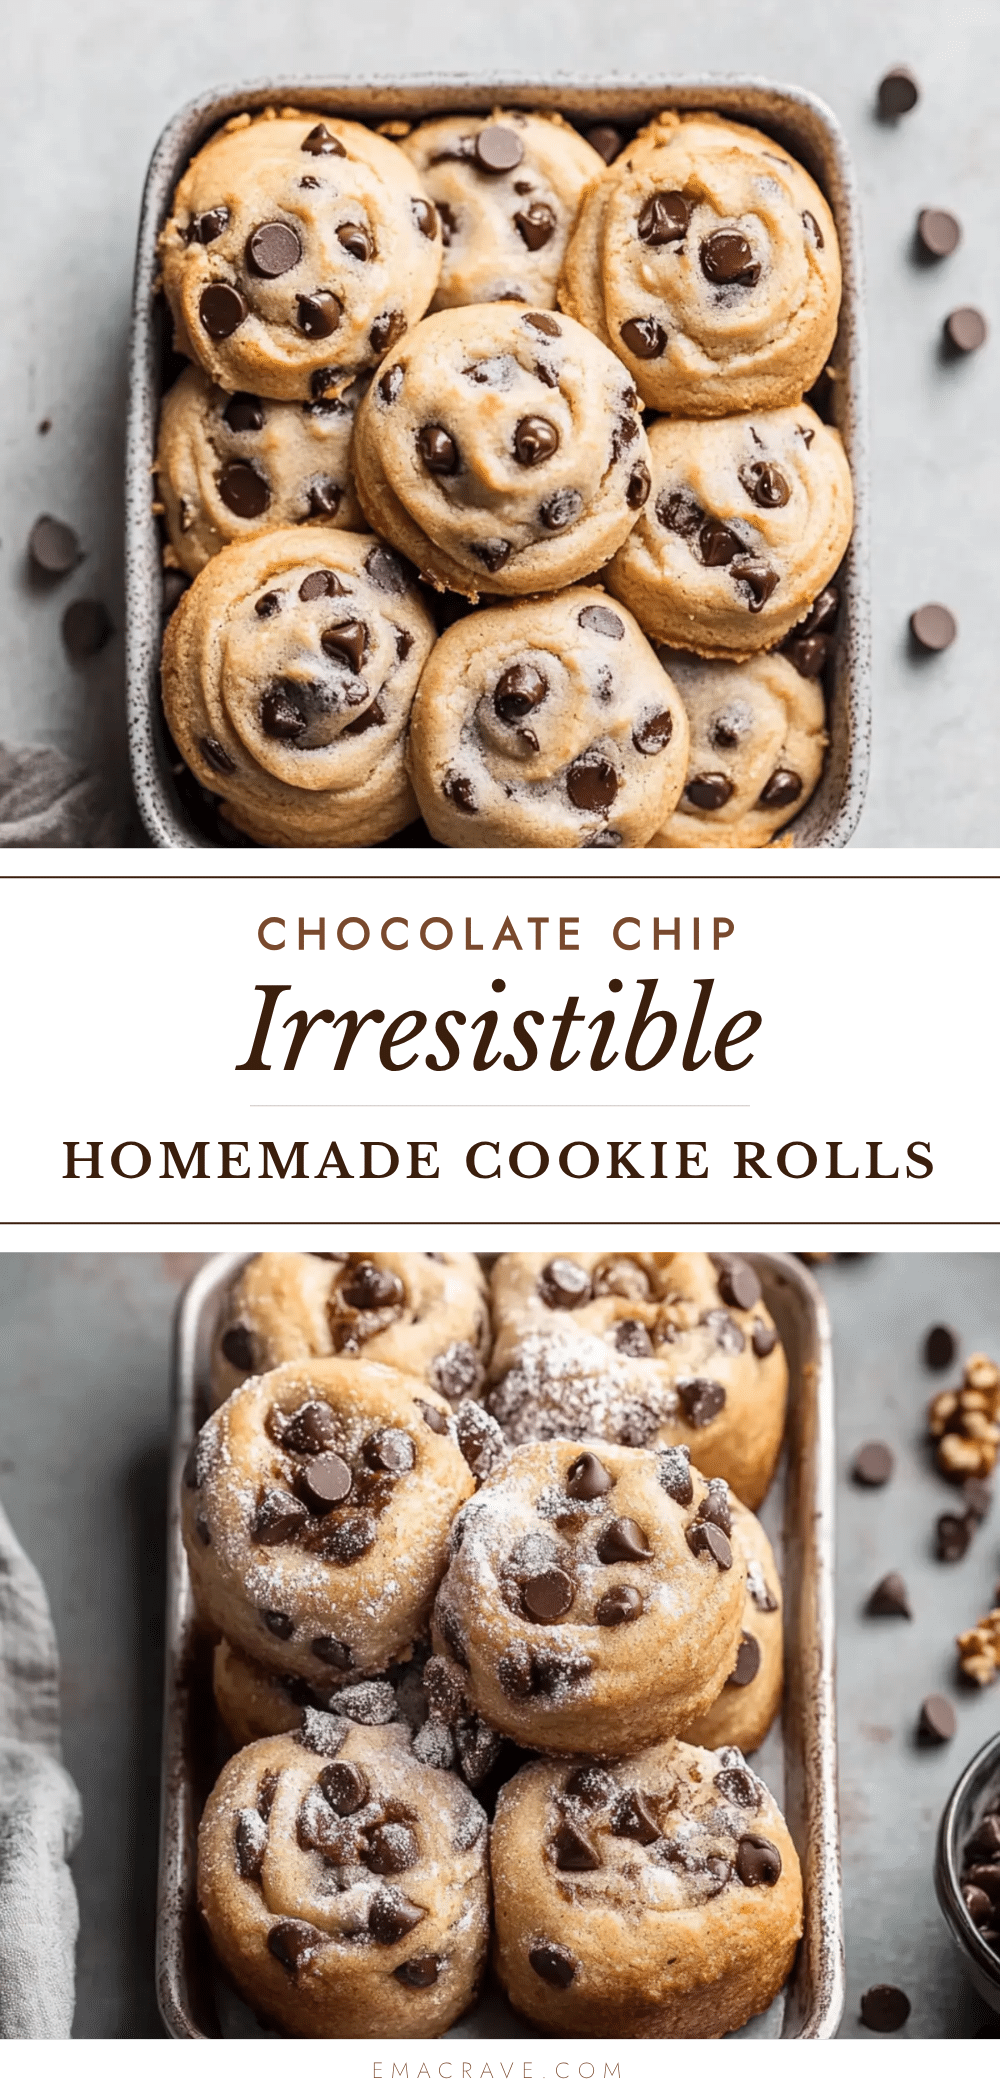
Best Homemade Chocolate Chip Cookie Rolls Recipe

These Homemade Chocolate Chip Cookie Rolls are soft, chewy, and baked in a beautiful spiral shape. They are easy to make with simple pantry ingredients and perfect for slicing and baking fresh cookies anytime.
- Prep Time: 15 minutes
- Cook Time: 12 minutes
- Total Time: 57 minutes
- Yield: 24 servings 1x
- Category: Dessert
- Cuisine: American
Ingredients
- 1 cup (226g) unsalted butter, softened to room temperature
- ¾ cup (150g) granulated sugar
- ¾ cup (160g) packed light brown sugar
- 2 large eggs, room temperature
- 2 teaspoons vanilla extract
- 2 ¼ cups (280g) all-purpose flour
- 1 teaspoon baking soda
- ½ teaspoon salt
- 2 cups (340g) semi-sweet chocolate chips
Instructions
- In a large mixing bowl, beat the softened butter, granulated sugar, and brown sugar together on medium speed for about 2-3 minutes until light, fluffy, and pale in color. Scrape down the sides of the bowl halfway through.
- Add the eggs one at a time, beating well after each addition until fully incorporated. Mix in the vanilla extract until smooth and glossy.
- In a separate medium bowl, whisk together the all-purpose flour, baking soda, and salt. Gradually add the dry ingredients to the wet mixture, mixing on low speed until just combined. Do not over-mix.
- Switch to a rubber spatula and gently fold in the chocolate chips until evenly distributed. The dough will be thick and slightly sticky.
- Lightly flour your work surface. Divide the dough in half. Shape each half into a rough log about 2 inches in diameter, rolling gently with even pressure. Wrap each log tightly in plastic wrap or parchment paper, twisting the ends to seal.
- Place the wrapped logs on a flat surface in the refrigerator. Chill for at least 30 minutes, or up to 3 days.
- Preheat oven to 350°F (175°C). Line baking sheets with parchment paper. Remove one dough log from the fridge and slice into ½-inch thick rounds using a sharp knife. Place rounds on prepared baking sheet, leaving about 2 inches of space between each cookie.
- Bake for 10-12 minutes, until edges are lightly golden and centers look just set. Let cookies cool on the baking sheet for 5 minutes, then transfer to a wire rack to cool completely.
Notes
For best results, use room temperature ingredients. Do not over-bake; cookies will continue to set on the hot baking sheet. If dough is too cold to slice, let it sit at room temperature for 5-10 minutes. Store baked cookies in an airtight container with a slice of bread to keep them soft for up to 5 days. Unbaked dough logs can be refrigerated for up to 3 days or frozen for up to 3 months.
Nutrition
- Serving Size: 1 cookie
- Calories: 195
- Sugar: 17
- Sodium: 105
- Fat: 10
- Saturated Fat: 6
- Carbohydrates: 26
- Fiber: 1
- Protein: 3
Keywords: chocolate chip cookie rolls, slice and bake cookies, homemade cookies, soft chocolate chip cookies, easy cookie recipe