Love this? Save it for later!
Share the inspiration with your friends
The kitchen was a disaster. Flour dusted the counter like snow, three different measuring cups sat in the sink, and I had just realized—ten minutes before my in-laws were supposed to arrive—that I had absolutely no heavy cream for the frosting I’d planned. I stood there, staring at a perfectly baked chocolate cake that felt incomplete. My husband poked his head in and asked if maybe we could just serve it with ice cream. But I wanted more than that. I wanted something that felt special.
That’s when I spotted the can of evaporated milk in the pantry, the sweetened condensed milk I’d bought for coffee, and the whole milk sitting in the fridge. A memory clicked—tres leches. Why not? I’d never made a chocolate version before, but I figured the same principle would work. I poked holes all over that cake, poured the three-milk mixture over it, and let it soak in while I nervously set the table. When my mother-in-law took her first bite, she actually closed her eyes. “What did you do to this cake?” she asked. I told her the truth—I forgot the frosting. She laughed and asked for the recipe before she even finished her slice. That night, a happy accident turned into my most-requested dessert.
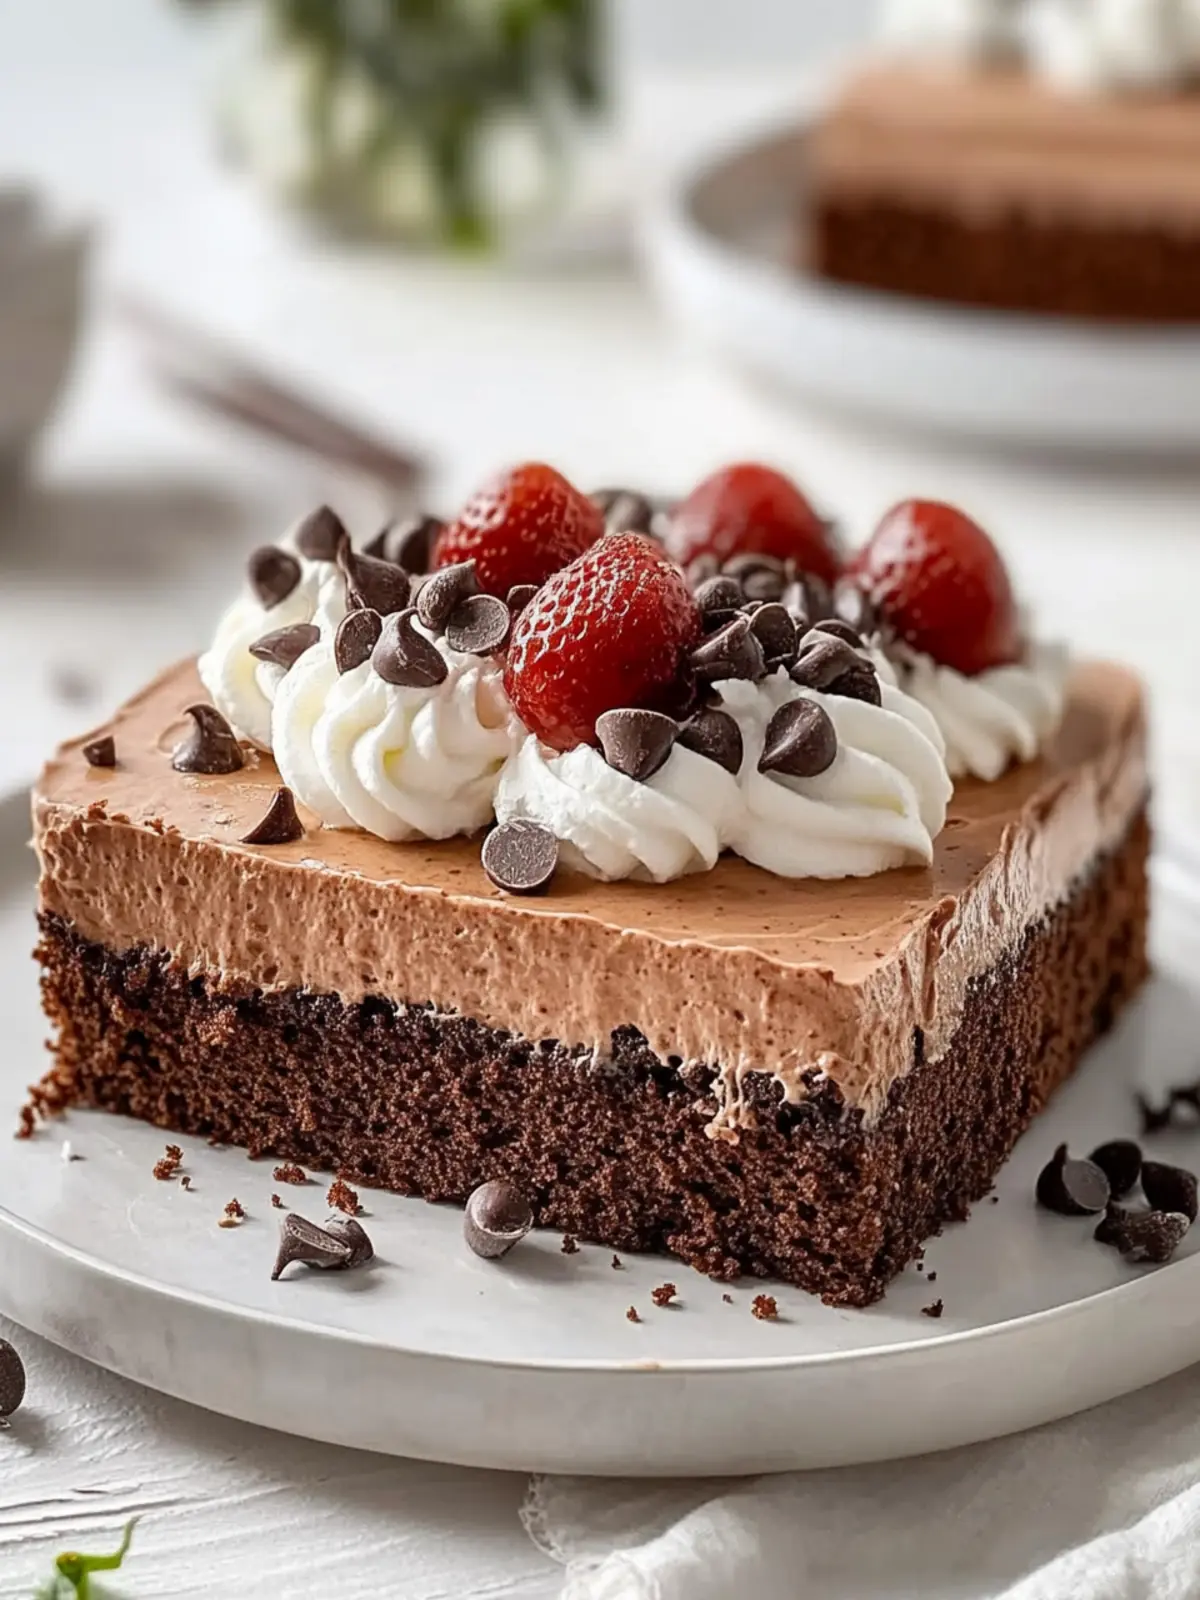
This decadent chocolate tres leches cake is everything you want in a dessert—rich, moist, and surprisingly simple to make. It’s the kind of cake that looks like you spent hours on it, but honestly, it comes together with pantry staples and a little patience. Let me show you how to make it.
Why You’ll Love This Chocolate Tres Leches Cake
I’ve made this cake for birthdays, dinner parties, and random Tuesday nights when I needed a chocolate fix. Every single time, someone asks for the recipe. Here is why it works so well:
- Incredibly Moist: The three-milk soak turns an ordinary chocolate cake into something that practically melts in your mouth. Every bite is soft, tender, and full of flavor.
- No Fancy Techniques: You don’t need a stand mixer or any special equipment. A whisk and a bowl will do the job just fine. I’ve made this by hand more times than I can count.
- Make-Ahead Friendly: This cake actually gets better after a night in the fridge. The flavors meld together, and the texture becomes even more luscious. It’s perfect for entertaining.
- Crowd-Pleasing Flavor: The chocolate is rich but not overwhelming, and the milk soak keeps it from being too dense. Kids love it, adults devour it, and even people who say they’re “not cake people” go back for seconds.
- Simple Ingredients: You probably have most of these items in your kitchen right now. No weird extracts or hard-to-find components.
What makes this version different from other tres leches cakes is the chocolate. Most recipes stick with vanilla, but the deep cocoa flavor pairs beautifully with the creamy milk soak. It’s like a chocolate pudding cake had a baby with a classic tres leches, and honestly, it’s the best of both worlds. The first time I served this at a potluck, a friend texted me the next day saying she dreamt about it. That’s the kind of impact we’re talking about here.
What Ingredients You Will Need
This recipe uses simple, everyday ingredients to create something truly special. The magic is in how they come together, not in fancy components. Here is everything you need:
For the Cake
- 1 ½ cups all-purpose flour (measured correctly—spoon and level, don’t scoop)
- ½ cup unsweetened cocoa powder (I prefer Dutch-process for a deeper flavor, but regular works fine)
- 1 ½ teaspoons baking powder
- ½ teaspoon salt
- ½ cup unsalted butter, softened (room temperature is important here)
- 1 cup granulated sugar
- 3 large eggs, room temperature
- 1 teaspoon vanilla extract
- 1 cup whole milk, room temperature
For the Three-Milk Soak
- 1 can (12 oz) evaporated milk
- 1 can (14 oz) sweetened condensed milk
- ½ cup whole milk (you can use half-and-half for an even richer soak)
- 1 teaspoon vanilla extract
For the Topping
- 2 cups heavy whipping cream, cold
- 3 tablespoons powdered sugar
- 1 teaspoon vanilla extract
- Cocoa powder or chocolate shavings for garnish (optional, but pretty)
A few notes on ingredients. I use Hershey’s Special Dark cocoa powder when I want a really intense chocolate flavor, but regular unsweetened cocoa works beautifully too. For the milk soak, don’t skip the whole milk—it balances the richness of the condensed and evaporated milk perfectly. If you only have 2% milk, it will still work, but whole milk gives you that silky texture you want.
For the whipped cream topping, make sure your heavy cream is very cold. I pop my bowl and beaters in the freezer for about 10 minutes before I start whipping—it makes a noticeable difference in how quickly the cream whips up and how stable it stays.
Equipment Needed
You don’t need a lot of fancy tools for this cake. Here is what I use:
- 9×13-inch baking pan (glass or metal both work; I use a glass Pyrex dish)
- Mixing bowls (one large, one medium)
- Whisk (or an electric mixer if you prefer)
- Measuring cups and spoons
- Wooden skewer or fork (for poking holes in the cake)
- Electric mixer or hand whisk (for the whipped cream—hand whisk works but your arm will get a workout)
- Rubber spatula
- Plastic wrap or aluminum foil
If you don’t have an electric mixer, you can absolutely make the cake batter by hand. I’ve done it many times when my mixer was buried in the back of a cabinet. The whipped cream is harder to do by hand, but it’s possible—just be prepared for a few minutes of vigorous whisking. A stand mixer makes the whipped cream in about 2 minutes, but a hand mixer works just as well.
Preparation Method
Let me walk you through this step by step. Trust me, it’s easier than it sounds.
- Preheat your oven to 350°F (175°C). Grease your 9×13-inch baking pan with butter or non-stick spray. I like to line the bottom with a piece of parchment paper too—it makes lifting the cake out easier if you want to serve it on a platter.
- Whisk the dry ingredients together. In a medium bowl, combine the flour, cocoa powder, baking powder, and salt. Whisk them together until everything is evenly distributed. This takes about 30 seconds. Set it aside.
- Cream the butter and sugar. In a large bowl, beat the softened butter and granulated sugar together until light and fluffy. This should take about 3-4 minutes with an electric mixer, or about 5 minutes by hand. You want the mixture to look pale and almost doubled in volume. Scrape down the sides of the bowl halfway through.
- Add the eggs one at a time. Crack each egg into the butter mixture and beat well after each addition. The mixture might look slightly separated after the second egg—that’s totally normal. Add the vanilla extract with the last egg.
- Alternate adding the dry ingredients and milk. With the mixer on low speed (or using a gentle hand if whisking), add about one-third of the flour mixture. Mix until just combined. Then add half of the milk. Mix again. Repeat with another third of flour, the remaining milk, and finally the last of the flour. Stop mixing as soon as the batter comes together—overmixing will make the cake tough.
- Pour the batter into the prepared pan. Use your rubber spatula to spread it evenly. The batter will be fairly thick, so take your time smoothing it into the corners. Give the pan a gentle tap on the counter to release any air bubbles.
- Bake for 25-30 minutes. The cake is done when a toothpick inserted into the center comes out clean or with just a few moist crumbs. The edges will start pulling away from the pan slightly. Every oven runs differently, so start checking at 25 minutes. My oven takes exactly 28 minutes.
- Let the cake cool completely. This is crucial. Place the pan on a wire rack and let it cool for at least 1 hour. If you pour the milk mixture over a warm cake, it will absorb unevenly and turn into a soggy mess. Patience here pays off big time.
- Poke holes all over the cake. Once the cake is completely cool, use a wooden skewer or the tines of a fork to poke holes every inch or so across the entire surface. Don’t be shy—you want the milk to penetrate deep into the cake. I usually poke about 40-50 holes total.
- Prepare the three-milk soak. In a large measuring cup or bowl, whisk together the evaporated milk, sweetened condensed milk, whole milk, and vanilla extract. Whisk until everything is smooth and fully combined.
- Pour the milk mixture over the cake. Do this slowly, starting at the edges and working your way to the center. Pour a little, let it soak in, then pour a little more. The cake will look like it’s drowning—that’s exactly what you want. Use all of the milk mixture.
- Cover and refrigerate. Cover the pan tightly with plastic wrap or aluminum foil and refrigerate for at least 4 hours, but overnight is best. The longer it sits, the more the cake absorbs the milk and develops that incredible tres leches texture.
- Make the whipped cream topping. Just before serving, pour the cold heavy cream into a chilled bowl. Add the powdered sugar and vanilla extract. Beat on medium-high speed until soft peaks form—you want the cream to be billowy and hold its shape, but not stiff. This takes about 2-3 minutes with an electric mixer.
- Spread the whipped cream over the cake. Use a spatula to spread it evenly. Don’t press too hard or you’ll push the cream into the cake. You want a nice, thick layer on top. Dust with cocoa powder or sprinkle chocolate shavings over the top if you’re feeling fancy.
- Serve cold. Cut into squares and serve straight from the fridge. The cake should be cold, creamy, and incredibly moist.
Cooking Tips & Techniques
I’ve made this cake more times than I can count, and I’ve learned a few things along the way. Here are the tips that make a real difference.
Room temperature ingredients matter. I know it’s tempting to use cold eggs straight from the fridge, but room temperature ingredients emulsify better and create a more tender crumb. Take your eggs and milk out about 30 minutes before you start baking. If you’re short on time, place the eggs in a bowl of warm water for 5 minutes.
Don’t overmix the batter. This is the number one mistake I see people make. Once you add the flour, mix only until it disappears. Overmixing develops the gluten and makes the cake dense and tough. A few lumps in the batter are perfectly fine—they’ll bake out.
Let the cake cool completely. I cannot stress this enough. I once rushed this step and poured the milk over a slightly warm cake. The result was a cake that was soggy on top and dry in the middle. Not good. Give it the full hour to cool on the counter.
Poke holes generously. More holes mean better milk absorption. I use a wooden skewer and poke all the way to the bottom of the cake. You want the milk to reach every layer.
Chill overnight for best results. Four hours is the minimum, but 8-12 hours is where the magic happens. The cake needs time to fully absorb the milk mixture and develop that signature tres leches texture. I always make this cake the day before I plan to serve it.
Variations & Adaptations
One of the best things about this recipe is how adaptable it is. Here are some variations I’ve tried and loved:
Spiced Chocolate Version: Add 1 teaspoon of cinnamon and ¼ teaspoon of cayenne pepper to the dry ingredients. The warmth of the spices pairs beautifully with the chocolate and the creamy milk soak. I made this for a fall dinner party and it was a huge hit.
Coffee-Infused Tres Leches: Replace the whole milk in the soak with strong brewed coffee (cooled). The coffee enhances the chocolate flavor without making the cake taste like coffee. It’s subtle but delicious. If you want a stronger coffee flavor, add 1 teaspoon of instant espresso powder to the dry ingredients.
Gluten-Free Option: Substitute the all-purpose flour with a good quality 1:1 gluten-free flour blend. I’ve used Bob’s Red Mill and King Arthur Measure for Measure with great results. No other changes needed—the milk soak keeps the cake incredibly moist, so you won’t miss the gluten at all.
Dairy-Free Adaptation: Use vegan butter, oat milk in the cake batter, and canned coconut milk for the soak (use full-fat for richness). For the topping, coconut cream whipped with powdered sugar works beautifully. The texture will be slightly different, but still delicious.
Individual Servings: Bake the batter in a muffin tin (greased well) for about 15-18 minutes. Poke holes, pour the milk mixture over each cupcake, and let them soak overnight. Top with whipped cream and serve in little cups. These are perfect for parties or portion control.
Serving & Storage Suggestions
This cake is best served cold, straight from the refrigerator. The texture is at its peak when it’s thoroughly chilled—the milk soak firms up slightly, and the whipped cream stays light and airy. Cut the cake into 12-15 squares, depending on how generous you want to be.
For presentation, I like to dust the top with a light sprinkle of cocoa powder just before serving. Chocolate shavings or fresh berries (raspberries are amazing with chocolate) make it look even more special. If you’re serving this at a party, consider placing the cake on a platter with a few candles—it makes a surprisingly good birthday cake.
Storage: Cover the pan tightly with plastic wrap or aluminum foil and keep it in the refrigerator. The cake will stay fresh for up to 5 days. In fact, I think it tastes even better on day two or three, once the flavors have really melded together. The whipped cream might soften slightly over time, but that’s part of the charm.
Freezing: You can freeze this cake, but I recommend doing it before adding the whipped cream topping. Wrap the soaked cake (without topping) tightly in plastic wrap, then in foil, and freeze for up to 3 months. When you’re ready to serve, thaw it in the refrigerator overnight, then make fresh whipped cream and spread it on top. The texture holds up beautifully.
Reheating: Don’t. This is a cold dessert. If you want a warm chocolate cake, try something else. The whole point of tres leches is the cold, creamy, pudding-like texture.
If you love rich, decadent desserts as much as I do, you might also enjoy this decadent pumpkin chocolate cheesecake for another show-stopping treat. And for something a little lighter but still chocolatey, these fudgy cassava flour brownies are a fantastic option.
Nutritional Information & Benefits
Let’s be real—this is a decadent dessert, not a health food. But here’s the estimated nutritional information per serving (based on 12 servings):
- Calories: Approximately 410
- Fat: 22g
- Carbohydrates: 50g
- Protein: 8g
- Sugar: 38g
- Fiber: 2g
On the bright side, cocoa powder is rich in antioxidants and flavonoids, which are good for heart health. The eggs provide high-quality protein, and the milk soak adds calcium and vitamin D. But honestly, this is a treat—something to enjoy in moderation and savor every bite of.
If you’re watching your sugar intake, you can reduce the sugar in the cake by about ¼ cup without affecting the texture too much. The sweetened condensed milk in the soak provides plenty of sweetness, so the cake itself doesn’t need to be overly sweet.
For a dairy-free option, check out this creamy vegan liquid mozzarella recipe—it uses some of the same substitution principles that work for this cake.
Conclusion
This decadent chocolate tres leches cake started as a happy accident, but it’s become a staple in my kitchen. It’s the dessert I bring to potlucks, the one I make for birthdays, and honestly, the one I crave on random Tuesday nights when I need something chocolatey and comforting.
What I love most about this recipe is how forgiving it is. You don’t need to be a skilled baker to pull it off. The milk soak covers a multitude of sins—a slightly overbaked cake, a lumpy batter, uneven layers. It all works out in the end. And when you take that first cold, creamy, chocolatey bite, you’ll forget all about the messy kitchen and the forgotten frosting.
I’d love to hear how yours turns out. Did you try one of the variations? Add your own twist? Drop a comment below and let me know. And if you share a photo on social media, tag me—I always love seeing your creations. Happy baking, friend.
Frequently Asked Questions
Can I make this cake ahead of time?
Absolutely. In fact, I recommend it. Make the cake, pour the milk soak over it, cover it, and refrigerate for up to 24 hours before adding the whipped cream. Add the topping just before serving for the best presentation.
Why is my tres leches cake soggy?
This usually happens if you pour the milk mixture over a warm cake, or if you poke too few holes. Make sure the cake is completely cool and poke holes generously. Also, don’t skip the chilling time—the cake needs time to absorb the milk evenly.
Can I use a different type of milk for the soak?
You can experiment, but the classic combination of evaporated milk, sweetened condensed milk, and whole milk gives the best texture. Using all whole milk will result in a less rich cake. Coconut milk works for a dairy-free version, but the flavor will change.
How do I know when the cake is done baking?
Insert a toothpick into the center of the cake. If it comes out clean or with just a few moist crumbs, it’s done. The edges should also be pulling away from the pan slightly. Start checking at 25 minutes.
Can I skip the whipped cream topping?
You can, but I wouldn’t recommend it. The whipped cream adds a light, airy contrast to the dense, moist cake. Without it, the cake can feel a bit heavy. If you’re short on time, a dusting of powdered sugar or a drizzle of chocolate sauce works in a pinch.
If you’re looking for another crowd-pleasing dessert that’s just as easy, try these gooey s’mores crescent rolls—they come together in 15 minutes and disappear just as fast.
Pin This Recipe!
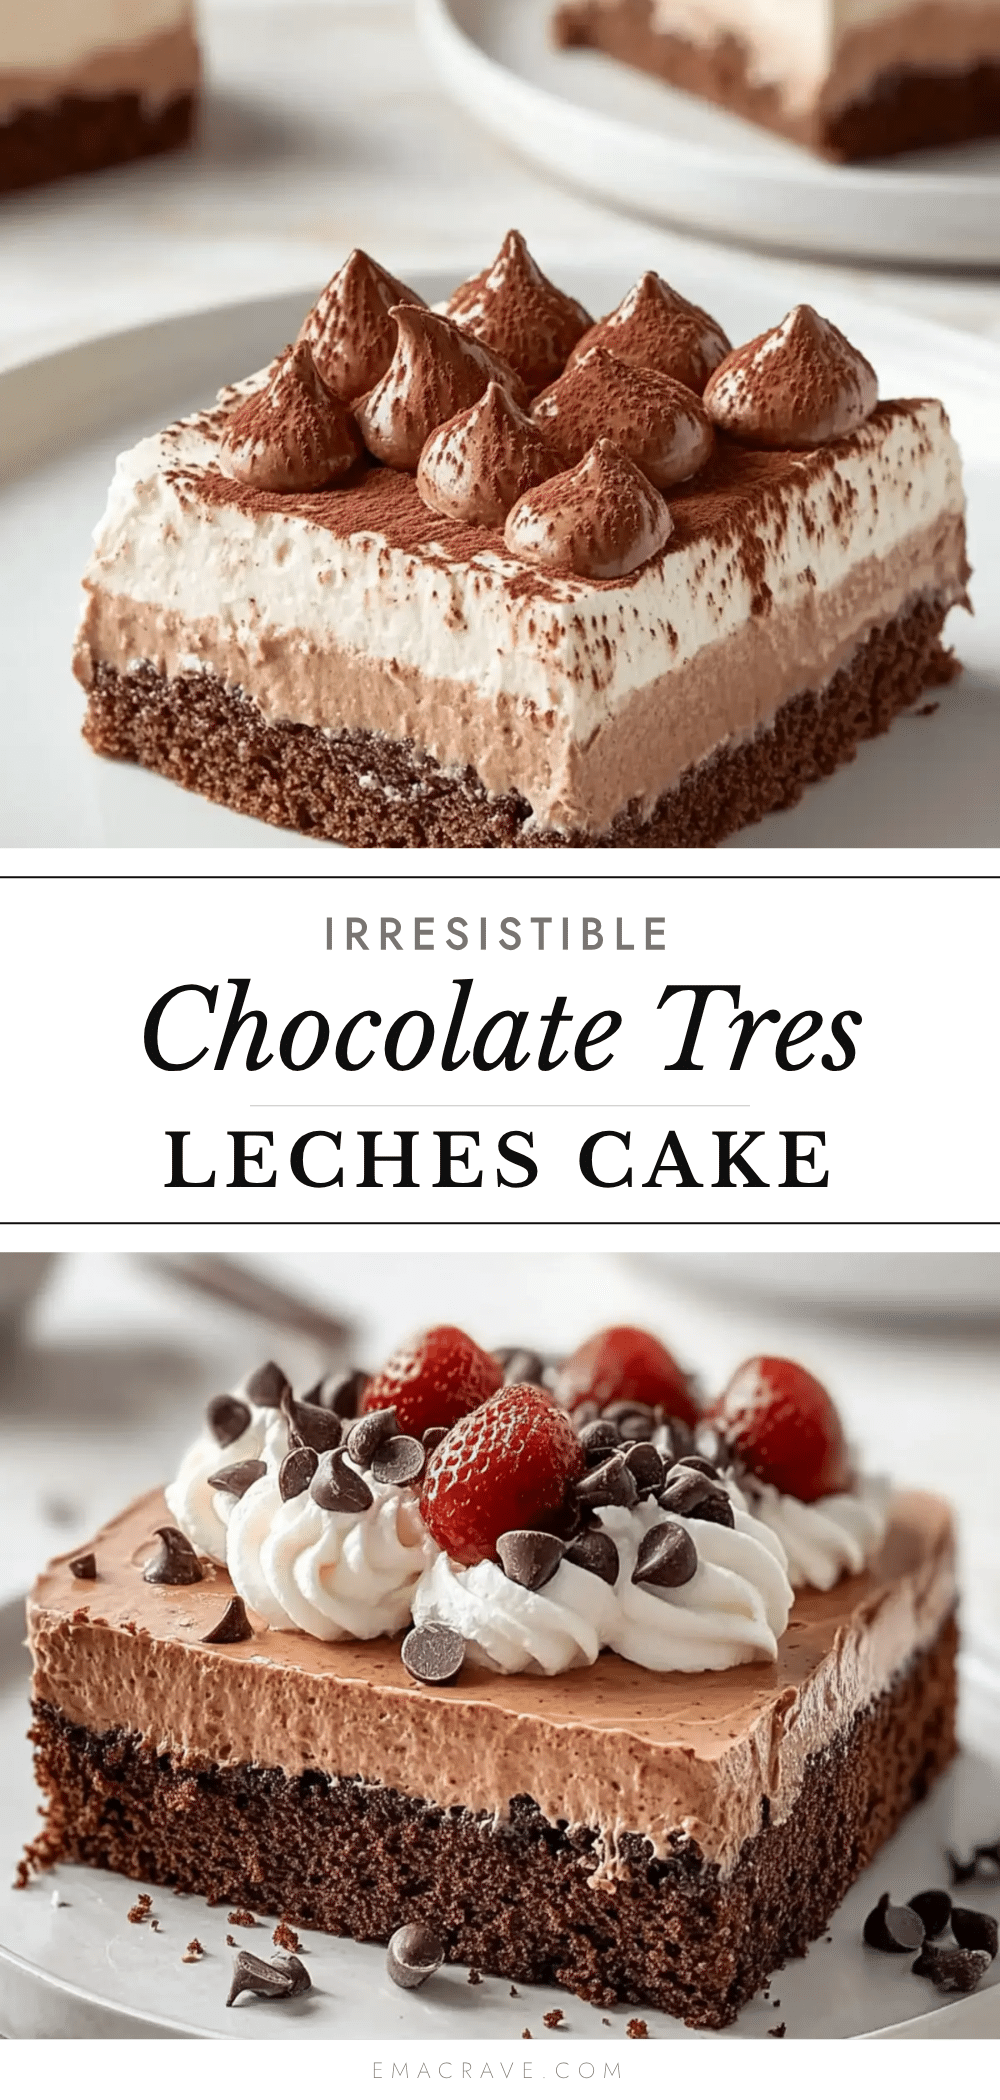
Decadent Chocolate Tres Leches Cake
A rich, moist chocolate tres leches cake soaked in a three-milk mixture and topped with whipped cream. This easy, make-ahead dessert is perfect for any occasion.
- Prep Time: 20 minutes
- Cook Time: 30 minutes
- Total Time: 4 hours 50 minutes (includes chilling)
- Yield: 12 servings 1x
- Category: Dessert
- Cuisine: Mexican
Ingredients
- 1 ½ cups all-purpose flour
- ½ cup unsweetened cocoa powder
- 1 ½ teaspoons baking powder
- ½ teaspoon salt
- ½ cup unsalted butter, softened
- 1 cup granulated sugar
- 3 large eggs, room temperature
- 1 teaspoon vanilla extract
- 1 cup whole milk, room temperature
- 1 can (12 oz) evaporated milk
- 1 can (14 oz) sweetened condensed milk
- ½ cup whole milk
- 1 teaspoon vanilla extract
- 2 cups heavy whipping cream, cold
- 3 tablespoons powdered sugar
- 1 teaspoon vanilla extract
- Cocoa powder or chocolate shavings for garnish (optional)
Instructions
- Preheat your oven to 350°F (175°C). Grease a 9×13-inch baking pan with butter or non-stick spray. Optionally, line the bottom with parchment paper.
- In a medium bowl, whisk together the flour, cocoa powder, baking powder, and salt.
- In a large bowl, beat the softened butter and granulated sugar together until light and fluffy, about 3-4 minutes with an electric mixer.
- Add the eggs one at a time, beating well after each addition. Add the vanilla extract with the last egg.
- With the mixer on low speed, alternately add the dry ingredients and the milk, starting and ending with the dry ingredients. Mix until just combined.
- Pour the batter into the prepared pan and spread evenly. Tap the pan gently on the counter to release air bubbles.
- Bake for 25-30 minutes, or until a toothpick inserted into the center comes out clean or with a few moist crumbs. Let the cake cool completely on a wire rack (at least 1 hour).
- Once cool, poke holes all over the cake using a wooden skewer or fork, about every inch.
- In a large measuring cup or bowl, whisk together the evaporated milk, sweetened condensed milk, whole milk, and vanilla extract.
- Slowly pour the milk mixture over the cake, starting at the edges and working toward the center. Let it soak in between pours.
- Cover the pan tightly with plastic wrap or aluminum foil and refrigerate for at least 4 hours, preferably overnight.
- Just before serving, in a chilled bowl, beat the cold heavy cream, powdered sugar, and vanilla extract on medium-high speed until soft peaks form.
- Spread the whipped cream evenly over the cake. Dust with cocoa powder or sprinkle chocolate shavings if desired.
- Serve cold, cut into squares.
Notes
Room temperature ingredients are important for a tender crumb. Don’t overmix the batter. Let the cake cool completely before adding the milk soak. Chill overnight for best results. The cake can be made ahead and stored in the refrigerator for up to 5 days. Freeze without topping for up to 3 months.
Nutrition
- Serving Size: 1 square
- Calories: 410
- Sugar: 38
- Sodium: 280
- Fat: 22
- Saturated Fat: 13
- Carbohydrates: 50
- Fiber: 2
- Protein: 8
Keywords: chocolate tres leches cake, tres leches cake, chocolate cake, Mexican dessert, easy cake recipe