Love this? Save it for later!
Share the inspiration with your friends
I was standing in my kitchen at 11 p.m. on a Tuesday, staring at a block of cream cheese that needed using up. My friend had texted me earlier that day—she was hosting a last-minute dinner party the next weekend and was panicking about dessert. “Just bring something store-bought,” she’d said. But honestly, I couldn’t do that to her. Not when I had this ridiculous idea bouncing around my head for weeks. A cherry cheesecake that looked like it belonged on a magazine cover but didn’t require a pastry degree to pull off. That’s how the Creamy Dream Cherry Cheesecake was born—out of a late-night fridge raid and a stubborn refusal to settle for anything less than impressive.
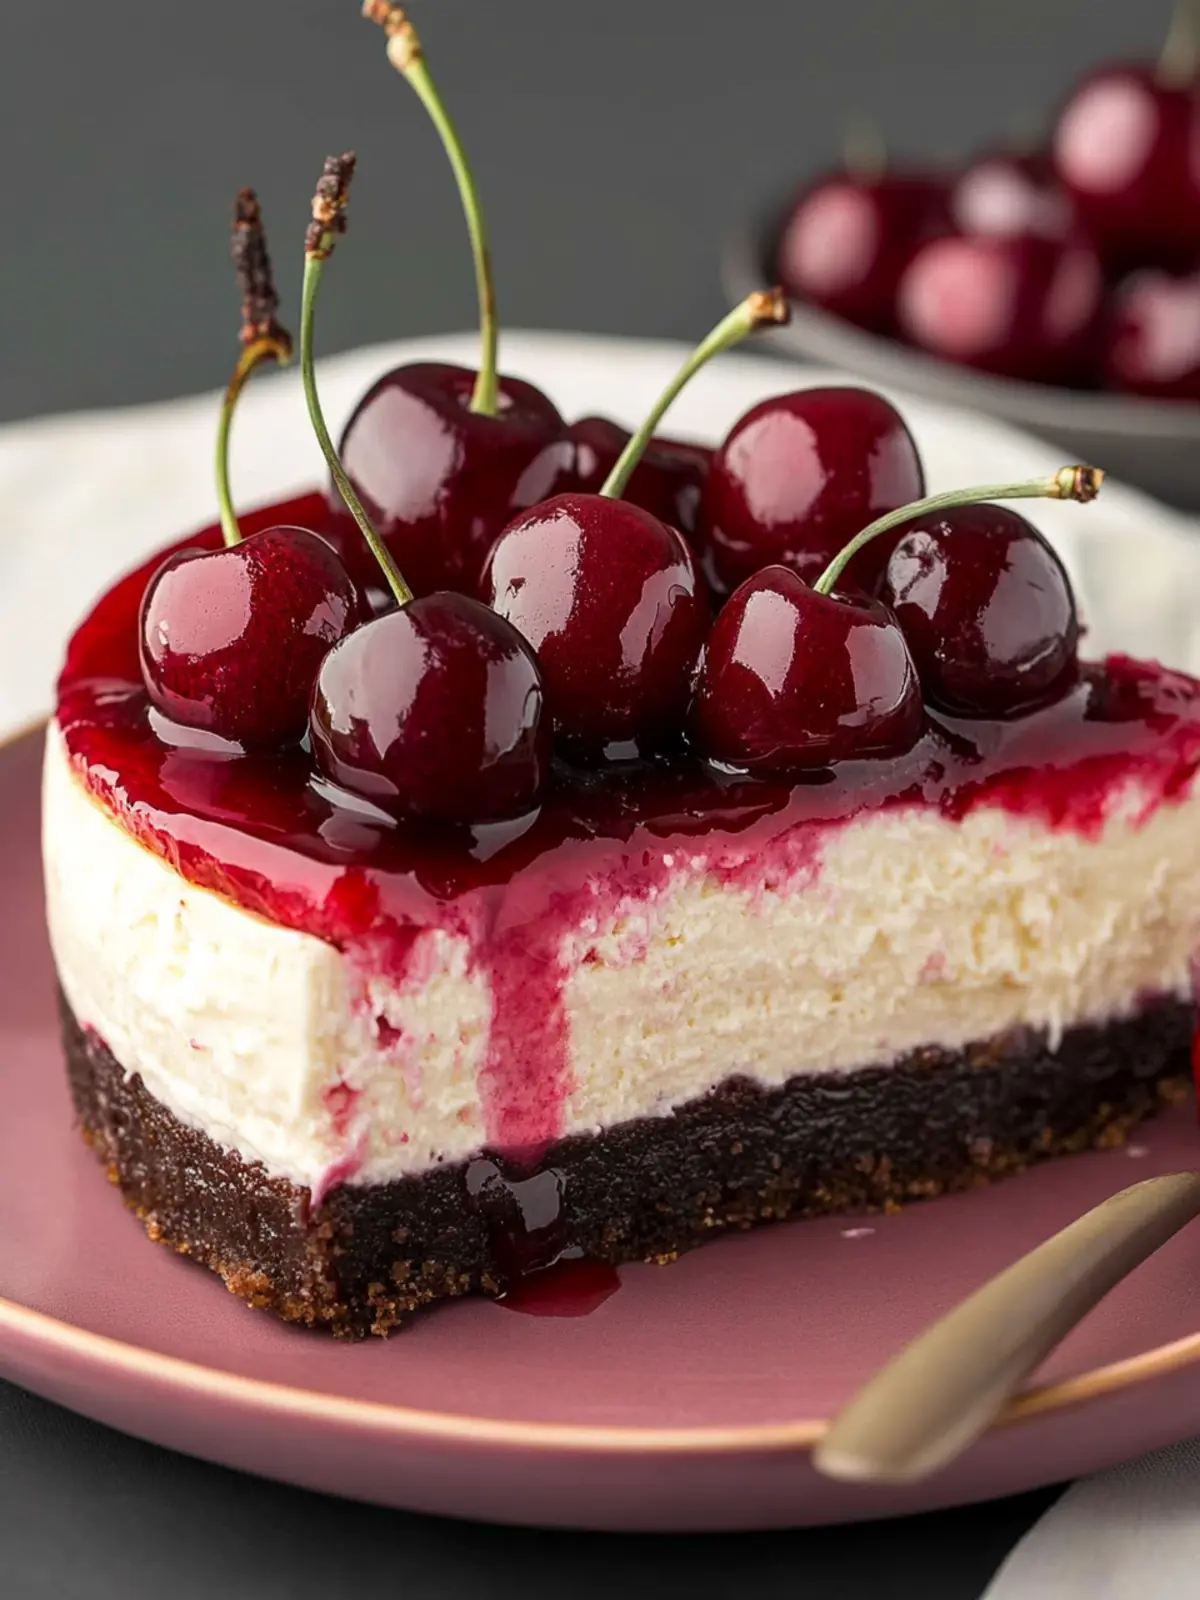
The first bite was a quiet moment of disbelief. The filling was so velvety it practically melted, the cherry topping was this perfect balance of sweet and tart, and the crust? Buttery, slightly salty, and sturdy enough to hold everything together without crumbling into a mess. I brought it to that dinner party, and let me tell you—people actually stopped mid-conversation to take another slice. One guest asked for the recipe before she even finished her plate. That’s when I knew this wasn’t just another cheesecake. It was the one.
What makes this recipe special isn’t some complicated technique or a laundry list of hard-to-find ingredients. It’s the way the creamy filling pairs with that luscious cherry topping, creating a dessert that feels both indulgent and approachable. Whether you’re a seasoned baker or someone who’s only made boxed mixes, this cheesecake is designed to make you look like a pro. And honestly, isn’t that the dream?
Why You’ll Love This Recipe
I’ve tested this cheesecake more times than I care to admit. I’ve baked it with full-fat cream cheese, low-fat cream cheese, even that weird dairy-free block from the health food store. I’ve tweaked the sugar, adjusted the baking time, and once accidentally left it in the oven an extra ten minutes (still turned out fine, by the way). So trust me when I say—this version is the one.
- Simple Ingredients: No weird stabilizers, no gelatin, no fuss. You probably have most of this in your kitchen right now.
- Make-Ahead Friendly: This cheesecake actually tastes better after a night in the fridge. Make it a day ahead and cross “dessert” off your list.
- Visually Stunning: That glossy cherry topping does all the heavy lifting. No piping skills required.
- Crowd-Pleaser: I’ve served this at birthdays, potlucks, and casual Sunday dinners. It disappears every single time.
- Forgiving Recipe: Slight cracks? The cherry topping covers them. Overbaked a little? Still creamy. This recipe has your back.
What sets this apart from other cheesecakes is the texture. I use a water bath method that keeps the center silky smooth without being overly dense. And that cherry topping isn’t just a afterthought—it’s a from-scratch compote that adds brightness and depth. This isn’t just another cheesecake recipe. It’s the one that’ll have people asking you to bring dessert to every gathering from now on.
What Ingredients You Will Need
This recipe relies on simple, high-quality ingredients to deliver that signature creamy texture and bold cherry flavor. Nothing here is complicated, but each component plays a key role.
For the Crust
- 1 ½ cups graham cracker crumbs (about 12 full sheets, crushed finely)
- ¼ cup granulated sugar
- 6 tablespoons unsalted butter, melted (adds richness and helps the crust hold together)
- Pinch of salt (balances the sweetness)
For the Cheesecake Filling
- 24 oz (680g) cream cheese, softened to room temperature (I use Philadelphia full-fat for best texture)
- 1 cup (200g) granulated sugar
- 1 teaspoon vanilla extract
- 3 large eggs, room temperature
- 1 cup (240ml) sour cream, room temperature (adds tanginess and extra creaminess)
- 2 tablespoons all-purpose flour (helps stabilize the filling)
For the Cherry Topping
- 3 cups (450g) fresh or frozen cherries, pitted
- ½ cup (100g) granulated sugar
- 2 tablespoons cornstarch
- 2 tablespoons water
- 1 tablespoon lemon juice
- ½ teaspoon vanilla extract
Ingredient Tips: For the creamiest filling, make sure your cream cheese, eggs, and sour cream are all at room temperature. Cold ingredients create a lumpy batter that bakes unevenly. If you’re using frozen cherries, don’t thaw them first—just add them straight to the saucepan for the topping. I’ve tried this with reduced-fat cream cheese, and while it works, the texture isn’t as luxuriously smooth. Go full-fat for the best results.
Equipment Needed
You don’t need a fancy kitchen to pull this off. Here’s what you’ll need:
- 9-inch springform pan (essential for removing the cheesecake cleanly)
- Electric hand mixer or stand mixer
- Large mixing bowls
- Measuring cups and spoons
- Rubber spatula
- Small saucepan (for the cherry topping)
- 9×13-inch baking dish or roasting pan (for the water bath)
- Aluminum foil (for wrapping the springform pan)
- Offset spatula or butter knife (for smoothing the top)
If you don’t have a springform pan, you can use a deep 9-inch pie dish, but the slices won’t be as clean. I’ve also made this in a 9-inch cake pan lined with parchment paper, and it worked in a pinch. For the water bath, any oven-safe dish that fits your springform pan will work. Just make sure the foil wrapping is tight—I learned this the hard way after a soggy crust incident.
Preparation Method
- Preheat your oven to 325°F (163°C). Place a rack in the middle position. Lightly grease your springform pan with butter or non-stick spray.
- Make the crust. In a medium bowl, combine graham cracker crumbs, sugar, and salt. Pour in the melted butter and stir until the mixture looks like wet sand. Press this firmly into the bottom of your springform pan using the bottom of a measuring cup. Bake for 10 minutes, then set aside to cool slightly.
- Prepare the water bath. While the crust bakes, wrap the outside of your springform pan with two layers of heavy-duty aluminum foil. Make sure the foil comes up at least 2 inches high on the sides. Place the wrapped pan in your larger baking dish.
- Make the filling. In a large bowl, beat the softened cream cheese with an electric mixer on medium speed until smooth and creamy—about 2 minutes. Scrape down the bowl and beaters. Add the sugar and vanilla, beating until combined, about 1 minute. Don’t overmix at this stage.
- Add the eggs one at a time. Beat on low speed after each addition just until the yolk disappears. Overmixing incorporates too much air, which can cause cracks.
- Fold in the sour cream and flour. Add the sour cream and flour, then mix on low speed until just combined. Use a rubber spatula to gently fold the batter a few times, ensuring everything is evenly mixed. The batter should be smooth and silky.
- Pour the filling over the crust. Use your spatula to spread it evenly. Tap the pan gently on the counter a few times to release any air bubbles.
- Bake in the water bath. Carefully pour hot water into the larger baking dish until it reaches about halfway up the sides of the springform pan. Bake for 55-65 minutes, or until the edges are set and the center jiggles slightly like firm Jell-O when you gently shake the pan.
- Cool slowly. Turn off the oven, crack the door open, and let the cheesecake sit inside for 1 hour. This gradual cooling prevents cracks. Remove from the water bath, take off the foil, and let it cool completely on a wire rack (about 2 hours).
- Chill for at least 4 hours, but overnight is best. Cover the pan with plastic wrap and refrigerate. This step is non-negotiable for that perfect creamy texture.
- Make the cherry topping. In a small saucepan, combine cherries, sugar, lemon juice, and vanilla. Cook over medium heat, stirring occasionally, until the cherries release their juices and the mixture starts to bubble (about 8-10 minutes). In a small bowl, whisk cornstarch and water together, then stir this slurry into the cherry mixture. Cook for another 2-3 minutes until thickened. Remove from heat and let cool completely.
- Assemble and serve. Once the cheesecake is fully chilled, run a knife around the edge of the pan, then release the springform latch. Spoon the cherry topping over the top, spreading it evenly. Slice with a sharp knife, wiping the blade clean between cuts for neat slices.
Cooking Tips & Techniques
I’ve messed up more cheesecakes than I’d like to admit. Here’s what I’ve learned so you don’t have to repeat my mistakes.
Room temperature ingredients are crucial. I know it’s tempting to use cold cream cheese straight from the fridge, but you’ll end up with a lumpy batter that bakes unevenly. Take everything out an hour before you start. If you’re in a rush, cut the cream cheese into small cubes and let it sit for 20 minutes.
Don’t overmix the batter. Once you add the eggs, mix on low speed and stop as soon as they’re incorporated. Overmixing adds too much air, which expands during baking and then collapses, causing cracks. The same goes for the sour cream—just fold it in gently.
The water bath is your friend. Yes, it’s a little fussy, but it creates that silky, crack-free top. The steam keeps the oven moist and prevents the edges from setting too quickly. If you’re worried about water leaking, use heavy-duty foil and wrap the pan twice. I’ve also used a slow cooker liner as an extra layer of protection.
Let it cool gradually. Sudden temperature changes cause cracks. That’s why I let the cheesecake rest in the turned-off oven for an hour before moving it to the counter. It’s a simple step that makes a huge difference.
Chill overnight for best texture. I know you want to eat it right away, but trust me—after 24 hours in the fridge, the flavors meld together and the texture becomes incredibly creamy. It’s worth the wait.
Variations & Adaptations
This recipe is surprisingly flexible. Here are some ways I’ve adapted it for different occasions and dietary needs.
Gluten-Free Version: Swap the graham cracker crust for gluten-free vanilla wafer crumbs or almond flour mixed with butter. The filling itself is naturally gluten-free as long as you use a gluten-free flour blend or omit the flour entirely (add an extra tablespoon of cornstarch instead).
Dairy-Free Option: Use dairy-free cream cheese (I like Miyoko’s or Kite Hill) and coconut cream instead of sour cream. The texture will be slightly different—a bit softer—but still delicious. Make sure your butter substitute is dairy-free too.
Berry Medley Topping: Replace the cherries with a mix of fresh or frozen blueberries, raspberries, and sliced strawberries. The cooking method is exactly the same. I made this for a summer barbecue, and it was a huge hit.
Chocolate Cherry Dream: Add 4 oz of melted semi-sweet chocolate to the cheesecake batter after the sour cream. It creates a rich, mocha-like flavor that pairs beautifully with the cherry topping. My husband calls this his favorite version.
Mini Cheesecakes: Use a 12-cup muffin tin lined with paper liners. Press the crust mixture into the bottom of each liner, fill with batter, and bake for 18-22 minutes. They’re perfect for parties or portion control.
Serving & Storage Suggestions
This cheesecake is best served cold, straight from the fridge. I like to let it sit at room temperature for about 15 minutes before slicing—it softens slightly and makes the texture even more luxurious.
Presentation tips: For clean slices, use a sharp knife dipped in hot water and wiped dry between cuts. Arrange the slices on a platter with a few fresh cherries and mint leaves for a pop of color. If you’re feeling fancy, drizzle a little extra cherry syrup around the plate.
What to serve with it: A dollop of lightly sweetened whipped cream balances the tanginess of the cheesecake. For drinks, a cup of black coffee or a glass of dessert wine like Moscato complements the cherry flavor perfectly. I’ve also served it alongside a cup of my Creamy Raspberry Cheesecake Latte for a double cheesecake experience—decadent but so worth it.
Storage: Cover leftover cheesecake with plastic wrap or store it in an airtight container in the refrigerator for up to 5 days. The cherry topping may release a little liquid over time, but it’s still delicious. You can also freeze the cheesecake (without topping) for up to 2 months. Wrap it tightly in plastic wrap, then foil, and thaw overnight in the fridge before adding the topping.
Flavor development: The cheesecake actually tastes better on day two or three. The flavors meld together, and the texture becomes even creamier. So don’t stress about making it ahead—it’s actually the smartest move.
Nutritional Information & Benefits
Here’s an approximate nutritional breakdown per slice (based on 12 servings):
- Calories: 420
- Fat: 28g
- Saturated Fat: 16g
- Carbohydrates: 38g
- Sugar: 28g
- Protein: 7g
- Calcium: 80mg
While this isn’t a health food, it does offer some surprising benefits. Cream cheese provides calcium and protein, while cherries are packed with antioxidants and anti-inflammatory compounds. The sour cream adds probiotics that aid digestion. I like to think of this as a dessert that nourishes the soul—and that counts for something, right?
Dietary considerations: This recipe contains dairy, gluten, and eggs. For gluten-free and dairy-free adaptations, check the variations section above. It’s also relatively low in sodium compared to many store-bought desserts.
Conclusion
This Creamy Dream Cherry Cheesecake isn’t just a dessert—it’s a statement. It says you care enough to make something from scratch, that you value quality ingredients, and that you believe dessert should be an experience, not an afterthought. The creamy filling, the buttery crust, that glossy cherry topping—every bite is a reminder that simple things done well are often the most impressive.
I’d love to hear how this turns out for you. Did you try a variation? Did your guests go silent after the first bite? Drop a comment below and share your version of this cheesecake. And if you’re looking for more desserts that impress without the stress, check out my Perfect Mini Blackberry Lavender Cheesecakes or these Healthy Fudgy Cassava Flour Brownies for another showstopper. Happy baking, friend. You’ve got this.
Frequently Asked Questions
Can I use a store-bought cherry pie filling instead of making the topping from scratch?
Absolutely, but the flavor won’t be as bright and fresh. Homemade cherry topping has a cleaner, more vibrant taste without the artificial sweetness of canned fillings. If you’re short on time, go ahead and use canned—just drain off some of the syrup first so it doesn’t make the cheesecake soggy.
Why did my cheesecake crack on top?
Cracks usually happen from overmixing the batter, baking at too high a temperature, or cooling too quickly. The water bath helps prevent this, as does cooling the cheesecake slowly in the turned-off oven. If cracks do appear, don’t worry—the cherry topping covers them beautifully.
Can I make this cheesecake without a springform pan?
Yes, but it’s trickier to remove. Use a deep 9-inch cake pan lined with parchment paper that hangs over the sides. After chilling, lift the cheesecake out using the parchment. The edges won’t be as clean, but it still tastes amazing.
How do I know when the cheesecake is done baking?
The edges should be set and slightly puffed, while the center should jiggle like firm Jell-O when you gently shake the pan. It will continue to set as it cools. If the center looks liquidy, give it another 5-10 minutes.
Can I freeze this cheesecake with the cherry topping on it?
I don’t recommend it. The topping can become watery and separate during thawing. Freeze the cheesecake without the topping, then add the cherry compote fresh after thawing. It’ll taste much better and look prettier too.
Pin This Recipe!
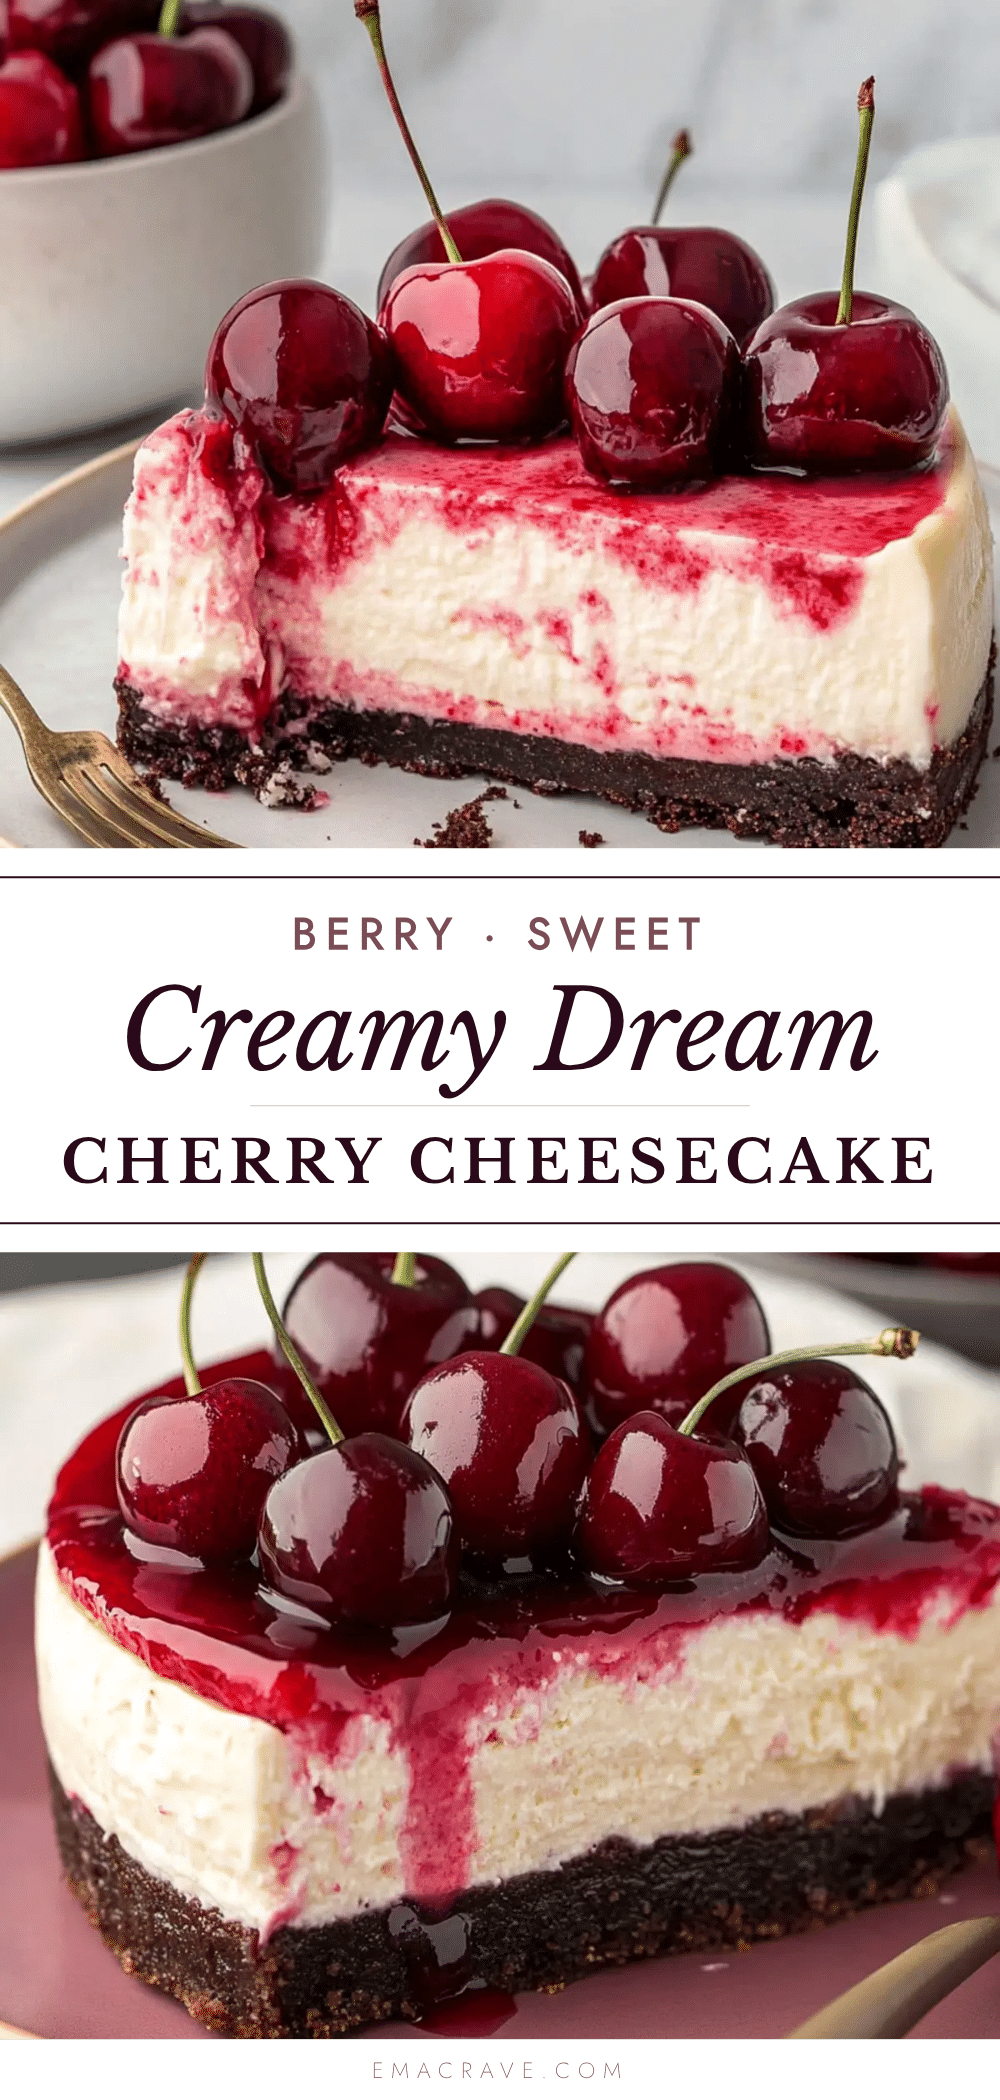
Creamy Dream Cherry Cheesecake
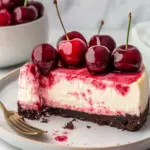
A velvety smooth cherry cheesecake with a buttery graham cracker crust and a from-scratch cherry topping. This impressive dessert is surprisingly easy to make and perfect for any gathering.
- Prep Time: 30 minutes
- Cook Time: 1 hour 5 minutes
- Total Time: 5 hours 35 minutes (includes chilling)
- Yield: 12 servings 1x
- Category: Dessert
- Cuisine: American
Ingredients
- 1 ½ cups graham cracker crumbs (about 12 full sheets, crushed finely)
- ¼ cup granulated sugar
- 6 tablespoons unsalted butter, melted
- Pinch of salt
- 24 oz (680g) cream cheese, softened to room temperature
- 1 cup (200g) granulated sugar
- 1 teaspoon vanilla extract
- 3 large eggs, room temperature
- 1 cup (240ml) sour cream, room temperature
- 2 tablespoons all-purpose flour
- 3 cups (450g) fresh or frozen cherries, pitted
- ½ cup (100g) granulated sugar
- 2 tablespoons cornstarch
- 2 tablespoons water
- 1 tablespoon lemon juice
- ½ teaspoon vanilla extract
Instructions
- Preheat your oven to 325°F (163°C). Place a rack in the middle position. Lightly grease your springform pan with butter or non-stick spray.
- Make the crust. In a medium bowl, combine graham cracker crumbs, sugar, and salt. Pour in the melted butter and stir until the mixture looks like wet sand. Press this firmly into the bottom of your springform pan using the bottom of a measuring cup. Bake for 10 minutes, then set aside to cool slightly.
- Prepare the water bath. While the crust bakes, wrap the outside of your springform pan with two layers of heavy-duty aluminum foil. Make sure the foil comes up at least 2 inches high on the sides. Place the wrapped pan in your larger baking dish.
- Make the filling. In a large bowl, beat the softened cream cheese with an electric mixer on medium speed until smooth and creamy—about 2 minutes. Scrape down the bowl and beaters. Add the sugar and vanilla, beating until combined, about 1 minute. Don’t overmix at this stage.
- Add the eggs one at a time. Beat on low speed after each addition just until the yolk disappears. Overmixing incorporates too much air, which can cause cracks.
- Fold in the sour cream and flour. Add the sour cream and flour, then mix on low speed until just combined. Use a rubber spatula to gently fold the batter a few times, ensuring everything is evenly mixed. The batter should be smooth and silky.
- Pour the filling over the crust. Use your spatula to spread it evenly. Tap the pan gently on the counter a few times to release any air bubbles.
- Bake in the water bath. Carefully pour hot water into the larger baking dish until it reaches about halfway up the sides of the springform pan. Bake for 55-65 minutes, or until the edges are set and the center jiggles slightly like firm Jell-O when you gently shake the pan.
- Cool slowly. Turn off the oven, crack the door open, and let the cheesecake sit inside for 1 hour. This gradual cooling prevents cracks. Remove from the water bath, take off the foil, and let it cool completely on a wire rack (about 2 hours).
- Chill for at least 4 hours, but overnight is best. Cover the pan with plastic wrap and refrigerate. This step is non-negotiable for that perfect creamy texture.
- Make the cherry topping. In a small saucepan, combine cherries, sugar, lemon juice, and vanilla. Cook over medium heat, stirring occasionally, until the cherries release their juices and the mixture starts to bubble (about 8-10 minutes). In a small bowl, whisk cornstarch and water together, then stir this slurry into the cherry mixture. Cook for another 2-3 minutes until thickened. Remove from heat and let cool completely.
- Assemble and serve. Once the cheesecake is fully chilled, run a knife around the edge of the pan, then release the springform latch. Spoon the cherry topping over the top, spreading it evenly. Slice with a sharp knife, wiping the blade clean between cuts for neat slices.
Notes
Room temperature ingredients are crucial for a smooth batter. Don’t overmix after adding eggs. The water bath helps prevent cracks. Chill overnight for best texture. The cherry topping can be made ahead and stored separately. For gluten-free, use gluten-free graham crackers or almond flour crust. For dairy-free, use dairy-free cream cheese and coconut cream.
Nutrition
- Serving Size: 1 slice
- Calories: 420
- Sugar: 28
- Sodium: 320
- Fat: 28
- Saturated Fat: 16
- Carbohydrates: 38
- Fiber: 1
- Protein: 7
Keywords: cherry cheesecake, creamy cheesecake, homemade cheesecake, cherry topping, dessert recipe, easy cheesecake, impressive dessert