Love this? Save it for later!
Share the inspiration with your friends
The oil was shimmering, that telltale whisper of heat rising from the pan, and I was frantically patting chicken strips dry with paper towels. It was a Tuesday, I think. Not a special occasion at all. I had a sudden, almost aggressive craving for the impossibly light, shatteringly crispy chicken tempura you get from those little takeout spots tucked away in strip malls. The kind where the batter is so ethereal and crunchy it almost floats off the chicken. My first few attempts at home had been, well, sad. Soggy. Dense. A greasy letdown that tasted more like a bad fish fry than anything resembling tempura. But that Tuesday, I was determined. I had read somewhere that the secret was ice-cold water and not overmixing—a tip that felt both too simple and too important to ignore.
So I whisked, or rather, I barely stirred. The batter looked lumpy and wrong, which apparently was exactly right. I dredged a piece of chicken, let the excess drip off, and gently laid it in the oil. The sizzle was immediate and furious. It puffed up in seconds, turning a pale, gorgeous gold. I pulled it out, let it rest on a wire rack, and waited the agonizing thirty seconds for it to cool enough to risk a bite. The crunch was so loud in my quiet kitchen I almost laughed. It was that good. That perfect. That homemade crunch you just can’t resist. And honestly, I haven’t ordered takeout tempura since. This is that recipe—the one that finally worked, born from a random Tuesday and a refusal to settle for anything less than that perfect, delicate shatter.
Why You’ll Love This Recipe
Let me tell you why this crispy chicken tempura is going to become a regular in your kitchen. I’ve tested this method more times than I care to count, tweaking the batter temperature and resting times until it was absolutely foolproof. This isn’t just another fried chicken recipe; it’s a textural experience.
- Unbelievably Crispy: The batter creates a light, airy, and shatteringly crunchy coating that stays crisp for hours, not just minutes. No more soggy leftovers.
- Simple Ingredients: You likely have everything in your pantry and fridge right now. No fancy rice flours or hard-to-find starches needed for this version.
- Quick & Easy: From prep to plate in under 30 minutes. It’s faster than takeout and perfect for a weeknight dinner that feels like a treat.
- Crowd-Pleaser: This is the kind of dish that disappears at parties. Kids and adults alike will fight over the last piece. It’s a guaranteed win.
- Versatile Base: This recipe is a perfect canvas. Serve it with a simple soy dipping sauce, toss it in a spicy glaze, or pile it high on a salad for a satisfying crunch.
What makes this version different? It’s the technique. The combination of ice-cold water and a specific resting period for the batter creates a gluten network that fries up into those signature, lacy, impossibly thin crispy bits. It’s not just about coating the chicken; it’s about building a crust that has its own personality. This is the kind of recipe that makes you close your eyes after the first bite, because it’s that good. It’s comfort food, reimagined—lighter, crispier, and with the same soul-satisfying crunch you crave.
What Ingredients You Will Need
This recipe uses simple, everyday ingredients to create that spectacular, restaurant-quality crunch. The magic is in the method, not a long list of exotic items.
- For the Chicken:
- 1 lb boneless, skinless chicken breasts or thighs, cut into 1-inch strips. Thighs are more forgiving and stay juicier, but breasts work beautifully if you don’t overcook them.
- 1 teaspoon kosher salt (for seasoning the chicken).
- ½ teaspoon white pepper (black pepper works too, but white pepper is more traditional and blends in).
- For the Tempura Batter:
- 1 cup all-purpose flour (do not use self-rising flour).
- ¼ cup cornstarch (this is the secret to extra crispiness).
- 1 teaspoon baking powder (helps the batter puff up).
- ½ teaspoon salt.
- 1 large egg yolk (the yolk adds richness and helps the batter cling).
- 1 cup ice-cold water (this is non-negotiable for a light batter). You can even add a few ice cubes to the water to keep it frigid.
- 1 tablespoon vodka or ice-cold sparkling water (optional, but highly recommended. The alcohol evaporates quickly, leading to an even crispier crust).
- For Frying:
- 4-6 cups neutral oil (like vegetable, canola, or peanut oil), enough for about 2 inches of depth in your pot.
- For the Dipping Sauce (Optional but Recommended):
- ¼ cup soy sauce.
- 2 tablespoons rice vinegar.
- 1 tablespoon mirin (or honey).
- 1 teaspoon sesame oil.
- 1 teaspoon grated fresh ginger.
- 1 clove garlic, minced.
Ingredient Tips: For the best results, I recommend using a brand like Gold Medal or King Arthur for your all-purpose flour. The cornstarch is your best friend here—don’t skip it. If you can’t find mirin, a little honey mixed into the soy sauce works perfectly. The vodka trick is a game-changer; it creates an incredibly delicate crust. If you don’t have it, just use more ice-cold sparkling water.
Equipment Needed
You don’t need a deep fryer for this. A few basic kitchen tools will get the job done perfectly.
- A Heavy-Bottomed Pot or Dutch Oven: This is crucial for maintaining a steady oil temperature. A cast-iron Dutch oven is my personal favorite, but any heavy pot works.
- A Deep-Fry or Candy Thermometer: This is your most important tool. Guessing the oil temperature is the #1 reason for soggy or burnt tempura. A clip-on thermometer is a lifesaver.
- A Wire Rack Set Over a Baking Sheet: This allows the fried chicken to drain and stay crispy. Placing it directly on paper towels can trap steam and make the bottom soggy.
- Two Mixing Bowls: One large for the batter, one small for the dry ingredients.
- Whisk or Chopsticks: A whisk works, but I find that chopsticks are actually better for mixing tempura batter because they don’t overwork it.
- Tongs or a Slotted Spoon: For safely lowering and removing the chicken from the hot oil.
- Paper Towels: For initial draining and cleanup.
Budget-Friendly Tips: If you don’t have a thermometer, you can test the oil by dropping a tiny bit of batter into it. If it sizzles immediately and floats to the top, the oil is ready. A heavy-bottomed pot can be found for a good price at a thrift store—it’s a worthy investment for all your frying needs.
Preparation Method
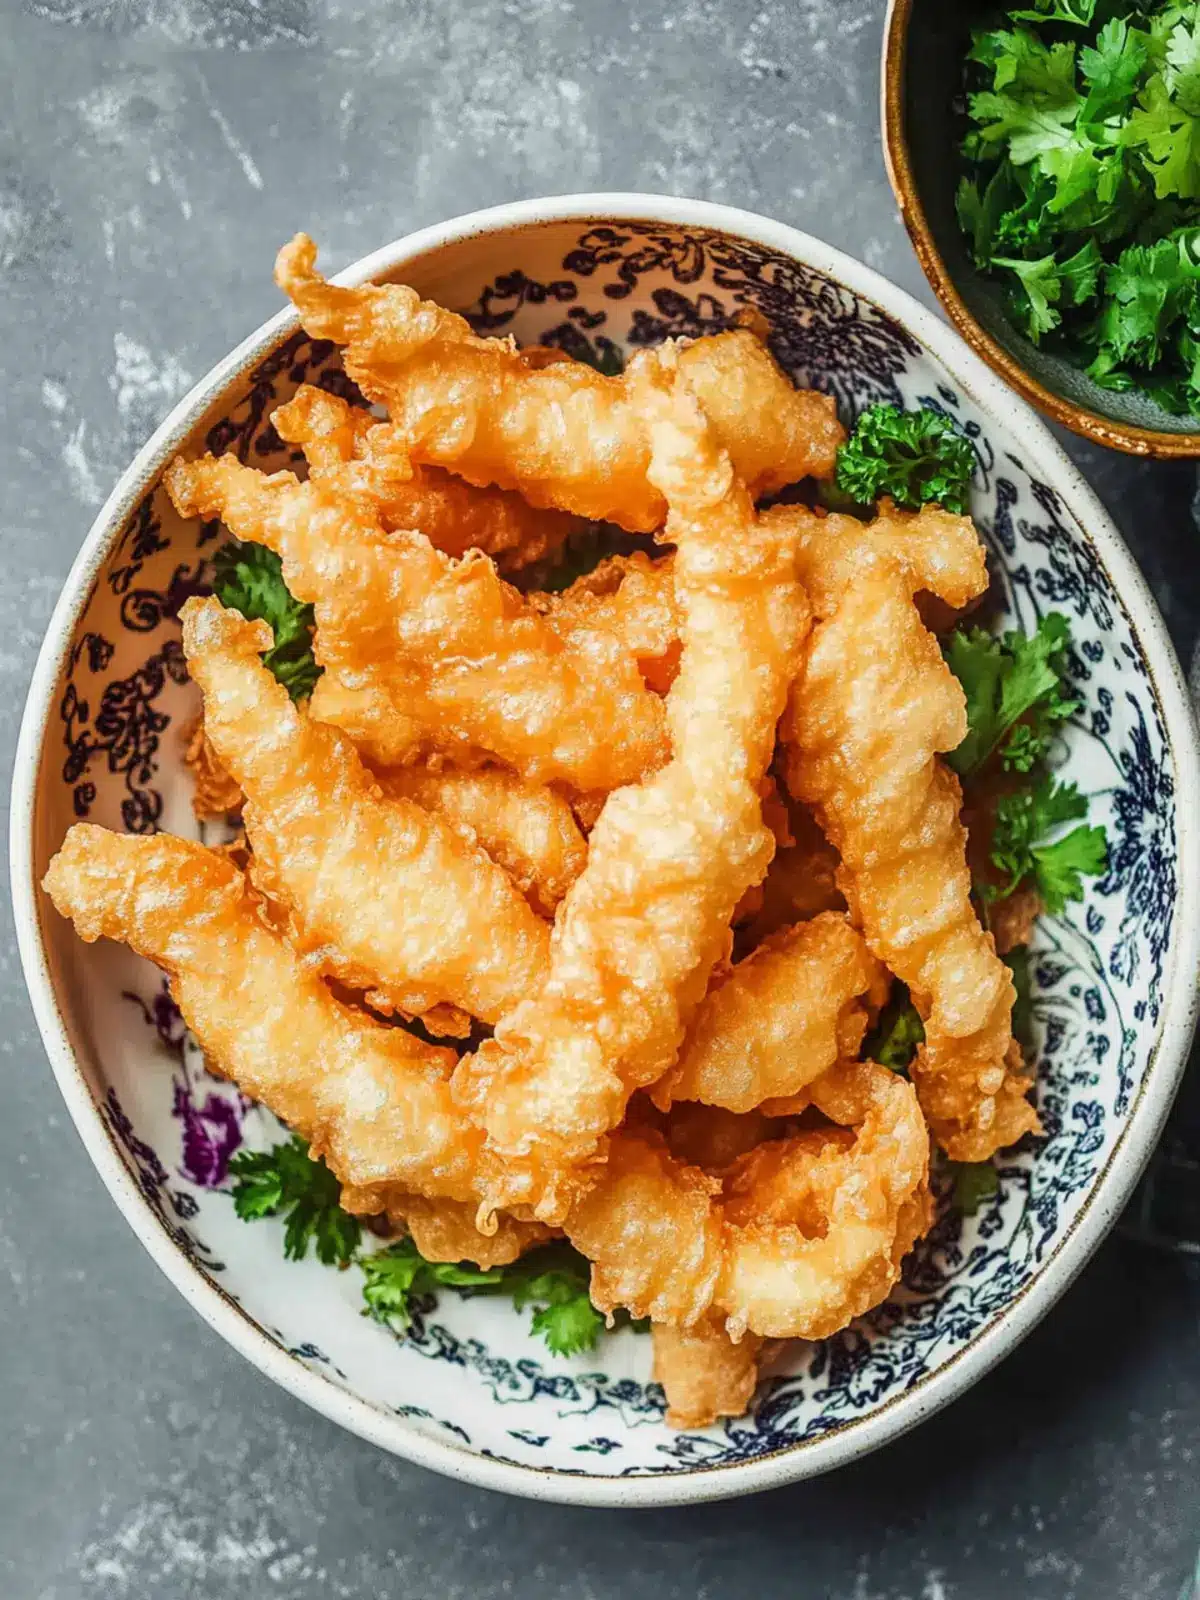
Follow these steps carefully, and you will have the crispiest, most beautiful chicken tempura you’ve ever made at home. The key is to work quickly and keep that batter cold.
- Prep the Chicken: Pat the chicken strips completely dry with paper towels. This is a vital step—any moisture will cause the oil to spit and can make the batter fall off. Season the chicken strips all over with the 1 teaspoon of salt and ½ teaspoon of white pepper. Set them aside while you prepare the batter and oil.
- Heat the Oil: Pour the oil into your heavy-bottomed pot. You want about 2 inches of oil. Heat it over medium-high heat until it reaches 350°F (175°C). This will take about 10-15 minutes. Use your thermometer to monitor it closely. While the oil is heating, prepare your wire rack and baking sheet.
- Make the Batter (Do This Right Before Frying): In a large bowl, whisk together the 1 cup of flour, ¼ cup of cornstarch, 1 teaspoon of baking powder, and ½ teaspoon of salt. In a separate small bowl or measuring cup, whisk the egg yolk with the 1 cup of ice-cold water (and the vodka or sparkling water, if using).
- Combine (Don’t Overmix!): Pour the wet ingredients into the dry ingredients. Using chopsticks or a whisk, stir the mixture only 5-6 times. It should look lumpy and uneven—this is exactly what you want. There should still be some streaks of dry flour. Overmixing develops the gluten and will result in a heavy, dense, and greasy coating. The batter should be the consistency of thin pancake batter. If it’s too thick, add a tablespoon more of ice-cold water.
- First Fry Test: Once the oil is at 350°F, drop a tiny dollop of batter into the oil. It should sink slightly, then immediately puff up and float to the surface. If it sinks and doesn’t come up, the oil is too cold. If it browns immediately, the oil is too hot. Adjust your heat accordingly.
- Coat and Fry (Work in Batches): Working with a few pieces of chicken at a time (don’t overcrowd the pot!), dip a chicken strip into the batter. Let the excess batter drip off for a second. Gently lay it into the hot oil. The batter will puff up immediately. Fry for 2-3 minutes per side, until the tempura is a pale golden brown and the chicken is cooked through (internal temperature of 165°F).
- Drain and Keep Warm: Using your tongs or slotted spoon, carefully remove the fried chicken and transfer it to the wire rack. Do not place it on paper towels! The rack allows air to circulate, keeping the crust perfectly crisp. Place the baking sheet in a low oven (200°F) to keep the finished batches warm while you fry the rest.
- Let the Oil Return to Temperature: Between batches, let the oil come back up to 350°F. This is crucial for consistent results. If the oil temperature drops too low, the batter will absorb oil and become greasy.
- Make the Dipping Sauce: While the chicken fries, whisk together the soy sauce, rice vinegar, mirin, sesame oil, ginger, and garlic in a small bowl. Set aside.
Sensory Cues: The batter should look lumpy and almost curdled. When it hits the oil, listen for a furious, energetic sizzle. The chicken will look pale gold, not dark brown. It should feel light as a feather when you pick it up.
Cooking Tips & Techniques
I’ve made my share of mistakes with tempura, and I’m here to help you skip them. These tips are the difference between good and absolutely irresistible.
- The Ice Water is Non-Negotiable: This is the single most important tip. The shock of cold batter hitting hot oil creates steam, which puffs up the batter and makes it incredibly light and crispy. If your water isn’t ice-cold, your tempura won’t be either.
- Don’t Overcrowd the Pot: Adding too many pieces of chicken at once will drastically lower the oil temperature. The batter will absorb oil instead of frying, leaving you with a greasy, soggy mess. Fry in small, manageable batches.
- The “Lumpy” Batter is Your Friend: Resist the urge to whisk until smooth. Those lumps of flour are what create the craggy, textured, super-crispy edges that make tempura so special. A smooth batter will result in a thin, hard, and uninteresting crust.
- Use a Thermometer, Not Your Gut: I once tried to guess the oil temperature by flicking water into it. It didn’t end well. A thermometer is a cheap investment that guarantees perfect results every single time. Trust the tool, not your instinct.
- Resting is for Batters, Not for Chickens: Once the batter is made, use it immediately. Letting it sit will cause the gluten to develop and the baking powder to activate, making the batter heavy and less effective. The entire process from batter to fry should be a quick, continuous flow.
A Personal Failure: I once tried to make a double batch and mixed the batter in a huge bowl. By the time I was halfway through frying, the batter had become thick and gluey. The resulting chicken was a disaster. Now, I always make the batter in smaller batches if I’m cooking for a crowd. It’s much better to make a fresh batch than to fight with a tired one.
Variations & Adaptations
This basic tempura recipe is a fantastic foundation for endless creativity. Don’t be afraid to make it your own.
- Spicy Korean-Style: After frying, toss the hot tempura in a sauce made with gochujang (Korean chili paste), a little honey, sesame oil, and rice vinegar. Top with sesame seeds and sliced green onions. This is an incredible, sticky, spicy twist.
- Lighter & Healthier: For a gluten-free version, substitute the all-purpose flour with a 1:1 gluten-free baking flour blend. You can also use an air fryer for a lighter version, though the texture will be different (less shatteringly crispy, more crunchy). Spray the battered chicken generously with oil and air fry at 400°F for 8-10 minutes, flipping halfway.
- Vegetable Tempura: This same batter is absolutely perfect for vegetables. Try sweet potato slices, broccoli florets, zucchini rounds, or even shiso leaves. The cooking time will be shorter, usually just 1-2 minutes per side.
- Flavor Infusions: Add a teaspoon of curry powder, smoked paprika, or garlic powder to the dry flour mixture for a different flavor profile. A pinch of cayenne pepper adds a lovely warmth without being spicy.
- Dipping Sauce Variations: Move beyond soy sauce! Try a creamy sriracha mayo (mix mayo with sriracha and lime juice), a sweet chili sauce, or a simple ponzu sauce (soy sauce and citrus juice).
I once made a batch with a little bit of grated Parmesan cheese mixed into the dry ingredients. It wasn’t traditional at all, but the nutty, salty flavor from the cheese was surprisingly fantastic. Don’t be afraid to experiment!
Serving & Storage Suggestions
This crispy chicken tempura is best enjoyed immediately, while it’s still hot and impossibly crunchy. But here’s how to make the most of it.
- Serving: Serve the chicken tempura hot, piled high on a platter. Garnish with a sprinkle of flaky sea salt, a squeeze of fresh lemon juice, and some chopped green onions or cilantro. The dipping sauce should be in a small bowl on the side.
- What to Serve With It: This is a fantastic main course. Serve it over a bed of steamed jasmine rice or alongside a simple, refreshing cucumber salad. It also makes an incredible appetizer for parties. For a complete meal, consider pairing it with a side of Cajun dirty loaded fries for a truly indulgent feast, or a lighter option like quick shrimp and zucchini in garlic tomato sauce if you want a surf-and-turf vibe.
- Storage: Leftovers are a rare thing with this recipe, but if you have any, store them in an airtight container in the refrigerator for up to 2 days. The texture will soften significantly.
- Reheating: The best way to revive leftover tempura is in the oven or an air fryer. Reheat at 400°F for 5-7 minutes until hot and re-crisped. Avoid the microwave at all costs—it will turn your beautiful tempura into a sad, soggy mess.
- Flavor Development: Honestly, this is a dish that’s best fresh. The magic is in the initial crunch. While the flavors are still good the next day, the texture is never the same. So make only what you plan to eat!
Nutritional Information & Benefits
While this is a treat, it’s made with real, whole ingredients. Here’s a rough estimate of the nutritional information per serving (about 4-5 strips, without sauce).
- Calories: Approximately 350-400 kcal
- Protein: 30-35g
- Fat: 15-20g
- Carbohydrates: 20-25g
- Fiber: 1g
Health Benefits: Chicken is an excellent source of lean protein, which is essential for muscle building and repair. The cornstarch in the batter is a gluten-free starch, making this dish easier to digest for some. By controlling the oil temperature and frying in batches, you minimize oil absorption, making this a lighter version of traditional fried chicken. For a complete, balanced meal, serve it with a generous portion of steamed vegetables or a fresh salad. If you’re looking for other satisfying yet lighter options, you might enjoy this zesty lemon pepper chicken for a different take on a weeknight dinner.
Dietary Considerations: This recipe contains gluten and eggs. For a gluten-free version, see the variations section. It is nut-free and dairy-free as written.
Conclusion
This crispy chicken tempura is more than just a recipe; it’s a little piece of kitchen magic that proves you can create restaurant-quality crunch at home. It’s the kind of dish that turns a regular Tuesday into something special, that makes you feel like a real chef, and that will have everyone asking for the recipe. The secret is simple: cold batter, hot oil, and a little bit of patience.
I love this recipe because it’s a celebration of texture. That first bite—the loud, satisfying crunch followed by tender, juicy chicken—is pure joy. And the best part? You can make it your own. Play with the spices, try different dipping sauces, or toss it in your favorite glaze. Don’t be afraid to get creative.
I’d love to hear how yours turns out! Did you try a fun variation? Did you serve it with a specific side? Drop a comment below and let me know. Share this recipe with a friend who loves a good crunch, and don’t forget to pin it for later. Happy frying!
Frequently Asked Questions
Can I use chicken thighs instead of breasts?
Absolutely! Chicken thighs are actually more forgiving and tend to stay juicier during frying. Just make sure they are boneless and skinless, and cut them into similar-sized strips for even cooking.
Why is my tempura batter not crispy?
The most common reason is that the batter was overmixed or the water wasn’t cold enough. Overmixing develops gluten, making the batter heavy. Also, ensure your oil is at the correct temperature (350°F). If the oil is too cool, the batter will absorb it and become greasy instead of crispy.
Can I make this tempura gluten-free?
Yes! Simply substitute the all-purpose flour with a high-quality 1:1 gluten-free baking flour blend. The cornstarch is already gluten-free, so you just need to replace the wheat flour. The texture will be slightly different but still deliciously crunchy.
How do I keep the chicken warm while frying the rest?
The best method is to place the finished pieces on a wire rack set over a baking sheet and put it in a low oven (around 200°F). This keeps the chicken hot without trapping steam, which would make the crust soggy. Avoid using paper towels for the same reason.
Can I reuse the frying oil?
Yes, you can strain the oil through a fine-mesh sieve lined with cheesecloth or a coffee filter to remove any batter bits. Store the cooled, strained oil in a sealed container in a cool, dark place. You can reuse it once or twice for frying, but the flavor will be less neutral each time. It’s perfect for making a savory pumpkin French toast casserole or other savory dishes.
Pin This Recipe!
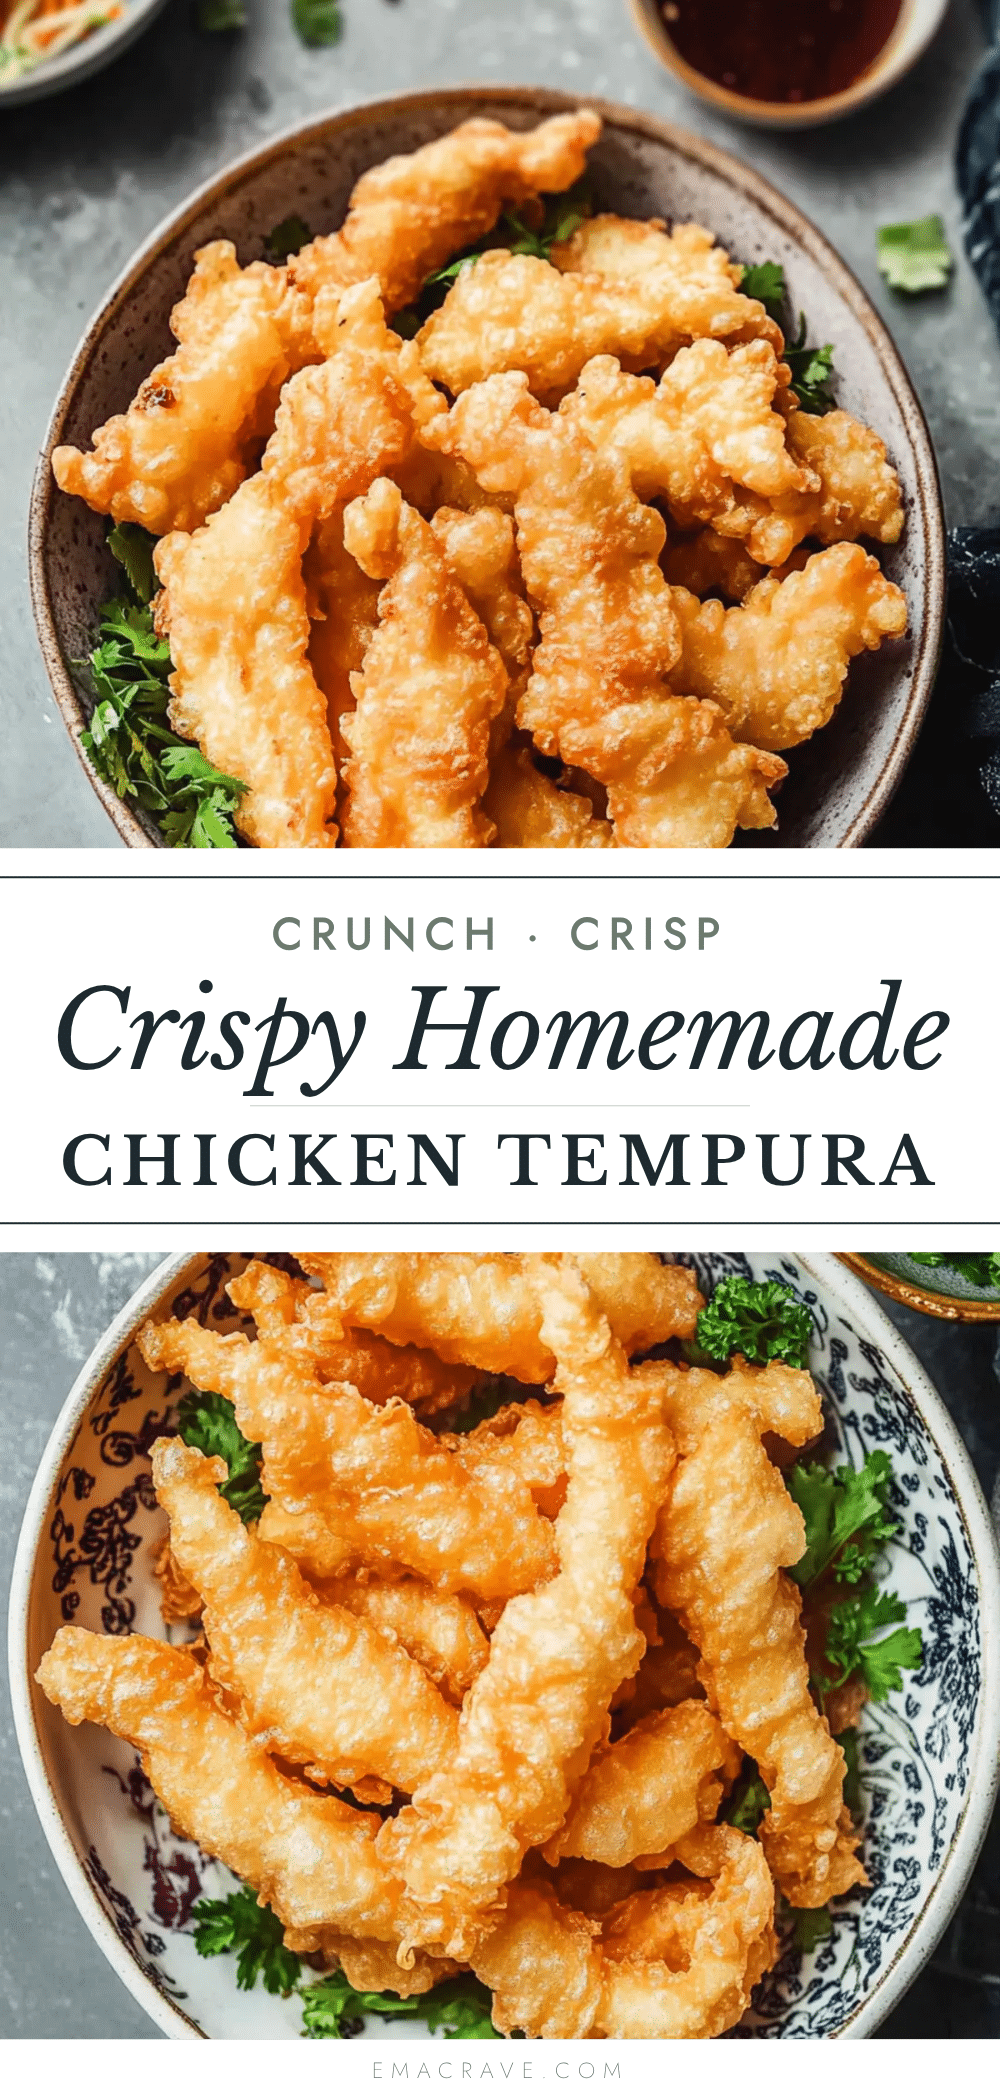
Crispy Chicken Tempura: Easy Homemade Crunch You Cant Resist

This recipe delivers impossibly light, shatteringly crispy chicken tempura with a simple, foolproof batter. Perfect for a quick weeknight dinner or a crowd-pleasing appetizer, it’s faster than takeout and uses everyday ingredients.
- Prep Time: 15 minutes
- Cook Time: 15 minutes
- Total Time: 30 minutes
- Yield: 4 servings 1x
- Category: Main Course
- Cuisine: Japanese
Ingredients
- 1 lb boneless, skinless chicken breasts or thighs, cut into 1-inch strips
- 1 teaspoon kosher salt
- ½ teaspoon white pepper
- 1 cup all-purpose flour
- ¼ cup cornstarch
- 1 teaspoon baking powder
- ½ teaspoon salt
- 1 large egg yolk
- 1 cup ice-cold water
- 1 tablespoon vodka or ice-cold sparkling water (optional)
- 4–6 cups neutral oil (vegetable, canola, or peanut), for frying
- ¼ cup soy sauce
- 2 tablespoons rice vinegar
- 1 tablespoon mirin (or honey)
- 1 teaspoon sesame oil
- 1 teaspoon grated fresh ginger
- 1 clove garlic, minced
Instructions
- Pat the chicken strips completely dry with paper towels. Season all over with 1 teaspoon salt and ½ teaspoon white pepper. Set aside.
- Pour oil into a heavy-bottomed pot to a depth of about 2 inches. Heat over medium-high heat to 350°F (175°C). Prepare a wire rack set over a baking sheet.
- In a large bowl, whisk together flour, cornstarch, baking powder, and ½ teaspoon salt. In a small bowl, whisk egg yolk with ice-cold water (and vodka or sparkling water, if using).
- Pour wet ingredients into dry ingredients. Stir with chopsticks or a whisk only 5-6 times until just combined; batter should be lumpy with streaks of dry flour. Do not overmix.
- Test oil temperature by dropping a small dollop of batter into the oil; it should sink slightly, then puff up and float. Adjust heat if needed.
- Working in batches, dip chicken strips into batter, letting excess drip off. Gently lay into hot oil. Fry for 2-3 minutes per side until pale golden brown and chicken reaches an internal temperature of 165°F.
- Remove fried chicken with tongs or a slotted spoon and transfer to the wire rack. Keep warm in a low oven (200°F) while frying remaining batches.
- Let oil return to 350°F between batches.
- While chicken fries, whisk together soy sauce, rice vinegar, mirin, sesame oil, ginger, and garlic in a small bowl for the dipping sauce.
Notes
Keep the batter ice-cold and do not overmix for the crispiest results. Use a thermometer to maintain oil temperature at 350°F. Fry in small batches to avoid overcrowding. For gluten-free, substitute all-purpose flour with a 1:1 gluten-free baking flour blend.
Nutrition
- Serving Size: 4-5 strips
- Calories: 375
- Sugar: 1
- Sodium: 800
- Fat: 17
- Saturated Fat: 3
- Carbohydrates: 22
- Fiber: 1
- Protein: 32
Keywords: chicken tempura, crispy chicken, tempura, fried chicken, easy dinner, Japanese recipe, homemade tempura



