Love this? Save it for later!
Share the inspiration with your friends
The first time I made these chewy banana mochi waffles, it was a total accident. I had a bunch of spotty bananas on the counter and a bag of sweet rice flour I bought on a whim. I was craving weekend brunch, but honestly, I was too lazy to go to the store for regular flour. So I just started mixing things. I figured, mochi is chewy, bananas are soft—maybe it would work? The batter looked weirdly thick and almost gluey, and I was half-convinced I was about to ruin my waffle iron. But then the kitchen filled with this toasty, sweet smell, and when I lifted the lid, there they were. Golden brown, crispy on the edges, and perfectly soft in the middle. I took a bite, and honestly, I just stood there chewing. It was that good.
That first batch was gone in about ten minutes. My husband came downstairs in his pajamas, grabbed one off the plate, and just said, “What did you do?” without stopping to chew. That’s when I knew this wasn’t just a happy little mistake. It was a recipe I needed to make again, on purpose. I’ve tweaked it maybe four or five times since then, playing with the banana ratio and the moisture level, until the texture was exactly right. Not too gummy, not too cakey—just that signature mochi chew with real banana flavor running through every bite.
These waffles are now my go-to for lazy weekend mornings. They feel special, but they come together in one bowl with zero fancy techniques. There’s something about the way the outside gets shatteringly crisp while the inside stays soft and stretchy that just hits different. And the best part? You don’t need a special trip to an Asian grocery store. Most regular supermarkets carry sweet rice flour now, right in the baking aisle. So if you’ve been looking for a brunch recipe that feels fresh and unexpected without being complicated, these are it. Trust me on this one.
Why You’ll Love This Recipe
I’ve tested this recipe more times than I’d like to admit, and every single time, it delivers. Here’s why these chewy banana mochi waffles deserve a spot in your weekend rotation:
- Quick & Easy: From bowl to plate in under 30 minutes. No yeast, no resting time, no complicated steps.
- Simple Ingredients: You probably have most of this in your pantry right now. Sweet rice flour is the only “special” ingredient, and it lasts forever in the cupboard.
- Perfect for Weekend Brunch: These waffles feel like a treat, but they’re easy enough to make while you’re still half-asleep in your robe.
- Crowd-Pleaser: Kids love the fun chewy texture, and adults appreciate the subtle sweetness and banana flavor. I’ve served them to friends who were skeptical about “mochi waffles,” and they all asked for seconds.
- Unbelievably Delicious: The contrast between the crispy golden crust and the soft, stretchy interior is next-level. It’s comfort food with a twist, and it works.
What makes these different from every other banana waffle recipe? It’s the texture, plain and simple. Regular waffles get soft and soggy fast. These stay chewy even as they cool. The sweet rice flour creates that signature mochi bounce, while the bananas add moisture and natural sweetness. I’ve tried making them with regular all-purpose flour, and honestly, it’s just not the same. This version is the one I keep coming back to.
This recipe also hits that emotional sweet spot. It’s the kind of breakfast that makes a regular Saturday feel like a mini celebration. You don’t need a special occasion. You just need ripe bananas and twenty minutes. That’s it. And when you take that first bite and feel the warm, chewy, banana-scented goodness, you’ll understand why I couldn’t stop tweaking it until it was perfect.
What Ingredients You Will Need
This recipe uses simple, wholesome ingredients to create that unique chewy texture and bold banana flavor. Most of these are pantry staples, and the ones that aren’t are worth keeping on hand for future waffle experiments.
- Ripe Bananas (2 medium, mashed): The riper, the better. Look for bananas with lots of brown spots. They’re sweeter and easier to mash. I’ve used frozen thawed bananas in a pinch, and they work fine, just drain off any excess liquid.
- Sweet Rice Flour (1 ½ cups, 180g): This is the star ingredient. Also called glutinous rice flour or mochiko, it’s what gives the waffles their signature chew. I prefer the brand Mochiko, but any brand works. Do not substitute regular rice flour—it won’t give you the same texture.
- Large Eggs (2, room temperature): Eggs help bind the batter and add structure. Room temperature eggs mix in more evenly. If you’re in a hurry, place them in a bowl of warm water for 5 minutes.
- Whole Milk (¾ cup, 180ml): Whole milk adds richness, but you can use any milk you have. I’ve tested this with oat milk and almond milk, and both work. The texture is slightly less tender, but still delicious.
- Unsalted Butter (3 tablespoons, melted): Butter adds flavor and helps the waffles crisp up on the outside. I use unsalted so I can control the salt level. Coconut oil works as a dairy-free swap, though the flavor changes slightly.
- Granulated Sugar (2 tablespoons, 25g): Just a little to enhance the natural sweetness of the bananas. You can reduce this to 1 tablespoon if your bananas are very ripe or leave it out entirely.
- Vanilla Extract (1 teaspoon): Pure vanilla extract adds warmth and depth. Imitation vanilla works, but the real stuff makes a difference here.
- Baking Powder (1 teaspoon): This gives the waffles a little lift so they’re not too dense. Make sure your baking powder is fresh for the best results.
- Salt (¼ teaspoon): A pinch of salt balances the sweetness and brings out the banana flavor. Don’t skip it.
I always recommend using room temperature ingredients for this batter. Cold milk or cold eggs can make the batter seize up, and you’ll end up with unevenly cooked waffles. Trust me, I learned this the hard way after a batch of lumpy, sad waffles one morning.
Equipment Needed
You don’t need a lot of fancy gear for these chewy banana mochi waffles. Here’s what I use:
- Waffle Iron: Any standard waffle iron works. I use a classic round Belgian waffle maker, but square or mini waffle irons are fine too. If your waffle iron has a temperature setting, set it to medium-high. If not, just go with the standard setting.
- Mixing Bowls: One large bowl for the wet ingredients and one medium bowl for the dry ingredients. I prefer glass or stainless steel because they don’t hold onto smells.
- Whisk: A good whisk helps break up any lumps in the sweet rice flour. A fork works in a pinch, but a whisk is faster.
- Rubber Spatula: For scraping every last bit of batter out of the bowl. Mochi batter is sticky, so a silicone spatula is your friend.
- Measuring Cups and Spoons: Accurate measurements matter more with sweet rice flour than with regular flour. I use dry measuring cups for the flour and liquid measuring cups for the milk.
- Fork or Potato Masher: For mashing the bananas. I prefer a fork because it’s easier to control the texture. You want some small lumps for texture, not a completely smooth puree.
If you don’t have a waffle iron, you can actually cook this batter in a nonstick skillet like pancakes. They won’t have the same crispy pockets, but the chewy texture is still there. I’ve done this on a camping trip, and honestly, it was still pretty great.
Preparation Method
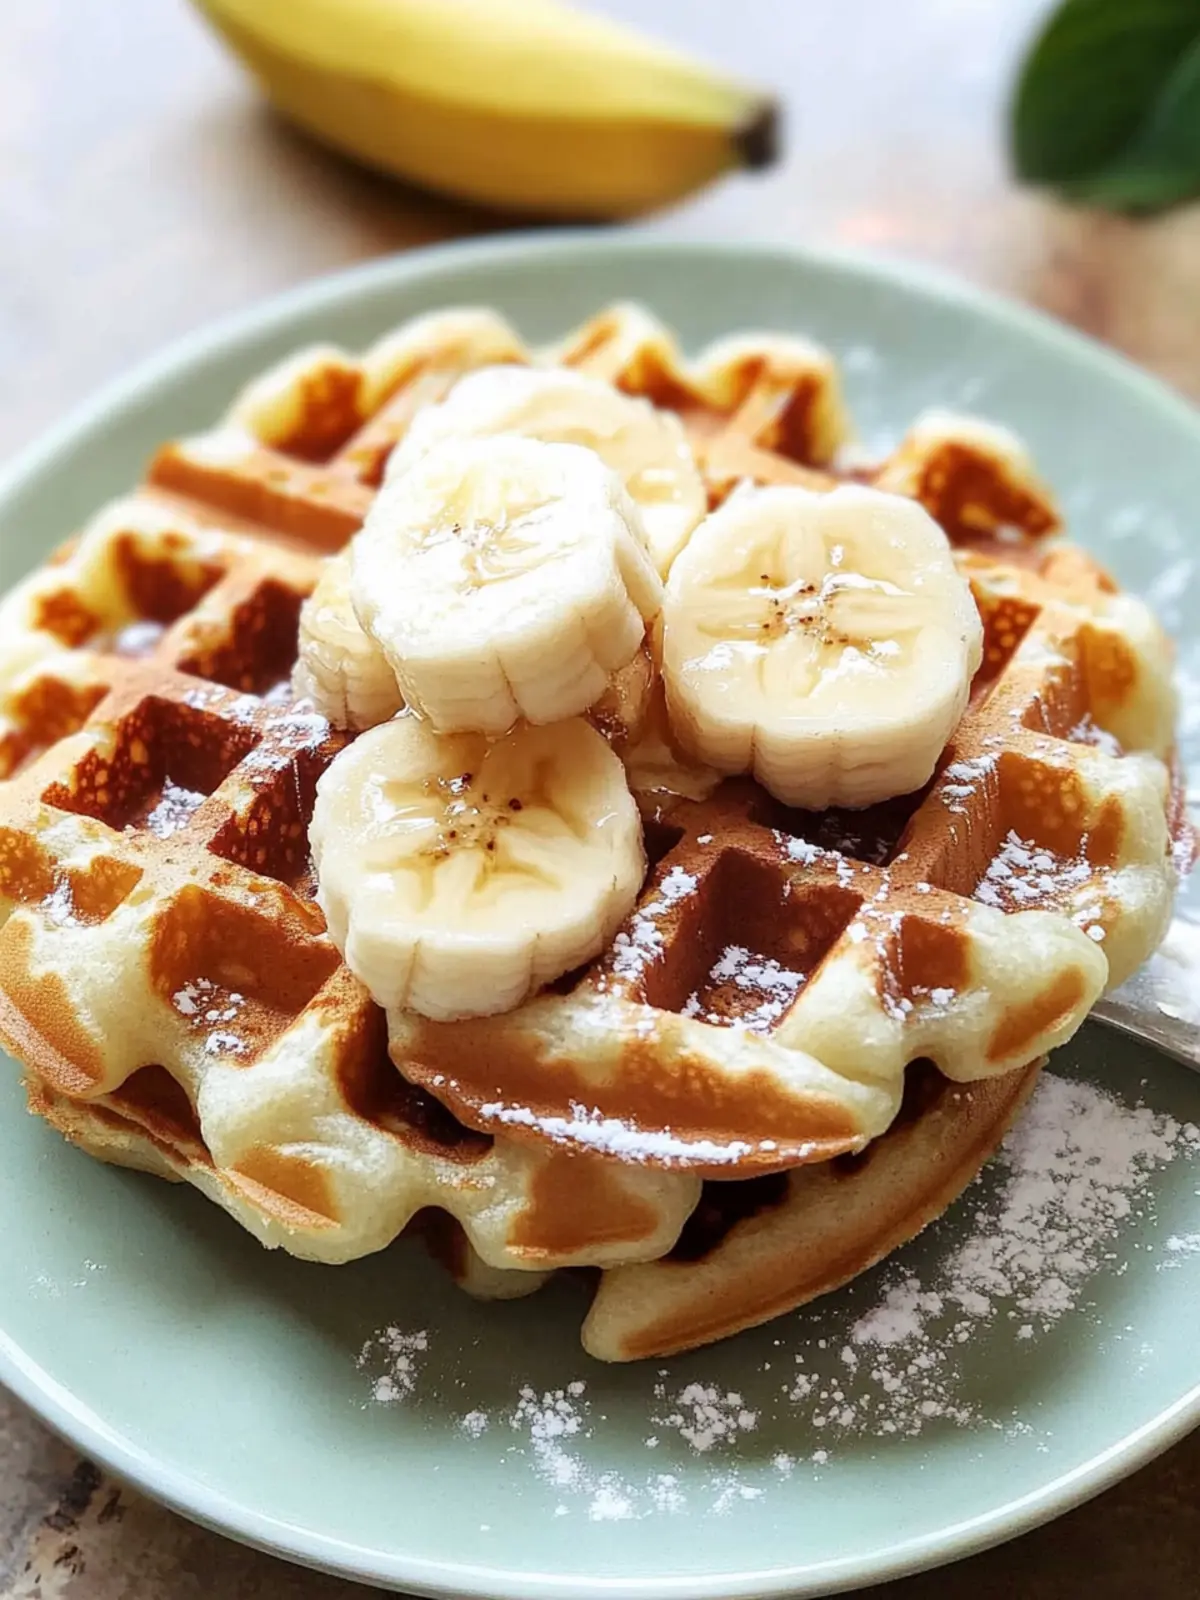
Making these waffles is straightforward, but there are a few tricks to getting that perfect chewy texture. Follow these steps, and you’ll be rewarded with the best brunch waffles you’ve ever made.
- Preheat your waffle iron. Turn it on and let it heat up while you prepare the batter. A hot waffle iron is crucial for that crispy exterior. If your iron has a light, wait until it turns green or indicates it’s ready.
- Mash the bananas. In a large mixing bowl, mash the ripe bananas with a fork until they’re mostly smooth with a few small lumps. You want about 1 cup of mashed banana. Set aside.
- Mix the wet ingredients. Add the eggs, milk, melted butter, vanilla extract, and granulated sugar to the mashed bananas. Whisk everything together until it’s well combined and smooth. The mixture will look a little thin, and that’s okay.
- Combine the dry ingredients. In a separate medium bowl, whisk together the sweet rice flour, baking powder, and salt. Make sure there are no clumps. Sweet rice flour can be a little stubborn, so don’t be afraid to really whisk it.
- Add the dry to the wet. Pour the dry ingredients into the wet mixture. Use a rubber spatula to fold everything together until just combined. Do not overmix. A few small streaks of flour are fine. The batter will be thick, sticky, and almost paste-like. That’s exactly what you want.
- Let the batter rest. This is a step I learned after a few disappointing batches. Let the batter sit for 5 minutes. Sweet rice flour needs a moment to hydrate properly. This rest time ensures the waffles are evenly chewy instead of gritty in spots.
- Grease the waffle iron. Even if your waffle iron is nonstick, give it a light spray of cooking oil or brush with melted butter. Mochi batter is sticky, and this extra step prevents any tearing when you open the lid.
- Cook the waffles. Ladle about ⅓ to ½ cup of batter onto the center of the waffle iron, depending on the size of your iron. Close the lid gently and cook for 4 to 5 minutes, or until the waffle is golden brown and releases easily from the iron. Resist the urge to open the lid too early. The steam needs to build up to create that crispy exterior.
- Keep warm. Transfer the cooked waffles to a wire rack set on a baking sheet. Place them in a 200°F (95°C) oven to keep warm while you cook the remaining batter. Do not stack them on a plate, or they’ll steam and lose their crispiness.
- Serve immediately. These waffles are best fresh and hot. The chewy texture is most pronounced right out of the iron, but they’re still delicious for up to an hour.
One thing I’ve learned: the first waffle is almost always a test waffle. Don’t be discouraged if it’s not perfect. Adjust the cooking time or batter amount as needed. By the second waffle, you’ll have the rhythm down.
Cooking Tips & Techniques
After making these chewy banana mochi waffles more times than I can count, I’ve picked up a few tricks that make a real difference. Let me save you some trial and error.
Don’t overmix the batter. This is the number one mistake I see people make. Sweet rice flour doesn’t develop gluten like regular flour, so you won’t get tough waffles from overmixing. But you can end up with a gummy, dense texture if you beat the air out of it. Fold gently, and stop as soon as the flour disappears.
Use a hot waffle iron. I cannot stress this enough. If your waffle iron isn’t hot enough, the batter will spread too much and cook slowly, resulting in a pale, soft waffle with no crispiness. Let it preheat fully, and if your iron has a temperature dial, set it to medium-high. For my iron, that’s the sweet spot between golden brown and burnt.
Don’t peek. I know it’s tempting, but opening the lid too early can cause the waffle to split or stick. Let it cook for at least 4 minutes before checking. You’ll know it’s done when steam stops coming out of the sides and the waffle releases easily when you lift the lid.
Keep them crispy. The enemy of a crispy waffle is trapped steam. Never stack hot waffles on a plate. Place them in a single layer on a wire rack in a warm oven. This keeps the air circulating around them, so they stay crunchy until you’re ready to serve.
Adjust for altitude and humidity. If you live in a humid climate, your sweet rice flour might absorb more moisture from the air. The batter might seem too thick. Just add a tablespoon of milk at a time until it reaches a spreadable consistency. At high altitudes, you might need to reduce the baking powder slightly to prevent over-rising.
I once tried to make these on a rainy day without adjusting the batter, and they came out dense and heavy. Now I always check the batter consistency before cooking. It should be thick but still spreadable, like a very thick pancake batter.
Variations & Adaptations
One of the best things about this recipe is how flexible it is. I’ve tried several variations over the months, and here are my favorites:
- Chocolate Banana Mochi Waffles: Add 2 tablespoons of unsweetened cocoa powder to the dry ingredients. Reduce the sweet rice flour to 1 ¼ cups. The chocolate pairs beautifully with the banana, and the kids absolutely love these.
- Vegan Version: Replace the eggs with 2 flax eggs (2 tablespoons ground flaxseed mixed with 6 tablespoons water, let sit for 5 minutes). Use melted coconut oil instead of butter, and swap the milk for oat milk or almond milk. The texture is slightly less tender, but the chewy mochi quality is still there.
- Gluten-Free Confirmation: This recipe is naturally gluten-free since it uses sweet rice flour. Just double-check that your baking powder is labeled gluten-free, as some brands contain wheat starch.
- Add-In Ideas: Fold in ½ cup of chocolate chips, chopped toasted walnuts, or fresh blueberries right before cooking. I love adding a handful of toasted coconut flakes for extra texture. For a savory-sweet twist, try adding ¼ teaspoon of cinnamon and a pinch of nutmeg to the dry ingredients.
- Savory Version: Reduce the sugar to 1 teaspoon, omit the vanilla, and add ½ cup of shredded cheddar cheese and 2 tablespoons of chopped chives. The chewy waffle base works surprisingly well with savory flavors. I’ve served these with fried eggs and hot sauce for a unique brunch.
My personal favorite variation is the chocolate chip version. I make it whenever I have overripe bananas and a chocolate craving. It feels like dessert for breakfast, but with way less guilt.
Serving & Storage Suggestions
These chewy banana mochi waffles are best served fresh, but they’re still pretty great the next day. Here’s how I like to serve and store them.
Serving: Serve these waffles warm, straight from the iron. I love topping them with a drizzle of pure maple syrup, a pat of salted butter, and a few slices of fresh banana. A dusting of powdered sugar makes them look extra fancy for guests. For a more indulgent brunch, try them with a dollop of whipped cream and a sprinkle of cinnamon. They also pair beautifully with a side of crispy bacon or scrambled eggs for a sweet-and-savory combo.
Storage: If you have leftovers (unlikely, but possible), let the waffles cool completely on a wire rack. Place them in a single layer in an airtight container, separated by parchment paper. They’ll keep in the refrigerator for up to 3 days. To freeze, wrap each waffle individually in plastic wrap, then place them in a freezer-safe bag. They’ll keep for up to 2 months.
Reheating: The best way to reheat these is in a toaster or toaster oven. Pop them in until they’re hot and the edges crisp up again, about 2 to 3 minutes. A microwave will make them soft and chewy, but you’ll lose the crispy exterior. If you’re reheating from frozen, there’s no need to thaw—just toast them straight from the freezer.
One thing I’ve noticed: the flavor actually gets better after a day in the fridge. The banana flavor deepens and becomes more pronounced. I’ve been known to make a double batch just so I can have “leftovers” for a quick weekday breakfast.
Nutritional Information & Benefits
Here’s an approximate nutritional breakdown for one waffle (based on a recipe yielding 4 waffles):
- Calories: 290
- Fat: 10g
- Carbohydrates: 45g
- Fiber: 2g
- Sugar: 12g
- Protein: 6g
These waffles offer some surprising health benefits. Bananas are packed with potassium and vitamin B6, which support heart health and energy levels. Sweet rice flour is a good source of quick-digesting carbohydrates, making these waffles a great pre-workout or post-workout snack. Plus, this recipe is naturally gluten-free, so it’s safe for those with celiac disease or gluten sensitivity.
That said, these are still a treat. They’re not exactly health food, but they’re made with real, whole ingredients. I love that I can feel good about serving them to my family on a weekend morning. If you’re looking to cut back on sugar, you can reduce the added sugar to 1 tablespoon or leave it out entirely, especially if your bananas are very ripe.
Conclusion
These chewy banana mochi waffles have become a staple in my weekend brunch rotation, and I think they deserve a spot in yours too. They’re quick, easy, and deliver a texture you just can’t get from regular waffles. The combination of crispy edges and soft, stretchy centers is something special. And the banana flavor? It’s the perfect level of sweet without being overpowering.
I love that this recipe is forgiving enough for beginners but unique enough to impress experienced cooks. You can customize it with mix-ins, toppings, or even go savory. That’s the beauty of a good base recipe—it’s a starting point, not a rulebook.
I’d love to hear how yours turn out. Did you try a variation? Did you add chocolate chips or go with the classic version? Drop a comment below and let me know. And if you enjoyed this recipe, share it with a friend who needs a new brunch idea. Happy cooking, and don’t forget to save room for seconds.
Frequently Asked Questions
Can I use regular rice flour instead of sweet rice flour?
No, regular rice flour won’t give you the same chewy mochi texture. Sweet rice flour, also called glutinous rice flour or mochiko, is what creates that signature stretchy quality. Regular rice flour will result in a more crumbly, dense waffle.
Can I make the batter ahead of time?
I don’t recommend it. The batter thickens as it sits because the sweet rice flour continues to absorb moisture. If you need to prep ahead, mash the bananas and measure the dry ingredients the night before. Mix the batter fresh right before cooking for the best texture.
Why are my waffles sticking to the iron?
This usually happens if the waffle iron isn’t hot enough or if it needs more grease. Make sure your iron is fully preheated, and give it a good spray of cooking oil before each waffle. Also, let the waffle cook for the full 4-5 minutes before opening the lid.
Can I use frozen bananas?
Yes, but you’ll need to thaw them first and drain off any excess liquid. Frozen bananas release a lot of water as they thaw, and too much liquid can make the batter too thin. Mash them well and proceed with the recipe as written.
How do I know when the waffle is done?
The waffle is done when it’s golden brown and releases easily from the iron. You’ll also notice that steam stops coming out of the sides of the waffle iron. If you open the lid and the waffle sticks or looks pale, close it and cook for another minute or two.
Pin This Recipe!
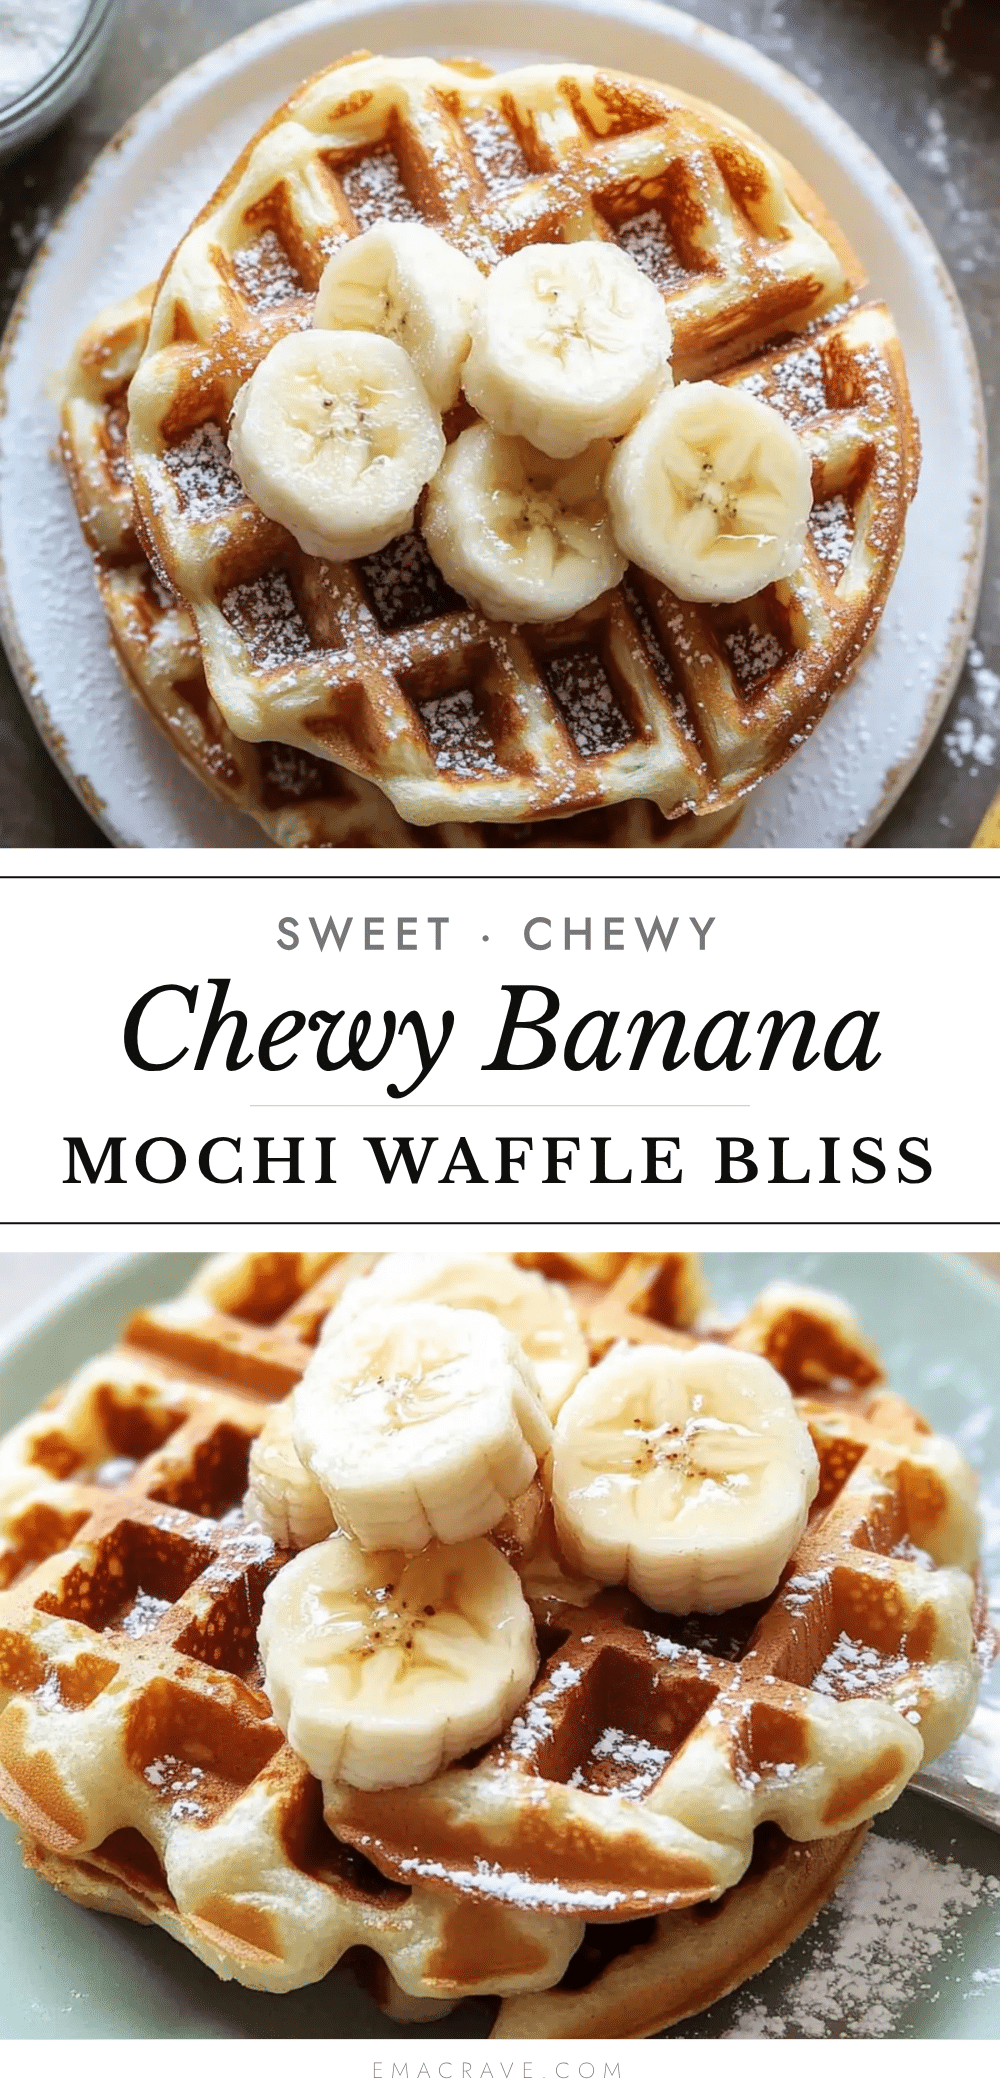
Best Chewy Banana Mochi Waffles for Easy Brunch

These chewy banana mochi waffles are a quick and easy brunch recipe that delivers a unique texture—crispy on the outside, soft and stretchy on the inside. Made with sweet rice flour and ripe bananas, they’re naturally gluten-free and perfect for lazy weekend mornings.
- Prep Time: 10 minutes
- Cook Time: 15 minutes
- Total Time: 25 minutes
- Yield: 4 servings 1x
- Category: Brunch
- Cuisine: American
Ingredients
- 2 medium ripe bananas, mashed (about 1 cup)
- 1 ½ cups (180g) sweet rice flour (e.g., Mochiko)
- 2 large eggs, room temperature
- ¾ cup (180ml) whole milk
- 3 tablespoons unsalted butter, melted
- 2 tablespoons (25g) granulated sugar
- 1 teaspoon vanilla extract
- 1 teaspoon baking powder
- ¼ teaspoon salt
Instructions
- Preheat your waffle iron to medium-high heat.
- In a large bowl, mash the ripe bananas with a fork until mostly smooth with a few small lumps.
- Add the eggs, milk, melted butter, vanilla extract, and granulated sugar to the mashed bananas. Whisk until well combined and smooth.
- In a separate medium bowl, whisk together the sweet rice flour, baking powder, and salt until no clumps remain.
- Pour the dry ingredients into the wet mixture. Use a rubber spatula to fold together until just combined. Do not overmix. The batter will be thick, sticky, and paste-like.
- Let the batter rest for 5 minutes to allow the sweet rice flour to hydrate.
- Lightly grease the waffle iron with cooking spray or melted butter.
- Ladle about ⅓ to ½ cup of batter onto the center of the waffle iron. Close the lid and cook for 4 to 5 minutes, or until golden brown and the waffle releases easily from the iron.
- Transfer cooked waffles to a wire rack set on a baking sheet and keep warm in a 200°F (95°C) oven while cooking remaining batter. Do not stack them.
- Serve immediately with desired toppings.
Notes
For best results, use very ripe bananas with brown spots. Do not substitute regular rice flour for sweet rice flour. Let the batter rest for 5 minutes before cooking. Keep waffles crispy by placing them on a wire rack in a warm oven, not stacked on a plate. The first waffle is often a test waffle—adjust cooking time or batter amount as needed.
Nutrition
- Serving Size: 1 waffle
- Calories: 290
- Sugar: 12
- Sodium: 200
- Fat: 10
- Saturated Fat: 5
- Carbohydrates: 45
- Fiber: 2
- Protein: 6
Keywords: banana mochi waffles, chewy waffles, gluten-free waffles, mochi waffles, banana waffles, easy brunch recipe



