Love this? Save it for later!
Share the inspiration with your friends
I was standing in my kitchen, staring at a half-eaten Butterfinger bar on the counter, wondering what to do with it. It was one of those afternoons where nothing was going right—the kids were cranky, the laundry was piled up, and I needed something, anything, to turn the day around. Baking usually does that for me, but I didn’t have the energy for a complicated project.
So I grabbed my go-to oatmeal cookie recipe, crumbled up that candy bar, and tossed it in on a whim. Honestly? I wasn’t expecting much. Oatmeal cookies are great, but they can be a little predictable, you know? But the moment those Butterfinger Oatmeal Cookies came out of the oven, the smell alone made me forget all about the laundry. The kitchen smelled like butter, brown sugar, and that unmistakable peanut butter-chocolate magic.
I let them cool for maybe three minutes before I caved and took a bite. The edges were perfectly crisp, the center was soft and chewy, and those little chunks of Butterfinger melted into gooey pockets of caramel and chocolate. I texted my sister a photo, and she called me immediately. “You have to share that recipe,” she said. And just like that, these cookies became a thing in my house. They’re the kind of cookie that makes people close their eyes when they eat them—and that’s not something I say lightly.
Why You’ll Love This Recipe
Let me tell you why these cookies are different from every other oatmeal cookie you’ve tried. I’ve tested this recipe about six times to get it just right—because I’m picky about texture, and I knew you would be too. Here’s what makes them special:
- Quick & Easy : From start to finish, these come together in about 25 minutes. No chilling time required, which is a game-changer when you need cookies now.
- Simple Ingredients : You probably have everything except the Butterfinger bars. No fancy extracts, no obscure flours—just real, pantry-friendly stuff.
- Perfect for Any Occasion : I’ve brought these to potlucks, bake sales, and even a book club meeting where they disappeared in minutes. They work for casual snacking and special events alike.
- Crowd-Pleaser : My kids devour them, my husband sneaks them before dinner, and my neighbor asked for the recipe twice. That’s the kind of feedback you can trust.
- Unbelievably Delicious : The combination of chewy oats, buttery dough, and crunchy-crumbly Butterfinger pieces is pure comfort food. It’s the kind of cookie that makes you reach for a second one before you’ve finished the first.
What really sets this recipe apart is the texture. The secret is in how you prepare the oats and the ratio of butter to brown sugar. It gives you that perfect balance—crisp on the outside, tender in the middle, with just enough candy crunch to keep every bite interesting. Plus, the Butterfinger doesn’t melt away completely; it stays in little bits that add both flavor and texture. It’s not just another oatmeal cookie—it’s the one you’ll make again and again.
What Ingredients You Will Need
This recipe uses simple, wholesome ingredients to deliver big flavor and satisfying texture without any fuss. Most of these are pantry staples, which makes it easy to whip up a batch whenever the craving hits. Here’s what you’ll need:
For the Cookie Dough
- 1 cup (2 sticks) unsalted butter, softened (I use Land O’Lakes for consistent results)
- 1 cup packed light brown sugar (gives the cookies a deeper flavor and chewy texture)
- 1/2 cup granulated sugar (adds sweetness and helps with browning)
- 2 large eggs, room temperature (room temp eggs incorporate better and create a lighter dough)
- 1 teaspoon vanilla extract (pure vanilla makes a difference—I prefer Nielsen-Massey)
- 1 1/2 cups all-purpose flour (spooned and leveled for accuracy)
- 1 teaspoon baking soda (helps the cookies spread just right)
- 1/2 teaspoon salt (balances the sweetness; don’t skip it)
- 1 teaspoon ground cinnamon (optional but highly recommended—it pairs beautifully with the candy)
- 3 cups old-fashioned rolled oats (not quick oats—they give the cookies the best chewy texture)
For the Candy Mix-In
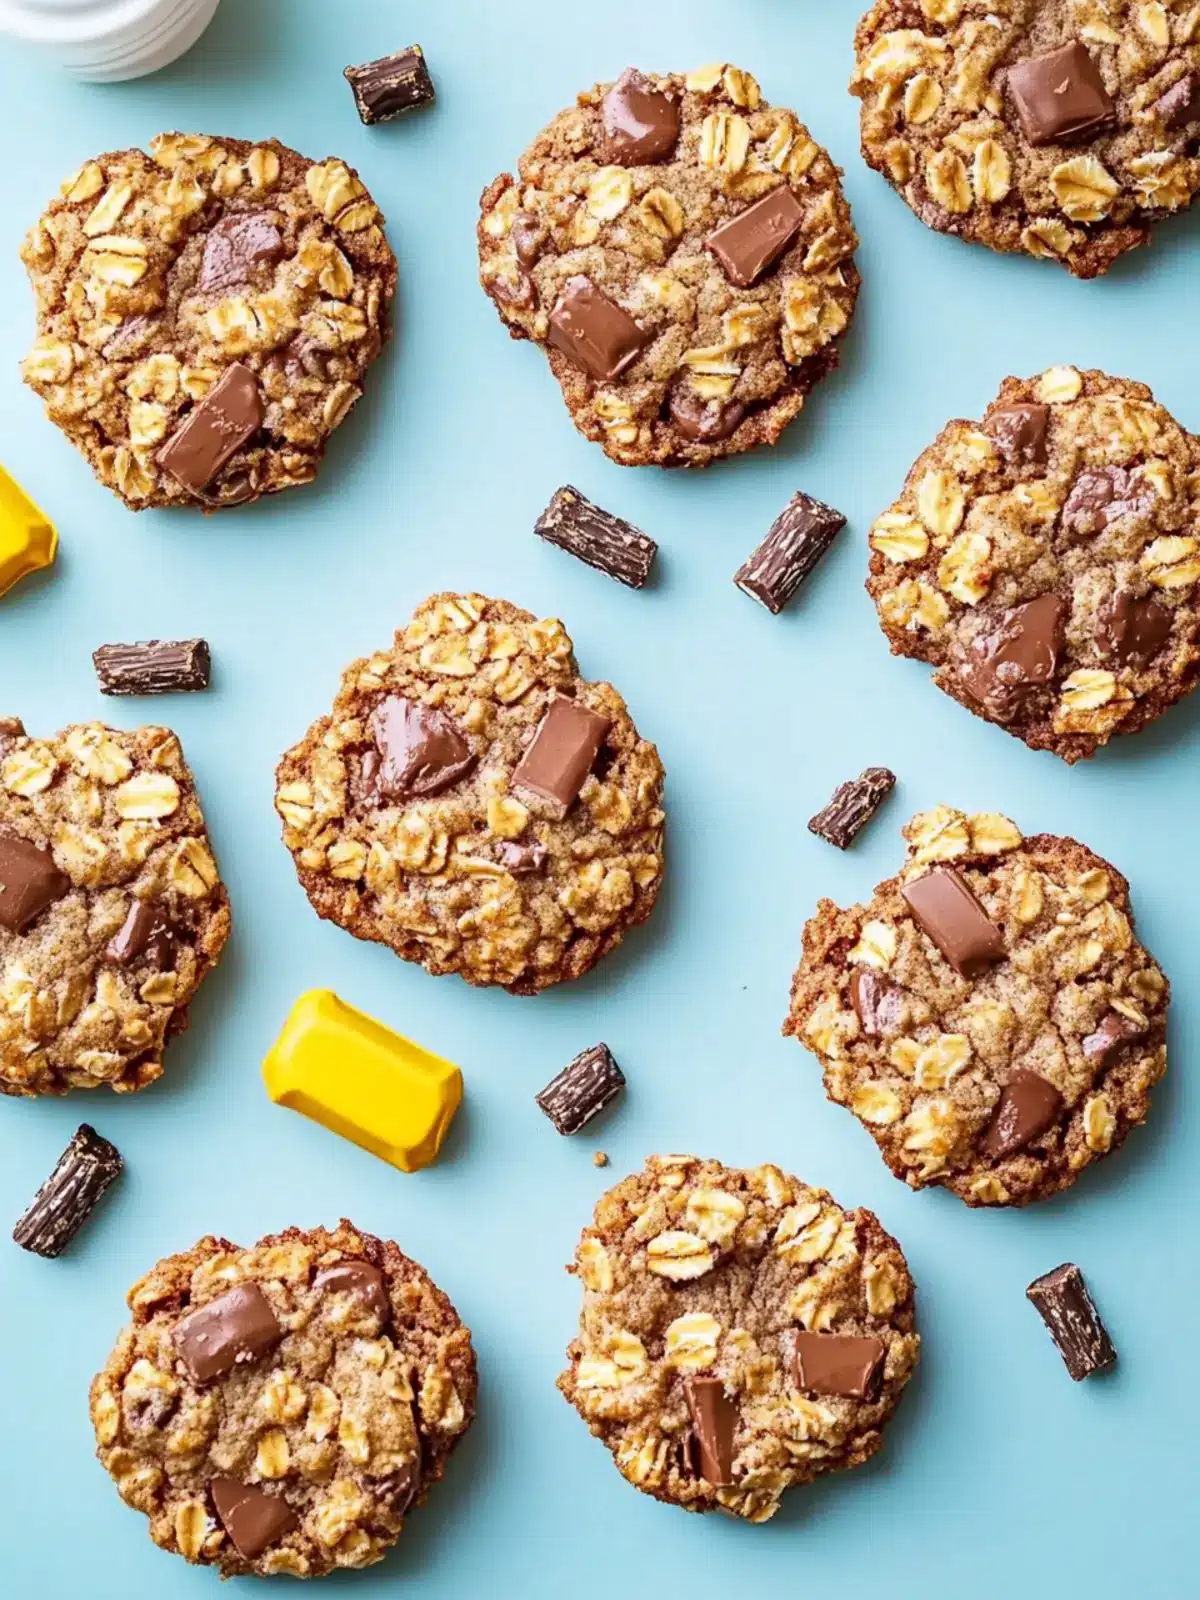
- 1 1/2 cups chopped Butterfinger bars (about 4-5 full-size bars; I recommend using fresh bars for the best crunch)
Ingredient Tips & Substitutions: If you’re out of brown sugar, you can mix 1 cup of granulated sugar with 2 tablespoons of molasses as a substitute. For a dairy-free version, use vegan butter sticks (like Earth Balance) and make sure your candy bars are dairy-free—some varieties are. And if you can’t find Butterfinger, try using chopped peanut butter cups or a crunchy peanut butter candy bar. Just keep in mind that the texture will be slightly different. For the oats, stick with old-fashioned rolled oats—quick oats will make the cookies too soft and dense, and steel-cut oats won’t soften enough during baking.
I also recommend breaking the Butterfinger bars into small chunks rather than crushing them into dust. You want distinct pieces that melt into little pockets of caramel and chocolate. Trust me on this—I learned the hard way after making a batch where the candy basically disappeared into the dough.
Equipment Needed
You don’t need anything fancy to make these cookies, which is part of why I love this recipe. Here’s what you’ll need:
- Large mixing bowls (one for dry ingredients, one for wet)
- Electric hand mixer or stand mixer (a hand mixer works perfectly; I use my KitchenAid stand mixer when I’m feeling fancy)
- Rubber spatula for folding in the oats and candy
- Measuring cups and spoons (dry and liquid measures, though for this recipe dry cups work fine)
- Baking sheets (I like using light-colored aluminum sheets for even browning)
- Parchment paper or silicone baking mats (parchment paper is my go-to—it prevents sticking and makes cleanup a breeze)
- Wire cooling rack (essential for getting those perfectly crisp edges)
- Cookie scoop (a 1.5-tablespoon scoop gives you consistent cookies; if you don’t have one, just use two spoons)
If you don’t have a cookie scoop, you can use a tablespoon measure or just eyeball it. And if you’re using dark baking sheets, keep an eye on the cookies—they tend to brown faster. I learned that after burning a batch early on, and now I always line my sheets with parchment for extra protection.
Preparation Method
Alright, let’s get baking. Follow these steps carefully, and you’ll have the best batch of Butterfinger Oatmeal Cookies you’ve ever made.
- Preheat your oven to 350°F (175°C). Line two baking sheets with parchment paper or silicone mats. This step is non-negotiable—parchment paper ensures even baking and easy removal.
- Cream the butter and sugars together. In a large bowl, beat the softened butter, brown sugar, and granulated sugar together on medium speed for about 2-3 minutes, until the mixture is light, fluffy, and pale in color. You’ll notice it looks like a sandy, creamy paste. Scrape down the sides of the bowl with a spatula halfway through.
- Add the eggs and vanilla. Crack in the eggs one at a time, beating well after each addition. Then stir in the vanilla extract. The mixture should look smooth and glossy. If it looks curdled, don’t panic—just keep mixing and it will come together.
- Whisk the dry ingredients. In a separate medium bowl, whisk together the flour, baking soda, salt, and cinnamon (if using). This ensures everything is evenly distributed so you don’t end up with a pocket of baking soda in one cookie.
- Combine wet and dry ingredients. Gradually add the dry mixture to the wet mixture, mixing on low speed or folding with a spatula. Mix just until no streaks of flour remain. Overmixing will make the cookies tough, so stop as soon as it comes together.
- Fold in the oats. Add the rolled oats and fold them in gently with a rubber spatula. The dough will be thick and a little sticky—that’s exactly what you want.
- Add the Butterfinger pieces. Gently fold in the chopped Butterfinger chunks. Make sure they’re evenly distributed throughout the dough. You should see little specks of candy in every scoop.
- Scoop the dough. Using a cookie scoop or two spoons, drop rounded tablespoons of dough onto the prepared baking sheets, spacing them about 2 inches apart. I usually get about 12 cookies per sheet. Don’t flatten them—they’ll spread naturally in the oven.
- Bake for 10-12 minutes. Bake one sheet at a time for best results. The cookies are done when the edges are golden brown and the centers look slightly underdone and puffy. They’ll continue to set as they cool on the sheet. If you like softer cookies, aim for 10 minutes; for crisper edges, go for 12.
- Cool on the sheet for 5 minutes. This is crucial. Let the cookies rest on the hot baking sheet for exactly 5 minutes before transferring them to a wire rack. This allows the centers to finish setting without overbaking. Then move them to a wire rack to cool completely.
Pro tip: If you want extra-thick cookies, chill the dough for 30 minutes before scooping. It’s not required, but it does give you a slightly puffier cookie with a more pronounced chewy center.
Cooking Tips & Techniques
After making these cookies more times than I care to admit, I’ve picked up a few tricks that make a real difference. Here’s what I’ve learned:
Don’t overmix the dough. This is the number one mistake people make with oatmeal cookies. Once you add the flour, mix only until it’s incorporated. Overmixing develops the gluten, which leads to tough, dense cookies instead of soft, tender ones. I speak from experience—I had a batch that came out like hockey pucks, and it was heartbreaking.
Chop the Butterfinger into uniform pieces. You want some smaller bits that melt into the dough and some larger chunks that stay intact. I roughly chop the bars with a sharp knife, then give them a few extra chops until the pieces are about the size of chocolate chips. Avoid crushing them into a powder—you lose that wonderful texture.
Use room temperature ingredients. Cold eggs or cold butter won’t cream together properly, which affects the texture of your cookies. Take the butter and eggs out of the fridge about 30 minutes before you start baking. If you’re in a rush, you can soften butter in the microwave for about 10 seconds, but be careful not to melt it.
Rotate your baking sheet halfway through. Ovens can have hot spots, so rotating the sheet halfway through baking ensures even browning. I set a timer for 5 minutes, rotate, and then check again at the 10-minute mark.
Let them cool completely before storing. I know it’s tempting to dive in while they’re warm, but if you’re planning to store them, let them cool completely first. Warm cookies stored in an airtight container will steam and become soggy. Trust me, I’ve made that mistake more than once.
Variations & Adaptations
One of the best things about this recipe is how easy it is to customize. Here are some variations I’ve tried and loved:
Peanut Butter Lover’s Version
Add 1/3 cup of creamy peanut butter to the wet ingredients when you cream the butter and sugars. This gives the cookies an extra layer of peanut butter flavor that pairs beautifully with the Butterfinger. I tried this on a whim, and now it’s my husband’s favorite version.
Chocolate Drizzle Finish
Once the cookies have cooled completely, melt 1/2 cup of semi-sweet chocolate chips with 1 teaspoon of coconut oil and drizzle it over the tops. Let the chocolate set for about 20 minutes. It adds a bakery-style touch that makes these cookies look incredibly impressive for parties or gifts.
Gluten-Free Adaptation
Substitute the all-purpose flour with a 1:1 gluten-free baking flour blend (I use Bob’s Red Mill). Make sure your oats are certified gluten-free, and check that your Butterfinger bars are gluten-free as well. The texture will be slightly more delicate, but they still taste amazing.
Healthier Twist
Swap half the butter for unsweetened applesauce (use 1/2 cup butter and 1/2 cup applesauce). Reduce the granulated sugar to 1/4 cup and use a sugar substitute like monk fruit sweetener. The cookies will be a bit softer and less sweet, but they’re still delicious—and you can feel a little better about having a second one.
Seasonal Variation
In the fall, add 1/2 teaspoon of pumpkin pie spice along with the cinnamon. The warm spices complement the caramel notes in the Butterfinger beautifully. I made a batch for Thanksgiving last year, and they were gone before the turkey was even carved.
Serving & Storage Suggestions
These cookies are best served slightly warm, when the Butterfinger pieces are still a little melty and the edges are perfectly crisp. I like to serve them with a cold glass of milk or a hot cup of coffee. If you’re feeling indulgent, try them with a scoop of vanilla ice cream for an impromptu ice cream sandwich—it’s life-changing.
For storage, place completely cooled cookies in an airtight container at room temperature. They’ll stay fresh for up to 5 days—though in my house, they rarely last that long. If you want to keep them extra soft, add a slice of bread to the container; the cookies will absorb the moisture and stay tender.
These cookies freeze beautifully. Place them in a single layer in a freezer-safe bag or container, separated by parchment paper, and freeze for up to 3 months. When you’re ready to enjoy them, let them thaw at room temperature for about 15 minutes, or pop them in the microwave for 10-15 seconds for that fresh-from-the-oven feel.
One thing I’ve noticed: the flavors actually get better after a day or two. The caramel and chocolate from the Butterfinger seem to meld with the oat flavor, creating an even more delicious cookie. So don’t be afraid to make them a day ahead—they’ll still be incredible.
Nutritional Information & Benefits
Here’s the estimated nutritional breakdown for one cookie (based on a batch of 24 cookies):
| Nutrient | Amount per Cookie |
|---|---|
| Calories | 185 |
| Total Fat | 9g |
| Saturated Fat | 5g |
| Cholesterol | 30mg |
| Sodium | 115mg |
| Total Carbohydrates | 24g |
| Dietary Fiber | 2g |
| Sugars | 14g |
| Protein | 3g |
While these cookies are definitely a treat, they do offer some nutritional benefits. The oats provide soluble fiber, which supports heart health and helps keep you full longer. The Butterfinger adds a small amount of protein from the peanuts. And let’s be honest—sometimes you just need a cookie, and that’s okay. I believe in balance, and these cookies are part of a happy, well-lived life.
If you have peanut allergies, please note that Butterfinger bars contain peanuts. For a nut-free version, try using a crunchy toffee bar instead, like Skor or Heath bars. Always check labels to ensure they’re produced in a nut-free facility if allergies are a concern.
Conclusion
These Butterfinger Oatmeal Cookies have become a staple in my kitchen for good reason. They’re easy to make, use simple ingredients, and deliver that perfect combination of chewy oats and crunchy candy in every bite. Whether you’re baking for a crowd or just treating yourself on a tough day, these cookies never disappoint.
I’d love to hear how they turn out for you. Did you try any of the variations? Did you add your own twist? Drop a comment below and let me know—I read every single one, and your feedback helps me create even better recipes. And if you loved them, share this recipe with a friend who needs a little cookie magic in their life. Happy baking, friends!
Frequently Asked Questions
Can I use quick oats instead of old-fashioned oats?
I don’t recommend it. Quick oats are more processed and will absorb moisture differently, resulting in a denser, softer cookie that lacks the chewy texture old-fashioned oats provide. Stick with rolled oats for the best results.
Why did my cookies spread too much?
This usually happens if the butter was too soft or melted, or if the dough wasn’t chilled. Make sure your butter is softened but still cool to the touch, and if your kitchen is warm, chill the dough for 20-30 minutes before baking. Also, check that your baking soda is fresh—old baking soda loses its leavening power.
Can I freeze the cookie dough?
Absolutely! Scoop the dough into balls, place them on a parchment-lined baking sheet, and freeze until solid. Then transfer the frozen dough balls to a freezer bag. When you’re ready to bake, add 1-2 extra minutes to the baking time. No need to thaw first.
How do I make these cookies more crispy?
For crispier cookies, bake them for 12-13 minutes and let them cool completely on the baking sheet before transferring. You can also reduce the brown sugar slightly and increase the granulated sugar, as granulated sugar promotes more spreading and crisping.
Can I use a different candy bar?
Yes! This recipe works great with chopped Snickers, Reese’s Peanut Butter Cups, or Heath bars. Just keep in mind that different candies have different melting points, so the texture may vary slightly. I’ve tried it with chopped Snickers, and it was fantastic—though the caramel can get a bit sticky, so handle with care.
Pin This Recipe!
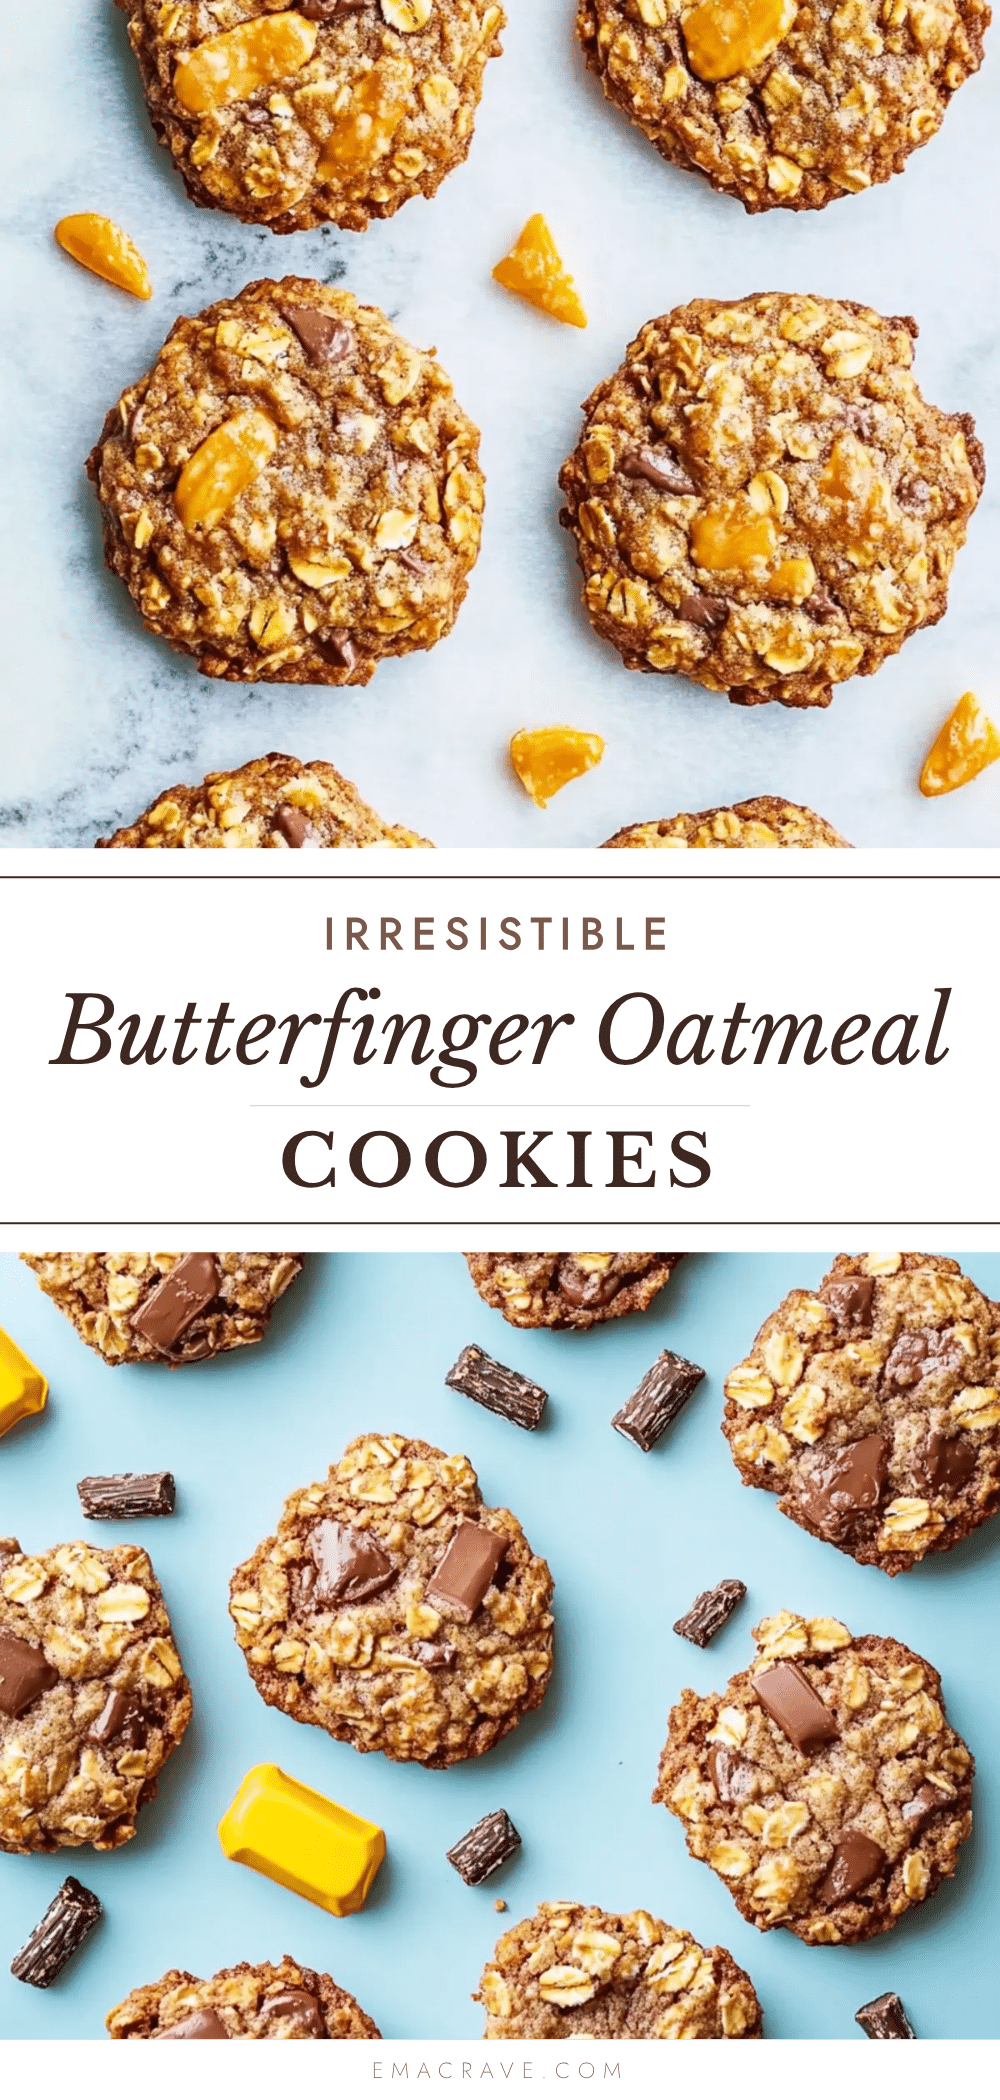
Best Butterfinger Oatmeal Cookies Recipe – Easy & Irresistible

These Butterfinger Oatmeal Cookies are the perfect combination of chewy oats and crunchy candy, with crisp edges and a soft, tender center. Quick and easy to make with simple ingredients, they’re a crowd-pleaser for any occasion.
- Prep Time: 15 minutes
- Cook Time: 12 minutes
- Total Time: 27 minutes
- Yield: 24 servings 1x
- Category: Dessert
- Cuisine: American
Ingredients
- 1 cup (2 sticks) unsalted butter, softened
- 1 cup packed light brown sugar
- 1/2 cup granulated sugar
- 2 large eggs, room temperature
- 1 teaspoon vanilla extract
- 1 1/2 cups all-purpose flour
- 1 teaspoon baking soda
- 1/2 teaspoon salt
- 1 teaspoon ground cinnamon (optional)
- 3 cups old-fashioned rolled oats
- 1 1/2 cups chopped Butterfinger bars (about 4–5 full-size bars)
Instructions
- Preheat your oven to 350°F (175°C). Line two baking sheets with parchment paper or silicone mats.
- In a large bowl, beat the softened butter, brown sugar, and granulated sugar together on medium speed for about 2-3 minutes, until light, fluffy, and pale in color. Scrape down the sides of the bowl halfway through.
- Add the eggs one at a time, beating well after each addition. Stir in the vanilla extract until smooth and glossy.
- In a separate medium bowl, whisk together the flour, baking soda, salt, and cinnamon (if using).
- Gradually add the dry mixture to the wet mixture, mixing on low speed or folding with a spatula until just combined. Do not overmix.
- Fold in the rolled oats gently with a rubber spatula until evenly distributed.
- Gently fold in the chopped Butterfinger chunks until evenly distributed throughout the dough.
- Using a cookie scoop or two spoons, drop rounded tablespoons of dough onto the prepared baking sheets, spacing them about 2 inches apart. Do not flatten.
- Bake one sheet at a time for 10-12 minutes, until the edges are golden brown and the centers look slightly underdone and puffy.
- Let the cookies cool on the baking sheet for 5 minutes, then transfer to a wire rack to cool completely.
Notes
For extra-thick cookies, chill the dough for 30 minutes before scooping. The flavors improve after a day or two. Store in an airtight container at room temperature for up to 5 days, or freeze for up to 3 months.
Nutrition
- Serving Size: 1 cookie
- Calories: 185
- Sugar: 14
- Sodium: 115
- Fat: 9
- Saturated Fat: 5
- Carbohydrates: 24
- Fiber: 2
- Protein: 3
Keywords: Butterfinger cookies, oatmeal cookies, easy cookie recipe, candy cookies, peanut butter cookies, chocolate cookies, quick cookies



