Love this? Save it for later!
Share the inspiration with your friends
I pulled a half-baked tray of these pumpkin banana bread bars out of the oven at 8:47 PM on a Tuesday. My kitchen smelled like a candle aisle had exploded—in the best way—and I was still wearing the sweater I’d spilled coffee on that morning. Honestly, I wasn’t trying to create anything special. I had one overripe banana on the counter, half a can of pumpkin leftover from a weekend experiment with creamy pumpkin lasagna rolls, and zero energy to make anything complicated. So I dumped them into one bowl, threw in some fall spices, and poured the whole thing into a square pan. No mixer. No fuss. I figured it would be edible at best.
What came out of that pan was the kind of dessert that makes you stop mid-bite and just stare at it. The edges were perfectly chewy, the center was soft and almost custard-like, and that pumpkin-banana combo? It tasted like someone figured out how to bake a cozy sweater. I ate two bars standing at the counter—no plate, no shame. By the next morning, my husband had already asked if I could “please make those again before the pumpkin season ends.” That’s when I knew this wasn’t just a happy accident. It was a keeper. A recipe that proves you don’t need fancy techniques or a dozen bowls to make something that feels like a hug.
Now I make these pumpkin banana bread bars every single week during fall. Sometimes I double the batch just so we have some stashed in the freezer for lazy Sunday mornings. And every time I pull them out, someone asks for the recipe. So here it is—the easiest, most forgiving, ridiculously delicious fall dessert you’ll make all season.
Why You’ll Love This Recipe
These pumpkin banana bread bars aren’t just another dessert recipe. They’re the kind of thing you’ll find yourself making on repeat, and here’s why they stand out from the crowd:
- One Bowl Wonder: No stand mixer required. No sifting. No nonsense. Just one bowl, a whisk, and about ten minutes of active work.
- Perfectly Moist Every Time: The combination of pumpkin puree and ripe banana creates a texture that’s almost magic—dense enough to hold together, but soft enough to melt in your mouth.
- Pantry-Friendly Ingredients: You probably have everything you need right now. No trips to specialty stores or weird ingredients you’ll never use again.
- Fall Flavors Without the Fuss: All the cozy pumpkin spice vibes you crave, but in bar form. No rolling, no chilling, no complicated steps.
- Crowd-Pleasing Sweetness: Not too sweet, but sweet enough. The banana adds natural sugar, so you can actually taste the pumpkin and spices instead of just sugar.
- Freezer-Friendly: These bars freeze beautifully. I always make a double batch and tuck half away for those “I need something sweet right now” moments.
I’ve tested this recipe more times than I care to admit. The first version was too wet. The second was too dry. But this one? This is the Goldilocks version—just right. The trick is the ratio of pumpkin to banana. Too much pumpkin and you get a soggy bar. Too much banana and it overpowers the pumpkin entirely. This balance lets both flavors shine without fighting each other.
There’s something deeply satisfying about pulling a pan of these out of the oven. The kitchen smells like a bakery, the edges are perfectly golden, and you know you’re about to eat something that feels both indulgent and wholesome. It’s the kind of dessert that makes you close your eyes after the first bite—not because it’s fancy, but because it tastes like home.
What Ingredients You Will Need
This recipe uses simple, wholesome ingredients that work together to create something unexpectedly special. Most of these are probably sitting in your kitchen right now.
- 1 ½ cups all-purpose flour – Spoon and level for best results. Too much flour makes these bars dense and dry.
- 1 teaspoon baking soda – Helps the bars rise and gives them that soft, tender crumb.
- ½ teaspoon baking powder – Adds a little extra lift without making them cakey.
- 1 teaspoon pumpkin pie spice – I use store-bought for convenience, but homemade works beautifully too.
- ½ teaspoon ground cinnamon – Because you can never have too much cinnamon in a fall recipe.
- ¼ teaspoon salt – Balances the sweetness and brings out the warm spices.
- ½ cup unsalted butter, melted – Melted butter gives these bars a richer flavor and softer texture than oil. Let it cool slightly before mixing.
- ¾ cup packed light brown sugar – Adds moisture and a subtle molasses flavor that pairs perfectly with pumpkin.
- ¼ cup granulated sugar – Helps with browning and adds just enough sweetness.
- 2 large eggs, room temperature – Room temperature eggs blend more evenly into the batter. If you forget to take them out, place them in warm water for 5 minutes.
- 1 teaspoon vanilla extract – Pure vanilla, not imitation, if you have it. It makes a difference.
- ¾ cup pumpkin puree – Not pumpkin pie filling. Make sure you grab the 100% pure pumpkin. I prefer Libby’s for consistent texture.
- 1 cup mashed ripe banana – About 2 medium bananas. The riper the better—those spotty brown bananas are perfect here.
For the topping (optional but highly recommended):
- ¼ cup chopped pecans or walnuts – Adds a nice crunch against the soft bars. Toast them lightly for extra flavor.
- 1 tablespoon turbinado sugar – That coarse sugar gives a lovely sparkly crunch on top. Regular granulated sugar works too.
A quick note on substitutions: If you’re out of pumpkin pie spice, mix ½ teaspoon cinnamon, ¼ teaspoon nutmeg, ⅛ teaspoon ginger, and a pinch of cloves. For a dairy-free version, use melted coconut oil or a plant-based butter stick. And if you want to make these gluten-free, I’ve had good results with a 1:1 gluten-free flour blend—just add an extra tablespoon of flour to account for the moisture difference.
Equipment Needed
You don’t need a fancy kitchen to make these pumpkin banana bread bars. Here’s what you’ll actually use:
- 9×9-inch square baking pan – Glass, metal, or ceramic all work. Just adjust baking time slightly if using glass (it tends to bake faster).
- Parchment paper – Not strictly necessary, but it makes lifting the bars out so much easier. Leave an overhang on two sides for handles.
- Large mixing bowl – Any bowl big enough to hold everything without splashing.
- Whisk or wooden spoon – A whisk works best to break up any lumps in the pumpkin and banana.
- Measuring cups and spoons – For accuracy, especially with the flour and baking soda.
- Cooling rack – Lets air circulate so the bars cool evenly without getting soggy on the bottom.
If you don’t have a 9×9 pan, an 8×8 works too—just expect a slightly thicker bar and an extra 5-7 minutes of baking time. I’ve even made these in a loaf pan before, and they turned out great, though they took almost 50 minutes to bake through.
Preparation Method
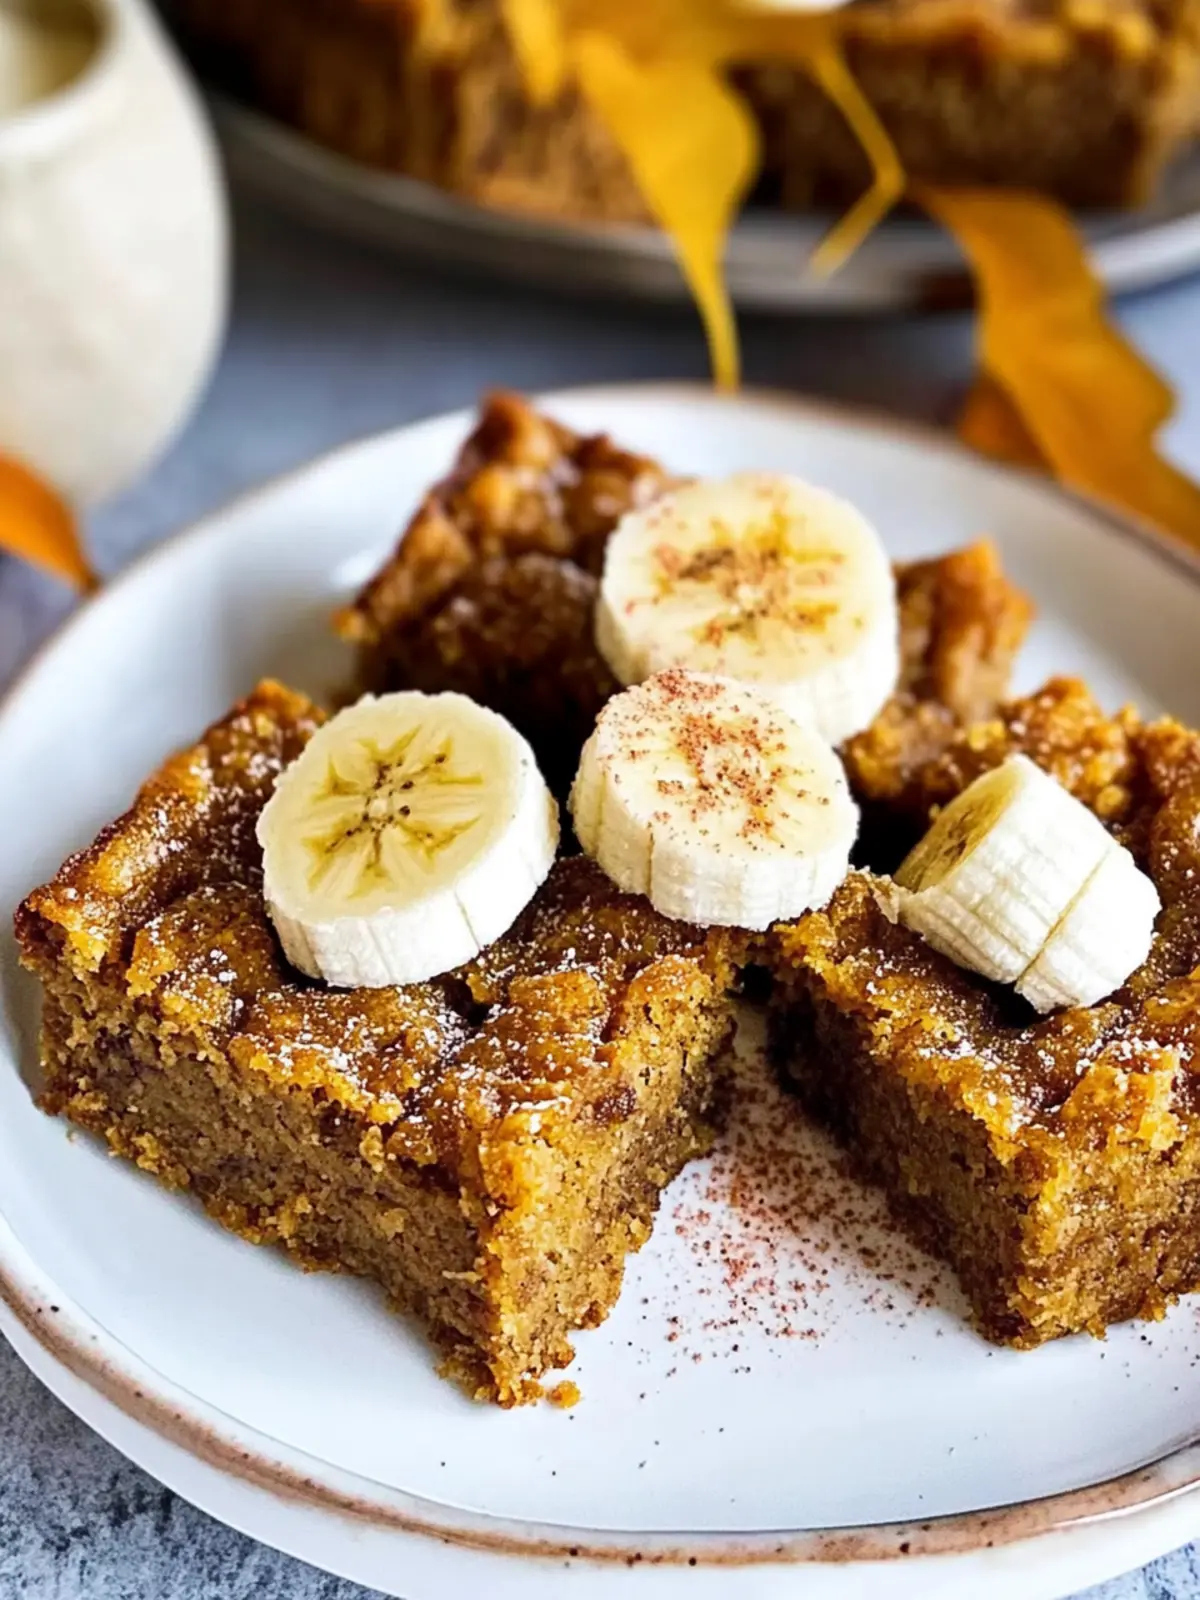
Preheat your oven to 350°F (175°C). Line your 9×9 pan with parchment paper, leaving some overhang on two opposite sides. This is one of those small steps that makes a huge difference later—trust me.
- Mix the dry ingredients: In your large bowl, whisk together the flour, baking soda, baking powder, pumpkin pie spice, cinnamon, and salt. Make sure everything is evenly distributed. Nobody wants a pocket of baking soda in their bar.
- Add the melted butter and sugars: Pour the slightly cooled melted butter over the dry ingredients. Add the brown sugar and granulated sugar. Stir with your whisk or wooden spoon until everything looks like wet sand—it’ll be thick and a little crumbly at this point. That’s normal.
- Incorporate the eggs and vanilla: Crack in the eggs and add the vanilla extract. Stir vigorously until the batter comes together. It will look a bit lumpy at first, but keep going until it’s smooth and glossy. Don’t overmix though—stop as soon as it looks uniform.
- Fold in the pumpkin and banana: Add the pumpkin puree and mashed banana. Fold gently until just combined. The batter will be thick but scoopable. If it looks too thick, that’s okay—the banana and pumpkin add plenty of moisture as they bake. If it looks too thin, you might have used extra-ripe bananas that are very watery. Just add a tablespoon of flour to tighten it up.
- Pour into the pan: Scrape the batter into your prepared pan and spread it evenly with a spatula. It will be thick, so take your time getting it into the corners. Give the pan a gentle tap on the counter to release any air bubbles.
- Add the topping: Sprinkle the chopped pecans (or walnuts) evenly over the top, followed by the turbinado sugar. Press them in lightly so they stick during baking.
- Bake: Place the pan on the middle rack of your preheated oven. Bake for 28-32 minutes, or until a toothpick inserted into the center comes out clean or with just a few moist crumbs. The edges should be golden brown and pulling away slightly from the sides of the pan.
- Cool completely: Transfer the pan to a cooling rack and let the bars cool for at least 20 minutes in the pan. Then use the parchment overhang to lift them out and cool completely on the rack before cutting. This is the hardest part—waiting—but it’s essential. Cutting them while warm will give you crumbly, messy bars.
Your kitchen will smell absolutely incredible during baking. Like pumpkin pie and banana bread had a beautiful baby. The edges get slightly crispy while the center stays soft and tender—that contrast is everything.
Cooking Tips & Techniques
After making these pumpkin banana bread bars at least a dozen times, I’ve picked up a few tricks that make a real difference. Here’s what I wish someone had told me from the start:
Don’t overmix the batter. I know I said this already, but it’s worth repeating. Overmixing develops the gluten too much and makes the bars tough instead of tender. Stir just until you don’t see streaks of flour anymore. A few lumps are perfectly fine.
Use an oven thermometer. Ovens lie. Yours might say 350°F, but it could actually be running 25 degrees hotter or cooler. I learned this the hard way when my first batch came out with burnt edges and a raw center. An oven thermometer costs about $10 and saves you from heartbreak.
Check for doneness with a toothpick. But here’s the thing—don’t stick it all the way to the bottom. Insert it into the center, about halfway down. If it comes out clean or with a few moist crumbs, you’re good. If it’s wet batter, give it another 3-4 minutes.
Let them cool completely. I know, I know. The smell is intoxicating and you want to dig in immediately. But cutting these bars while they’re warm is a recipe for disaster. They’ll crumble and fall apart. Patience pays off here—I promise.
For cleaner cuts, use a sharp knife and wipe it clean between slices. Run the knife under hot water, dry it off, then cut. Repeat for each slice. This gives you those beautiful, bakery-style edges.
One mistake I made early on was using a banana that wasn’t ripe enough. Underripe bananas are starchy and don’t mash smoothly, which leaves lumpy spots in the bars. Wait until those bananas are spotty brown and almost too soft to hold. That’s when they’re at their sweetest and most flavorful.
Variations & Adaptations
These pumpkin banana bread bars are incredibly forgiving and adaptable. Here are some of my favorite variations:
Chocolate Chip Version: Fold in ½ cup of semi-sweet chocolate chips along with the pumpkin and banana. The chocolate pairs beautifully with the warm spices. I’ve also used white chocolate chips, which give it a cozy, creamy sweetness.
Gluten-Free Adaptation: Substitute the all-purpose flour with a 1:1 gluten-free baking blend. I’ve had great results with King Arthur’s Measure for Measure flour. Add an extra tablespoon of flour to compensate for the extra moisture from the pumpkin and banana.
Vegan Option: Replace the eggs with flax eggs (2 tablespoons ground flaxseed mixed with 6 tablespoons water, let sit for 5 minutes). Use melted coconut oil instead of butter. The texture will be slightly denser but still delicious.
Spice It Up: Add ¼ teaspoon of ground ginger or cardamom for a more complex spice profile. A pinch of black pepper actually enhances the pumpkin flavor—sounds weird, but it works.
Nut-Free: Skip the pecan topping and use pumpkin seeds (pepitas) instead. They add the same crunch without the allergens.
Lower Sugar: Reduce the brown sugar to ½ cup and the granulated sugar to 2 tablespoons. The banana adds enough sweetness that you won’t miss it. I’ve made this version for my mom who watches her sugar intake, and she loved it.
One of my favorite variations came from a happy accident. I was out of brown sugar and used coconut sugar instead. The bars turned out slightly less sweet but with this amazing caramel-like depth. Now I make that version on purpose sometimes.
Serving & Storage Suggestions
These pumpkin banana bread bars are incredibly versatile when it comes to serving. Here’s how I like to enjoy them:
Warm or at room temperature – Both are delicious. If you want them warm, pop a bar in the microwave for 10-15 seconds. The edges get slightly soft again, and the center becomes almost gooey.
With a drizzle – A simple cream cheese glaze takes these over the top. Mix 2 ounces softened cream cheese with ¼ cup powdered sugar and a splash of milk until smooth. Drizzle over the cooled bars. Or keep it simple with a dusting of powdered sugar.
For breakfast – Honestly, these are great with a cup of coffee. They’re not too sweet, and the whole grains and fruit make them feel almost virtuous. I’ve definitely eaten them for breakfast more times than I’ll admit.
Pairing suggestions – Serve these alongside a scoop of vanilla ice cream for dessert, or with a dollop of whipped cream and a sprinkle of cinnamon. They also pair beautifully with a warm mug of spiced cider or a chai latte.
Storage: Store leftover bars in an airtight container at room temperature for up to 3 days. If your kitchen is warm, refrigerate them—they’ll last up to a week. The texture will be slightly firmer when cold, but they soften up quickly at room temperature.
Freezing: These bars freeze like a dream. Wrap individual bars tightly in plastic wrap, then place them in a freezer-safe bag. They’ll keep for up to 3 months. To thaw, just leave them at room temperature for about 30 minutes, or microwave for 20 seconds.
The flavors actually deepen after a day or two. The spices meld together, and the banana flavor becomes more pronounced. If you can resist eating them all on day one, you’ll be rewarded on day two.
Nutritional Information & Benefits
Here’s the approximate nutritional breakdown for one bar (based on 9 servings):
- Calories: 285
- Total Fat: 12g
- Saturated Fat: 6g
- Carbohydrates: 42g
- Fiber: 2g
- Sugar: 24g
- Protein: 4g
These bars offer more than just empty calories. Pumpkin is packed with vitamin A and fiber, which supports eye health and digestion. Bananas provide potassium and vitamin B6, which help with energy metabolism and heart health. The nuts add healthy fats and a bit of protein, making these bars more satisfying than your average dessert.
If you’re watching your sugar intake, you can easily reduce the sugar by a third without compromising the texture. The banana and pumpkin provide natural sweetness that carries the flavor beautifully.
For those with dietary restrictions, this recipe is naturally nut-free if you skip the topping, and easily adaptable to be gluten-free or vegan as mentioned above. Always check your ingredient labels for hidden allergens.
Conclusion
These pumpkin banana bread bars have become my go-to fall dessert for a reason. They’re simple enough for a Tuesday night but impressive enough to bring to a gathering. The combination of pumpkin and banana creates something truly special—a dessert that’s moist, flavorful, and deeply satisfying without being overly complicated.
What I love most about this recipe is how forgiving it is. You can swap ingredients, adjust the spices, add mix-ins, and it still turns out delicious. It’s the kind of recipe you can make your own. Maybe you’ll add chocolate chips. Maybe you’ll double the cinnamon. Maybe you’ll skip the nuts entirely. Whatever you do, it’ll be yours.
I’d love to hear how these turn out for you. Did you try a variation? Did your family love them? Drop a comment below and let me know. And if you’re looking for more cozy fall recipes, don’t miss my cozy cornbread waffles with chili or this easy comforting pierogi meatball skillet for those nights when you want something hearty and warm.
Happy baking, friends. Your kitchen is about to smell amazing.
Frequently Asked Questions
Can I use fresh pumpkin instead of canned?
Absolutely. Just make sure you cook and puree the pumpkin first, then strain it through a cheesecloth or fine-mesh sieve to remove excess water. Fresh pumpkin has more moisture than canned, so you might need to add an extra tablespoon of flour to compensate.
Why did my bars turn out dry?
This usually happens from overbaking or overmeasuring the flour. Make sure you spoon the flour into your measuring cup and level it off, rather than scooping directly from the bag. Start checking for doneness at 28 minutes, and pull them out as soon as the toothpick comes out clean.
Can I make these into muffins instead?
Yes! Grease a 12-cup muffin tin and divide the batter evenly. Bake at 350°F for 18-22 minutes, or until a toothpick comes out clean. The baking time will be shorter since muffins are smaller. This is a great option if you want individual portions for easy grab-and-go breakfasts.
How do I know when my bananas are ripe enough?
Look for bananas with plenty of brown spots on the peel. They should feel soft when you squeeze them gently. If they’re still yellow with green tips, they’re not ready. You can speed up the ripening process by placing them in a paper bag with an apple overnight.
Can I skip the nuts in the topping?
Of course. The bars are delicious without any topping at all. If you want some crunch without nuts, try pumpkin seeds, sunflower seeds, or even a sprinkle of granola. The turbinado sugar alone gives a lovely sparkly finish and a slight crunch.
Pin This Recipe!
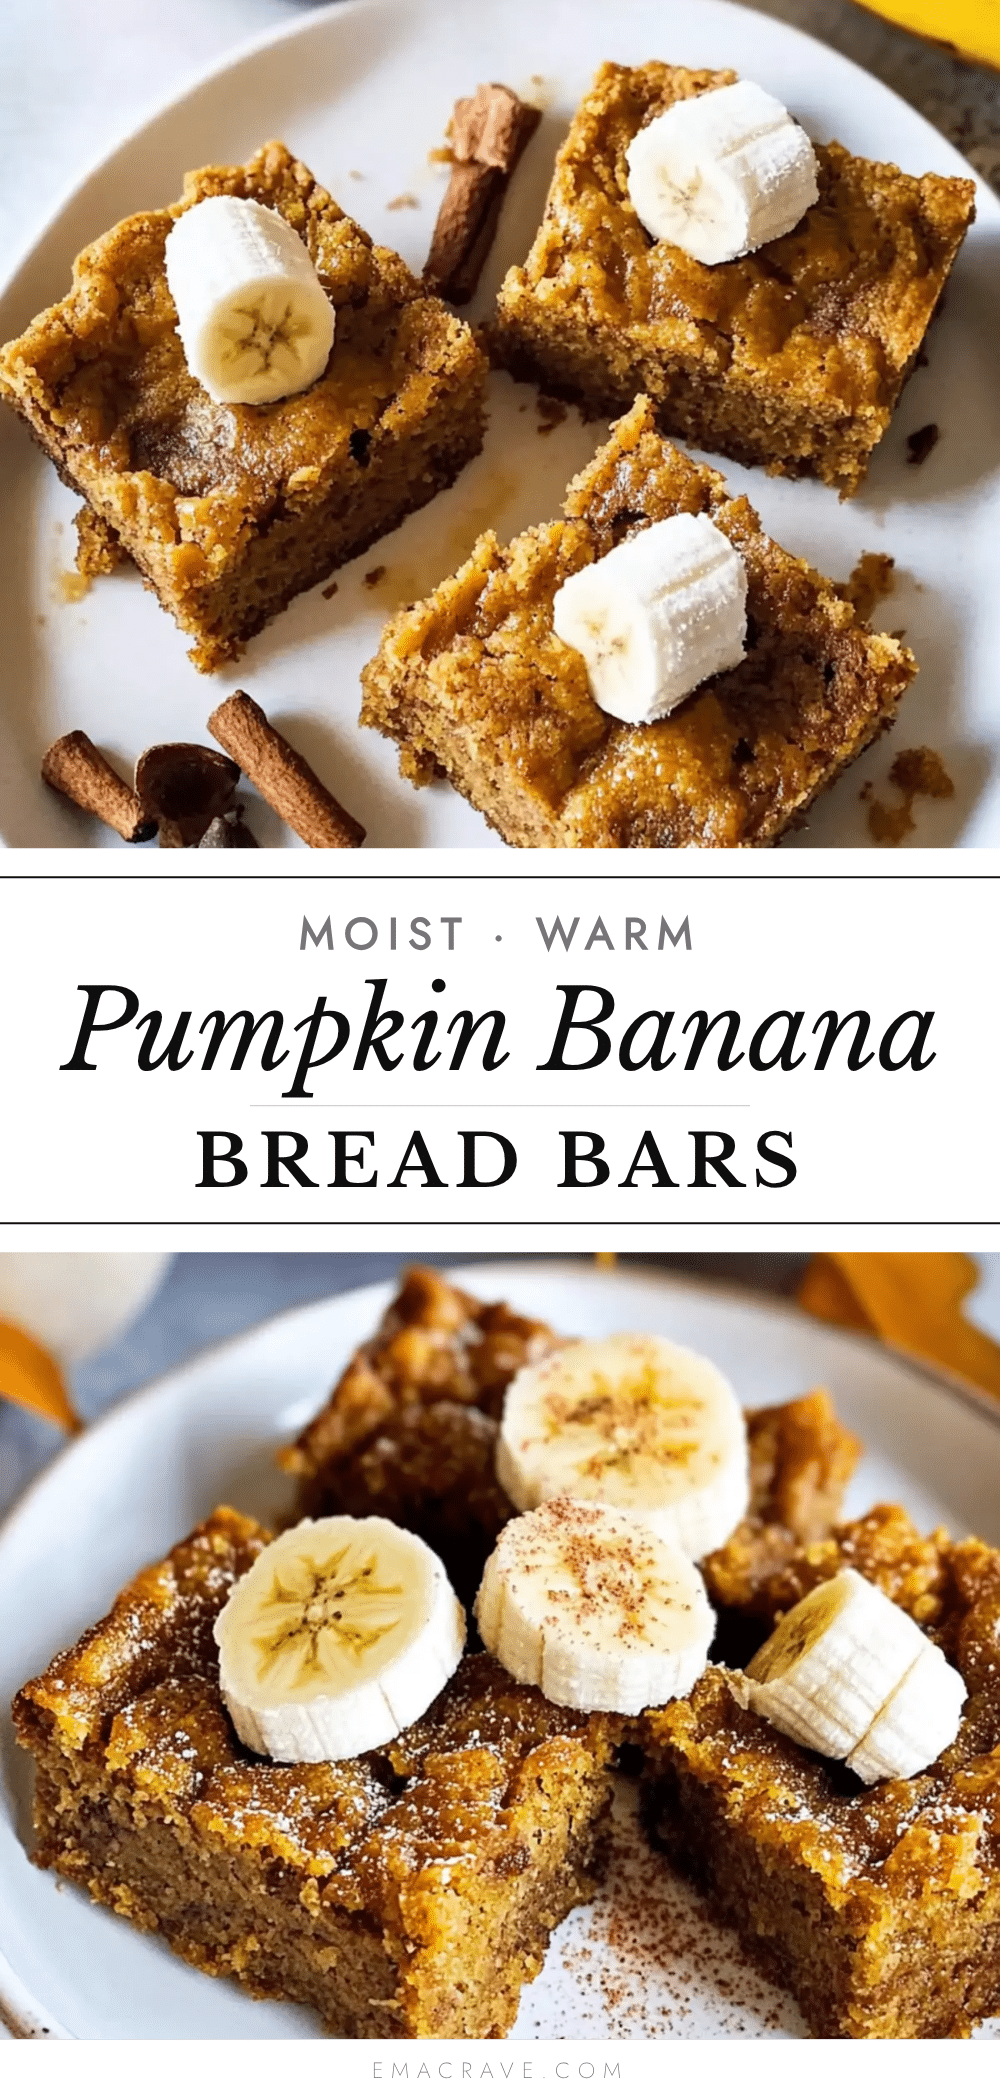
Easy Pumpkin Banana Bread Bars – Best Fall Dessert
These pumpkin banana bread bars are a one-bowl wonder that combines the cozy flavors of pumpkin and banana into a perfectly moist, crowd-pleasing dessert. With simple pantry ingredients and minimal fuss, they’re the ultimate fall treat that tastes like a hug.
- Prep Time: 10 minutes
- Cook Time: 30 minutes
- Total Time: 40 minutes
- Yield: 9 servings 1x
- Category: Dessert
- Cuisine: American
Ingredients
- 1 ½ cups all-purpose flour
- 1 teaspoon baking soda
- ½ teaspoon baking powder
- 1 teaspoon pumpkin pie spice
- ½ teaspoon ground cinnamon
- ¼ teaspoon salt
- ½ cup unsalted butter, melted
- ¾ cup packed light brown sugar
- ¼ cup granulated sugar
- 2 large eggs, room temperature
- 1 teaspoon vanilla extract
- ¾ cup pumpkin puree
- 1 cup mashed ripe banana (about 2 medium bananas)
- ¼ cup chopped pecans or walnuts (optional topping)
- 1 tablespoon turbinado sugar (optional topping)
Instructions
- Preheat your oven to 350°F (175°C). Line a 9×9-inch square baking pan with parchment paper, leaving overhang on two opposite sides.
- In a large bowl, whisk together the flour, baking soda, baking powder, pumpkin pie spice, cinnamon, and salt.
- Pour the slightly cooled melted butter over the dry ingredients. Add the brown sugar and granulated sugar. Stir until the mixture looks like wet sand.
- Add the eggs and vanilla extract. Stir vigorously until the batter is smooth and glossy, being careful not to overmix.
- Fold in the pumpkin puree and mashed banana until just combined. The batter will be thick but scoopable.
- Scrape the batter into the prepared pan and spread evenly. Sprinkle the chopped pecans and turbinado sugar on top, pressing them in lightly.
- Bake on the middle rack for 28-32 minutes, or until a toothpick inserted into the center comes out clean or with a few moist crumbs. The edges should be golden brown.
- Cool the pan on a wire rack for at least 20 minutes. Then use the parchment overhang to lift the bars out and cool completely before cutting.
Notes
For cleaner cuts, use a sharp knife and wipe it clean between slices. Run the knife under hot water, dry it off, then cut. The flavors deepen after a day or two. Store in an airtight container at room temperature for up to 3 days, or refrigerate for up to a week. Freeze individual bars wrapped in plastic wrap for up to 3 months.
Nutrition
- Serving Size: 1 bar
- Calories: 285
- Sugar: 24
- Fat: 12
- Saturated Fat: 6
- Carbohydrates: 42
- Fiber: 2
- Protein: 4
Keywords: pumpkin banana bread bars, fall dessert, easy pumpkin recipe, banana bread bars, pumpkin spice bars



