Love this? Save it for later!
Share the inspiration with your friends
I pulled the pie out of the oven and the kitchen smelled like Christmas had exploded in the best possible way. Clove, cinnamon, ginger—that unmistakable warm cloud that makes you want to curl up with a blanket and forget about the to-do list. But honestly? I wasn’t even trying to make a gingerbread pie that day. I was supposed to be testing a traditional pumpkin pie recipe for a holiday dinner I was hosting. Then I realized I was out of pumpkin puree. Classic.
So I stood there, staring into my pantry like it owed me answers. Canned yams. Molasses. A jar of crystallized ginger from some baking project I abandoned last year. And I thought—what if I just went full gingerbread? Not the cookie kind, but something softer. Creamier. Something you could eat with a spoon and not feel like you were gnawing on a gingersnap.
That first bite was a quiet moment. I sat at my kitchen counter, fork in hand, and just let it sit on my tongue. The texture was ridiculous—like a custard that figured out how to be both rich and light at the same time. The spices didn’t shout at you; they settled in, warm and familiar. I texted my sister a photo and she called me within thirty seconds. “What is that?” she asked. “I need it.”
This wasn’t just another holiday pie. It was the kind of dessert that makes people close their eyes without realizing it. The kind where someone asks for the recipe before they’ve even finished their slice. And now, after making it at least seven times (yes, I counted), I’m finally ready to share it with you. This irresistibly creamy gingerbread pie is the holiday dessert you didn’t know you needed—but trust me, you do.
Why You’ll Love This Recipe
Let me tell you why this pie has earned a permanent spot on my holiday rotation. I’ve tested this recipe more times than I care to admit, tweaking the spice ratios and the baking times until everything clicked. And here’s what I’ve learned: this isn’t just another gingerbread dessert. It’s the one that disappears fastest at parties.
- Incredibly Easy: You don’t need to be a pastry chef to pull this off. The filling comes together in one bowl with a whisk. No stand mixer required. No fussing with temperamental egg whites.
- Simple Ingredients: Most of what you need is probably already in your pantry. Molasses, spices, eggs, cream. No weird specialty items that cost a fortune and sit in your cabinet forever.
- Perfect for the Holidays: This pie was made for Thanksgiving, Christmas, or any cozy gathering where you want something special without spending all day in the kitchen.
- Crowd-Pleaser: I’ve served this to kids, grandparents, and picky friends. Everyone loves it. The creamy texture wins over even the people who claim they “don’t like gingerbread.”
- Make-Ahead Friendly: You can bake this pie a day or two in advance. The flavors actually get better as they sit. That’s a win in my book.
What makes this different from every other gingerbread recipe out there? It’s the texture. Most gingerbread desserts are dense, almost cake-like. But this one? It’s silky. Luscious. It’s got that melt-in-your-mouth quality that makes you go back for “just one more bite” until the whole pie is gone. I figured out that using a combination of heavy cream and whole milk gives it that ultra-creamy consistency without being too heavy. And the spice blend? I spent three batches getting it just right—enough warmth to feel cozy, not so much that it overpowers everything else.
This is the kind of pie that makes people pause mid-conversation. The kind that turns a simple dinner into something memorable. And honestly? It’s comfort food at its finest. Warm, spiced, creamy, and completely satisfying. You deserve a dessert that makes you feel that good.
What Ingredients You Will Need
This recipe uses simple, wholesome ingredients to deliver that bold gingerbread flavor and silky texture without any complicated steps. Most of these are pantry staples, which makes this pie perfect for last-minute holiday hosting.
For the Crust:
- 1 ½ cups graham cracker crumbs (about 12 full sheets) – I prefer using Honey Maid brand for consistent texture. You can also use gluten-free graham crackers if needed.
- ¼ cup granulated sugar
- 6 tablespoons unsalted butter, melted – Salted butter works too, just reduce the added salt slightly.
- ¼ teaspoon ground ginger – This adds a subtle warmth to the crust that complements the filling beautifully.
For the Filling:
- 1 ½ cups heavy cream – Don’t substitute with half-and-half here. The fat content is crucial for that creamy texture.
- ½ cup whole milk – You can use 2% in a pinch, but whole milk gives the best results.
- ¾ cup dark brown sugar, packed – Light brown sugar works too, but dark brown sugar gives deeper molasses flavor.
- ½ cup molasses – Use unsulphured molasses like Grandma’s brand. Blackstrap molasses is too bitter for this recipe.
- 3 large eggs, room temperature – Cold eggs can cause the filling to seize. Let them sit out for 30 minutes before starting.
- 2 teaspoons vanilla extract – Pure vanilla extract makes a difference here. Skip the imitation stuff.
- 1 tablespoon ground ginger – Freshly ground if you can, but store-bought works perfectly fine.
- 1 ½ teaspoons ground cinnamon
- ½ teaspoon ground cloves
- ¼ teaspoon ground nutmeg – Freshly grated is amazing here if you have it.
- ¼ teaspoon salt – Just enough to balance the sweetness and bring out the spices.
- 2 tablespoons cornstarch – This helps the filling set properly without being too firm.
For the Topping (Optional but Recommended):
- 1 cup heavy whipping cream
- 2 tablespoons powdered sugar
- ½ teaspoon vanilla extract
- ¼ teaspoon ground cinnamon – For dusting on top. It makes the presentation gorgeous.
A quick note on ingredient selection: I’ve tested this with different brands of molasses and the flavor really does vary. Stick with a mild, unsulphured variety. The darker, more robust molasses can make the pie taste slightly bitter. And for the spices, if you have older spices sitting in your cabinet, consider replacing them. Fresh spices make a huge difference in the final flavor of this irresistibly creamy gingerbread pie.
Equipment Needed
You don’t need a fully stocked professional kitchen to make this pie. Here’s what you’ll actually use:
- 9-inch Pie Dish – A standard glass or ceramic pie dish works perfectly. I use a deep-dish Pyrex one and it’s never let me down.
- Large Mixing Bowl – For the filling. Any medium-to-large bowl will do.
- Medium Mixing Bowl – For the crust ingredients.
- Whisk – A good balloon whisk is all you need. No electric mixer required for this filling.
- Measuring Cups and Spoons – Accurate measurements matter in baking, so use proper measuring tools.
- Rubber Spatula – For scraping down the bowl and getting every last bit of filling.
- Rolling Pin or Food Processor – For crushing the graham crackers. A rolling pin and a zip-top bag work great if you don’t have a food processor.
- Parchment Paper – Optional but helpful for lining the pie dish if you want easy removal.
- Cooling Rack – Essential for letting the pie cool evenly without a soggy bottom.
If you don’t have a pie dish, you can use a 9-inch tart pan with a removable bottom. Just keep an eye on the baking time—tart pans often bake a little faster. And if you’re short on time, a store-bought graham cracker crust works in a pinch. I’ve done it before when I was in a hurry and honestly? It still tasted amazing.
Preparation Method
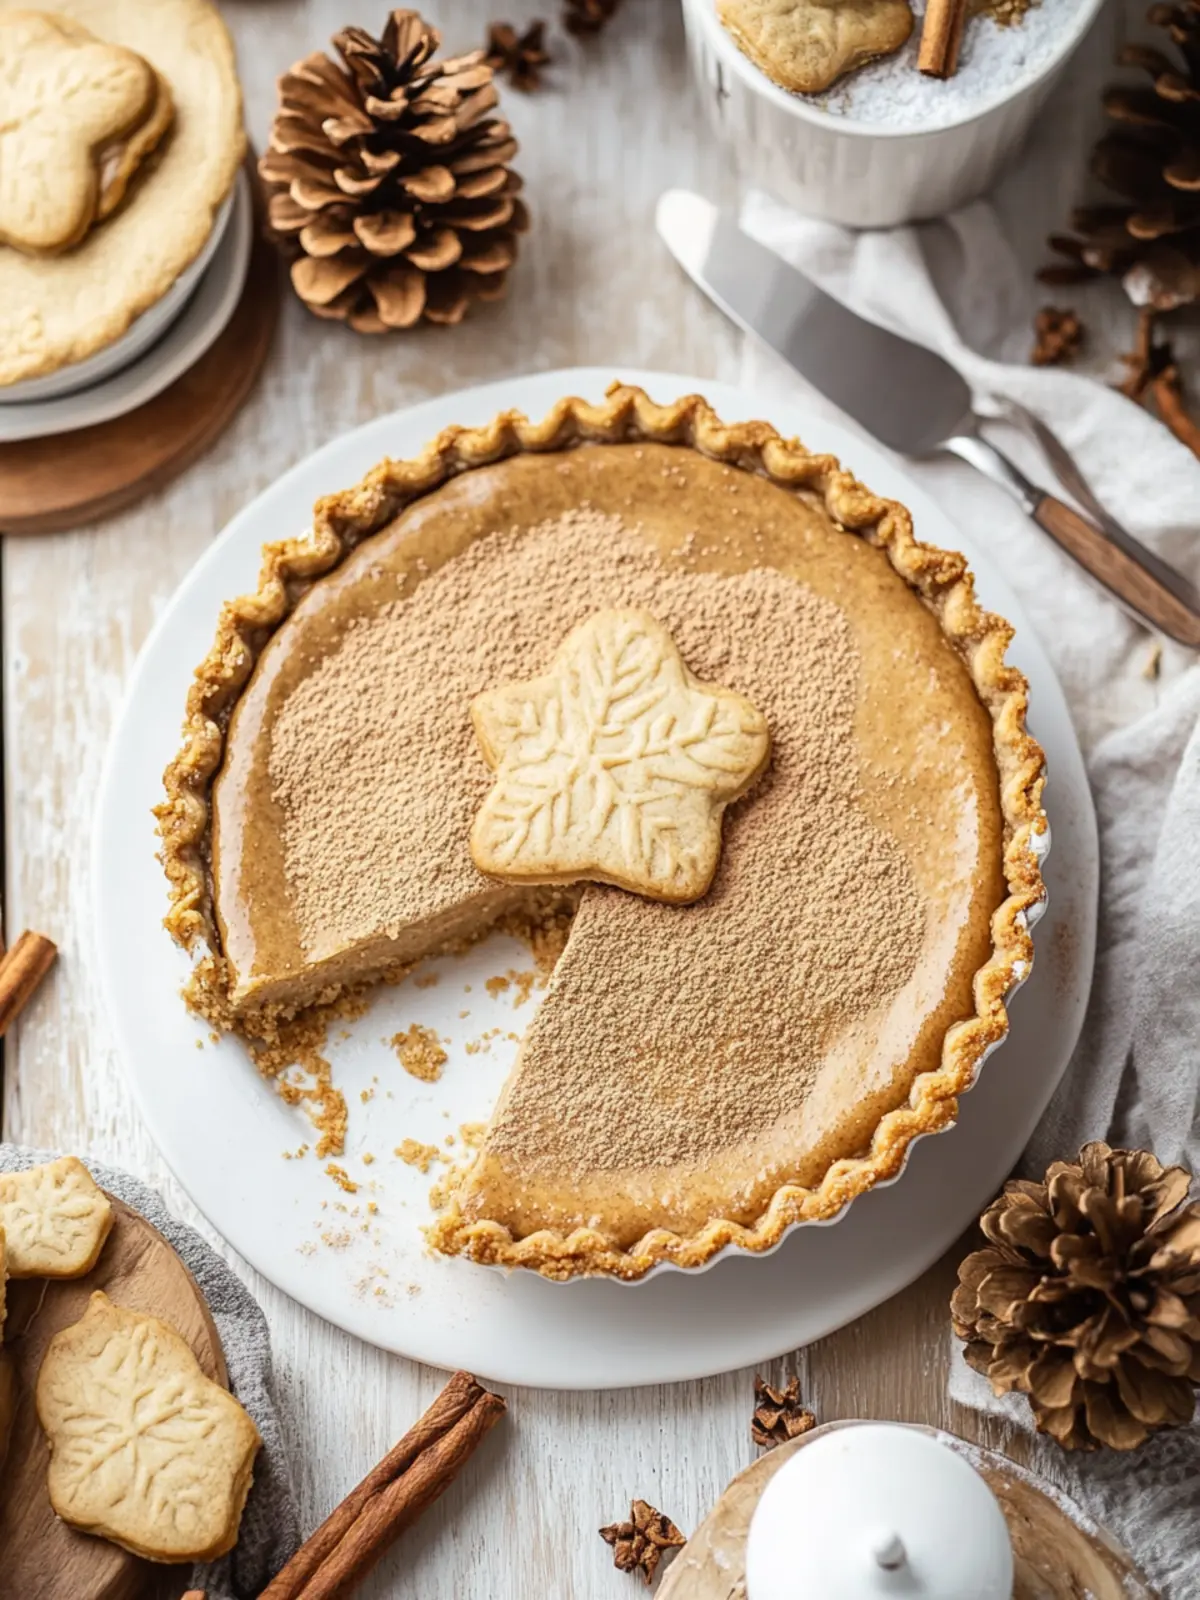
Let’s get to the fun part. Here’s how to make this pie step by step.
Step 1: Make the Crust
Preheat your oven to 350°F (175°C). In a medium bowl, combine 1 ½ cups graham cracker crumbs, ¼ cup granulated sugar, and ¼ teaspoon ground ginger. Pour in 6 tablespoons melted butter and stir until the mixture looks like wet sand. It should hold together when you press it between your fingers. If it seems too dry, add another tablespoon of melted butter.
Press the mixture firmly into the bottom and up the sides of your 9-inch pie dish. I use the bottom of a measuring cup to get it even and compact. Bake for 8-10 minutes, until the crust is lightly golden and fragrant. Set it aside to cool while you make the filling. Don’t skip this step—a pre-baked crust stays crisp and doesn’t get soggy.
Step 2: Prepare the Filling Base
In a large bowl, whisk together ¾ cup packed dark brown sugar, 2 tablespoons cornstarch, 1 tablespoon ground ginger, 1 ½ teaspoons cinnamon, ½ teaspoon cloves, ¼ teaspoon nutmeg, and ¼ teaspoon salt. Breaking up any lumps in the brown sugar is important here. Nobody wants a pocket of straight sugar in their pie.
Step 3: Add the Wet Ingredients
Add ½ cup molasses and 2 teaspoons vanilla extract to the sugar mixture. Whisk until smooth. The mixture will be thick and smell incredible at this point. Then add 3 room-temperature eggs, one at a time, whisking well after each addition. The filling should look glossy and uniform.
Step 4: Incorporate the Dairy
Slowly pour in 1 ½ cups heavy cream and ½ cup whole milk while whisking gently. Don’t dump it all in at once—adding it gradually helps everything stay smooth. Keep whisking until the mixture is completely combined. The filling will be thin, but that’s exactly what you want. It thickens as it bakes.
Step 5: Bake the Pie
Place the pre-baked crust on a baking sheet (this catches any spills and makes it easier to handle). Pour the filling into the crust. Carefully transfer to the oven and bake at 350°F (175°C) for 45-55 minutes. The pie is done when the edges are set but the center still jiggles slightly when you gently shake the pan. It will continue to set as it cools.
If the edges of the crust start browning too quickly, tent them with strips of aluminum foil or use a pie shield. I learned this the hard way after my first attempt came out with burnt edges.
Step 6: Cool Completely
Let the pie cool on a wire rack for at least 2 hours at room temperature. Then refrigerate for at least 4 hours, preferably overnight. This step is crucial. The pie needs time to fully set and develop that luscious, creamy texture. I know it’s tempting to dig in right away, but trust me—waiting is worth it.
Step 7: Make the Whipped Topping
Just before serving, pour 1 cup cold heavy cream into a chilled bowl. Add 2 tablespoons powdered sugar and ½ teaspoon vanilla extract. Whip with a hand mixer or whisk until soft peaks form. Don’t overwhip—you want it light and airy, not butter.
Spread or pipe the whipped cream over the cooled pie. Dust with a pinch of cinnamon for that finishing touch. Slice, serve, and watch everyone’s faces light up.
Cooking Tips & Techniques
After making this pie more times than I care to admit, I’ve picked up a few tricks that make a real difference.
Room Temperature Eggs Matter
I cannot stress this enough. Cold eggs can cause the filling to seize up and create a lumpy texture. Leave your eggs on the counter for 30 minutes before starting. If you forget, place them in a bowl of warm water for 5 minutes. It works like a charm.
Don’t Overbake
The center should still have a gentle wobble when you pull the pie out. It will continue cooking from residual heat and set as it cools. Overbaking leads to a cracked, curdled texture that nobody wants. Trust the jiggle.
Use a Water Bath for Extra Creaminess
If you really want next-level creaminess, place your pie dish inside a larger baking pan and pour hot water halfway up the sides. This gentle, even heat prevents the edges from setting too quickly while the center catches up. I don’t always do this, but when I’m trying to impress someone, it’s my secret weapon.
Chill Thoroughly
This is the hardest part for me because I have zero patience. But refrigerating the pie for at least 4 hours (overnight is better) transforms the texture from good to incredible. The flavors meld together, the creaminess deepens, and every slice comes out clean and beautiful.
Watch Your Oven Temperature
Ovens run differently. I learned this when my first pie came out overdone on the edges and underdone in the middle. Invest in an oven thermometer if you don’t have one. It’s a small investment that pays off in consistent baking results.
Variations & Adaptations
One of the best things about this irresistibly creamy gingerbread pie is how versatile it is. Here are some ways to make it your own.
Gluten-Free Version
Swap the graham cracker crust for gluten-free graham crackers or use a mixture of almond flour and crushed gluten-free cookies. The filling itself is naturally gluten-free, so you’re just adapting the base.
Dairy-Free Adaptation
Use full-fat coconut cream instead of heavy cream and unsweetened oat milk instead of whole milk. The texture will be slightly different—a bit more coconut flavor—but still delicious. I’ve tested this for a friend with dairy sensitivity and it worked beautifully.
Spice It Up
If you love heat, add ¼ teaspoon of cayenne pepper or a pinch of black pepper to the spice blend. It doesn’t make the pie spicy per se, but it adds a subtle warmth that lingers on your tongue. A friend described it as “gingerbread with a secret.”
Chocolate Gingerbread Version
Melt 4 ounces of dark chocolate and swirl it into the filling before baking. The chocolate pairs beautifully with the gingerbread spices. I made this for a holiday party and it disappeared faster than the regular version.
Individual Mini Pies
Use a muffin tin lined with mini graham cracker crusts. Reduce the baking time to about 20-25 minutes. These are perfect for parties or when you want portion control (though honestly, I always eat two).
Serving & Storage Suggestions
This pie is best served cold or at room temperature. I prefer it straight from the fridge with a generous dollop of whipped cream. The contrast between the cold, creamy filling and the spiced warmth is absolutely perfect.
What to Serve With It:
- A scoop of vanilla bean ice cream – The cold creaminess balances the spices beautifully.
- Hot coffee or spiced chai – The warm drink complements the gingerbread flavors.
- Fresh berries – A handful of raspberries or sliced strawberries cut through the richness.
- A drizzle of caramel sauce – Because why not? It adds another layer of indulgence.
How to Store:
Cover the pie loosely with plastic wrap or foil and refrigerate for up to 5 days. The flavors actually deepen after day one, so don’t be afraid to make it ahead. I often bake this pie two days before Thanksgiving and it’s always a hit.
Can You Freeze It?
Yes! Wrap the completely cooled pie (without whipped topping) tightly in plastic wrap, then foil. Freeze for up to 3 months. Thaw overnight in the refrigerator before serving. Add fresh whipped cream after thawing. I’ve done this multiple times and the texture holds up beautifully.
Reheating Tips:
If you prefer warm pie, microwave individual slices for about 15-20 seconds. Just enough to take the chill off without melting the texture. Or let slices sit at room temperature for 30 minutes before serving.
Nutritional Information & Benefits
Here’s the nutritional breakdown per slice (based on 8 servings, without whipped topping):
- Calories: 410
- Total Fat: 24g
- Saturated Fat: 14g
- Cholesterol: 135mg
- Sodium: 220mg
- Total Carbohydrates: 45g
- Dietary Fiber: 1g
- Sugars: 32g
- Protein: 5g
This is definitely a treat, not an everyday dessert. But there are some surprising benefits. Molasses is a good source of iron, magnesium, and calcium. The ginger in this recipe has anti-inflammatory properties and can help with digestion. And cinnamon is packed with antioxidants. So while I wouldn’t call this a health food, it’s not entirely without redeeming qualities.
For those watching their sugar intake, you can reduce the brown sugar to ½ cup and add an extra tablespoon of molasses. The pie will be slightly less sweet but still delicious. And if you’re counting carbs, a smaller slice with extra whipped cream (which has minimal carbs) is a great compromise.
Conclusion
This irresistibly creamy gingerbread pie has become my go-to holiday dessert for a reason. It’s simple enough for a beginner baker but impressive enough to serve at a fancy dinner party. The texture is silky, the spices are warm and inviting, and every bite feels like a hug in dessert form.
I love that this recipe doesn’t require any complicated techniques or hard-to-find ingredients. It’s honest, straightforward cooking that delivers incredible results. Whether you’re making it for Thanksgiving, Christmas, or just a cozy Sunday dinner, this pie has a way of making people feel special.
My favorite thing about this recipe is how it brings people together. I’ve lost count of how many times I’ve watched someone take their first bite and immediately close their eyes. That moment of pure, unguarded pleasure is why I love sharing recipes like this.
So go ahead and give it a try. Make it your own. Add extra ginger if you’re feeling bold. Top it with mountains of whipped cream. Serve it to the people you love and watch their faces light up. And when they ask for the recipe—because they will—send them my way.
I’d love to hear how it turns out. Leave a comment below and let me know if you tried any variations. Share a photo of your pie on Pinterest and tag me. Your kitchen is about to smell absolutely amazing. Happy baking!
Frequently Asked Questions
Can I use a store-bought pie crust instead of making graham cracker crust?
Absolutely. A store-bought graham cracker crust or even a traditional pie crust works perfectly. Just pre-bake it according to the package directions before adding the filling. I’ve done this when I’m short on time and the results are still fantastic.
Why did my pie crack on top?
Cracking usually happens from overbaking or sudden temperature changes. Make sure you pull the pie out when the center is still slightly jiggly. Also, let it cool gradually on a wire rack instead of putting it straight in the fridge. A cracked pie still tastes amazing—just cover it with whipped cream and nobody will know.
Can I make this pie ahead of time?
Yes, and I actually recommend it. This pie tastes even better after a day in the fridge. The flavors deepen and the texture becomes even creamier. Bake it up to two days in advance, keep it refrigerated, and add the whipped topping just before serving.
What’s the best way to crush graham crackers for the crust?
A food processor gives the most consistent results—just pulse until you have fine crumbs. But if you don’t have one, place the graham crackers in a zip-top bag and crush them with a rolling pin. It’s a little more work but gets the job done. Just make sure there are no large chunks.
Can I use blackstrap molasses instead of regular molasses?
I don’t recommend it. Blackstrap molasses is much stronger and more bitter than regular unsulphured molasses. It can overpower the other flavors and make the pie taste slightly harsh. Stick with mild or dark molasses for the best results.
Pin This Recipe!
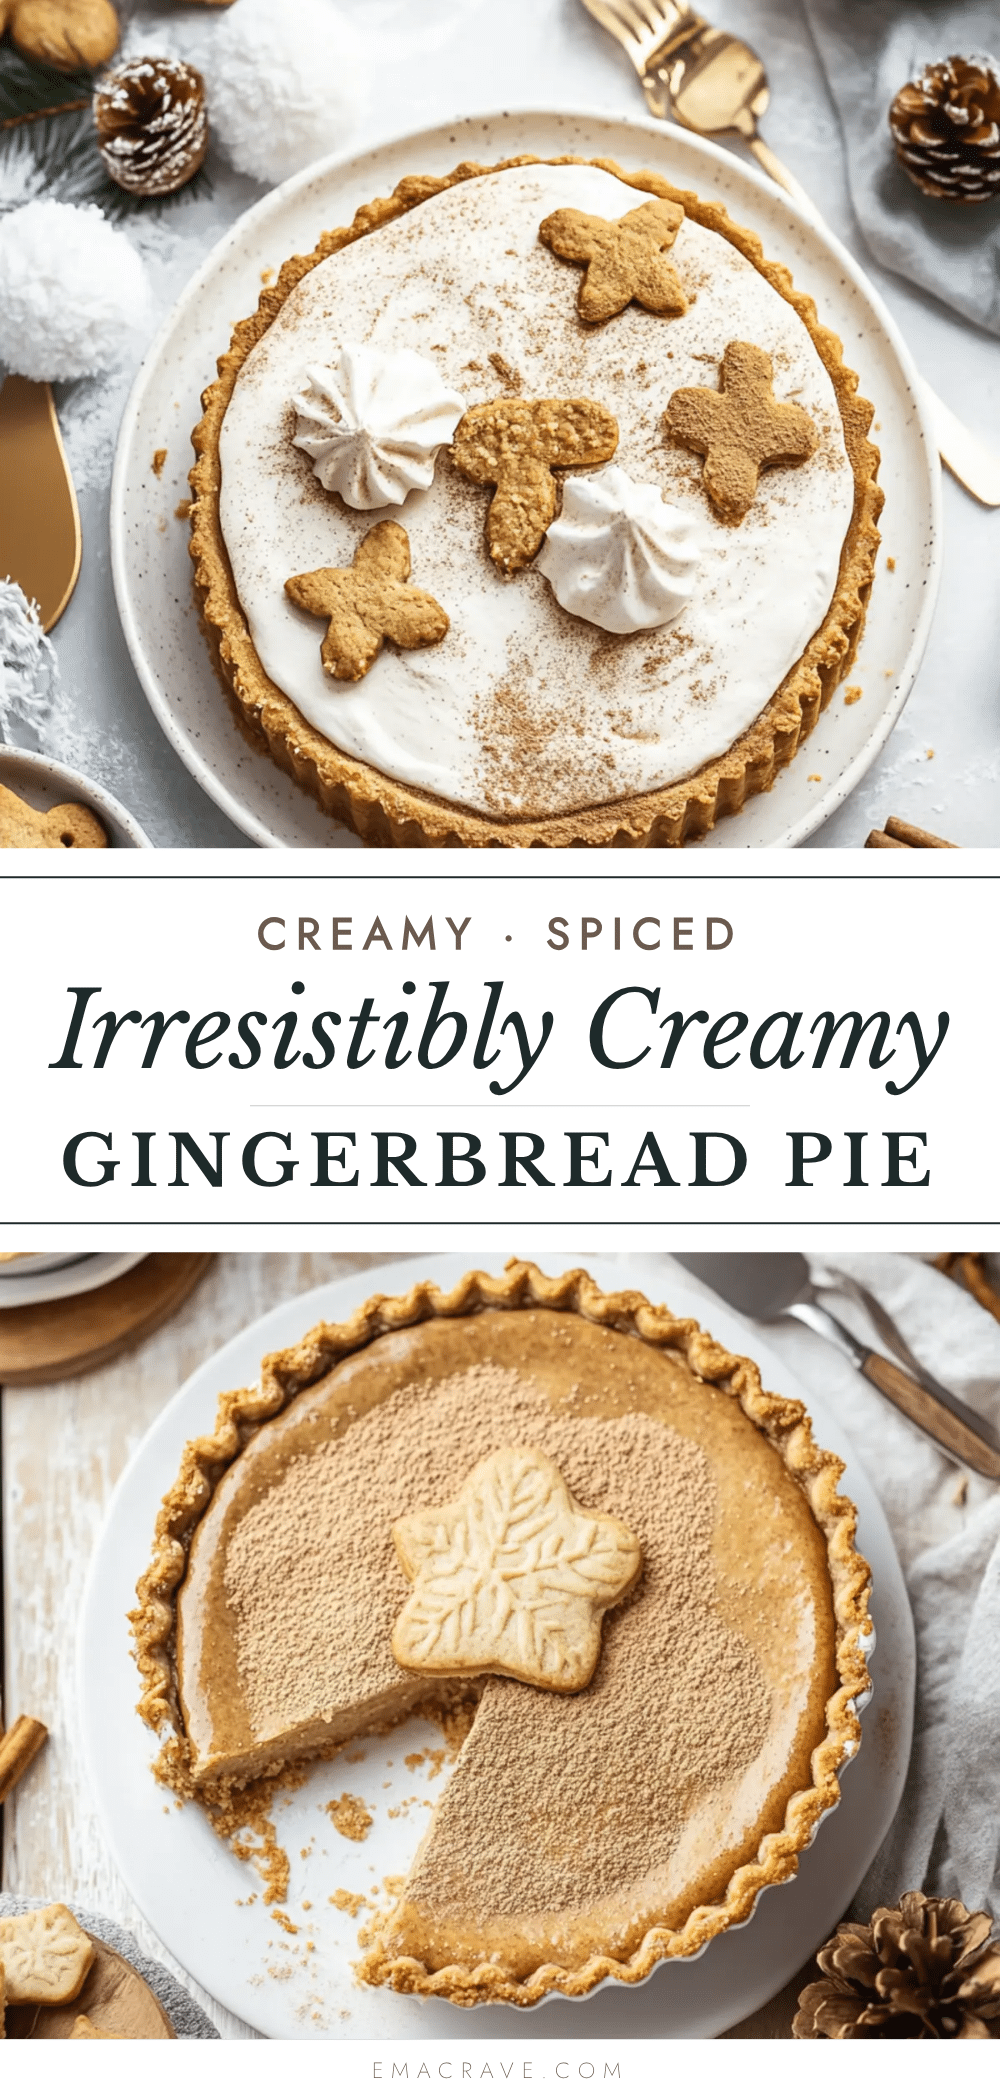
Irresistibly Creamy Gingerbread Pie

This creamy gingerbread pie features a silky, custard-like filling with warm spices like ginger, cinnamon, and cloves, all nestled in a graham cracker crust. It’s an easy, make-ahead holiday dessert that’s sure to impress.
- Prep Time: 20 minutes
- Cook Time: 55 minutes
- Total Time: 5 hours 15 minutes (includes chilling)
- Yield: 8 servings 1x
- Category: Dessert
- Cuisine: American
Ingredients
- 1 ½ cups graham cracker crumbs (about 12 full sheets)
- ¼ cup granulated sugar
- 6 tablespoons unsalted butter, melted
- ¼ teaspoon ground ginger
- 1 ½ cups heavy cream
- ½ cup whole milk
- ¾ cup dark brown sugar, packed
- ½ cup molasses (unsulphured)
- 3 large eggs, room temperature
- 2 teaspoons vanilla extract
- 1 tablespoon ground ginger
- 1 ½ teaspoons ground cinnamon
- ½ teaspoon ground cloves
- ¼ teaspoon ground nutmeg
- ¼ teaspoon salt
- 2 tablespoons cornstarch
- 1 cup heavy whipping cream (for topping)
- 2 tablespoons powdered sugar (for topping)
- ½ teaspoon vanilla extract (for topping)
- ¼ teaspoon ground cinnamon (for dusting)
Instructions
- Preheat oven to 350°F (175°C). In a medium bowl, combine graham cracker crumbs, granulated sugar, and ¼ teaspoon ground ginger. Pour in melted butter and stir until mixture resembles wet sand.
- Press mixture firmly into bottom and up sides of a 9-inch pie dish. Bake for 8-10 minutes until lightly golden. Set aside to cool.
- In a large bowl, whisk together dark brown sugar, cornstarch, 1 tablespoon ground ginger, cinnamon, cloves, nutmeg, and salt.
- Add molasses and vanilla extract to sugar mixture; whisk until smooth. Add eggs one at a time, whisking well after each addition.
- Slowly pour in heavy cream and whole milk while whisking gently until fully combined.
- Place pre-baked crust on a baking sheet. Pour filling into crust. Bake at 350°F for 45-55 minutes, until edges are set but center jiggles slightly.
- Cool pie on a wire rack for at least 2 hours at room temperature, then refrigerate for at least 4 hours (preferably overnight).
- Just before serving, whip cold heavy cream with powdered sugar and vanilla extract until soft peaks form. Spread or pipe over pie and dust with cinnamon.
Notes
For extra creaminess, use a water bath. Chill thoroughly for best texture. Can be made 2 days ahead. Freezes well without topping.
Nutrition
- Serving Size: 1 slice (1/8 of pie)
- Calories: 410
- Sugar: 32
- Sodium: 220
- Fat: 24
- Saturated Fat: 14
- Carbohydrates: 45
- Fiber: 1
- Protein: 5
Keywords: gingerbread pie, creamy gingerbread pie, holiday dessert, easy gingerbread pie, gingerbread custard pie



