Love this? Save it for later!
Share the inspiration with your friends
“You want sour gummies? I mean, homemade?” my friend said skeptically over the phone. I chuckled, knowing full well that my latest kitchen experiment was about to turn her into a believer. Honestly, I wasn’t expecting much at first—just a quick attempt to turn fresh strawberries into a tangy, chewy treat without all the additives and mystery ingredients store-bought gummies have. It all started on a lazy Sunday afternoon when I found a basket of overripe strawberries and a stubborn craving for something sweet but with a punch of sourness. Nothing fancy, just a simple craving that led me down the gummy rabbit hole.
Making these Delicious Homemade Sour Strawberry Gummies felt like a small victory in my kitchen, especially since I’d tried a couple of gummy recipes before that turned out either too sticky or bland. This one surprised me with its perfect balance of tartness and sweetness, plus a texture that’s just right—not too hard, not too soft. The smell of fresh strawberries simmering with a hint of lemon juice filled the air, making the whole place feel cozy and inviting.
It’s funny how something so simple can bring a quiet moment of joy. These gummies became a little obsession; I found myself making batches throughout the week, tweaking the sourness just a bit here and there. The best part? Sharing them with friends who usually don’t bother with homemade sweets but kept asking for more. There’s just something about biting into those chewy, tangy bites that feels like a tiny celebration. So yeah, this recipe stuck—not because it’s fancy, but because it’s honest, straightforward, and downright delicious.
Why You’ll Love This Recipe
This Delicious Homemade Sour Strawberry Gummies Recipe isn’t your average candy project—it’s one I’ve tested multiple times to get just right, and I’m confident you’ll appreciate it as much as I do. Here’s why it’s a keeper:
- Quick & Easy: Ready in about 30 minutes, these gummies are perfect for busy afternoons or last-minute sweet cravings.
- Simple Ingredients: You won’t have to hunt down weird chemicals or artificial flavors. Fresh strawberries, gelatin, and a few pantry staples are all you need.
- Perfect for Gifting or Snacking: Whether you want a thoughtful homemade gift or a fun treat for movie night, these gummies fit the bill.
- Crowd-Pleaser: Kids and adults alike adore the tangy kick and chewy texture, making them a hit at parties or casual hangouts.
- Flavor and Texture You Can Trust: Unlike some gummy recipes that can be rubbery or too sticky, this one strikes a satisfying balance thanks to a chef-tested gelatin-to-fruit ratio.
What makes this recipe stand out? It’s the way the tartness from the lemon juice and a touch of citric acid (yes, that’s the secret!) cuts through the natural sweetness of strawberries without overpowering them. Plus, the gentle simmering method preserves the fresh berry flavor beautifully. Honestly, this is the kind of treat that makes you pause and savor, closing your eyes after the first bite because it just feels right. It’s homemade candy with soul—a little healthier and a lot more satisfying.
What Ingredients You Will Need
This recipe uses simple, wholesome ingredients to deliver bold flavor and that satisfying gummy chew without any fuss. Most of these are pantry staples, and you probably have them on hand already.
- Fresh Strawberries (about 2 cups, hulled and chopped) – The star of the recipe, providing natural sweetness and vibrant color. If out of season, frozen strawberries work fine too.
- Granulated Sugar (1/2 cup) – Balances tartness and adds sweetness; you can swap for honey, but the texture may vary.
- Lemon Juice (2 tablespoons, freshly squeezed) – Adds brightness and natural sourness that complements the strawberries perfectly.
- Gelatin Powder (3 tablespoons) – Use unflavored gelatin for the best texture. I recommend brands like Knox for consistent results.
- Water (1/2 cup) – To bloom the gelatin and help dissolve sugar.
- Citric Acid (1 teaspoon) – This gives the gummies their signature sour punch. It’s available at most baking supply stores or online. Feel free to adjust to taste.
- Optional: Cornstarch or Extra Sugar for Coating – To prevent sticking, a light dusting works well.
If you want a vegan alternative, agar-agar can replace gelatin, but note the texture will be a little different—firmer and less chewy. Also, for a fun twist, try swapping some strawberries with raspberries or adding a splash of natural strawberry extract for more intense flavor. The recipe is flexible, but these basics are the foundation of that delicious sour strawberry gummy experience.
Equipment Needed
Here’s what you’ll want to have ready before you start your gummy adventure:
- Medium Saucepan – For simmering the strawberry mixture and dissolving sugar.
- Mixing Bowls – To bloom the gelatin and mix ingredients.
- Whisk – To stir the mixture smoothly and avoid lumps.
- Silicone Gummy Molds or Shallow Baking Dish – Silicone molds make cute shapes and easy removal, but if you’re in a pinch, a parchment-lined dish works too.
- Measuring Cups and Spoons – Precision matters here for texture and flavor balance.
- Fine Mesh Sieve (optional) – To strain seeds from the strawberry puree if you prefer a smoother gummy.
If you don’t have silicone molds, no worries—cut the set gummy sheet into small squares or fun shapes with cookie cutters. I’ve tried metal molds before, but silicone is definitely easier for release and cleanup. Also, keeping your molds lightly oiled or dusted with cornstarch helps prevent sticking. Budget-wise, basic molds can be found very affordably online or in kitchen stores, making this a wallet-friendly project.
Preparation Method
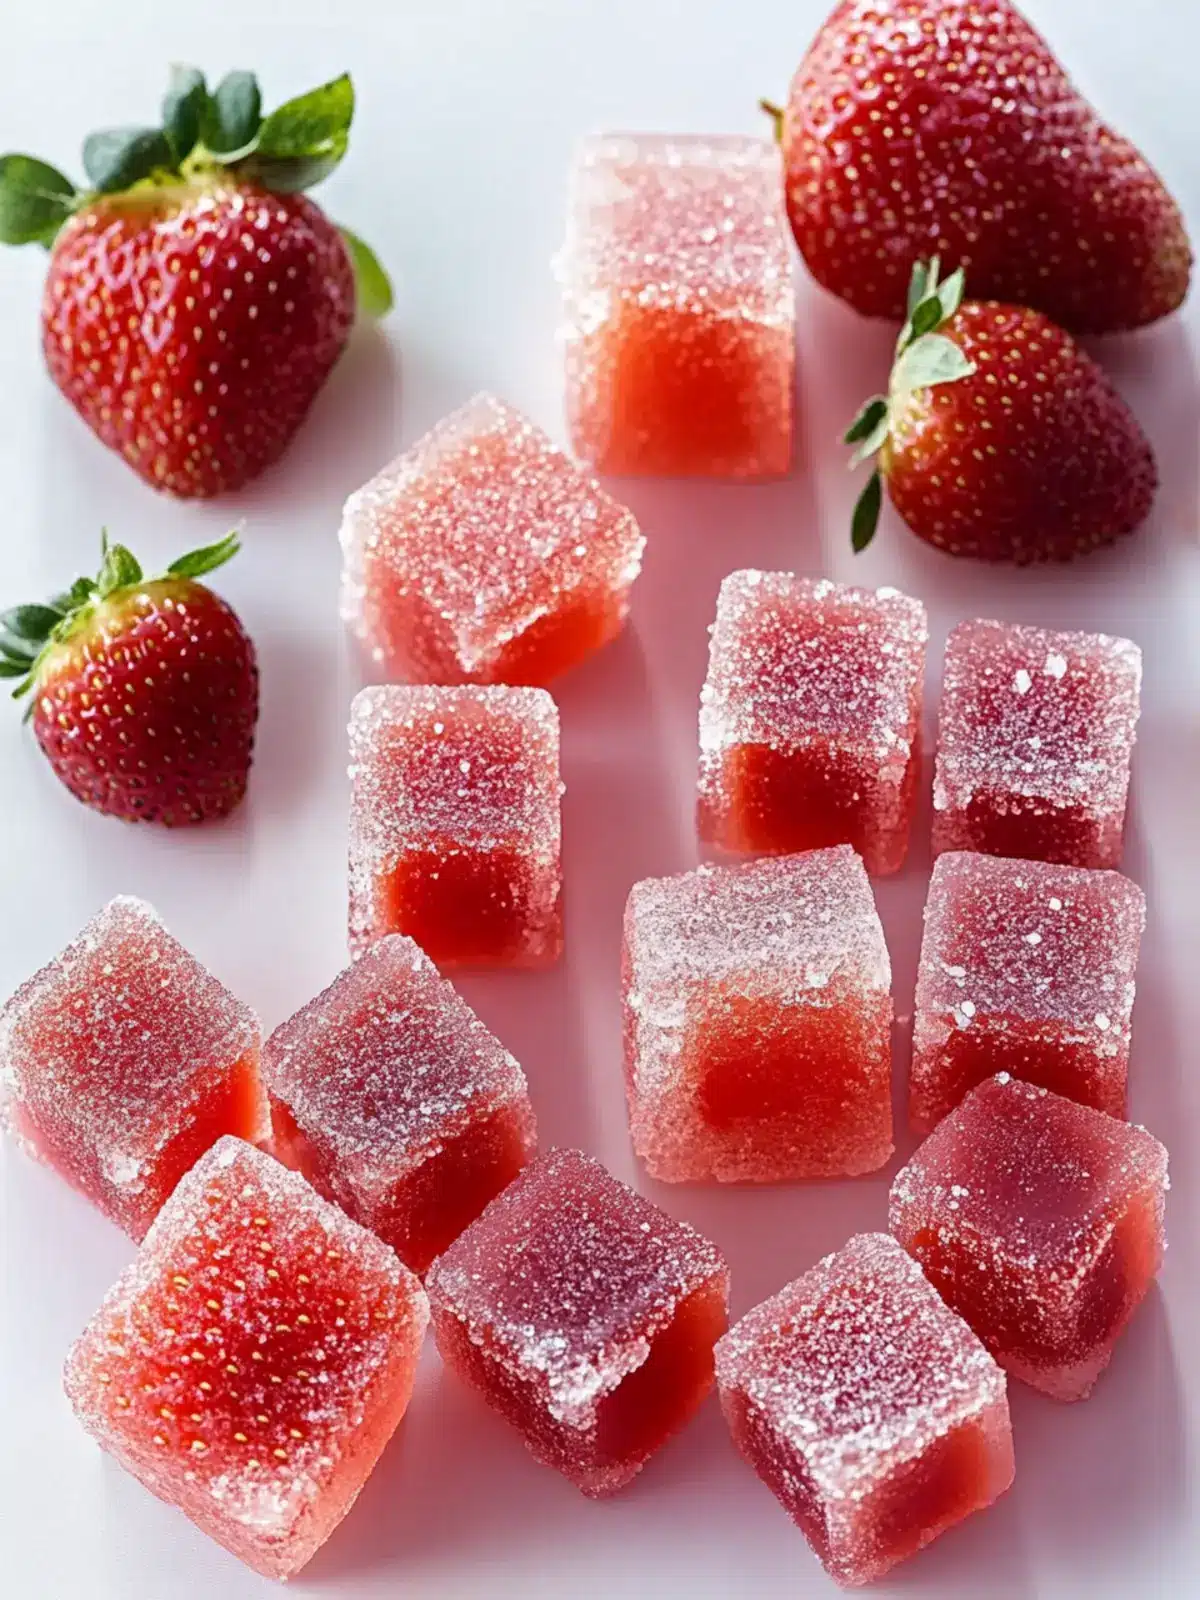
- Prepare the Strawberry Puree (10 minutes): Start by washing, hulling, and chopping about 2 cups of fresh strawberries. Toss them into a blender or food processor and pulse until smooth. For a seed-free gummy, push the puree through a fine mesh sieve into a bowl. This puree sets the vibrant flavor and color.
- Bloom the Gelatin (5 minutes): In a small bowl, sprinkle 3 tablespoons of unflavored gelatin over 1/2 cup of cold water. Let it sit undisturbed for about 5 minutes until the gelatin absorbs the water and thickens. This step is crucial for that perfect gummy texture.
- Cook the Strawberry Mixture (10 minutes): Pour the strawberry puree into a medium saucepan along with 1/2 cup granulated sugar and 2 tablespoons fresh lemon juice. Heat over medium, stirring frequently until the sugar dissolves and the mixture starts to simmer gently. Avoid boiling hard; you want it hot but smooth. Remove from heat.
- Combine Gelatin and Strawberry Mixture (5 minutes): Add the bloomed gelatin to the warm strawberry mixture and whisk vigorously until completely dissolved. Stir in 1 teaspoon citric acid for that tangy kick. If you want extra smooth gummies, this is the moment to strain once more.
- Pour and Set (at least 4 hours): Pour the mixture into silicone molds or a parchment-lined baking dish. Let it cool at room temperature for 10 minutes, then refrigerate for at least 4 hours or until fully set and firm to the touch. Once set, pop the gummies out of molds or cut into bite-sized squares.
Pro tip: Don’t rush the setting time. The gummies need those hours to develop the right chewiness. If they’re sticky when unmolding, a light dusting of sugar or cornstarch helps keep them separate and less tacky.
Cooking Tips & Techniques
Getting these gummies just right took some trial and error, so here are some tips I’ve picked up along the way:
- Gelatin Blooming Is Key: Never skip blooming your gelatin in cold water first. Otherwise, you risk lumps or a grainy texture.
- Don’t Boil the Gelatin: High heat destroys gelatin’s setting power. Keep your strawberry mixture simmering gently, then remove from heat before adding gelatin.
- Adjust Sourness Gradually: Citric acid is potent. Start with 1 teaspoon, then tweak in future batches to suit your taste buds.
- Use Fresh Lemon Juice: Bottled lemon juice can be harsh or less flavorful. Fresh juice brightens the gummy flavor authentically.
- Prevent Sticking: Silicone molds are best, but if using a dish, dust gummies with cornstarch or sugar to keep them from clumping.
- Texture Troubleshooting: If your gummies turn out too soft, try increasing gelatin by 1/2 tablespoon next time. Too firm? Use slightly less gelatin or add a bit more water.
- Multi-tasking Tip: While the gummies set in the fridge, why not whip up a batch of fluffy berry chantilly cake for a berry-themed dessert spread?
Variations & Adaptations
This homemade gummy recipe is a fantastic base that welcomes your creativity. Here are some fun ideas to mix things up:
- Flavor Swaps: Substitute strawberries for raspberries, blackberries, or a mixed berry blend for different berry-forward profiles.
- Vegan Option: Replace gelatin with agar-agar powder (about 2 teaspoons). Note that agar sets firmer and less chewy, so expect a different texture.
- Sugar-Free Version: Use a natural sweetener like erythritol or monk fruit sweetener, but be mindful that sweetness and texture might shift slightly.
- Spicy Twist: Add a pinch of cayenne or chili powder to the strawberry mixture for an unexpected spicy-sour gummy experience.
- Personal Favorite: I once tossed in a teaspoon of rose water with the lemon juice for a delicate floral note—it was surprisingly lovely and elegant.
For those wanting to try different cooking methods, you can experiment with slow cooker infusion for the fruit base, but the stovetop remains the most reliable for consistent texture.
Serving & Storage Suggestions
These sour strawberry gummies are best enjoyed chilled or at room temperature. Serve them as a fun snack at parties, tuck them in lunchboxes, or just nibble during a cozy movie night. They pair wonderfully with a refreshing iced tea or a light sparkling water infused with lemon or mint.
To store, place the gummies in an airtight container lined with parchment or wax paper to avoid sticking, then keep them refrigerated for up to two weeks. For longer storage, you can freeze them in a freezer-safe container for up to 3 months. When ready to eat, just thaw in the fridge or at room temperature for about 15 minutes.
Flavors actually mellow and deepen a bit after a day in the fridge, so if you can wait, the gummies get even tastier. If you notice any stickiness, a quick dusting of sugar or cornstarch will refresh their texture.
Nutritional Information & Benefits
Each serving of these homemade sour strawberry gummies (about 3-4 pieces) contains approximately:
| Calories | 60 |
|---|---|
| Carbohydrates | 15g |
| Sugar | 12g |
| Protein | 2g |
| Fat | 0g |
Thanks to the fresh strawberries, these gummies provide a modest dose of vitamin C and antioxidants. The gelatin offers collagen, which some studies suggest may support skin and joint health. Unlike commercial gummies, this recipe skips artificial colors, flavors, and preservatives, making it a cleaner choice for sweet cravings.
If you’re watching sugar intake, consider the sugar-free adaptation mentioned earlier. Be mindful of gelatin allergies or dietary restrictions, and try the agar-agar substitute for a vegan-friendly gummy.
Conclusion
Making these Delicious Homemade Sour Strawberry Gummies has been a surprisingly satisfying journey in my kitchen. They’re a fun way to enjoy fresh fruit transformed into a chewy, tangy treat that feels both nostalgic and fresh. The simplicity of ingredients combined with a few thoughtful techniques makes this recipe approachable for anyone, whether you’re a candy novice or a seasoned kitchen experimenter.
Feel free to adjust the sourness, sweetness, or even the shape of your gummies to suit your style. I love how this recipe is a little canvas for creativity, and I hope it finds a special spot in your snack rotation, just like it did in mine. If you give it a try, I’d love to hear how you made it your own—sharing those moments always feels like swapping stories over a sweet bite. And speaking of sweet, if you’re a fan of homemade treats, you might enjoy the decadent blueberry fudge—another favorite that’s just as deliciously indulgent.
Happy gummy making!
Frequently Asked Questions
What can I use if I don’t have gelatin?
You can substitute gelatin with agar-agar powder for a vegan option. Use about 2 teaspoons of agar-agar dissolved in water, but note the texture will be firmer and less chewy than traditional gelatin gummies.
How do I make my gummies more sour?
Adding citric acid is the best way to boost sourness without affecting texture. Start with 1 teaspoon and adjust to your taste. Fresh lemon juice also adds natural tang and brightness.
Can I make these gummies without sugar?
Yes! Replace granulated sugar with natural sweeteners like erythritol or monk fruit sweetener. Keep in mind the texture and sweetness might change slightly, so adjust amounts accordingly.
How long do homemade gummies last?
Stored in an airtight container in the fridge, gummies last about two weeks. You can freeze them for up to 3 months; just thaw in the fridge before enjoying.
Can I use frozen strawberries?
Absolutely! Thaw and drain excess water before pureeing to avoid watery gummies. Frozen berries might slightly change the flavor but still work well.
Pin This Recipe!
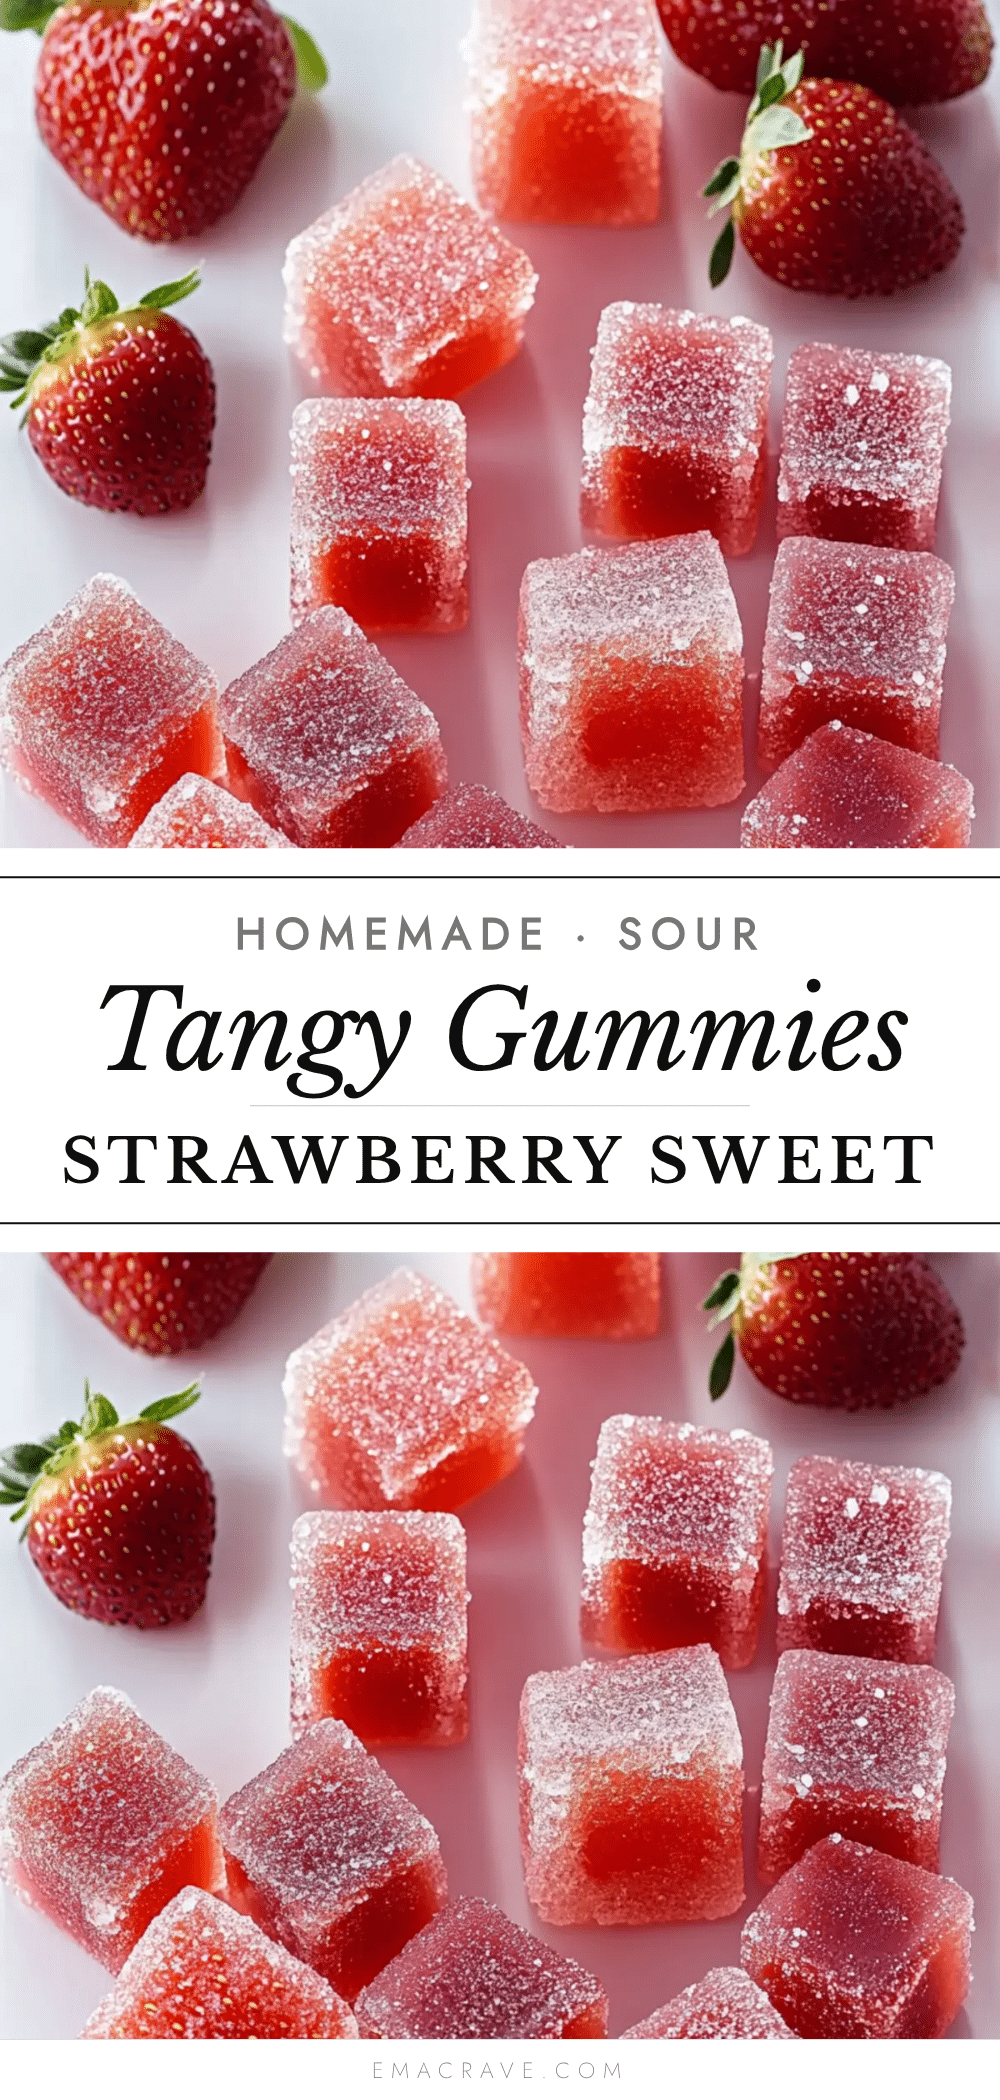
Delicious Homemade Sour Strawberry Gummies
A quick and easy recipe to make tangy, chewy sour strawberry gummies at home using fresh strawberries, gelatin, and a touch of citric acid for the perfect balance of sweetness and sourness.
- Prep Time: 15 minutes
- Cook Time: 10 minutes
- Total Time: 4 hours 25 minutes
- Yield: About 3-4 servings (3-4 pieces per serving) 1x
- Category: Dessert
- Cuisine: American
Ingredients
- 2 cups fresh strawberries, hulled and chopped
- 1/2 cup granulated sugar
- 2 tablespoons freshly squeezed lemon juice
- 3 tablespoons unflavored gelatin powder
- 1/2 cup water
- 1 teaspoon citric acid
- Optional: cornstarch or extra sugar for coating
Instructions
- Prepare the Strawberry Puree (10 minutes): Wash, hull, and chop about 2 cups of fresh strawberries. Blend until smooth. For seed-free gummies, strain puree through a fine mesh sieve.
- Bloom the Gelatin (5 minutes): Sprinkle 3 tablespoons of unflavored gelatin over 1/2 cup cold water. Let sit undisturbed for 5 minutes until thickened.
- Cook the Strawberry Mixture (10 minutes): In a medium saucepan, combine strawberry puree, 1/2 cup granulated sugar, and 2 tablespoons lemon juice. Heat over medium, stirring until sugar dissolves and mixture simmers gently. Remove from heat.
- Combine Gelatin and Strawberry Mixture (5 minutes): Add bloomed gelatin to warm strawberry mixture and whisk until dissolved. Stir in 1 teaspoon citric acid. Strain again if extra smooth gummies are desired.
- Pour and Set (at least 4 hours): Pour mixture into silicone molds or parchment-lined dish. Cool at room temperature for 10 minutes, then refrigerate for at least 4 hours until firm. Remove from molds or cut into squares.
Notes
Bloom gelatin in cold water before use to avoid lumps. Do not boil gelatin mixture to preserve setting power. Adjust citric acid to taste for sourness. Use fresh lemon juice for best flavor. Dust gummies with cornstarch or sugar to prevent sticking. For vegan option, substitute gelatin with agar-agar powder (2 teaspoons) but expect firmer texture.
Nutrition
- Serving Size: 3-4 gummy pieces
- Calories: 60
- Sugar: 12
- Carbohydrates: 15
- Protein: 2
Keywords: homemade gummies, sour gummies, strawberry gummies, gelatin gummies, easy candy recipe, healthy gummies, fruit gummies



