Love this? Save it for later!
Share the inspiration with your friends
“You’ve got to try these fish sticks!” my neighbor shouted over the fence one chilly evening, waving a brown paper bag like a golden ticket. I was skeptical—tuna fish sticks? Really? Usually, fish sticks meant frozen, greasy, and disappointing. But that night, after a long day running errands and juggling dinner plans, I peeled open the bag and bit in. Crispy, tender, and somehow comforting, they quietly turned my bad day around.
Honestly, these crispy baked tuna fish sticks became a staple in my kitchen almost overnight. I found myself making them multiple times a week—sometimes swapping between dipping sauces, sometimes doubling the batch just to have leftovers. There’s something about their crunch paired with flaky tuna that feels like a warm hug on a plate. Not to mention, it’s a bit of an unexpected twist that even picky eaters can’t resist.
What’s funny is that the recipe started as a last-minute fix when the freezer was bare except for canned tuna and a few pantry staples. I didn’t expect much, but the result was a surprise winner. Over time, I tweaked the seasoning, tried different coatings, and figured out the perfect baking time to get that golden crisp without drying out the fish. Now, it’s one of those recipes I trust for cozy family feasts when everyone needs a little comfort food without the fuss.
It’s a dish that feels both casual and special at once. Plus, it’s a fun way to sneak in some omega-3s without the usual fishy fuss. So, if you’ve ever wondered whether homemade tuna fish sticks could be a thing, this recipe might just change your mind. It sure did mine.
Why You’ll Love This Recipe
After testing this crispy baked tuna fish sticks recipe over several weeks, I can confidently say it’s a keeper for your family table. Trust me, I’ve put it through the ringer—tweaking spice blends, baking times, and coating mixes until it hit just the right note. Here’s what makes this recipe stand out:
- Quick & Easy: Ready in about 30 minutes, perfect when you want a no-fuss dinner that still feels homemade.
- Simple Ingredients: No exotic or hard-to-find items here. You probably have most of these in your pantry right now.
- Perfect for Cozy Family Feasts: Whether it’s a casual weeknight or a laid-back weekend gathering, these fish sticks fit right in.
- Crowd-Pleaser: Kids and adults alike keep asking for seconds, and leftovers disappear fast.
- Unbelievably Delicious: The contrast of the crunchy exterior and tender tuna inside is just next-level comfort food.
This isn’t your standard frozen fish stick remake. The baked method keeps things light, and the homemade breadcrumb coating gets that satisfying crunch without frying. Plus, adding a touch of lemon zest and a hint of smoked paprika brings a subtle brightness that’s hard to beat. Honestly, it’s the kind of dish that makes you close your eyes after the first bite and just savor the moment.
It’s a recipe that lets you impress the family without breaking a sweat or grabbing takeout. If you’re into quick homemade dinners like the creamy Tuscan butter mushrooms or need a simple seafood option like the crispy oven fried fish bites, this will fit right into your rotation.
What Ingredients You Will Need
This recipe uses straightforward ingredients that combine to deliver a crispy, flavorful bite with minimal effort. Most of these are pantry staples, and you can easily swap some to suit your preferences or dietary needs.
- Canned Tuna: 2 (5-ounce/142 g) cans of tuna in water, drained well (I prefer chunk light for a milder flavor)
- Breadcrumbs: 1 cup (about 100 g) panko breadcrumbs for extra crunch (feel free to try gluten-free panko if you need it)
- Parmesan Cheese: ¼ cup (25 g), finely grated, adds a nice savory depth
- Eggs: 2 large, beaten, room temperature (helps the coating stick like a charm)
- All-Purpose Flour: ½ cup (60 g), for dusting the tuna mixture before dipping (can substitute almond flour for gluten-free)
- Lemon Zest: From 1 lemon, adds a fresh zing that cuts through the richness
- Smoked Paprika: 1 teaspoon, gives a subtle smoky warmth
- Garlic Powder: ½ teaspoon, for a gentle savory note
- Onion Powder: ½ teaspoon, rounds out the flavor base
- Salt and Pepper: To taste, freshly ground black pepper always makes a difference
- Olive Oil Spray: For lightly coating the sticks before baking to promote crispiness (you can also use avocado oil spray)
Pro tip: When shopping for canned tuna, look for brands that use sustainable fishing methods like Wild Planet or American Tuna. It makes a difference in flavor and peace of mind.
Equipment Needed
- Baking sheet – a rimmed one works best to catch any drips or crumbs
- Parchment paper or a silicone baking mat – to prevent sticking and ease cleanup
- Mixing bowls – at least two (one for wet, one for dry ingredients)
- Fork or potato masher – to flake the tuna evenly
- Measuring cups and spoons – for precise seasoning and coating
- Wire rack (optional) – placing fish sticks on a rack inside the baking sheet can help air circulate so they crisp evenly
If you don’t have a wire rack, no worries—just flip the sticks halfway through baking for even browning. I started making these with just a simple sheet pan and parchment, and it worked beautifully.
For budget-friendly options, parchment paper can be replaced by a well-greased baking sheet, though cleanup might be a bit more involved. Also, a sturdy fork works perfectly to mash the tuna, so no fancy equipment needed here.
Preparation Method
- Preheat your oven to 425°F (220°C). Line a baking sheet with parchment paper or a silicone mat for easy cleanup and set aside. If you have a wire rack, place it on top of the sheet.
- Drain the tuna cans thoroughly and transfer the tuna to a medium mixing bowl. Use a fork or potato masher to break the tuna into fine flakes. Aim for a texture that’s flaky but not mushy—leave a few larger bits for mouthfeel.
- Add the flavorings: Mix in lemon zest, smoked paprika, garlic powder, onion powder, salt, and pepper. Stir gently to combine evenly without overworking the tuna.
- Prepare your coating stations: Place the flour in one shallow bowl, beaten eggs in a second, and combine panko breadcrumbs with parmesan cheese in a third bowl. Mixing the cheese into the breadcrumbs adds a subtle salty crust.
- Form the fish sticks: Scoop about 2 tablespoons (30 g) of the tuna mixture and shape it into a rectangular stick, roughly 3 inches (7.5 cm) long and 1 inch (2.5 cm) wide. Don’t pack too tightly; you want them to hold but stay tender.
- Coat each stick: Lightly dust with flour, then dip into the beaten eggs, letting excess drip off. Finally, press into the breadcrumb and parmesan mixture, ensuring all sides are well covered.
- Place the sticks on your prepared baking sheet or wire rack, spacing them about ½ inch (1.25 cm) apart. Give them a gentle spray of olive oil to encourage crispness.
- Bake for 12-15 minutes, turning once halfway through. The sticks should be golden brown and crispy on the outside, while tender and flaky inside. Watch carefully so they don’t dry out.
- Remove from oven and let cool for a couple of minutes before serving. This resting time helps the coating set and keeps them crispy longer.
Heads up: If your oven runs hot, check around 10 minutes to prevent overbaking. And if you’re making a big batch, bake in batches rather than crowding the pan—air circulation is key to crunch!
Cooking Tips & Techniques
Getting the perfect crisp on baked fish sticks can be a tiny bit tricky, but a few tricks from my kitchen will help you nail it every time.
- Drain the tuna well: Excess moisture is the enemy of crispiness. I usually press the tuna gently in a sieve or line with paper towels before mixing.
- Don’t over-pack the sticks: If you press the mixture too tight, the texture becomes dense. Slightly loose is better—it flakes apart nicely when you bite.
- Use panko breadcrumbs: They’re coarser and airier than regular breadcrumbs, giving that satisfying crunch. Mixing parmesan in adds a lovely savory note.
- Light oil spray is your friend: It helps brown the crust evenly without frying. If you skip it, the sticks may look pale and less crisp.
- Flip halfway through baking: This prevents one side from getting soggy and promotes even color.
- Watch baking time: Overbaking dries out the tuna, so keep an eye on the clock and your oven’s quirks—mine tends to run a bit hot.
- Rest before serving: Letting them cool for a few minutes keeps the coating crunchy and makes handling easier.
I remember the first time I skipped the flour dusting step and the coating just didn’t stick well—lesson learned! Also, experimenting with different seasonings like a pinch of cayenne can add a little kick if you’re feeling bold.
Variations & Adaptations
This recipe is surprisingly flexible and easy to tailor to your tastes or dietary needs. Here are a few ways I’ve played around with it:
- Gluten-Free Option: Swap all-purpose flour and breadcrumbs for almond flour and gluten-free panko or crushed gluten-free cereal. The texture changes slightly but stays delicious and crispy.
- Spicy Twist: Add ¼ teaspoon cayenne pepper or chili flakes to the breadcrumb mix for a gentle heat kick. Great for those who like some zing without overpowering the tuna.
- Herb Infusion: Mix chopped fresh parsley, dill, or chives into the tuna mixture for a fresh herbal note. Dill pairs especially well with fish flavors.
- Baking vs. Air Frying: If you have an air fryer, cook at 400°F (205°C) for 8-10 minutes, flipping halfway for an even crisp. This method speeds up cooking and intensifies crunch.
- Dairy-Free Version: Omit parmesan cheese and use nutritional yeast in the breadcrumb mix for a cheesy flavor without dairy.
Personally, I love adding a sprinkle of fresh lemon juice right after baking—it brightens the whole dish. For a family brunch, I sometimes serve these alongside the crispy buttery tuna rice muffins for a fun seafood spread.
Serving & Storage Suggestions
These crispy baked tuna fish sticks are best served warm and fresh, right out of the oven. Pair them with a simple dipping sauce like tartar, garlic aioli, or even a spicy sriracha mayo for an extra layer of flavor.
For sides, crisp salads, roasted vegetables, or even a fresh pasta salad like the fresh cucumber pasta salad make a great balance to the richness of the fish sticks.
To store, place leftover fish sticks in an airtight container and refrigerate for up to 3 days. Reheat in a toaster oven or conventional oven at 350°F (175°C) for about 5-7 minutes to bring back some crispness. Microwaving tends to soften the crust, so I avoid that.
Freezing is possible—flash freeze the sticks on a tray for an hour, then transfer to a freezer bag for up to 2 months. Bake from frozen, adding a few extra minutes to the cooking time.
Over time, the flavors meld nicely, and reheated sticks often taste even better the next day. That cozy, comforting vibe sticks around, making them a reliable go-to meal.
Nutritional Information & Benefits
Each serving (about 4 fish sticks) provides roughly:
| Calories | 280 kcal |
|---|---|
| Protein | 28 g |
| Fat | 10 g |
| Carbohydrates | 18 g |
| Fiber | 1 g |
Tuna is a great source of lean protein and omega-3 fatty acids, which support heart and brain health. Using panko breadcrumbs keeps the carb content moderate, and baking rather than frying reduces unhealthy fats.
This recipe is naturally gluten-free adaptable and dairy-free with simple swaps, making it friendly for various dietary needs. Just watch for allergens like eggs if that’s a concern.
From a wellness perspective, I appreciate that this dish satisfies comfort food cravings without guilt. It balances nutrition and flavor in a way that’s easy to enjoy on busy days or cozy weekends.
Conclusion
These crispy baked tuna fish sticks have genuinely become one of my favorite easy dinners for a cozy family feast. They bring together the best of comfort food—crunch, flavor, and warmth—without the usual hassle or grease. Whether you’re trying to get dinner on the table quickly or want a fun way to enjoy tuna beyond the sandwich, this recipe fits the bill.
I encourage you to make it your own—switch up the seasonings, try different dips, or serve alongside your favorite sides. For me, it’s the kind of dish that feels like a little celebration of simple ingredients done right.
If you give this a try, I’d love to hear how your family enjoyed it or any tweaks you discovered. Sharing those stories and variations is what keeps cooking fun, after all. Here’s to many cozy meals ahead, crispy bites, and happy tables!
FAQs About Crispy Baked Tuna Fish Sticks
Can I use fresh tuna instead of canned tuna?
Yes, but fresh tuna needs to be cooked and flaked before shaping. The texture will be slightly different and may require adjusting baking times.
How do I keep the fish sticks from falling apart?
Make sure to drain the tuna well and avoid packing the mixture too tightly. Using eggs as a binder and flour dusting helps the coating stick better.
What dipping sauces go well with these tuna fish sticks?
Try tartar sauce, garlic aioli, spicy mayo, or even a lemon yogurt dip for fresh flavor contrasts.
Can I make these ahead of time and freeze them?
Absolutely! Freeze them on a tray first, then store in a freezer bag. Bake from frozen, adding a few extra minutes to the cooking time.
Are these fish sticks suitable for kids?
Yes! They’re mild-flavored and crispy, making them popular with kids. You can reduce spices or customize seasonings to suit younger palates.
Pin This Recipe!
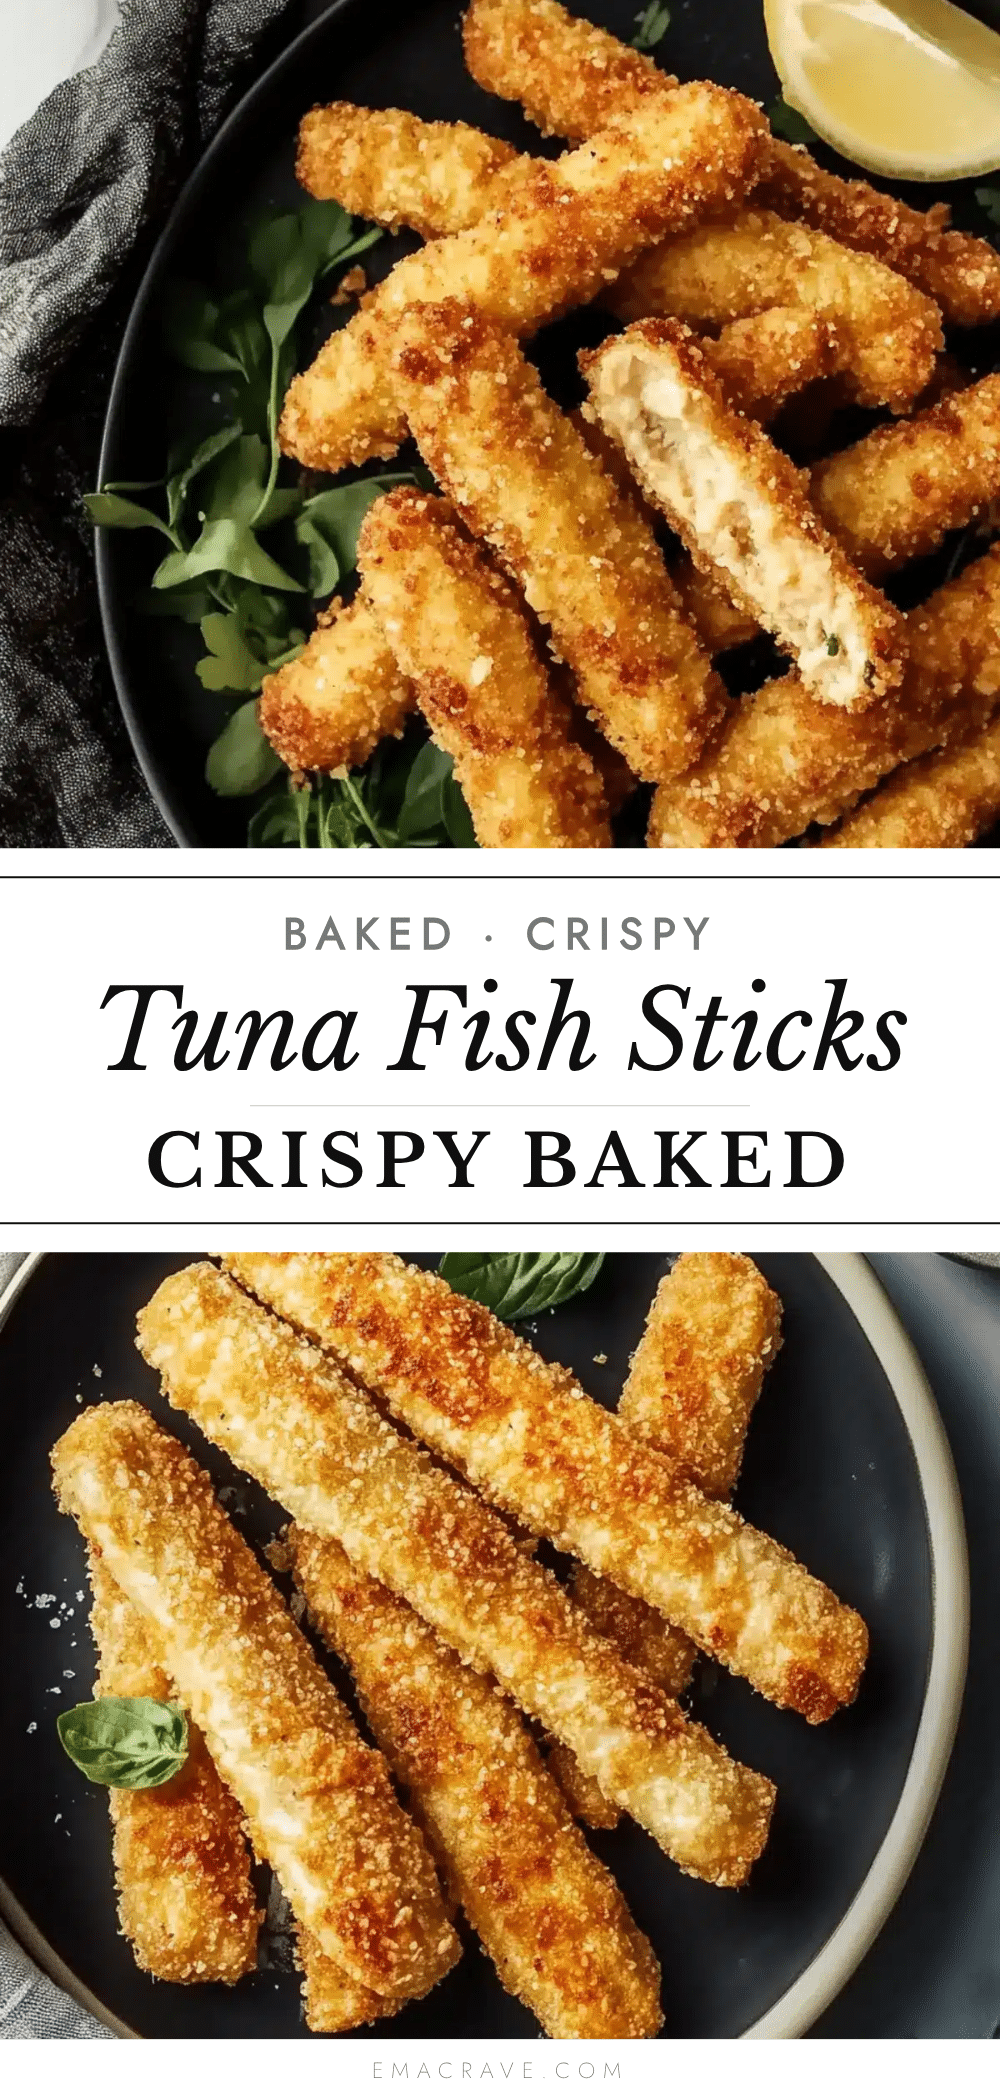
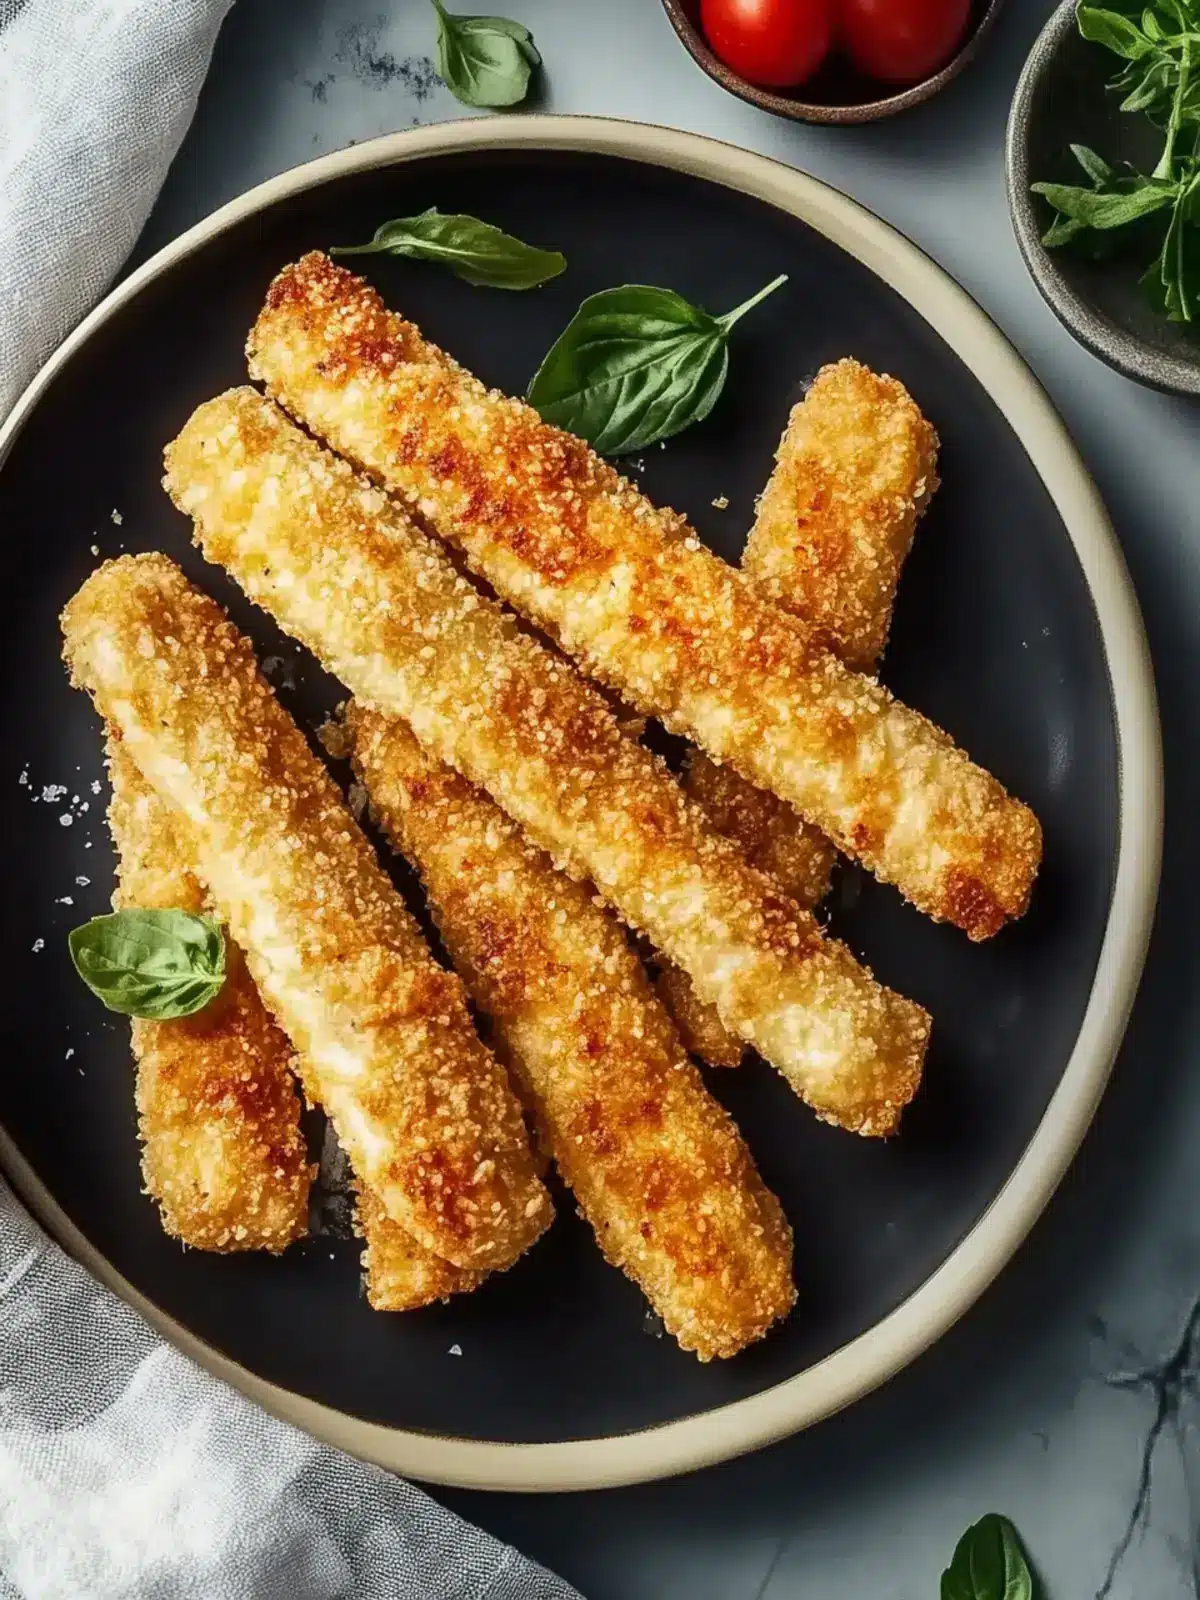
Crispy Baked Tuna Fish Sticks

These crispy baked tuna fish sticks are a quick, easy, and delicious homemade alternative to frozen fish sticks. They feature a crunchy panko and parmesan coating with tender flaky tuna inside, perfect for family meals.
- Prep Time: 10 minutes
- Cook Time: 15 minutes
- Total Time: 25 minutes
- Yield: 4 servings 1x
- Category: Main Course
- Cuisine: American
Ingredients
- 2 (5-ounce) cans tuna in water, drained well
- 1 cup panko breadcrumbs (about 100 g)
- 1/4 cup finely grated parmesan cheese (about 25 g)
- 2 large eggs, beaten, room temperature
- 1/2 cup all-purpose flour (about 60 g)
- Zest of 1 lemon
- 1 teaspoon smoked paprika
- 1/2 teaspoon garlic powder
- 1/2 teaspoon onion powder
- Salt and freshly ground black pepper, to taste
- Olive oil spray (or avocado oil spray)
Instructions
- Preheat oven to 425°F (220°C). Line a baking sheet with parchment paper or a silicone mat. Place a wire rack on top if available.
- Drain tuna thoroughly and transfer to a medium bowl. Flake tuna with a fork or potato masher until flaky but not mushy, leaving some larger bits.
- Add lemon zest, smoked paprika, garlic powder, onion powder, salt, and pepper to the tuna. Stir gently to combine.
- Set up coating stations: place flour in one shallow bowl, beaten eggs in a second, and mix panko breadcrumbs with parmesan cheese in a third bowl.
- Scoop about 2 tablespoons (30 g) of tuna mixture and shape into a rectangular stick about 3 inches long and 1 inch wide. Do not pack too tightly.
- Lightly dust each stick with flour, dip into beaten eggs letting excess drip off, then press into breadcrumb and parmesan mixture to coat all sides.
- Place sticks on prepared baking sheet or wire rack about 1/2 inch apart. Lightly spray with olive oil.
- Bake for 12-15 minutes, turning once halfway through, until golden brown and crispy outside but tender inside. Check at 10 minutes if oven runs hot.
- Remove from oven and let cool for a couple of minutes before serving to help coating set and stay crispy.
Notes
Drain tuna well to avoid soggy sticks. Do not over-pack the mixture to keep texture light and flaky. Use panko breadcrumbs for extra crunch and mix parmesan for savory depth. Lightly spray with oil before baking for best crispiness. Flip halfway through baking for even browning. Let rest a few minutes before serving. For gluten-free, substitute flour and breadcrumbs with almond flour and gluten-free panko. For dairy-free, omit parmesan and use nutritional yeast. Can be air fried at 400°F for 8-10 minutes, flipping halfway.
Nutrition
- Serving Size: About 4 fish sticks
- Calories: 280
- Fat: 10
- Carbohydrates: 18
- Fiber: 1
- Protein: 28
Keywords: tuna fish sticks, baked fish sticks, crispy fish sticks, homemade fish sticks, easy dinner, family meal, seafood snack